Ripstick
Member
Hi everyone!
It was only a matter of time before I found myself here and submitting my very first post to this forum. I recently purchased my very first vintage Mopar, a 1968 Dodge Coronet 400 project car, and have been slowly working some of the outstanding issues out over the past 3 months.
Today I hope to learn a trick from those who know a bit more than I do, as not to damage or inadvertently destroy perfectly good 50 year-old parts.
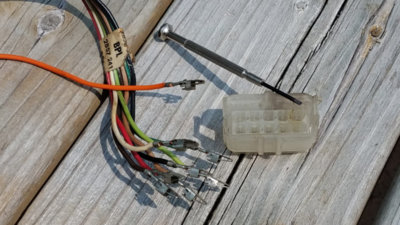
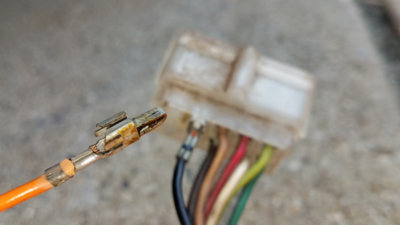
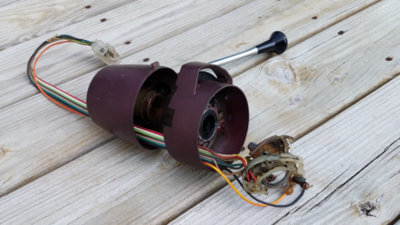
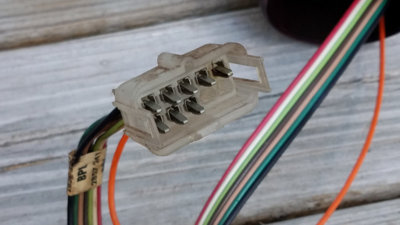
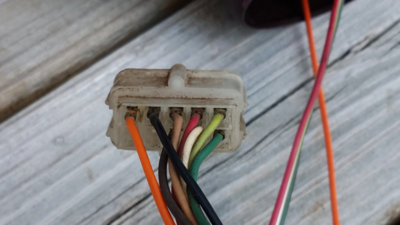
I bring you, my steering column hub assembly and wiring harness...
[Please see attached photos]
I want to refinish and repaint the two cast metal hub sections, but the wiring harness connector will not fit through the holes in the hubs. I don't have any reason to replace the original wiring, so I was hoping there was a trick to removing the metal clips from the harness connector without damaging them so that I can remove the wires from the hubs, paint them, feed the wires back through and re-insert the clips back into the connector.
Has anyone done this before with great success?
Thanks!
Rick 'Ripstick'


