70chall440
Well-Known Member
- Local time
- 4:54 AM
- Joined
- Feb 11, 2018
- Messages
- 5,147
- Reaction score
- 7,385
- Location
- Yelm, Washington
Hi all, Iv'e posted some wagon questions here previously so this might seem familiar. I thought I would post some information and pictures in case someone out there is thinking about doing some of the same things and to get other opinions as this proceeds.
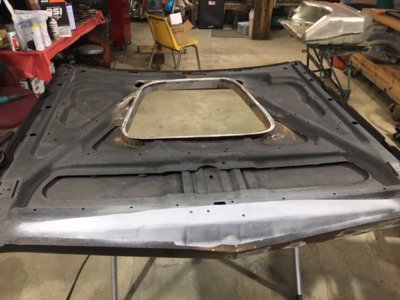
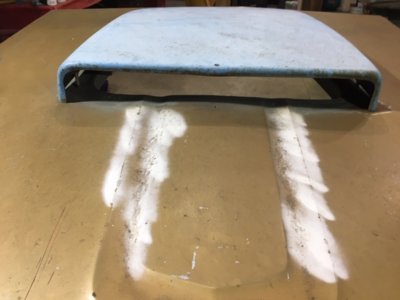
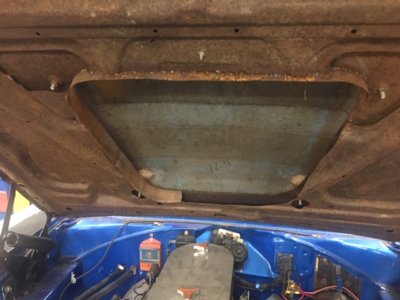
The background here is that this is not my car, it is a friends who has owned the car for ~20 years. This car began life as a \6 AT low option car. The car was sold originally to the forestry department where I am told it served faithfully. Eventually it was retired and someone bought it and used it for some years. As is normally the case, at some point it was permanently retired and parked beside a house where it sat for many years outside. At some point the current owner found the car and bought it as he has a "thing" for wagons. I believe the car was worked on a little over the years but at some point the owner decided to drop in a healthy 440 6 pack and 4 speed. Additionally, he bought a hood and installed a 6 pack hood scoop and like many of us, thought about what could be.
I came into the picture earlier this year because my friend has some health issues which precludes his ability to do a lot of the necessary work to make this car usable and since I have a full shop and still can do a lot of the hard work, I agree to get this project moving forward. The initial "deal" was that if he could bring me the car, I would do the following;
1. Install 4 wheel disc brakes
2. Install the EFI 6 pack system
3. Install a new wiring harness
4. Install a new 3rd member
I initially wanted to do the fuel system and EFI system to ensure that it all worked before moving to the wiring harness. In order to facilitate the modification of the fuel system, I decided to remove the 3rd member which of course means removing the axles. Granted, I didn't need to do that but since I was planning to remove the 3rd member anyway, it provided some room under there. I should note that the owner had purchased an aftermarket rear brake system from Summit which a buddy of his began installing but never finished.
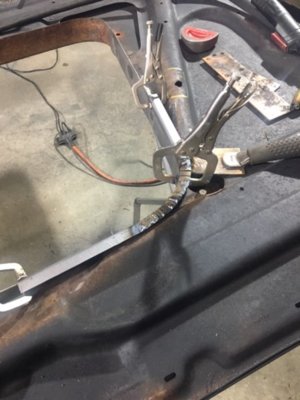
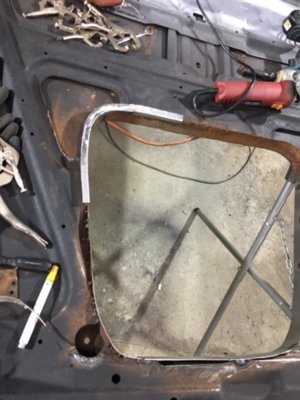
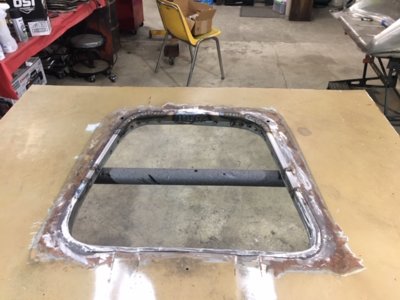
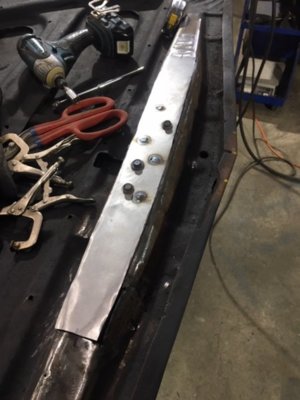
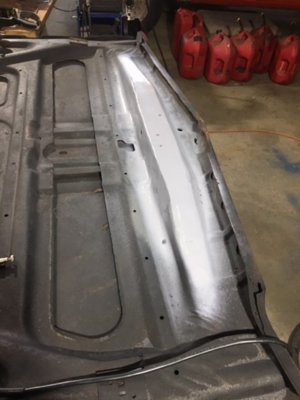
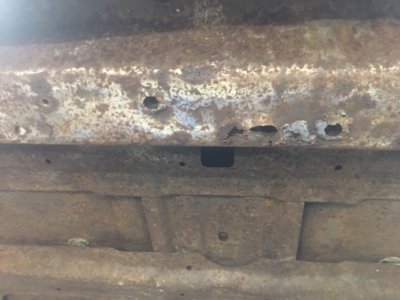
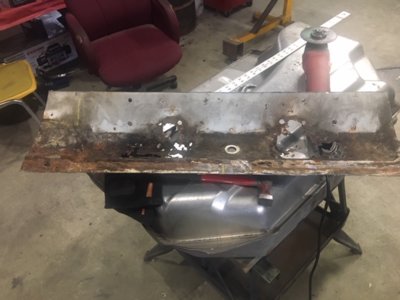
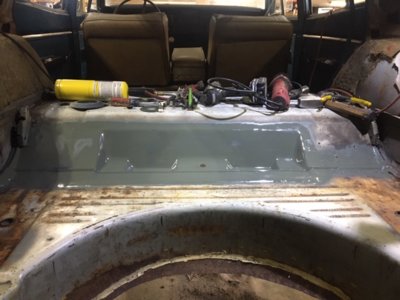
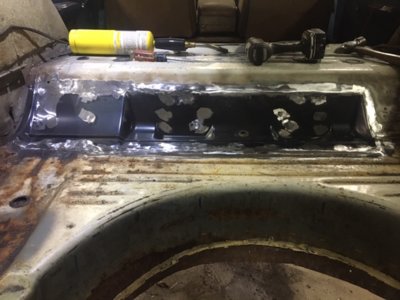
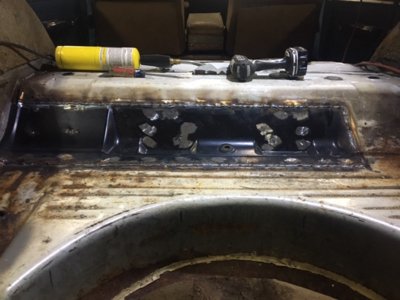
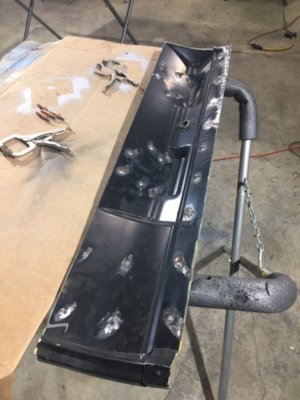
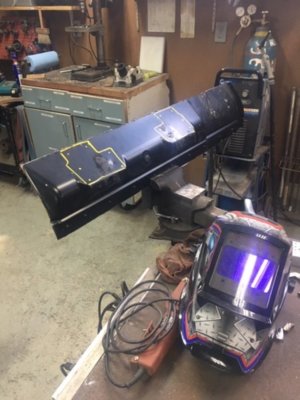
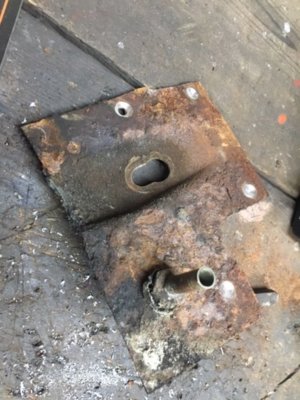
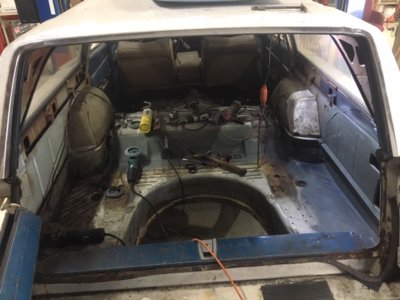
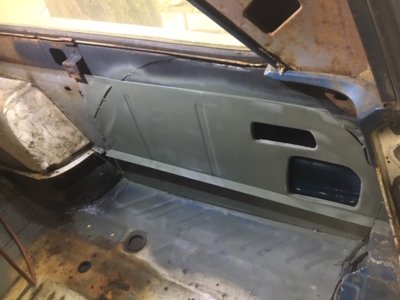
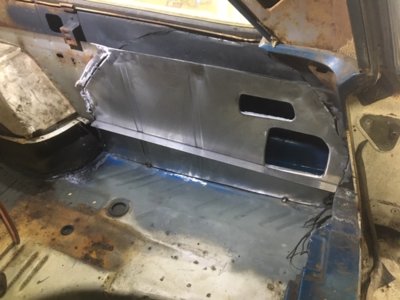
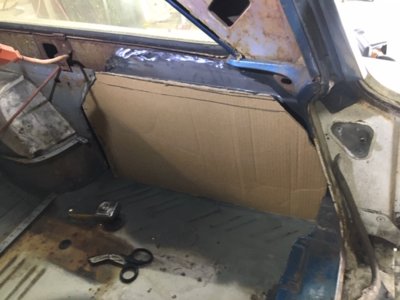
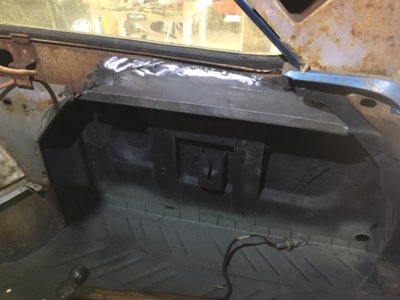
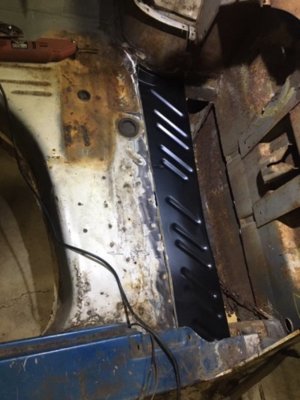
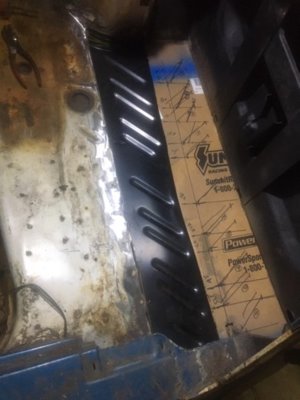
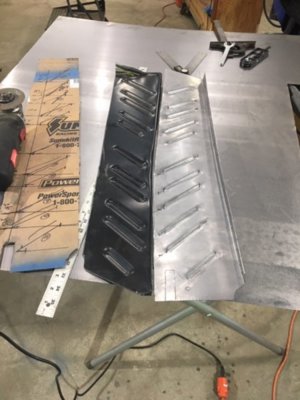
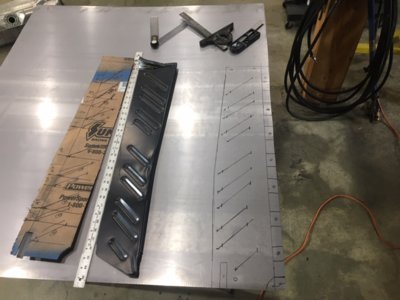
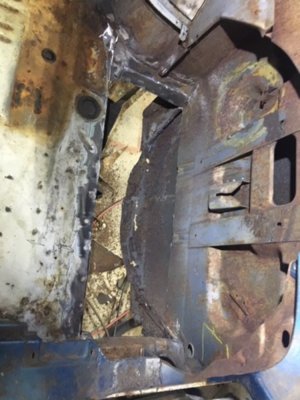
Upon removing the fuel tank I discovered that the floor was completely rotted out, specifically the section that holds the tank in place, so I began developing a plan to replace this. Initially I had planned to make a new floor section but then discovered that a pan from a 66-67 sedan was the same thing so we ordered one of those. There were 2 main sections that needed to be replaced, the front section (part over the axle) and the foot well for the 3rd row seating (spare tire area in 66-67 B bodies). In the planning for this, the owner asked me to look at the spare tire compartment (which was badly rusted) and stated that he really wanted it eliminated, so that was added to the list.
So far I have replaced a section of the floor over the rearend and I just finished eliminating the spare tire area. I will post more as this project goes along. I will post pictures next.

