bagman68
Well-Known Member
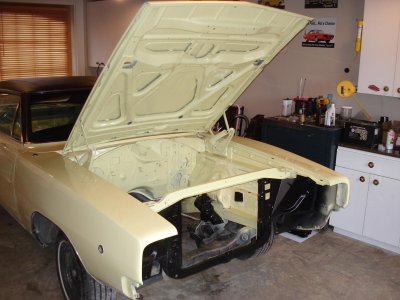
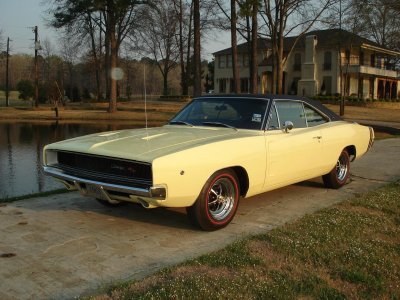
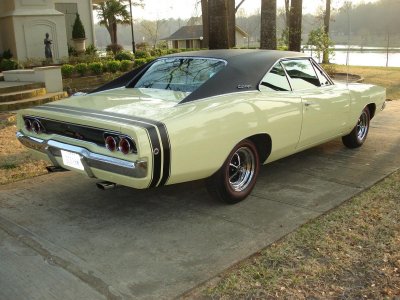
Hi folks .. I'm new to this forum, joined in hopes of gaining some technical expertise after purchasing a '68 Charger this past October. I haven't been disappointed. I thought it might be fair to share my project with you, its been quite a pleasure to do up to this point and looking forward to finishing up.
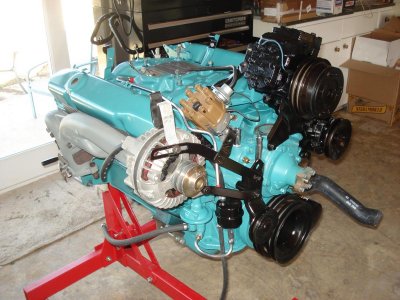
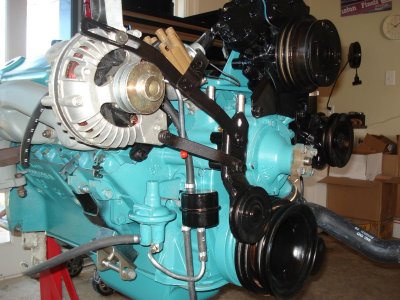
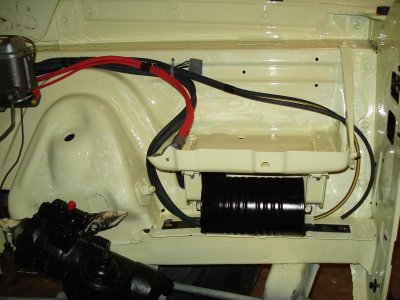
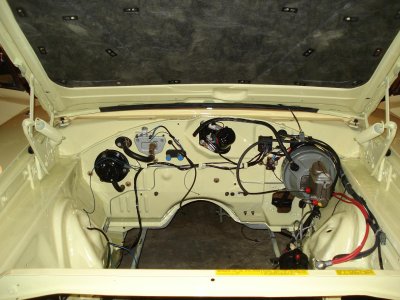
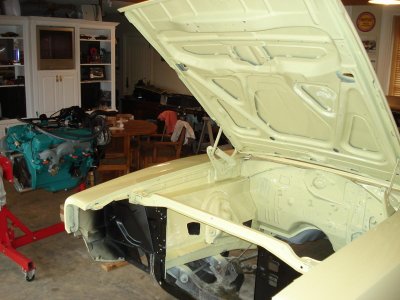
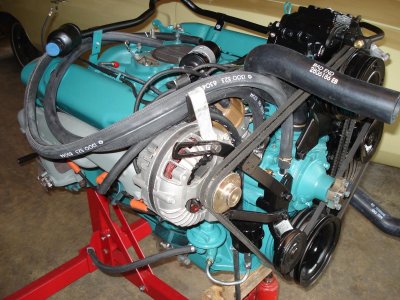
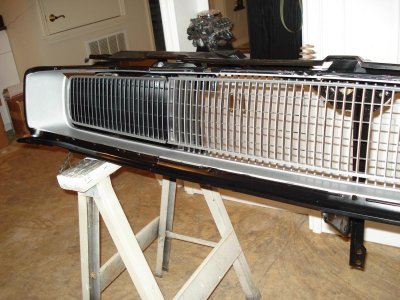
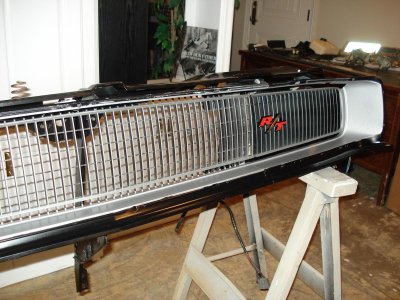
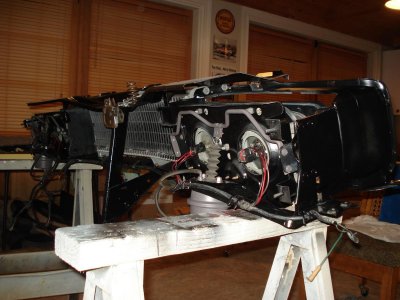
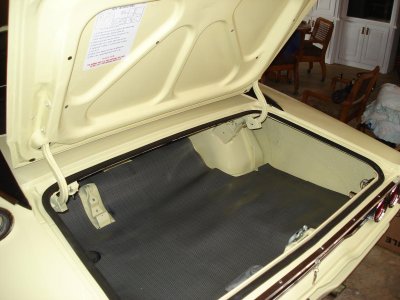
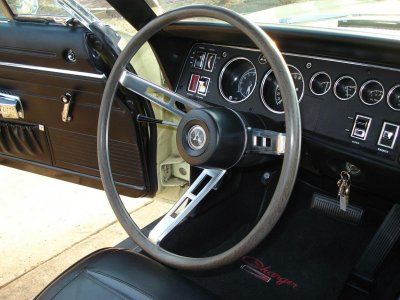
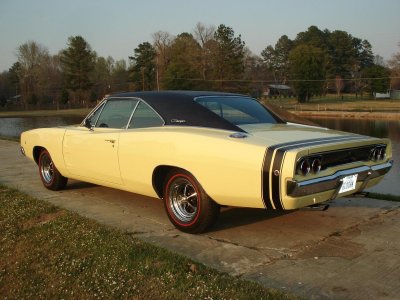
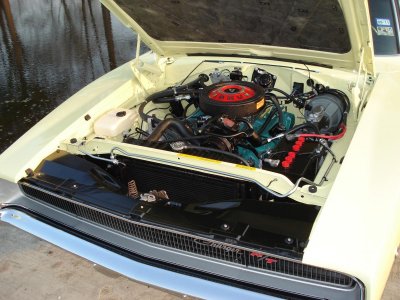
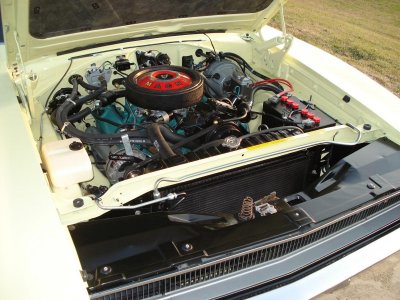
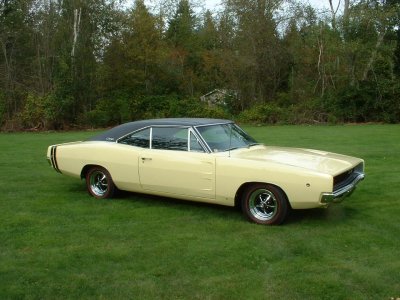
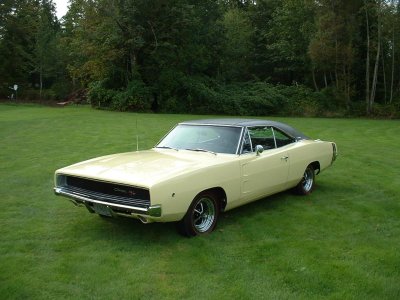
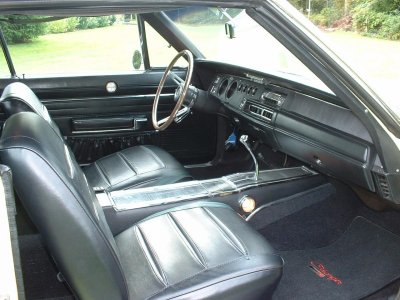
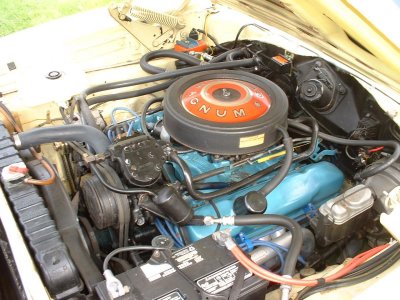
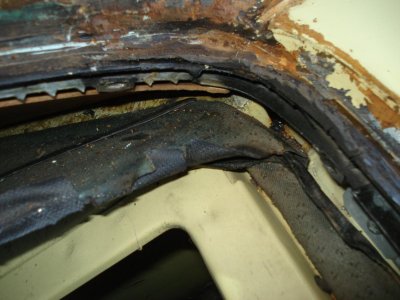
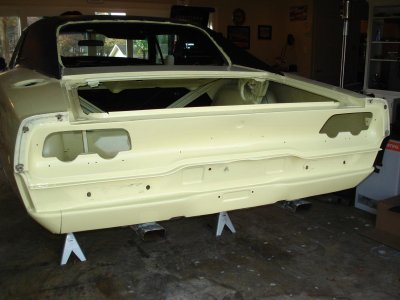
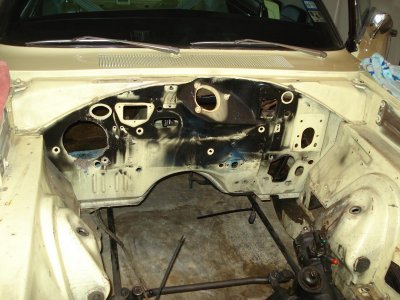
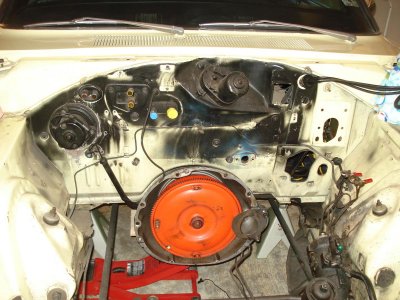
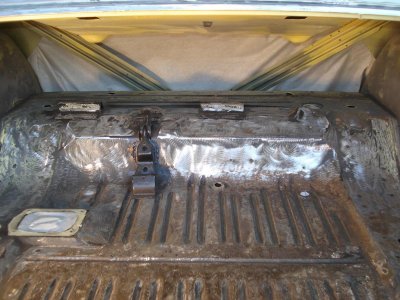
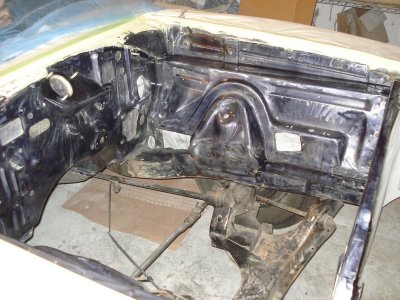
It's history began in Los Angeles, CA where it was ordered new from The Waters Co., a Chrysler/Plymouth/Dodge dealer at the time. The original owner kept the car until he passed away with cancer in 2003. The second owner from upstate Washington sold it to me after 7 years of TLC and I feel fortunate to have found it. She's had one repaint of original color and was kept completely original and unmolested her entire life. Although driven (169,000 miles), she was impeccably maintained. Still, there were many areas that needed attention. Here are a few pics beginning with the day I bought it, plus a couple of the problem areas such as the back glass, trunk floor and under the hood. It never ceases to amaze me why someone will grab a "rattle can" and destroy the under-hood appearance of a MOPAR. You guys know what it takes to straighten out a mess like this .. its well underway.
more later - - -
Attachments
-
 Charger 001.jpg162.9 KB · Views: 838
 -
 Charger 005.jpg154.6 KB · Views: 740
 -
 Charger 013.jpg148.9 KB · Views: 626
 -
 Charger 007.jpg182.5 KB · Views: 772
 -
 engine 003.jpg167.3 KB · Views: 587
 -
 body 032.jpg73.2 KB · Views: 586
 -
 body 020.jpg110.1 KB · Views: 588
 -
 body 007.jpg96.3 KB · Views: 574
 -
 body 006.jpg101.1 KB · Views: 577
 -
 body 004.jpg95.2 KB · Views: 615
 -
 firewall 011.jpg146.9 KB · Views: 580
 -
 firewall 002.jpg163.9 KB · Views: 589
 -
 body 062.jpg65.9 KB · Views: 576
 -
 body 047.jpg160.3 KB · Views: 591
 -
 body 033.jpg89.3 KB · Views: 568
 -
 firewall 015.jpg168.6 KB · Views: 590