You are using an out of date browser. It may not display this or other websites correctly.
You should upgrade or use an alternative browser.
You should upgrade or use an alternative browser.
70 coronet
- Thread starter Chilsam
- Start date
Chilsam
Well-Known Member
Last edited:
Just went through your thread. Pretty neat and that hood you're going to use is my favorite for the 70.
Chilsam
Well-Known Member
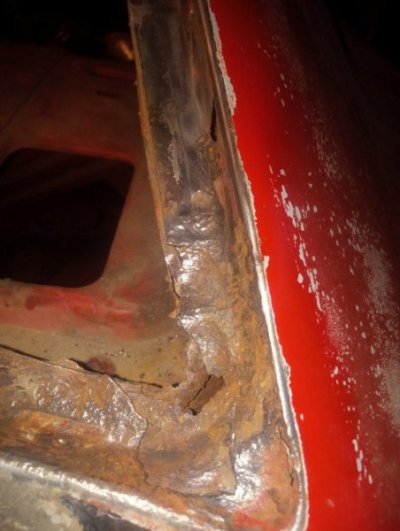
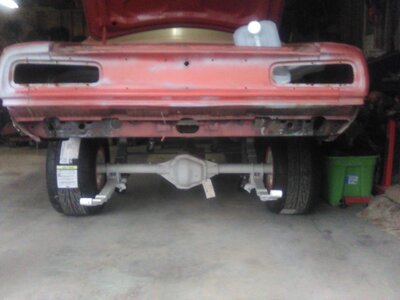
Starting on trunk valley pan removal & repair,drill guide holes in the corners that I will pop a chaukline on then tapes for cutting with body saw. It's weird because outside of the valley pan the floor is solid as a rock. I placed a droplite under it with garage lights shut off to show the rust holes in the lower part of the channels...


Chilsam
Well-Known Member
I've been working on window sills and repair...hinges were worn out so instead of fixn them the P.O's just slamed the door harder. Broke spot welds inthe F.Driver side door window tracks spot welds n beat the heck out of the door jam and latch areas. Door is savable "cracks" but somewhere along the line a patch was fabbed for the door jam.... any port in a storm kinna thing...


Last edited:
Chilsam
Well-Known Member
Got the patchs cut and placed ...they're from a 4 door Coronet that was being parted out ... waiting on lower corner patch panels froms JEGS to get here tomorrow. Bummer I have to cut em up for just the window channels. I left 1/8" of the roof on patch panel then radiused the leading edge in order to help "ROCKn ROLL?" it in to place. I also ground a LIL down off the what was the patchs roof for clearence & thinkn it will act as a heat sink when welding is done. I used a screw to pull it in flush against Coronets roof edge after I screwed lower part of channel in place


Last edited:
Chilsam
Well-Known Member
Got the upper corner pieces cut n placed. Lowers were not pristine but still structurely sound, to replace them would have required a LOT of metal seperation in the 1/4 and dutchman panel area so I'm leaving them alone, blasted them clean n painted with weld thru primer. Also removed heater, box driver side vent box and windshield wiper moter and mechanism,parking brake & gas pedal removed ... the sheetmetal is very solid .... S.W hot dry weather really helps with the metal, sand getting packed in tight spaces and holding moisture is an issue tho...soft interior stuff not so much


View attachment 1834016


View attachment 1834016
I hope your weld through primer bonds. The stuff out here doesn't. Even after roughing the metal up, then wiping down with acetone, comes right off with a fingernail.
Chilsam
Well-Known Member
Thanx for mentioning that ...I will make sure to mention it to my WELDER when he comes ...its all held in with sheetmetal screw for nowI hope your weld through primer bonds. The stuff out here doesn't. Even after roughing the metal up, then wiping down with acetone, comes right off with a fingernail.
Last edited:
I ran into that when I prepped my SFC's before welding them in. Since that happened, any new stuff I make gets cleaned with acetone, roughed up, cleaned with acetone again, then sprayed with Ospho. After thats dried, I put the piece in, weld, clean off, then hose the seams/welds down with the Eastwood inner frame coating[ polymer one]. When thats dried, whip out the seam sealer where needed. On one of the spray wands supplied with the coating, it's a multi hole head, I've cut the head off and replaced it with a 16ga or so uninsulated butt connecter thats partially crushed down. It acts as a jet to blast the spray into the gaps of seams and welds. It does make a mess so be careful, but it does force the coating into the areas. From there, use whatever your favorite coating for protection. Eastwood, POR15 etc.


Similar threads
- Locked
- Replies
- 0
- Views
- 117
- Replies
- 0
- Views
- 456
- Replies
- 3
- Views
- 382


