Here are some pics of mine from my resto page:
Drivers side fender with assembly attached:
Removed... not much to it, four bolts I'll bag those and clean them up later.
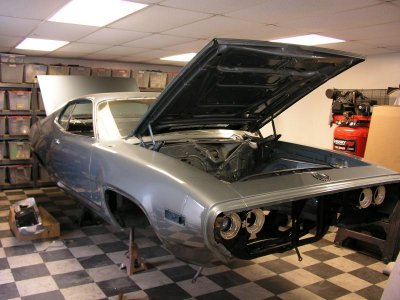
Took a bunch of shots of the position of everything for later:
Before cleaning, discovered the part numbers and paint marks, looks like we have red, orange and blue and I think black on the different cups, I have to record them:
Here's HI-LO-5-RT-.122 after a bath:

Here's one of the mounts after a little sanding and a few coats of Eastwood's Underhood Black Paint.
Next I'll finish cleaning the other parts, install the new headlight screws and hardware, reproduce the coloured stripes on the cups, polish the headlight rings and install the new sealed beams.