Speedbird
Bird of Pray
I'm working on a unmolested 67. I'm converting to "66" fender trim. I bought a complete "66" set from someone so I have no knowledge of it's true origin.
I don't think there will be a good answer to this, but I'll throw it out.
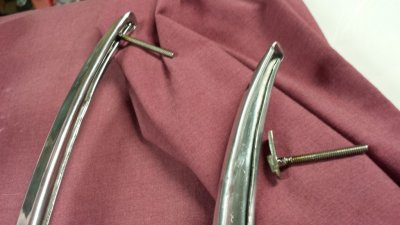
Look at the pictures.
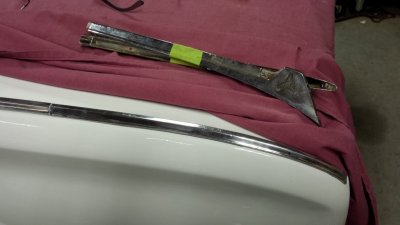
The passenger's side pot metal piece seems to have been altered/cut. But it is chrome plated in the cut area. See red markings in the pictures.
I'm not using that piece. But it's odd.
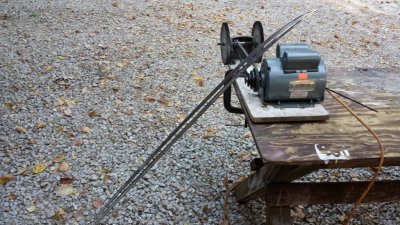
Next item. Some of the "66" pieces that I got appeared to be anodized. I had to remove that finish with scotch bright roloc disk before polshing them. They were still somewhat shiny as opposed to other pieces that were white with oxidation. Not all were. It was an odd mix.
And the base aluminum on some pieces was of a different hardness between trim pieces on my 67 and what came from a "66" . I could tell this when I straightened bent places.
I'm guessing different vendors on the trim.
Next item.
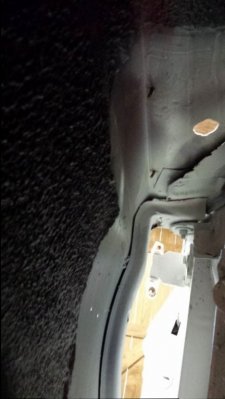
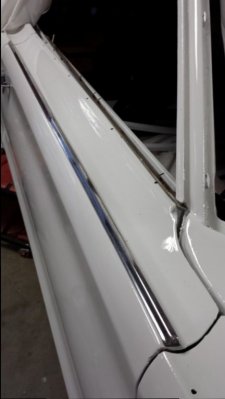
I could not stand the thought of gouging my fresh driver quality paint by forcing the trim back over plastic bases and maybe hitting the paint.
That would be a place for corrosion to start.
So I devised an alternative method.
(I don't even know if the two people that say they have the 60 dollar plastic base sets even have them).
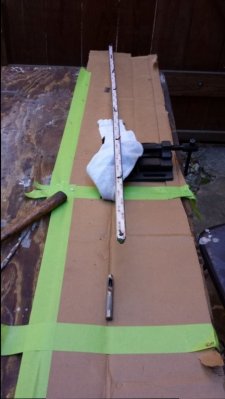
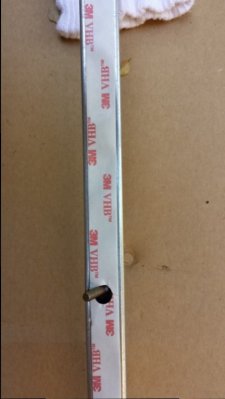
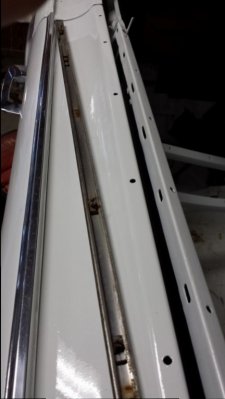
Stainless studs and a base pad of trim tape.
I used stainless because I didn't want the studs to ever rust and run down on the paint. Plus it's easy to TIG.
The tape will not only protect the paint, it secures the trim so I didn't have to really force the trim into the paint. It won't shift under expansion and contraction.
The tape is hidden mostly.
I used stainless non-lock (nylon) nuts and some silicon RTV to keep the nuts on the studs. A little in the holes too before installation for good measure.
(Be sure they didn't vibrate off.)
The bottom line was I figured if the car is ever repainted the trim will stay on anyway with plastic bases, so I went to the extra trouble.
More pictures in next post.
Last edited:

