• When you click on links to various merchants on this site and make a purchase, this can result in this site earning a commission. Affiliate programs and affiliations include, but are not limited to, the eBay Partner Network.

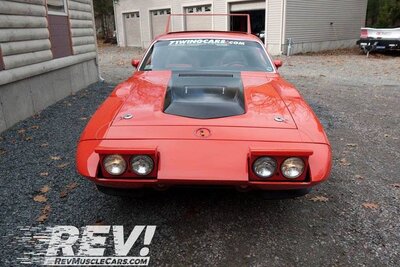
Introducing "Project Odyssey" a 1972 "Super Satellite"

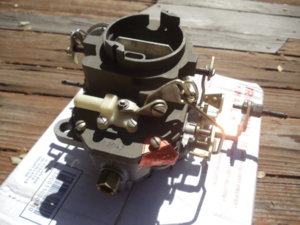
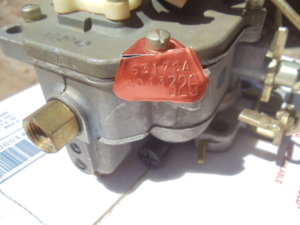
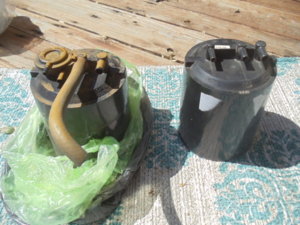
Restoration Update: NOS Carb and NOS Charcoal Canister The original charcoal canister (1972 version) had a four-hose hook-up and this NOS (1973 version) has a three hose hook-up. This discrepancy was solved temporarily by installing a 1973 NOS Carter BBD carb (6317SA) which has the correct plumbing (replacing the original 1972 Carter BBD). When the 340/305 motor with a Carter Thermoquad is installed at a future date, the '72 Thermoquad (6139S) will be lacking the correct charcoal canister port. That will be addressed when the time comes.

DSC00826 2.JPG DSC00809.JPG DSC00810.JPG
 
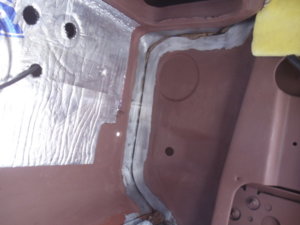
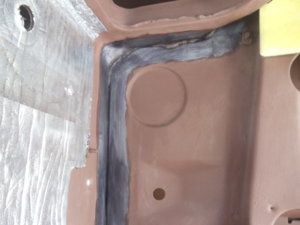
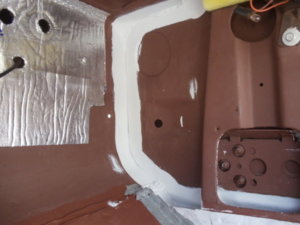
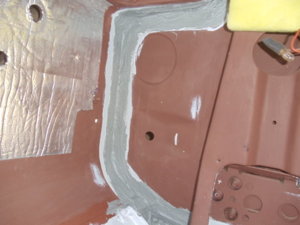
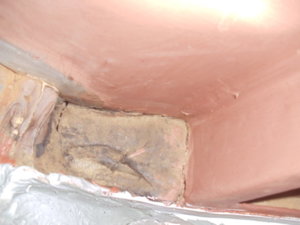
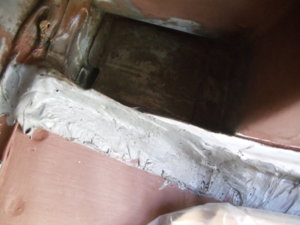
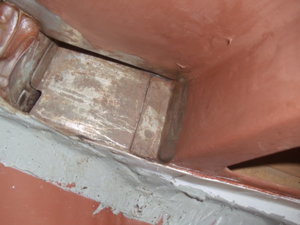
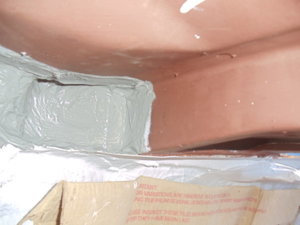
Restoration Update: Seam Sealer Not the most exciting chore, is it? Scraped, sanded, and final cleaned with a citrus cleaner. Then a coat of Rust-Oleum rust convertor (for good measure), a coat of Rust-Oleum Clean Metal Primer (white), and finally the gray seam sealer on top. Fotos of passenger kick panel area:

DSC00655.JPG DSC00664.JPG DSC00696.JPG DSC00707.JPG DSC00654.JPG DSC00657.JPG DSC00658.JPG DSC00706.JPG
 
Restoration Update: 305 CiD de-stroked 340 motor

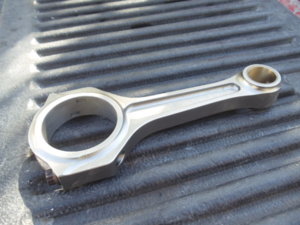
Already have the custom billet 2.96" stroke (Bryant Racing) crankshaft at the machine shop. The .030 over 340 block is being decked for TRW dome pistons (L2322F) .017" out of the block. Custom (Cunningham) rods at 6.298" center to center length are also ready to go. Will use an old set of open chamber "O" cylinder heads (2.02 intake) with 273 adjustable rockers (Rocker Arms Unlimited) and a 340 ('68 manual profile, more or less) hydraulic camshaft (Oregon Cams). Factory correct 1972 Carter ThermoQuad with matching '72 factory cast iron intake manifold and factory '72 trap door air cleaner are also ready on hand (well, need to re-build the carb). Plain chrome (no Mopar logo) Direct Connection valve covers and Kevko 5 quart oil pan and pick-up round things out.

The only item up in the air at the moment are exhaust manifolds. May have to use the 318 manifolds from the original motor for starters.
 
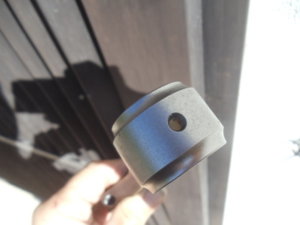
(Cunningham) Connecting rods have a 5/32" oil hole on the small end, seems a little big to me. I guess rods don't normally fail in that area. They weigh 742 grams, not much of a weight savings over stock rods (758 grams).

DSC04102.JPG DSC04107.JPG DSC04106.JPG
 
Restoration Update: Passenger side view mirror

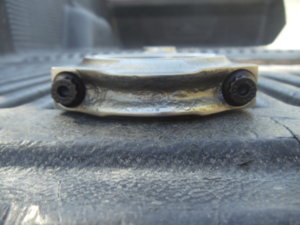
Right side mirror was useless, due to a worn/loose ball and socket. Phillips head screwdriver modified into "S" shape to reach screws behind glass. Screws were frozen and would not budge. After sitting for the weekend, tapping on the screws did the trick (the threads were a whitish color, probably due to the pot metal base they were in and dis-similar metals).

The first jeweler I visited was not equipped to help me insert a small 10/24 3/16" set screw against the ball. The second jeweler had all kinds of tiny drill bits and taps, but suggested I try a bicycle shop. The bicycle technician sent me down the street to "Alfonso", a motorcycle mechanic. Without any hesitation, he grabbed his large Dremel like tool and jumped right in to drill a pilot hole.

We decided not to try and tap the hole for threads and just began to force the set screw in the pot metal mirror base. It refused to thread itself in. Plan "B" was to force a phillips head screw (of unknown size and thread pitch) into the orifice, and with some fine tuning of the hole, it finally cooperated with our wishes. The pot metal we drilled into was darn hard, and the material left on the top edge of the hole was minimal, but fortunately it did not split during the procedures.

Now the mirror is installed and not so droopy anymore. However, some further road testing will be necessary to determine if the "fix" was permanent or temporary. Three fotos follow:
Talk about “every days a school day “ ...BIG thank you .! .. you just solved my mirror problem —-
 
I'm not sure the fix for the mirror was "permanent". I hesitant to re-adjust the mirror by hand very often for fear of it getting loose again. Some other suggestions are to coat the surface of the ball with something rough or sticky.
 
I'm not sure the fix for the mirror was "permanent". I hesitant to re-adjust the mirror by hand very often for fear of it getting loose again. Some other suggestions are to coat the surface of the ball with something rough or sticky.
I'm going to attempt a fix when I'm off work next ... And have a day spare .... I'll keep you posted mate
Have to say I think your 'motor' ( slang for whole car in the UK not just the engine ) is a peach ... I read your thread and it really put a smile on my face ... the the colour is perfect
 
Restoration Update: Sun Visors

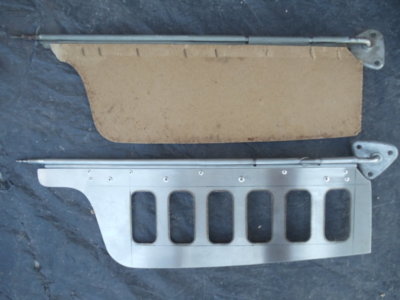
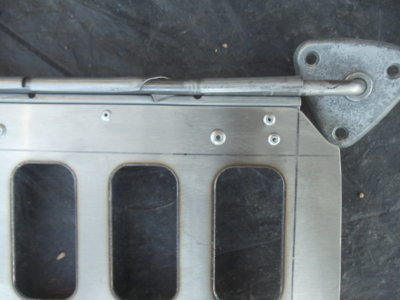
Arguably not the most safety conscious idea, but we fabricated some 18 gauge stainless steel replacements for the failing factory fiberboard/stapled visors. They are perforated to reduce weight, I don't want them flopping down when not needed (attached with rivets).

DSC05998.JPG DSC05999.JPG
 
Before sending them to the upholsterer, thought I would add flexible door edge guard (plastic) around the perimeter.

DSC06003.JPG
 
Restoration Update: w/s washer squirters
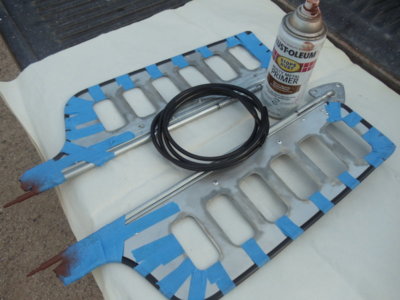
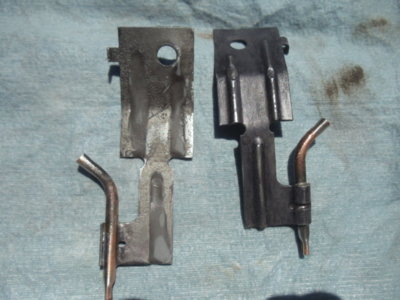
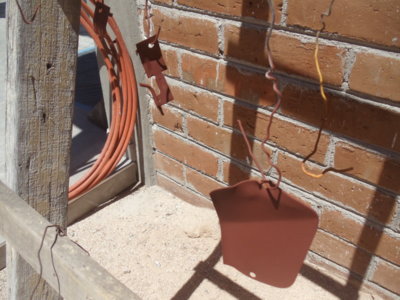
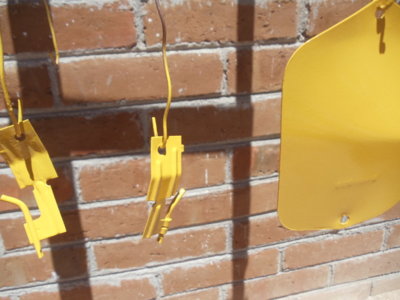
One squirter had a small hole in one of the reinforcing ribs from either rust-through or abrasion and a second hole about to break through. I decided to fill in all three reinforcing ribs of both squirters with a little JB weld to compensate for that. The damaged one (after repair) is on the right side in foto one.

After a dip in Evaporust it was three Rust-Oleum products: a convertor, red primer, and topcoat. I restored the wheel alignment caster/camber adjustment bolt/cam access covers at the same time.

In the three years the vehicle has been road worthy, still have not used the windshield wipers yet.

DSC06159.JPG DSC06161.JPG DSC06162.JPG
 
i never use the wipers,why you ask,because i do not drive in rain sounds like you to.
 
Restoration Update: Power Steering Pump

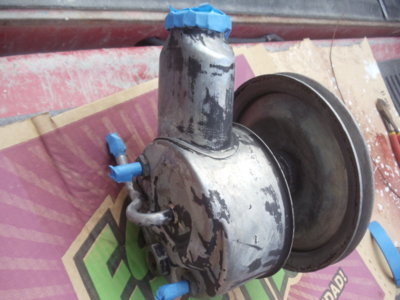
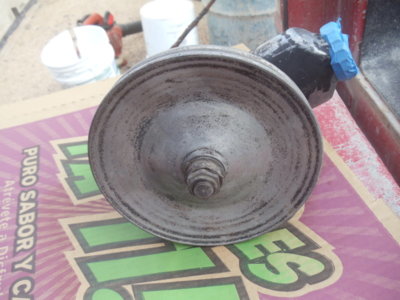
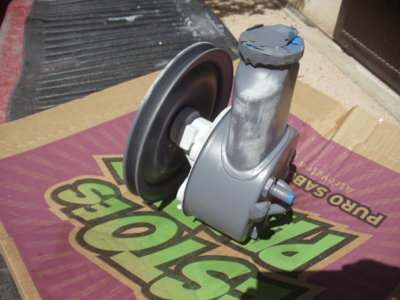
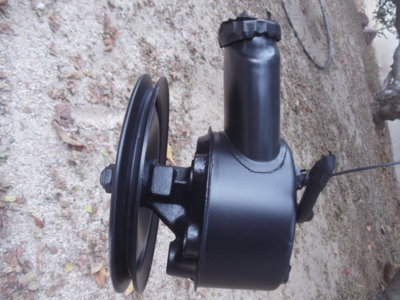
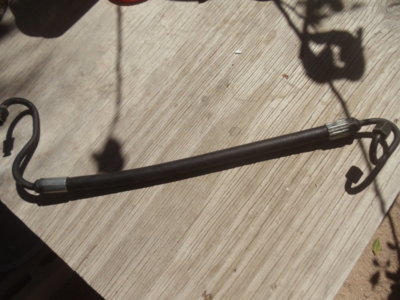
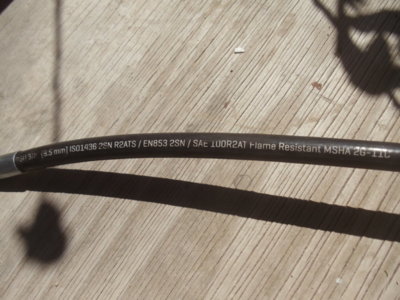
Just painted it while I had it off to replace a pressure hose that had no less than 3 pinhole leaks, one of which was splashing onto the exhaust manifold. The hose I had made locally, using the old connections on each end (haven't tested it all back together yet) cost $33.00 USD.

Cleaning the pump and brackets took a little doing, the citrus cleaner and Autozone degreaser that one dilutes with water had no effect at all on the caked on/baked on solid layer of grease or whatever that coating was made of. Resorted to chisel, screwdriver, razor blade, plastic and metal putty knives, and 120 grit sandpaper. Then various washes in the citrus cleaner again, powdered laundry soap and water, wax and grease remover, and naval jelly. I should have used gasoline and/or acetone which I did have on site, but decided not to go that way for some reason.

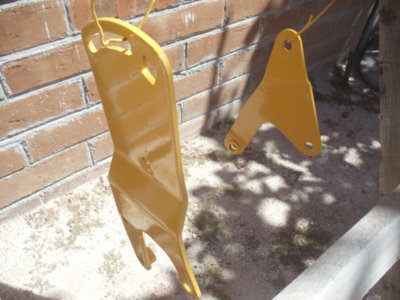
Used a spray can of gray RustOleum primer on the "sheet metal" parts and white RustOleum clean metal primer (brushed on) over the cast iron part. Then SEM trim black to finish it off. Brackets got the gray primer and a RustOleum yellow top coat. The yellow had a couple of runs because I forgot the top coat goes on much wetter than the primer, which dries almost on contact.

Now to put it back together. Tried to find a 5 1/4" replacement bolt for one of the bracket/timing chain cover bolts which had some deterioration on the threads that go into the water jacket, but no such length bolt to be found in the stores.

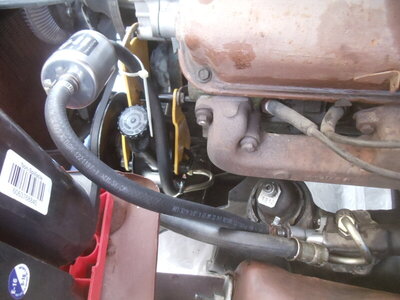
DSC07148.jpg DSC07149.jpg DSC07152.jpg DSC07156.jpg DSC07153.jpg P:S hose 1.jpg P:S hose 2.jpg
 
I decided to forego the locally made pressure hose and went NOS with a filter on the new return line.

DSC07396.JPG
 
Power steering done, now one of these days going to install the new front disc rotors, pads, and bearings.

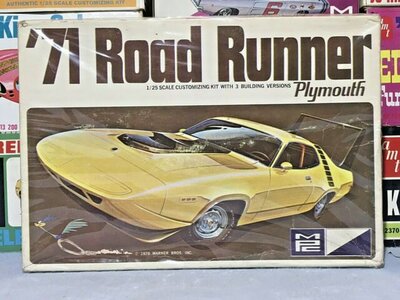
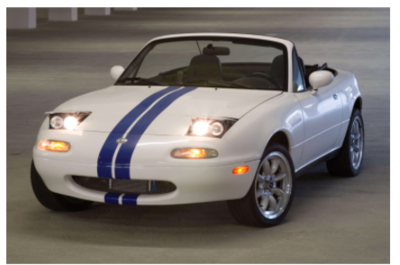
In the meantime, I am shopping around trying to decide which Mazda Miata MX-5 low profile dual headlamps I want to adapt to my forthcoming Superbird style nosecone. There appear to be two different manufactures of such kits.

I have already acquired the first generation Mazda pop-up headlamps and wiring harness which will be used during the initial fabrication. Then I want to switch over the clumsy-looking factory Mazda headlamps for the smaller dual setup.

No, I don't need them to wink.


MPC Superbird.jpg Miata Headlamps.png
 
I soak really old crusty greased up parts in used motor oil for a week and it usually just comes right off. Also makes a great hand cleaner.

snook
 
Update: Follow up to post #60 (door hinges). I forgot to mention we fabricated new dog leg stops for the door hinges (at the top in photos). These are thicker, stronger than the factory pieces which are prone to breaking. If you notice in the last photo, the "roller" is painted yellow with a black vertical stripe so I can monitor it and make sure it is rotating as the door is open and closed.

DSC05970.jpg


DSC05971.jpg


DSC06024.jpg
 
Last edited:
Auto Transport Service
Back
Top