• When you click on links to various merchants on this site and make a purchase, this can result in this site earning a commission. Affiliate programs and affiliations include, but are not limited to, the eBay Partner Network.

Not a Favorite Subject: Window & Panel Gaps

Dibbons

Well-Known Member
Local time
1:56 AM
Joined
Nov 29, 2014
Messages
5,014
Reaction score
6,031
Location
La Paz, B.C.S., Mexico
I dedicate this thread to the unmentionable problem of window and panel alignment (door, fender, trunk, hood). My vehicle is a '72 Satellite Sebring Plus. After re-painting, "restoring" the door hinges at home, and installing all body parts things are not all lined up correctly. The saving grace in all of this is the passenger door opens and closes like new. The trunk alignment is close enough that I won't be messing with it.

The drivers door (and window), front fenders, and hood need attention.

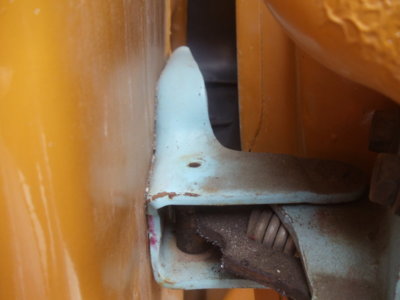
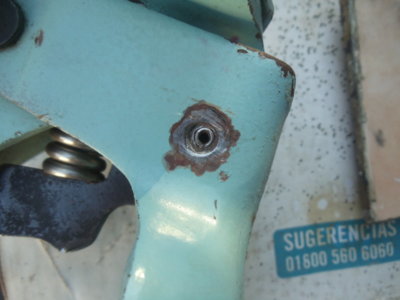
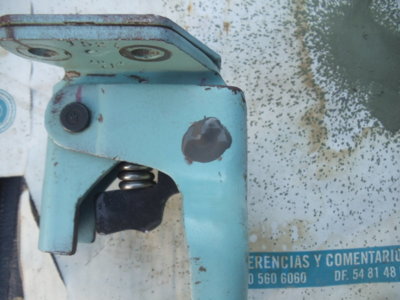
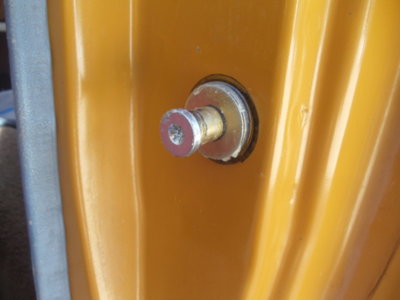
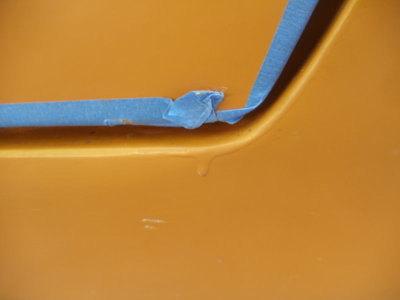
First thing I need to tackle on the passenger door (which fits fine already) is push back the pin in the lower hinge that holds the roller for the spring (it is working its way out the bottom: see fotos). Of course, it will not tap back in on its own. I dread removing the lower hinge on the perfect operating door, but what choice do I have but tape up the edges, mark the hinge, and yank it off? Might do a tack weld or tack weld a washer so it can't repeat this "falling out."

I know, the hinges are a funky color, please keep comments to yourself.
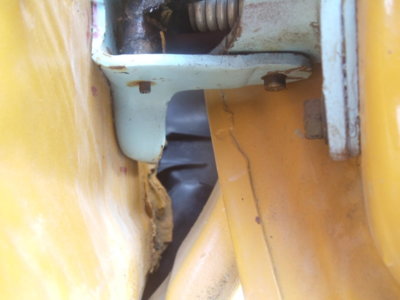
DSC05785.JPG DSC05786.JPG
 
Last edited:
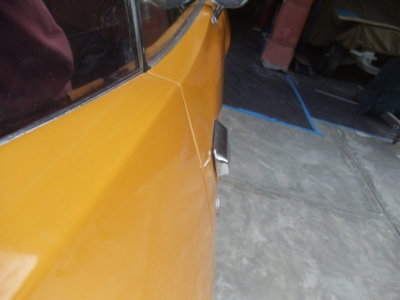
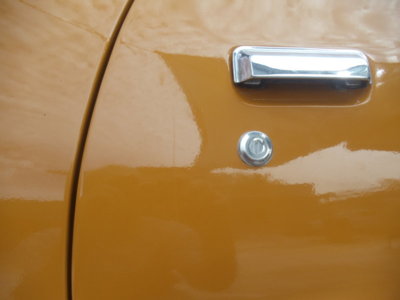
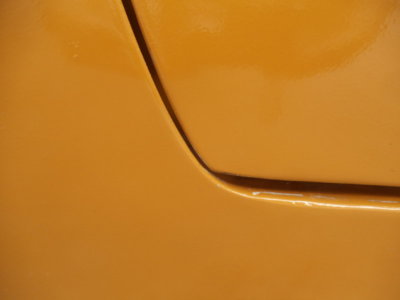
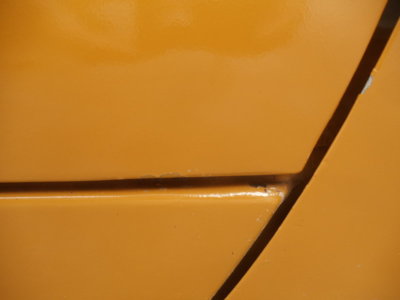
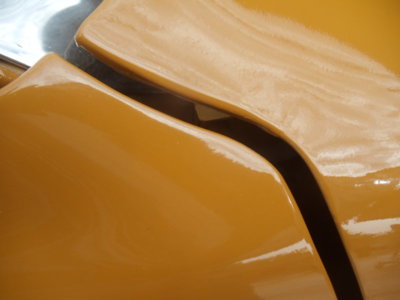
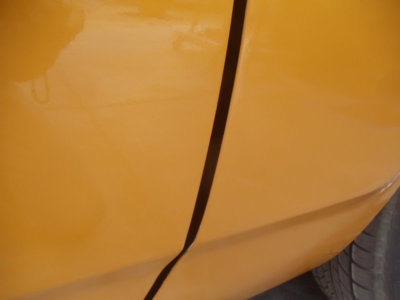
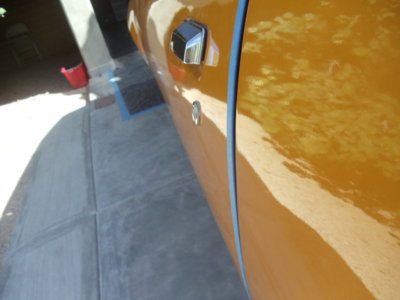
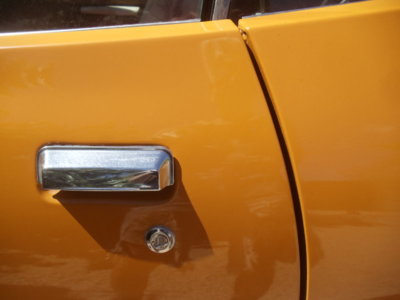
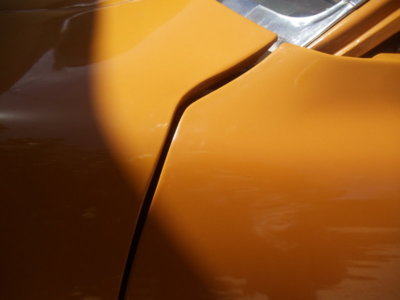
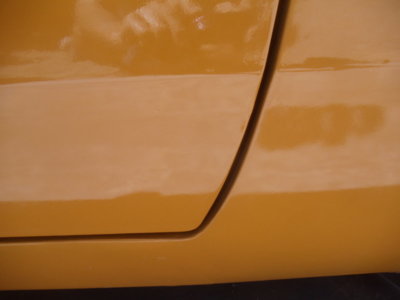
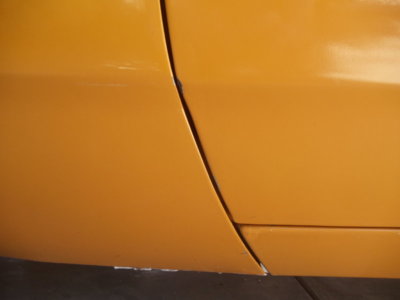
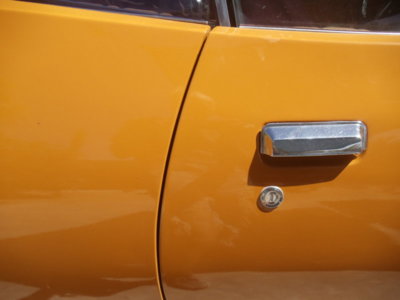
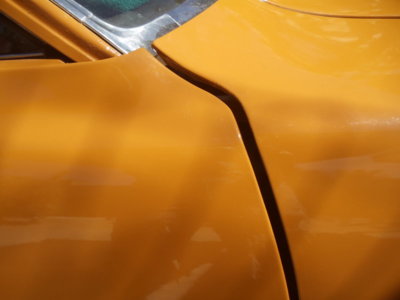
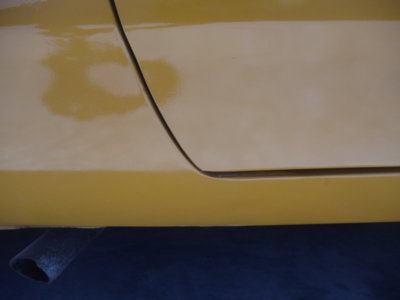
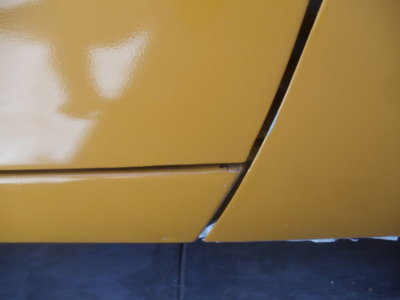
Here are the gaps on the passenger door before I remove the lower hinge. The quarter panel alignment is near perfect with the door as well as the door latch function (see first four fotos), but front fender is out of line (see last two fotos):

DSC05775.JPG DSC05770.JPG DSC05771.JPG DSC05772.JPG DSC05773.JPG DSC05774.JPG
 
Pull the fender well splash shield, close the door, leave it closed, pull the lower hinge off through the wheel well, don’t attempt to open the door with the hinge removed. Service the hinge as necessary, reinstall through the wheel well. Minimal adjustment will be required for final alignment.
 
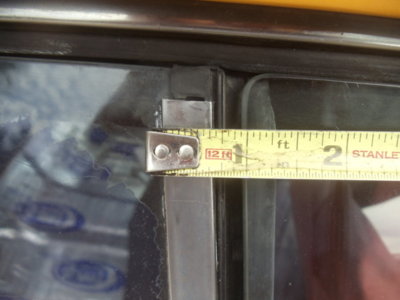
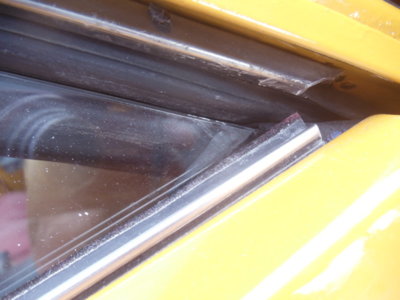
Since the passenger door/quarter alignment looked good, yesterday I adjusted the passenger side windows to close the gaps between them. I needed to move the quarter window forward to meet up with the door window, and move the door window back to meet the quarter window.

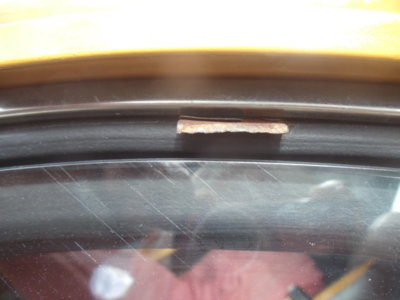
I also adjusted the window up-stops after replacing the little rubber bumpers supplied by Detriot Muscle Technologies. The door window stops fit just like the factory ones, just slipped them on and over. The factory rear quarter window rubber stops were different, so I had to glue the door window stops on so they would not fall off (don't know if DMT sells both types, I only purchased the door window style)

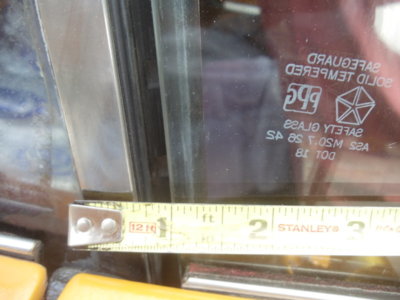
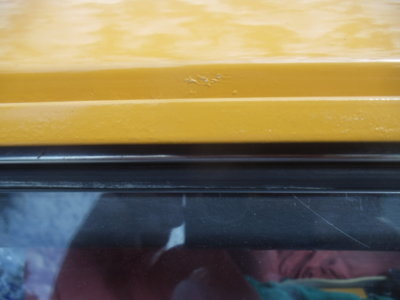
The windows appear to be pressing on the rubber seals satisfactorily with a vertical gap of about 3/16" and pretty much zero horizontal gaps (where the top of the windows contact the upper rubber parts). Using a hand spray bottle, I squirted some soapy water around the window edges that contact the rubber parts and did not observe any moisture gravitating inside.

Don't ask me how I accomplished this window adjustment, just trial and error. Once I moved things the wrong way, I figured out how to move things the right way.

DSC05760.JPG DSC05762.JPG DSC05765.JPG DSC05793.JPG DSC05791.JPG
 
Last edited:
Update #1: Thanks to 72RoadrunnerGTX advice, I removed the passenger door lower hinge and took it to local welder where we got the pin inserted. The welder advised me not to weld the pin area because the metallurgy of the pin itself might be weakened from the heat. He suggested cleaning the area and sealing the ends with JB weld. That is the new plan.

Welder said that roller pin is not supposed to fall out and asked me what I did to provoke it. I told him all I ever did was open and close the door. I probably re-used the pin during the hinge rebuild, don't remember if those pins were in the rebuild kit or not. If they were in the kit, probably defective in some way like all the junk they sell us these days.

DSC05806.JPG DSC05807.JPG
 
Last edited:
Yeah it's a lot of fun putting a car back together including the windows, trim, etc. You get a real appreciation of what's not perfect, and to remember some of which never was...
 
Patience and :drinks: and you will be rewarded. Like Ron H said above, 'You get a real Appreciation.......'
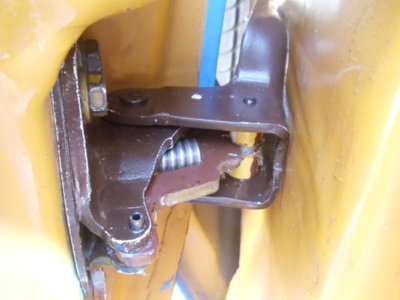
 
The roller and detent plate pivot pins are basically simple split roll pins. IMO, they are under quite a bit more stress than they can handle over time, especially if not kept well lubricated. On these cars it is very common to find these pins gone and the detent hardware missing. On the last set of hinges I rebuilt, I used slightly longer pins and flared the ends out a little to be sure they stayed put. Keep these parts well lubricated.
 
Tomorrow I will remove the lower driver's side hinge, which has a different problem. The little detent arm is not parallel to the ground any longer, it is tilted up like at a 45 degree angle and is no longer centered on the roll pin. A little weird if you ask me and something that needs further investigation.
 
When I rebuilt mine, the supplied roll pin didnt fit well and the rollers that install on them were sloppy. I got it to stay in the bore, but after opening the door a few times they were already bent. I ended up oversizing the bore and finding a hardened steel nail that fit the roller very closely. Not quite the same material, but with the head on the nail it wont ever fall out.
 
Definitely a problem with the rebuild kits, inferior parts that don't address the factory failed parts and no instructions to boot. I now have serious doubts about my JB weld alternative, so I will consider it an experiment while I keep an eye on the hinge like a hawk.
 
Installed a set of AMD reproduction hinges (520-1471-S) on a ’72 not long ago. From appearances, it’s rare case where the repro looks to be better built than the originals as far as the detent parts. No roll pins, stout looking solid pivot pins with heads. Good overall fit.

Reminder, nothing about these cars were ever designed to last more than 4 or 5 years or so.
 
Well that appears to be good news with AMD, I may just purchase a set for "spares". I am sure I will need them before too much longer. I would have thought my "72 (not being a daily driver) my hinge rebuild would have lasted close to forever-wrong.

I wonder why the cheap-*** roll pins to begin with? No secret to engineers those doors are both long and heavy.
 
Update on passenger door lower hinge:
The passenger door problem has been resolved (for now). The roller pin back in with JB pasted on both ends, roller lubricated and spinning like a champ, door alignment the same as before (satisfactory), detent arm holding, and no funky creaking or snapping sounds.

Back at the door handle end of the door, the door catch/latch is centered on the body pin that it closes around. However, let me add that I might have seen somewhere the mention that factory recommened the door be lifted up ever so slightly as it is pushed closed (not positive about that statement). If its true, I dont agree with that with respect to our older vehicles because as soon as the door sags even a tiny bit, it will be rubbing and more difficult to latch already.

Now, how did I get the door re-adjusted aftet removing the lower hinge? Follow along:
#1 I never even touched the upper door hinge, it stayed put and tight the entire time.
#2 I used a marker to outline the position of the lower hinge before removal. As 72roadrunnerGTX advised, the door was closed and hinge removed through wheel well. (Would have been easier if I had removed the tire).
#3 Replaced the hinge and snugged the six bolts (two of the bolts were slightly shorter than the other four-could of been a previous owner swap-all six bots had the captive washers and the pointy tips).
#4 Peeked thru the wheel well to see how the hinge lined up with the marks. Could not see that well, so took some digital fotos of the side that bolts to the door. The fotos showed the hinge too low.
#5 Loosened all 6 bolts and raised hinge back up. Snugged the bolts again.
#6 Opened and closed door for the first time, it was sagging. I left the door slightly ajar and placed jack stand, small rectangular piece of plywood, and foam under door below the door handle. Kept 4 wooden paint stir sticks handy to use for shims.
#7 Loosened the hinge bolts (3) where it bolts to the body (left the other 3 bolts tight). Went back and lifted the door back at the latch end and sqeezed a stir stick in the foam to keep the higher door setting while I returned to tighten the 3 bolts. I could not see the reference marks for the body bolts because the fender was in the way, so just guessing at this point.
#8 Removed the jack stand and stuff. Opened and closed the door to find now it was too high at the latch. Replaced the jack stand and foam, but no shim. Tried to keep the door supported in its slightly too high position, keeping in mind I would use the weight of the door and the cushioning of the foam to my advantage during the next (and final) adjustment.
#9 Returned to loosen the bolts (very slowly and carefully this time), little by little until the weight of the door itself caused the door to drop ever so slightly. Immeadiately tightened the 3 bolts again that attach the lower hinge to the body.
#10 Removed the foam, plywood, and jack stand. Opened and closed the door to find perfect alignment. Makes me wonder what role the upper door hinge has, just to stabilize the top corner of the door?
 
Last edited:
They make a cheap "help" kit for older ford truck hinges. Used them on my 73 Challenger about 15 years ago. The pins and bushings are a little bigger than stock and with a little drilling, work like new.
 
Update on driver's side lower door hinge.

a) Disassembled, sandblasted, primed and painted an old spare hinge I had on hand
b) Re-used the roller from the spare hinge because I found the old factory roller has tighter tolerances with respect to the roll pin than the rebuild kit replacement
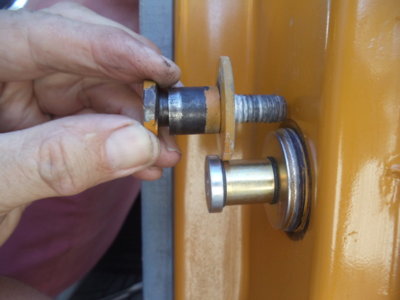
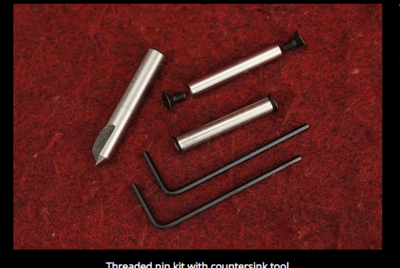
c) After the roll pin was installed for securing the roller, I tapped both ends of the roll pin for 4-40 screws (black oxide in foto) as suggested in post #15 above. Secured the roll pin screws on both ends using locktite 243. Did not drill a hole for threading the tap because the roll pin was hollow and ready to go for that procedure
d) Fabricated new detent leg (or is it an arm?) using 1/4" steel which is thicker/stronger than the factory piece and much thicker than the formerly used rebuild piece. I am referring to that "S" shaped piece that is red oxide color in the foto. Had to clearance it just a tad to slide it into place and secured it with a short (but oversize length) roll pin
e) Drilled out the large pin holes and installed two bronze bushings
f) Oiled things up with 30 wt motor oil and used window slide wax on the roller and "S" shaped leg
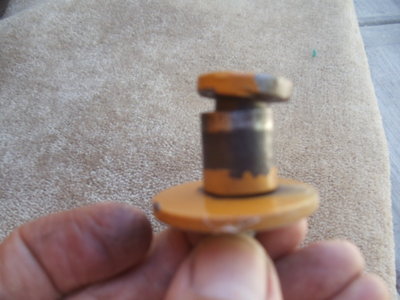
g) Installed the hinge on the still closed door and made a few adjustments to line up the gaps. After everything was adjusted, the door acted like it was only half-way latched when it was completely closed. The door close pin had lost its inner rubber lining and was loose and sloppy. Replaced it with a NOS door latch pin and that took care of the problem (see fotos). Is there anything on this vehicle that I can re-use as is? I don't think so!

DSC06031.JPG DSC06026.JPG DSC06027.JPG DSC06030.JPG DSC06035.JPG DSC06033.JPG
 
Last edited:
Now that my door hinge detents and door latches are working perfectly, and doors open and close like new, but 0I find the door to front fender alignment not looking so good. The reality is that these '71-'72 Plymouth BBody front fenders have very little to offer in the way of alignment adjustment because of the hood serving double duty as the cowl and the curvy nature of the sheet metal.

With a local car show this weekend, I just did the best I could for now. I believe the final adjustment will entail moving the doors (driver's door back a bit and passenger door forward a bit). The doors on these models need to be set up near perfect for things to look decent in the end and working alone I don't dare try moving the doors around any more for now.
 
Auto Transport Service
Back
Top