cudak888
Well-Known Member
They are brown and I think that at least 2 of them are in good shape (the other two are faded, according to my son). PM me your mailing address and I'll send you a pair.
Thank you! I'll PM my address now.
-Kurt
They are brown and I think that at least 2 of them are in good shape (the other two are faded, according to my son). PM me your mailing address and I'll send you a pair.
 1968 vs 1966 B-body upper seat springs by cudak888, on Flickr
 1968 vs 1966 B-body upper seat springs by cudak888, on Flickr
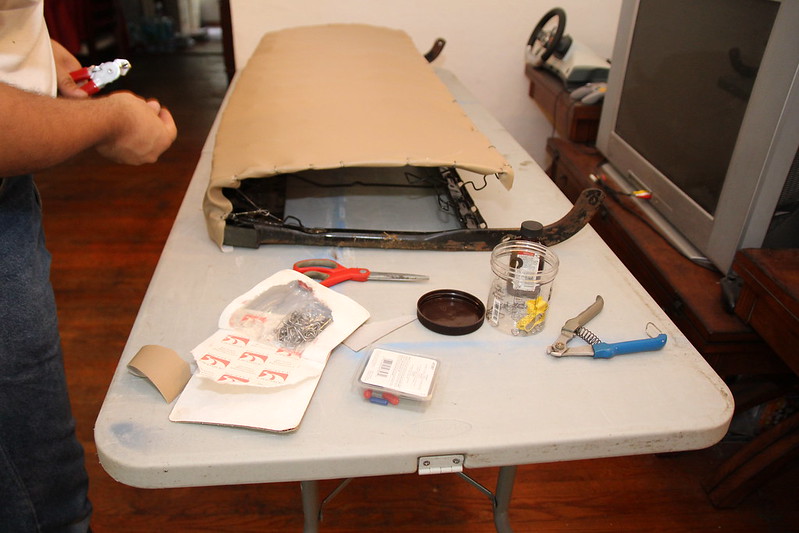 1968 Satellite - front seat back repair by cudak888, on Flickr
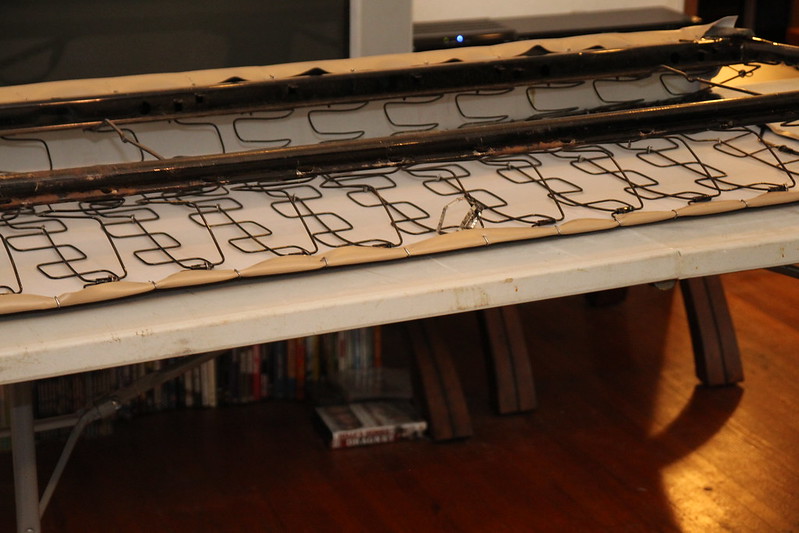 1968 Satellite - front seat back repair by cudak888, on Flickr
 '68 Satellite - front seat back repair by cudak888, on Flickr
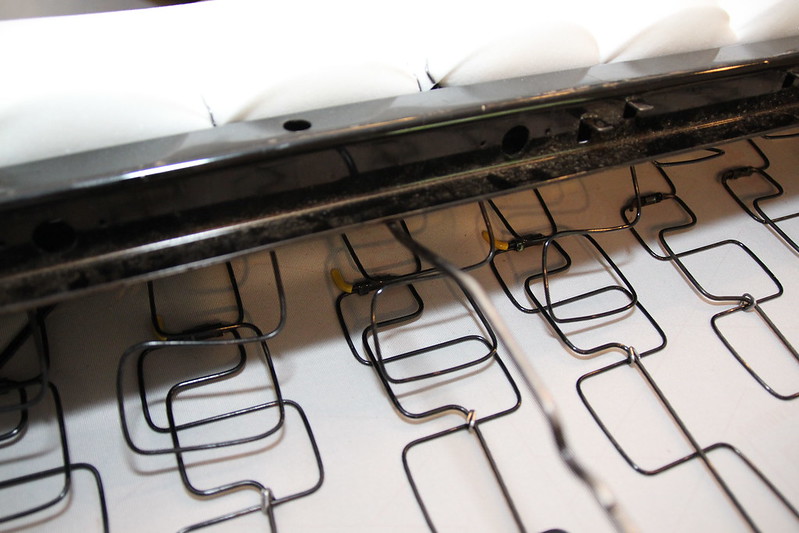 '68 Satellite - front seat back repair by cudak888, on Flickr
 '68 Satellite - front seat back repair by cudak888, on Flickr
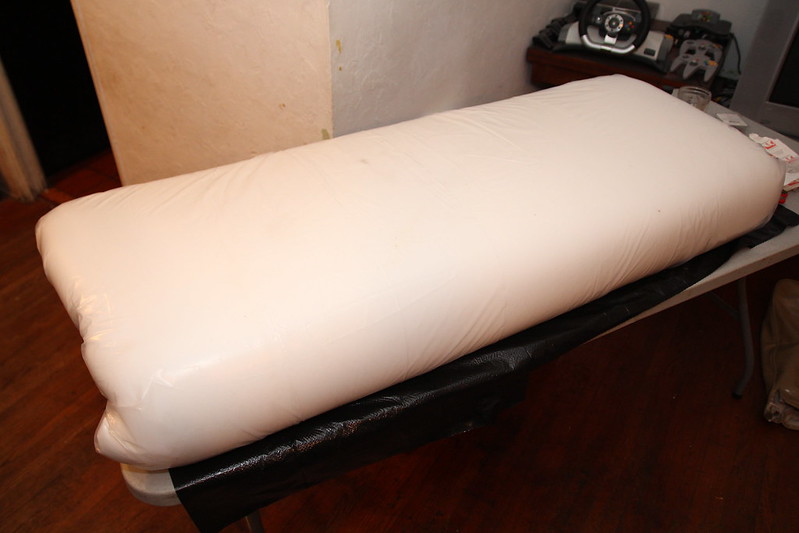 1968 Satellite - front seat back repair by cudak888, on Flickr
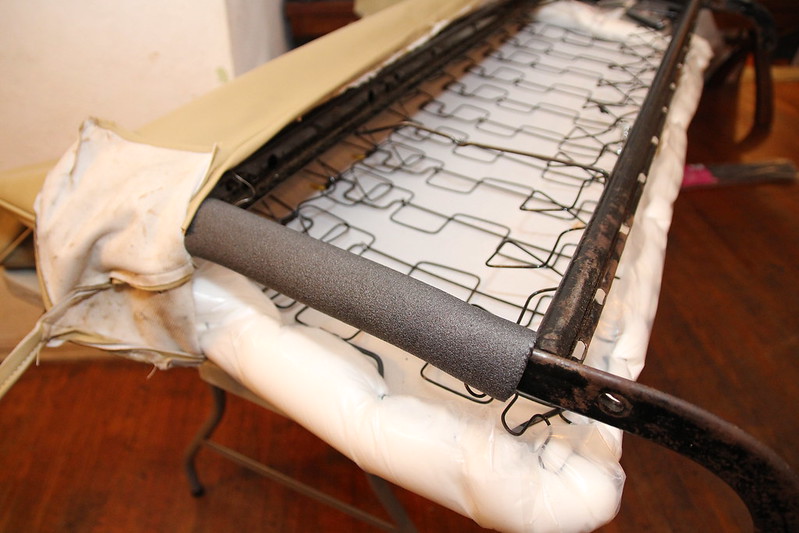 1968 Satellite - front seat back repair by cudak888, on Flickr
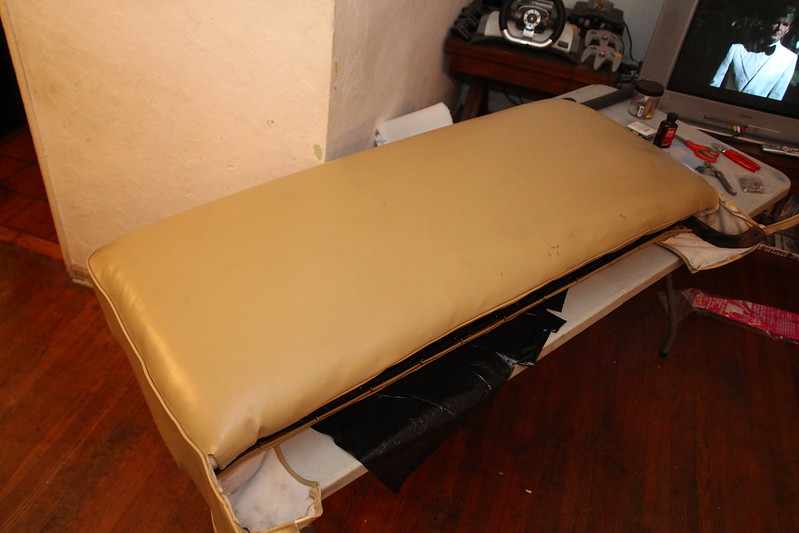 '68 Satellite - front seat back repair by cudak888, on Flickr
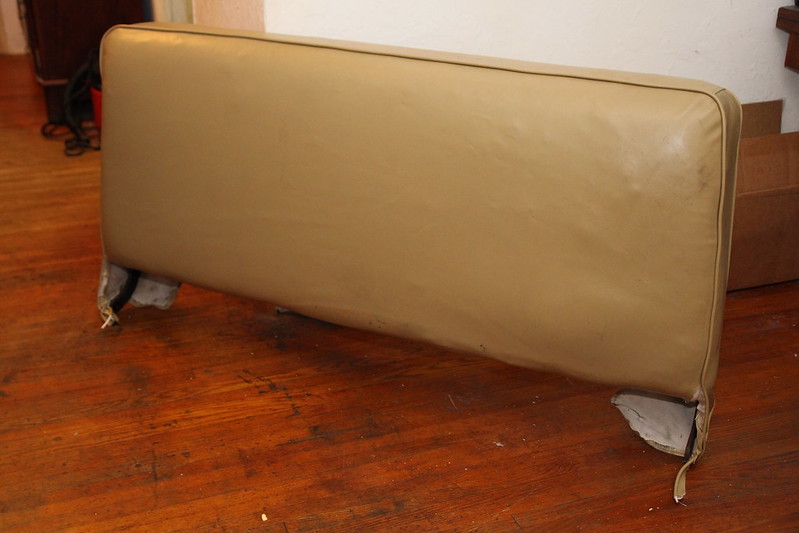 '68 Satellite - front seat back repair by cudak888, on Flickr
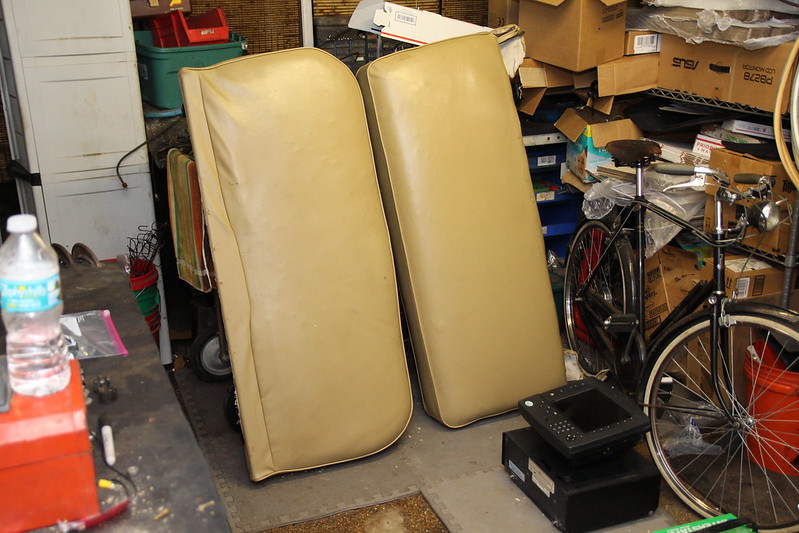 '68 Satellite - front seat back repair by cudak888, on Flickr
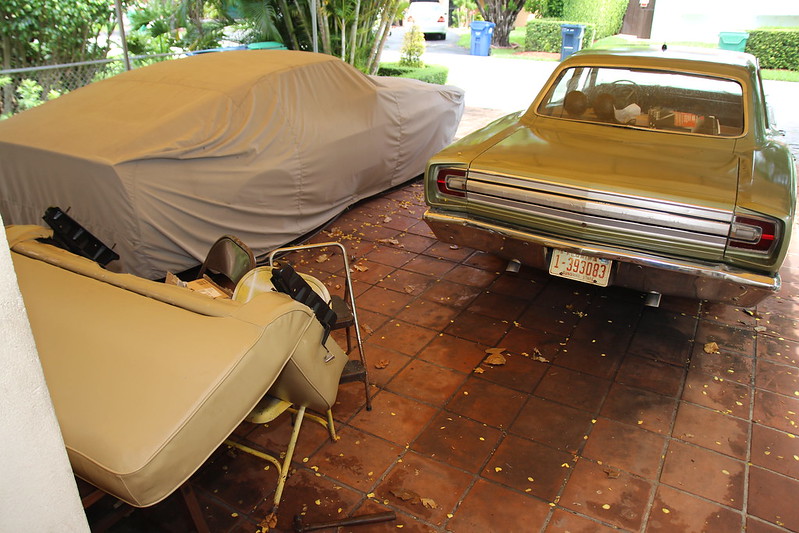 '68 Satellite bench reinstalled by cudak888, on Flickr
 '68 Satellite bench reinstalled by cudak888, on Flickr
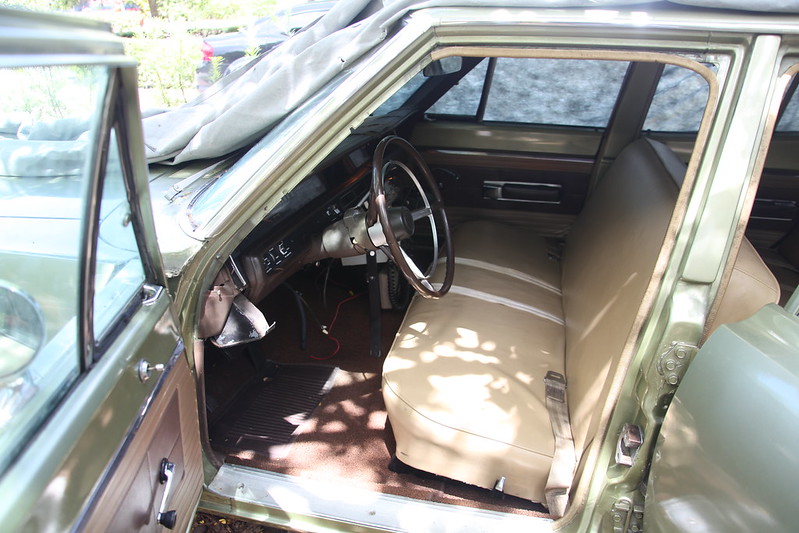 '68 Satellite bench reinstalled by cudak888, on Flickr
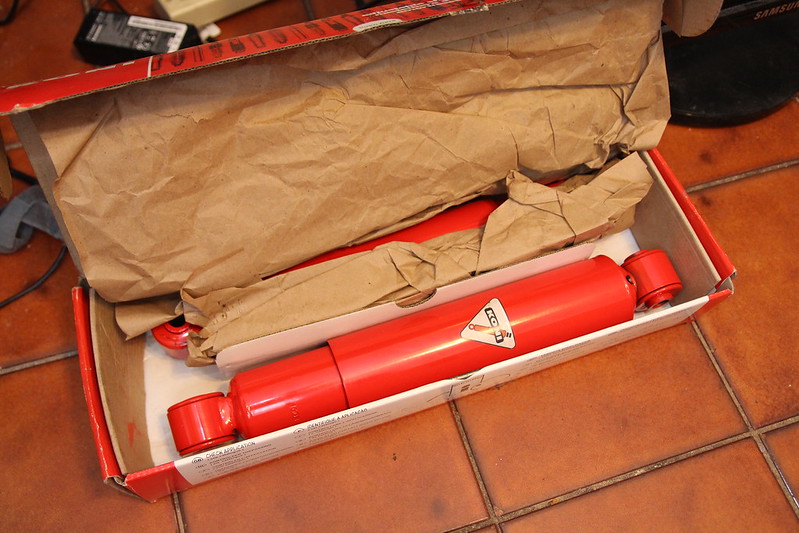 Koni shocks for the rear by cudak888, on Flickr
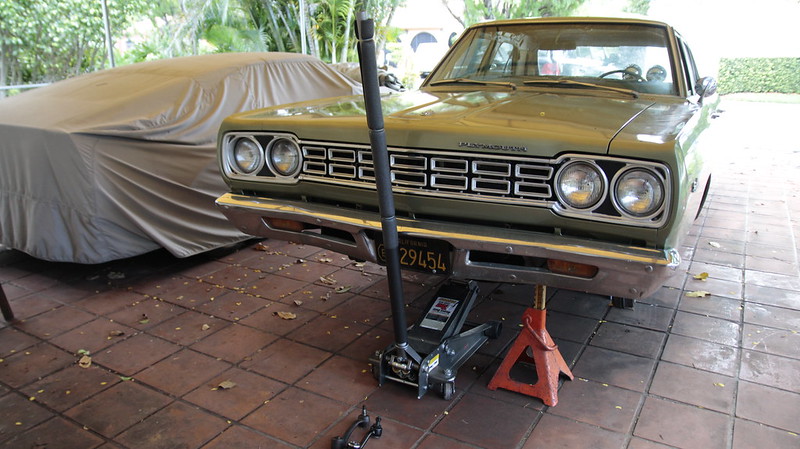 Flying Satellite by cudak888, on Flickr
 007 by cudak888, on Flickr
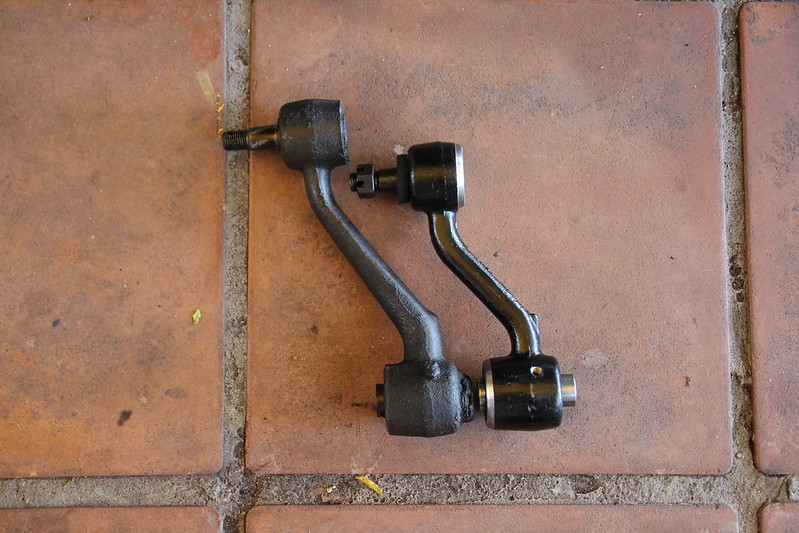 Fast ratio Mopar C-Body idler arm vs. standard B/E idler arm by cudak888, on Flickr
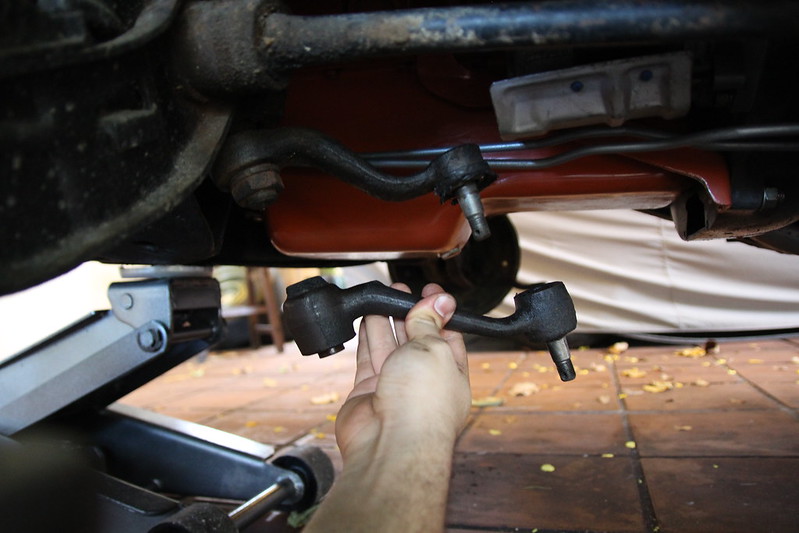 Mopar B/E-body standard-ratio pitman arm vs. fast ratio/C-body idler arm by cudak888, on Flickr
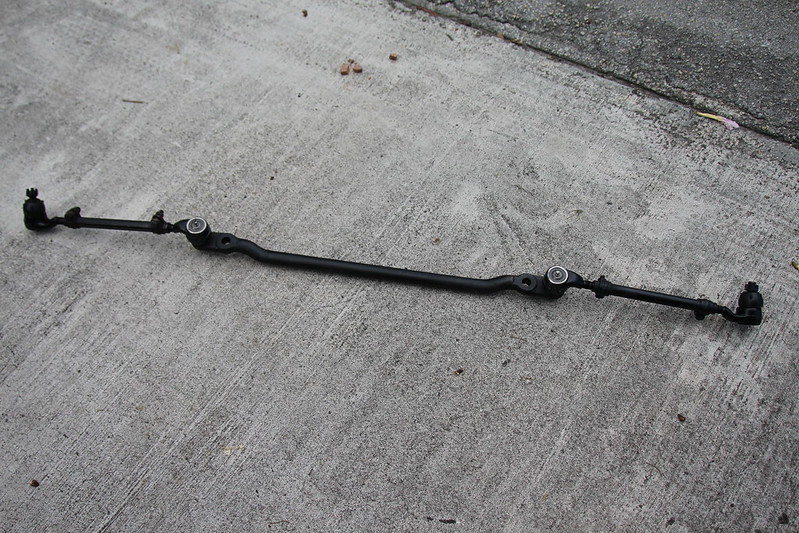 Mopar B-body steering assembly by cudak888, on Flickr
Car is looking great! I never had a car with good interior until recently, and it makes them so much nicer to cruise!
And that's just for the baggage, lol!


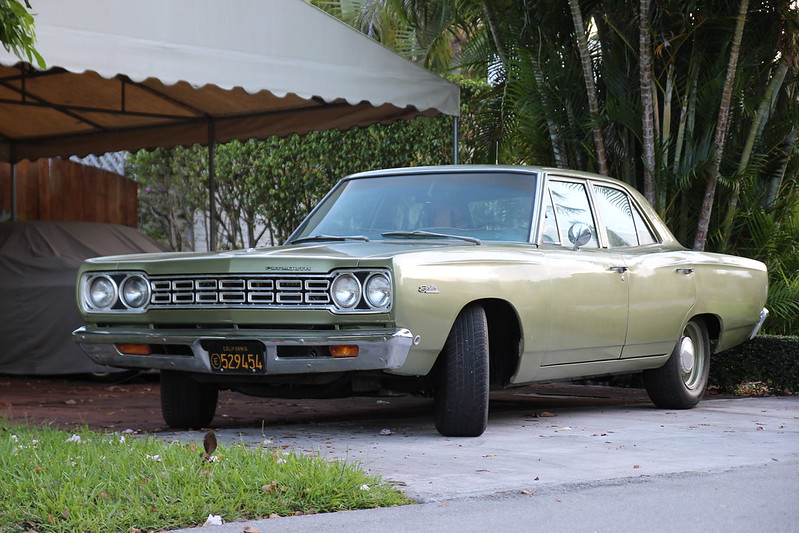 1968 Plymouth Belvedere (Satellite) unmarked police cruiser by cudak888, on Flickr
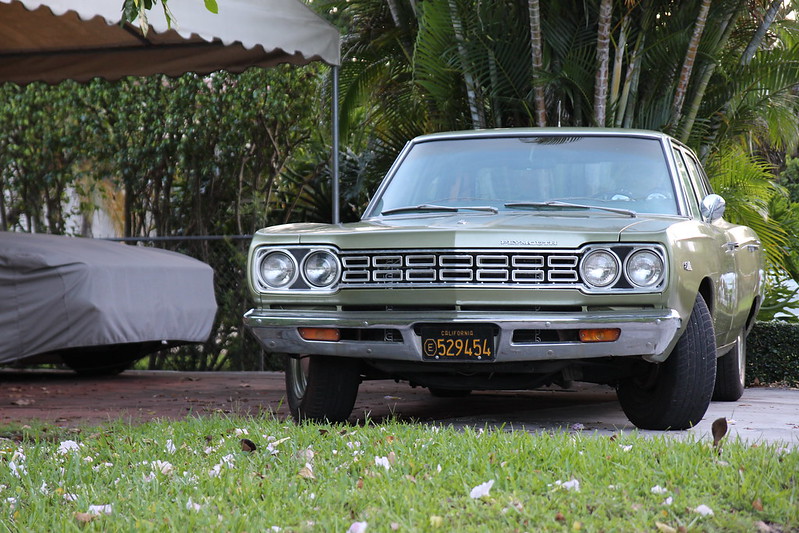 1968 Plymouth Belvedere (Satellite) unmarked police cruiser by cudak888, on Flickr
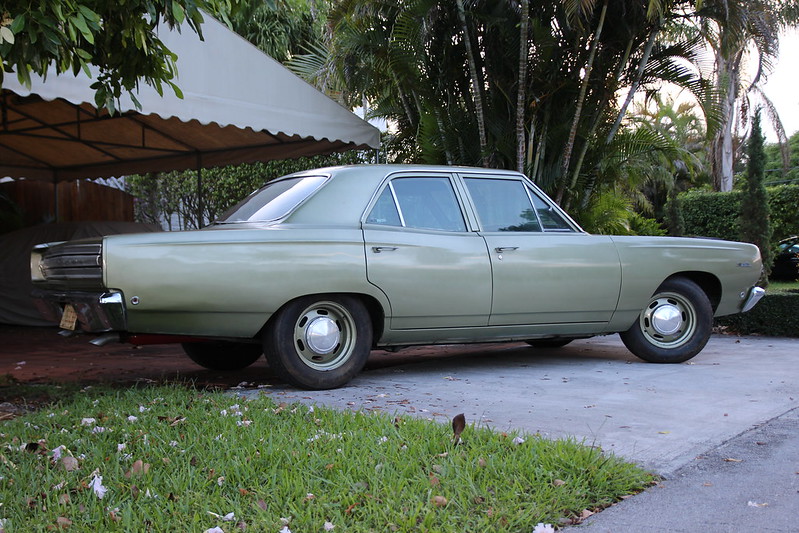 1968 Plymouth Belvedere (Satellite) unmarked police cruiser by cudak888, on Flickr
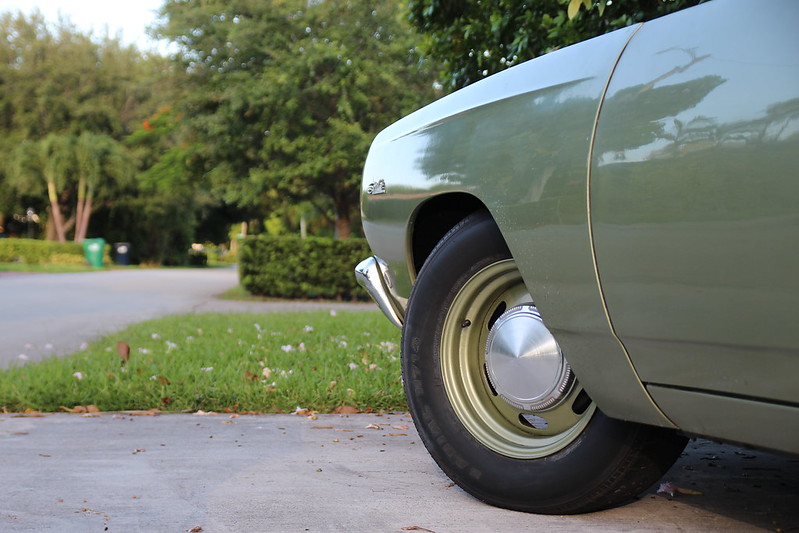 1968 Plymouth Belvedere (Satellite) unmarked police cruiser by cudak888, on Flickr
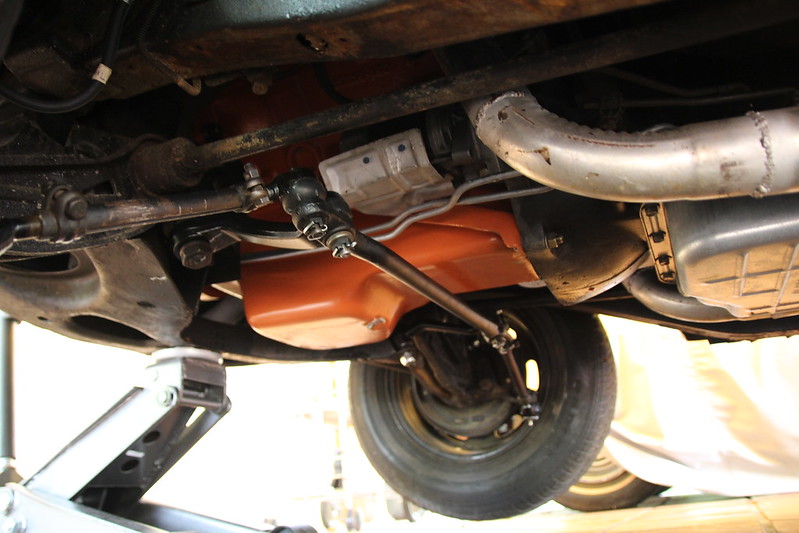 1968 Plymouth Satellite B-body w/fast ratio pitman + idler by cudak888, on Flickr
What about B van or 80's truck stuff? Maybe Lmc truck?


")

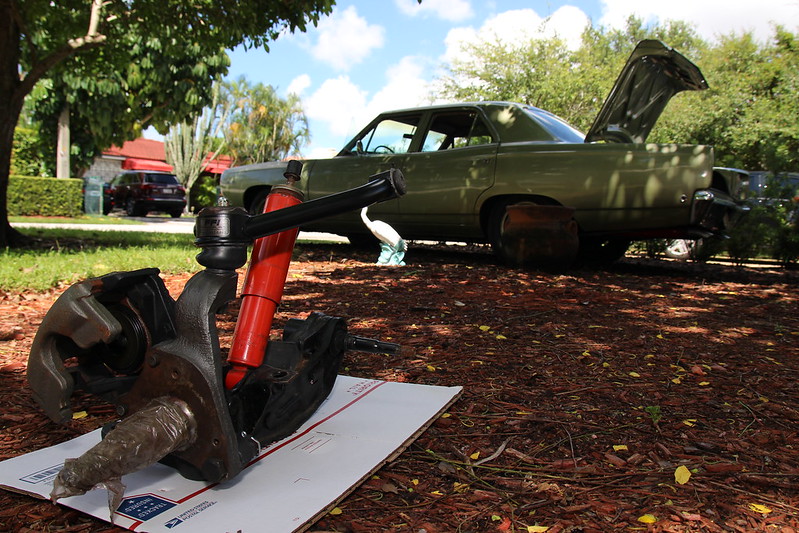 Mopar 11.75" B-Body Disc Brake Conversion (F/M/J spindle) by cudak888, on Flickr
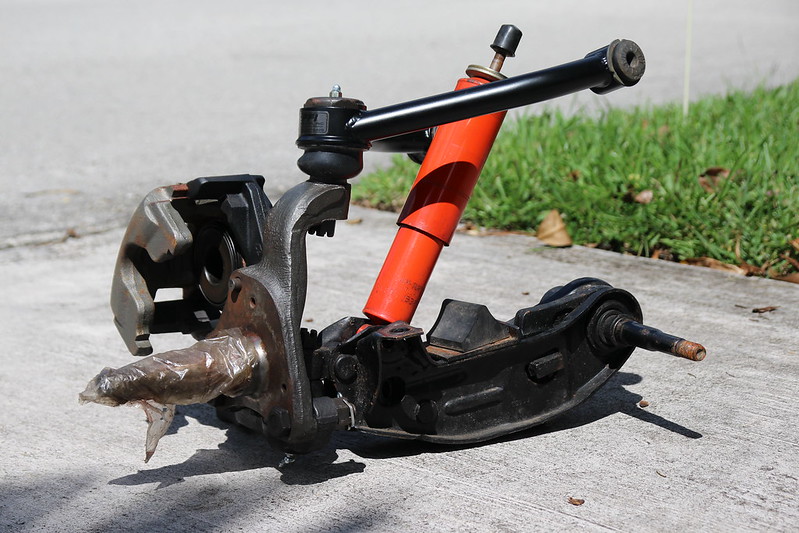 Mopar 11.75" B-Body Disc Brake Conversion (F/M/J spindle) by cudak888, on Flickr
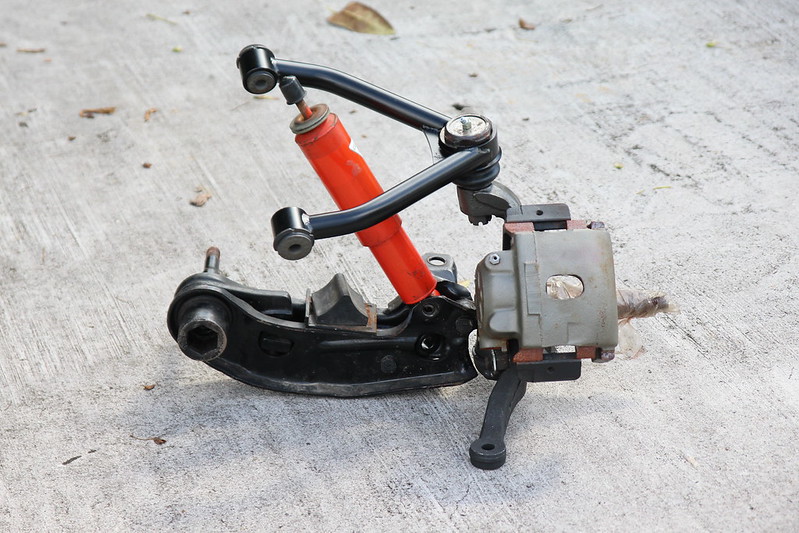 Mopar 11.75" B-Body Disc Brake Conversion (F/M/J spindle) by cudak888, on Flickr
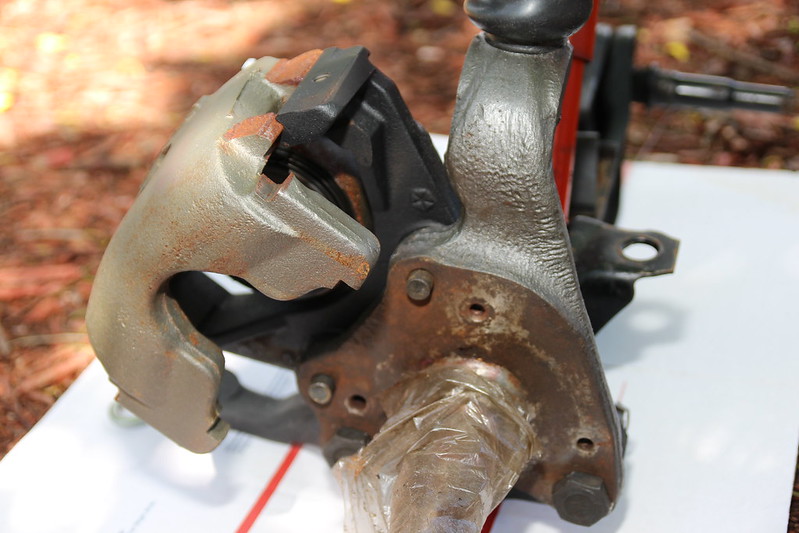 Mopar 11.75" B-Body Disc Brake Conversion (F/M/J spindle) by cudak888, on Flickr
 Mopar B-body (1968) fuel tank connections by cudak888, on Flickr

 1968 Satellite by cudak888, on Flickr
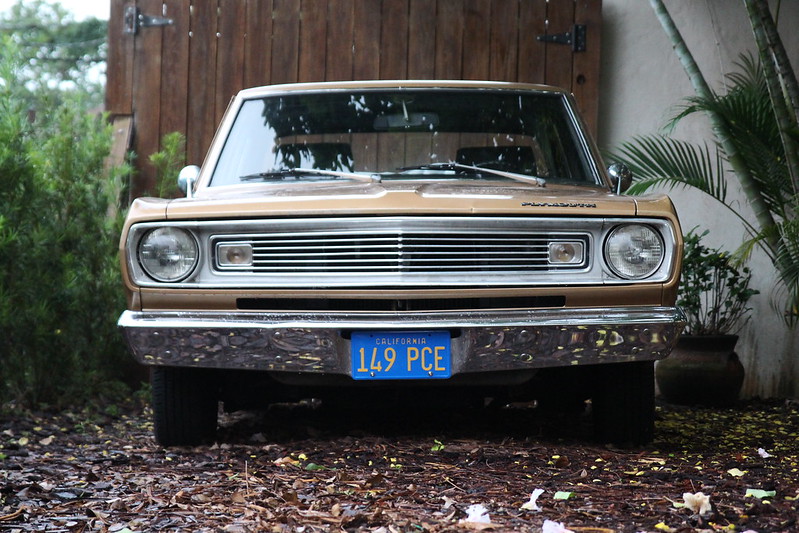 149 PCE by cudak888, on Flickr


