Some of that is incorrect. Paint on the plug holes don't mean squat, other than gumming up the threads. What DOES mean squat is if you painted the engine with the plugs in place, and got paint all over the insulators
You cannot test a coil by the method indicated. It WILL make a spark, but NOT a good spark WHY is that? Because these types of ignition systems MUST HAVE a condenser (capacitor) in the circuit. If you for example, remove the condenser from a points type distributor, the car generally will not start. The Mopar ignitions basically have a condenser built into the box.
Most of the rest of the suggestions were good.
It is IMPORTANT to understand that you CAN NOT check Mopar spark with a stock ignition using a ballast resistor by jumpering the starter relay. YOU MUST check the spark by using the KEY to crank the engine.
WHY is this? Because on Mopars, Unlike Ferds/ GM, the resistor bypass circuit is IN THE ignition switch. This means that with the key in "run" and by jumpering the relay, you are NOT getting much voltage to the ignition system.
Put your meter on the coil+ terminal and crank the engine USING THE KEY. You should get VERY close to battery voltage and NOT below 10.5 volts.
Certainly scrape, clean, the ECU mounting, and use star lock washers for a better ground.
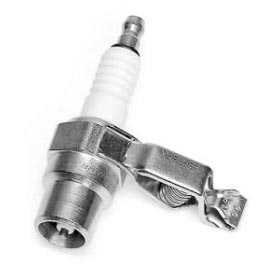
Have you checked the spark by eliminating the coil wire? When I have "suspect" spark, I ALWAYS use a grounded probe to see the spark at the coil tower. With only one person, you will have to rig a gap. You can buy spark testers, or make one from a good plug---just open up the ground electrode wide, or break it off. You can use a clip, wire, etc, to "rig" this up to the lip on the cowling, so you can see it looking under the hood, etc
Like this:
In addition, disconnect all connectors, the distributor, the ballast, the ECU. Examine them for corrosion, and "work" them in / out to scrub them clean and to "feel" for a tight connection
Check the distributor reluctor gap, using a brass .008" (that's inches, not mm) feeler gauge. Last time I needed one, O'Reallys had them
Put your meter on low AC volts, hook the probes to the distributor connector, and crank the engine. The distributor pickup should generate about 1V AC when cranking
Check the ballast resistor. These vary a little over the years, but the coil side is around .5 (1/2) ohm, the ECU side (if it's 4 terminal) is about 5
You can also try running a temporary clip lead to the coil+ terminal and see if this improves spark. Do not leave this connected for too long and watch the coil for overheating.