• When you click on links to various merchants on this site and make a purchase, this can result in this site earning a commission. Affiliate programs and affiliations include, but are not limited to, the eBay Partner Network.

Body work begins!!!

mopardog

Well-Known Member
Local time
11:13 AM
Joined
Jun 10, 2014
Messages
86
Reaction score
8
Location
River Valley Arkansas
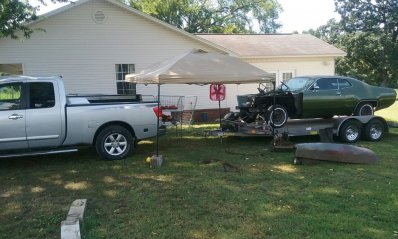
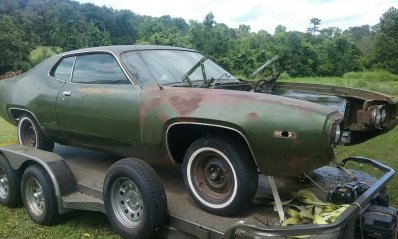
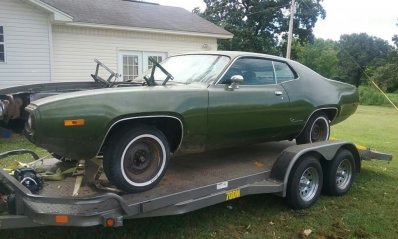
It has been a very long time since I posted any progress on my '72 Road Runner project so here's the short version.....evidently it takes a total of 2 years for a shop to rebuild front suspension....but ANYWAY, water under bridge. Suspension front and rear is complete to include rear sway bar mount. I have collected all needed sheet metal to replace and I will be setting forth to get that under way. Originally just needed to replace lower core support but thanks to me being hot and in a hurry and not taking wife's advice to make sure car was secure to trailer before moving across the yard.....I have to replace upper core support as well since car tried to "unass" itself from trailer during said move across yard. GRRRR! My bad, oh well it really needed replaced...just keep telling myself that. Once that "little" task is accomplished, I will cut out the passenger rocker and replace it, then using lower 1/4 patch, remove rusted out area and set in new metal. After that, the car is pretty much ready for some time at the body shop where they can massage said fixed areas and take out shopping cart dents, the put her back in her glorious GF-7 Green. I am trying to get her to this point before fall (hunting season). Wish me luck.
 
Congrats. Why didn't you do the front suspension yourself? BTW-post pictures when you can
 
Will post pics. And yeah, I could have done it myself as far as suspension....but at the time, a friend who had a business in town and who had worked on all our family's daily drivers including mine, was needing the business. So I thought I would help out. Lesson learned again....never let friendship get in way of business. Like I said though, water under bridge it's done, moving on and yes, I am going to be doing a lot of work myself as much as possible from here on out.
 
20160805_133135_resized.jpg
20160805_091940_resized.jpg 20160805_091956_resized.jpg 20160805_092823_resized.jpg 20160805_105904_resized.jpg 20160805_105909_resized.jpg 20160805_133129_resized.jpg
 
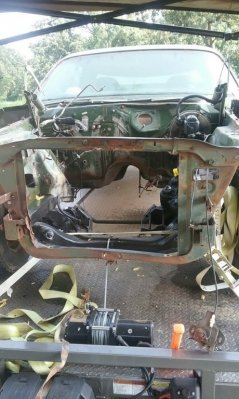
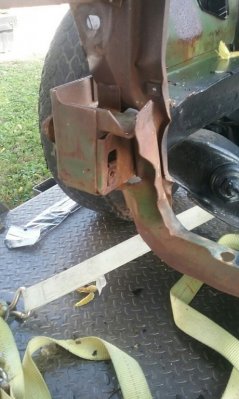
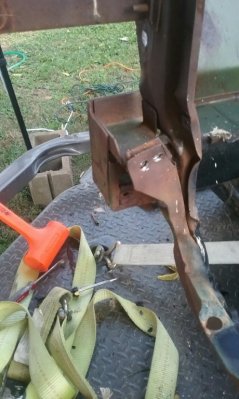
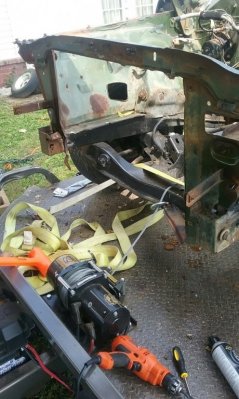
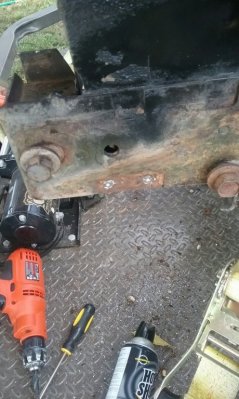
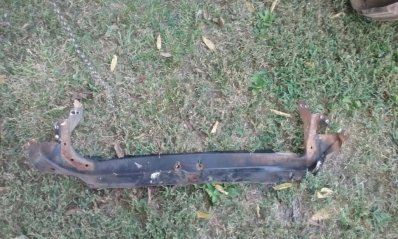
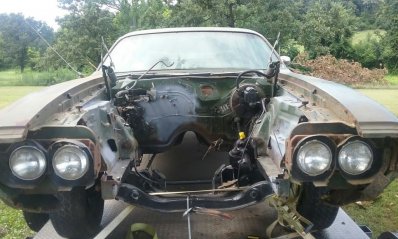
As promised, here are the pics of my progress this past weekend on the removal of the core support. It went a lot easier than I was planning, but that's not to say it was a total piece of cake. A lot of spot weld cutting and banging went on before I figured the easiest way for me to do it. I am glad that it is done now. I left the car on my trailer when I did this b\c it was sitting at a good height in order to work without stooping over the whole time. I did have to straighten the inner fenders a little because the passenger side got pulled in a little when car nearly came off trailer earlier this year. No biggie, lined it up and checked fit with fender, and got her back to where she was ( was only pulled in by half an inch roughly). This weekend, I will more than likely tackle the rear quarter patch prep and possibly the rocker. I am getting things ready so when I hopefully bribe a friend of mine to do the welding, it will be ready to go.
 
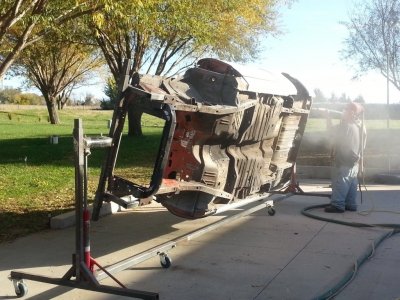
Here are a couple of pics with the fenders back on (checking for straightness) and my "mobile shop" setup. Don't laugh too hard at my ingenuity. lol

20160805_141745_resized.jpg 20160806_145759_resized.jpg 20160806_145813_resized.jpg 20160806_145825_resized.jpg
 
If you look at the passenger side pic (#2) you can just make out the pushed in passenger rocker. Kinda funny, my first 72 had the exact same damage on the driver's side. must of run over some Chevy parts or something. haha I am thinking (and would love feedback), instead of replacing entire rocker (which I have full replacement) maybe measuring and cutting out only the spot that is damaged and fixing it. Thinking cut right below line where rocker meets bottom of door down to spot welds, remove welds and patch accordingly. What do ya'll think?

Also, same mode of attack on lower passenger quarter, just remove rusted out spot and replace with new metal as opposed to replacing whole lower. Comments?

IMOP I wouldn't cut the rocker out and fab on a new piece. As much as I can tell from the picture, it don't look bad. I'd buy one of these and pull it out http://www.eastwood.com/deluxe-stud-welder-dent-pulling-system.html They or other companies also have a dent puller (?) to help be like leverage when pulling big dents out and might give you better control while pulling or can use a slide hammer.

Do you have pictures of the rust on the lower? Yea, I'd graph in a new piece in the area if need be but pictures will get a better idea of what you're dealing with. You can just cut enuf of the area out, and use a mirror of some sort to look behind and judge how much of a new piece will be needed. It's better to have more in there than not enuf good metal, don't kick yourself in the rear. That way, you can also treat and or put attention to whatever else is needed once you get it opened and a look behind the rust. MEASURE, MEASURE, MEASURE before cutting!
 
Last edited:
again good advice rrTor, I will snap a couple of better pics of rocker and 1\4 tonight and get them posted.
 
Good and it would be documentation of your car as well. You can never go wrong with pictures of the tear down. In my case, I lost some of mine because of a ex wife A.K.A "Cruella-de-Ville"

One more thing about the rear quarter. I've seen projects where didn't seem like much but ended up going up to the body line to put new metal in
 
Depending on your intentions of the car and since you're this far in the tear down of it, you might as well go all the way tearing it down and go back. here's mine

20131109_152559.jpg
 
I like your setup there. I thought about a complete tear down but, when I found her, I was fairly careful and crawled all over her from top to bottom, inside and out. The only "floor pan" issues is a small hole the size of your pinky nail in trunk. The rest of floors are shiny green on inside and looks to be a dealer (?) undercoat on the underside of car. If it weren't for the headliner stitches being popped, the interior is a solid driver in quality. The only body issues are the ones I have posted. My first 72 taught me what to look out for. I am lucky to have her and for her to be in as good of shape as she is.
 
No progress over the past two weeks due to mother nature. (rain) Hope to get back to work on her this weekend and try to get lower quarter removed. Checked the integrity of the sheet metal surrounding rust out area, looking like I might have to cut to just below the bodyline. Once old metal is removed, I have someone lined up to weld in all new metal. Getting excited! At this rate, and if Ma Mopar is kind to me, the bird will be ready for final body work and paint by this fall.
 
"Measure twice, cut once"
 
Auto Transport Service
Back
Top