• When you click on links to various merchants on this site and make a purchase, this can result in this site earning a commission. Affiliate programs and affiliations include, but are not limited to, the eBay Partner Network.

Project Unicorn - 1968 Charger Restoration

Twalker

Well-Known Member
Local time
1:39 PM
Joined
Jul 15, 2017
Messages
330
Reaction score
603
Location
Nova Scotia, Canada
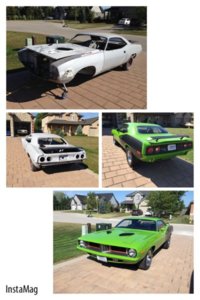
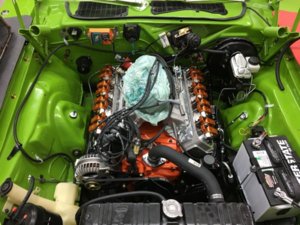
Hello all! And so it begins, again ... another build. I had just finished restoring a 1973 'cuda last year, a 3 year project, and planned to drive it for many years while I saved up for my unicorn ... a 1968 Charger. However, while showing it at the Atlantic Nationals this year in Moncton, New Brunswick I sold the car. It wasn't for sale, but someone wanted to buy it and as they say, everything is for sale for the right price. You can see the build before / after of the 'cuda here - http://www.cuda-challenger.com/cc/index.php?topic=96878.0 I enjoy building these cars as much as I like driving them.

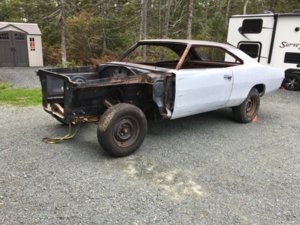
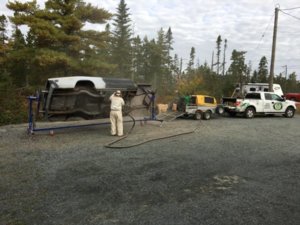
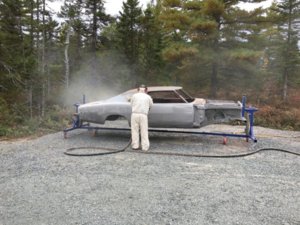
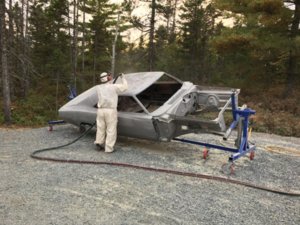
With cash in hand my search began for a 1968 Charger project and after looking at many, I decided to move on the one you see in the photos below. It's a project! It's mostly complete, but needs a lot of work ... and that's the way I like them ... the satisfaction that comes from bringing one of these cars back. I do all the work myself - from metal work, body work, paint, mechanical, motor and drivetrain. I do outsource a couple things - like media blasting.

This is a hobby for me ... my work profession is IT related. I fit in time between work and my young family. I look forward to all your support and expertise as I restore this Charger - I will have lots of questions!

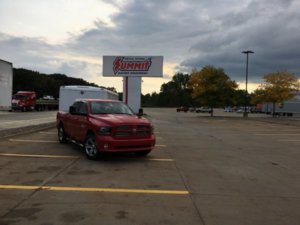
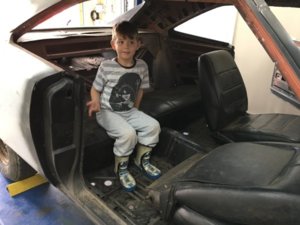
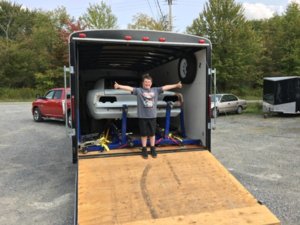
In September, I hooked up the trailer and my oldest son and I went on a 3000 mile road trip from Halifax Nova Scotia to Pennsylvania to pick up the car. We weren't far from Summit Racing in Ohio so had to stop in there! Sure wish I had one closer to me.

Here are before and after of the cuda as well.
20170916_191737233_iOS.jpg 20170916_214922836_iOS.jpg cuda3.jpg 20161010_142159359_iOS.jpg
 
Last edited:
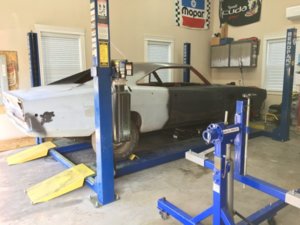
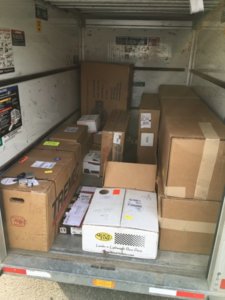
Some more photos of the car before restoration begins. the trailer is now the storage room for all the parts :)

20170924_185407902_iOS.jpg 20170923_155049709_iOS.jpg 20170930_160550063_iOS.jpg
 
That can't be a Charger from Pennsylvania, it still has a floor.


Congrats on the new project, looking forward to your progress.
 
Great choice of cars. The 68 Charger is my favorite. I am looking forward to watching this build. Looks like your getting right to it.
 
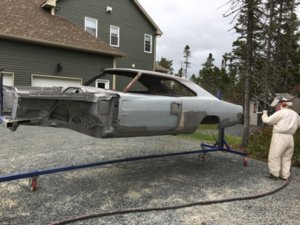
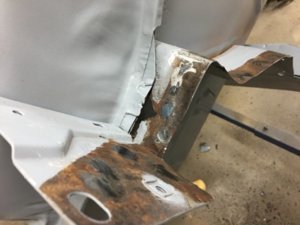
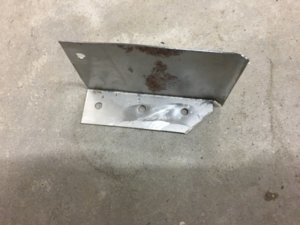
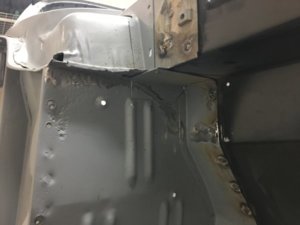
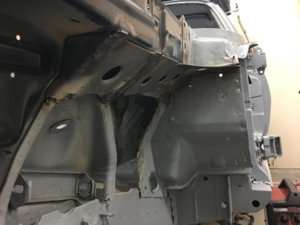
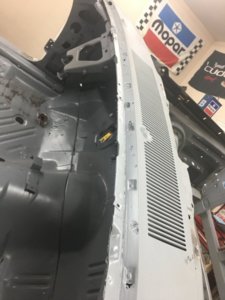
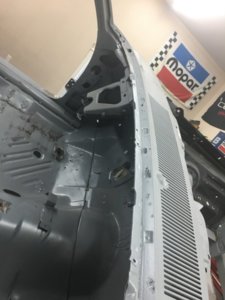
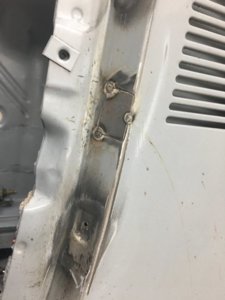
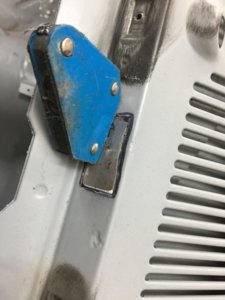
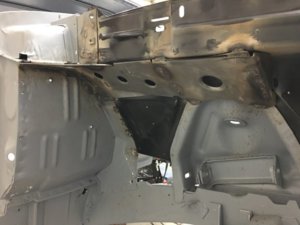
first step after the car was blasted and primed was to tackle the front inner fender well skirts. Some might have kept them but they were too far gone (see photos) and I want the engine bay to look great. So, for the price, in went new AMD replacements. As well, changed out the passenger side rad support bracket to convert from 22" to 26" RAD. used lots of bracing to make sure all went back where it should.


20171028_212055729_iOS.jpg
20171028_212112671_iOS.jpg
20171028_212117107_iOS.jpg
20171029_013836583_iOS.jpg
20171029_025833739_iOS.jpg
20171029_131145063_iOS.jpg
20171029_150742779_iOS.jpg
20171029_202927575_iOS.jpg
20171029_202939669_iOS.jpg
 
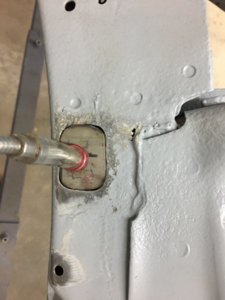
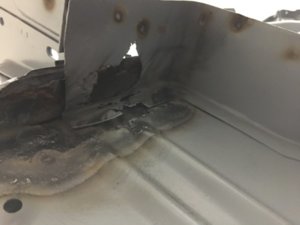
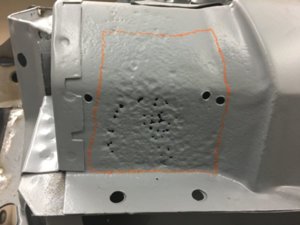
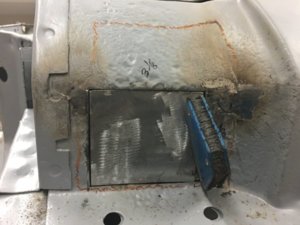
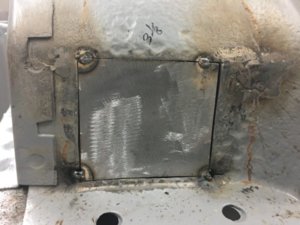
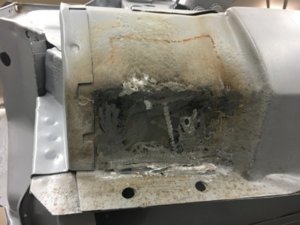
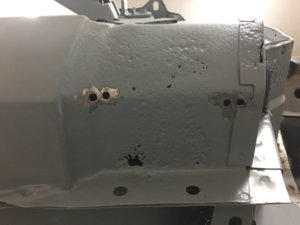
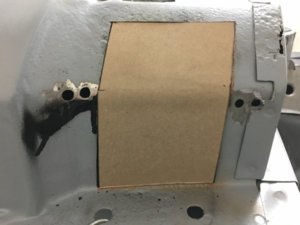
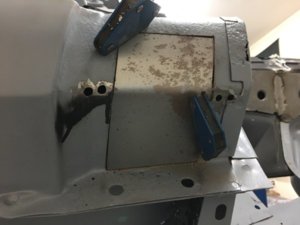
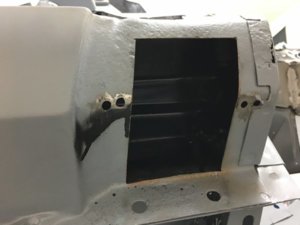
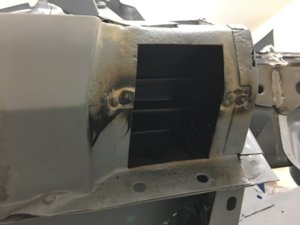
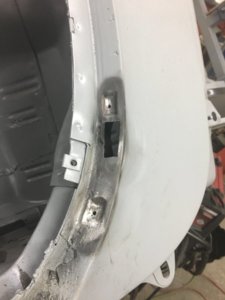
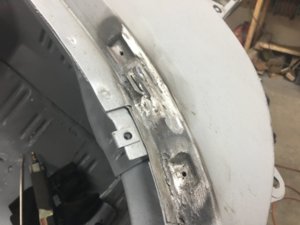
had to fix the same spot on the driver side frame rail as I did on the cuda - common spot because there is a internal frame brace there that stops debris and rust forms ... sigh.

once all the metal work is done I'll go back over the car and do body work - filler and sanding to finish off the look. The car will be painted body color underneath so all of this needs to look clean and smooth before paint.

20171029_225626069_iOS.jpg 20171029_231224205_iOS.jpg
 
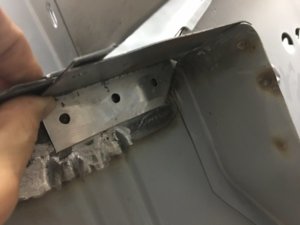
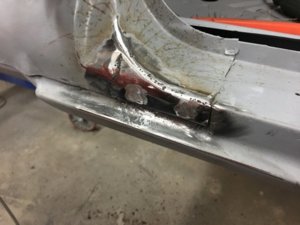
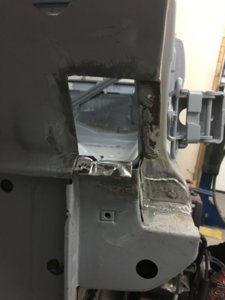
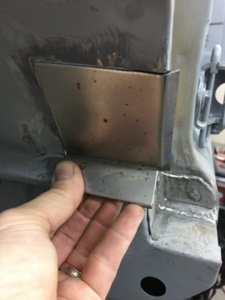
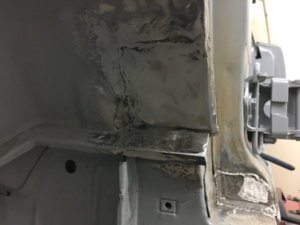
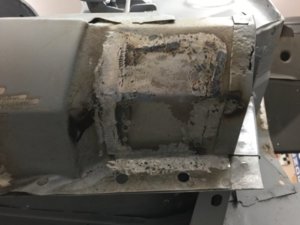
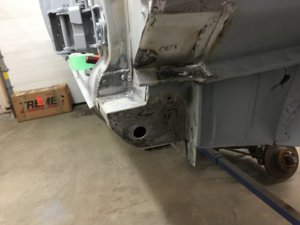
had some cancer to fix the lower inner fender well cowl bracket. this will get covered up by the US cartool braces soon

20171103_005910437_iOS.jpg 20171103_005915388_iOS.jpg 20171104_005556038_iOS.jpg 20171104_005606454_iOS.jpg 20171104_005624852_iOS.jpg 20171111_013931317_iOS.jpg
 
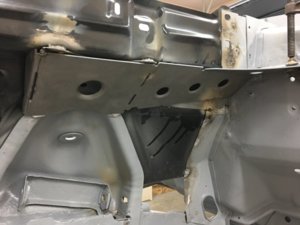
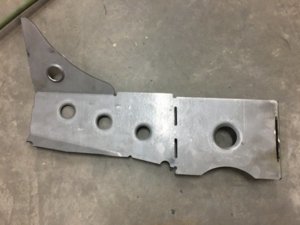
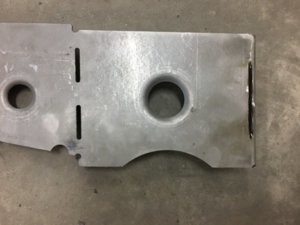
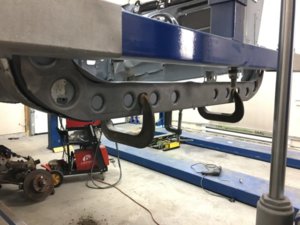
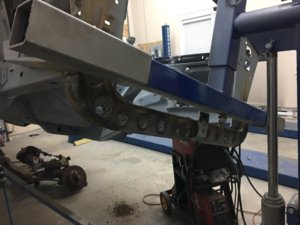
I ordered a stage 2 chassis stiffening kit from US Cartool. On goes the front pieces here. You'll notice I cut a new channel in each of the inner fender braces to line up with the forward part of the shock tower - I thought this would be way to ensure more strength and box it in. not sure why they don't do this when they make them. I think the intention is for these to be welded right along the inner fender well skirt - you will see I haven't yet.

20171110_012630370_iOS.jpg 20171110_110814445_iOS.jpg 20171111_013937091_iOS.jpg 20171111_013941399_iOS.jpg 20171111_133257919_iOS.jpg 20171111_134750144_iOS.jpg 20171111_204756054_iOS.jpg
 
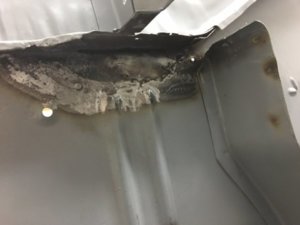
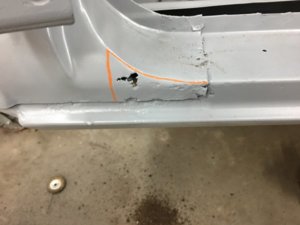
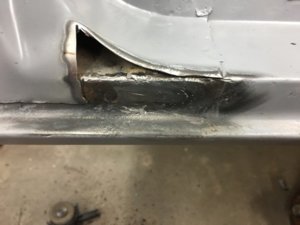
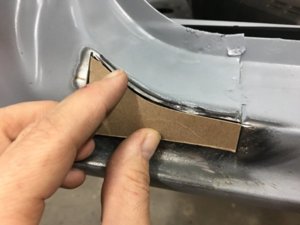
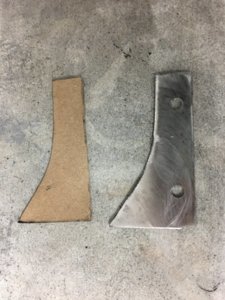
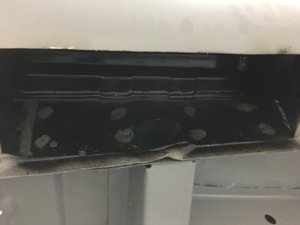
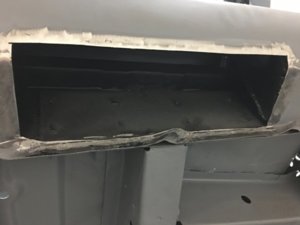
both sides of these areas were tender on the rockers. The rockers overall are "okay" and not worth replacing. However you'll see in the next updates they do require work. And I will have to rebuild the rear rockers behind the quarters.

Cutting these sections out of the rockers did allow me to inspect more closely, clean out debris, remove rust where I could, add strength with some additional bracing, and spray in undercoating to prevent further rust.

20171115_212634759_iOS.jpg 20171115_215514274_iOS.jpg 20171115_220104504_iOS.jpg 20171116_110329514_iOS.jpg
 
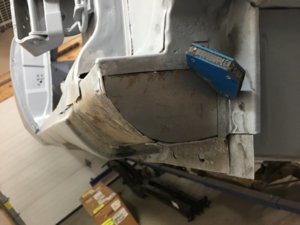
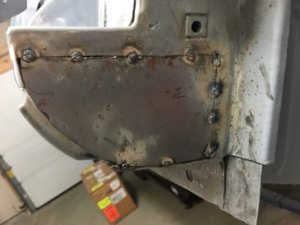
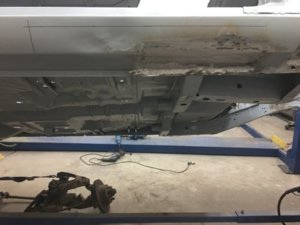
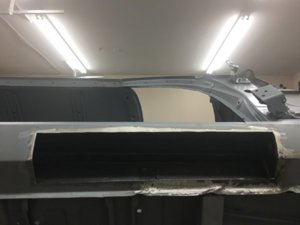
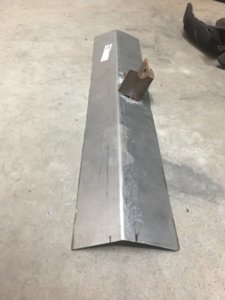
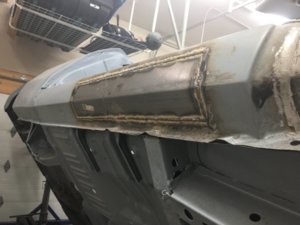
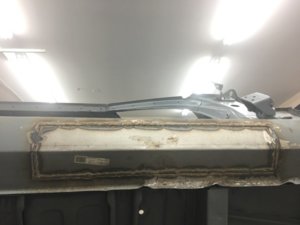
the passenger side rocker needed some additional love ... had a dent that was previously slathered with filler, some tender metal on the bottom, and rusted out hole through to the torsion bar cross member on the inner. I cut out a large section capturing the dent, soft metal and then put in a new large brace near the cross member to give that area strength. wire wheeled and wire brushed everywhere I could, then undercoated before I sealed up with the new piece below. now just a light spread of filler over this area and she'll be golden.

20171118_170859146_iOS - Copy.jpg 20171118_174215404_iOS.jpg 20171124_135921793_iOS.jpg 20171124_151018151_iOS - Copy.jpg 20171124_151028670_iOS - Copy.jpg 20171124_162631284_iOS - Copy.jpg 20171124_162644417_iOS.jpg
 
next up was the lower windshield channel - lots of issues here. Amazing the upper was perfect and solid - and it's a vinyl top car so, very strange that there was no rot up there. I had to rebuild part of the upper with cuda so that was pleasantly surprising. Here are just a few photos - you'll get the idea, I had a number of sections to cut out, pieces to make and weld in. But its all good now and ready to go.

20171124_175955894_iOS.jpg 20171124_175959196_iOS.jpg 20171124_180000797_iOS.jpg 20171124_192829892_iOS.jpg 20171124_195308876_iOS.jpg 20171210_130741230_iOS.jpg
 
Auto Transport Service
Back
Top