• When you click on links to various merchants on this site and make a purchase, this can result in this site earning a commission. Affiliate programs and affiliations include, but are not limited to, the eBay Partner Network.

68 Road Runner restoration

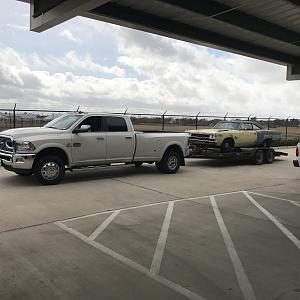
The newest toy to the collection

About this Mopar:

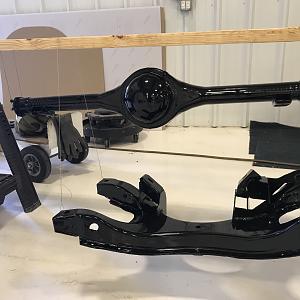
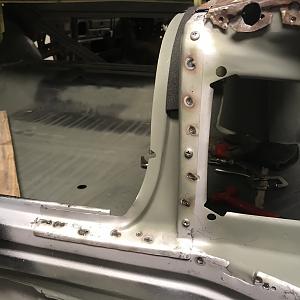
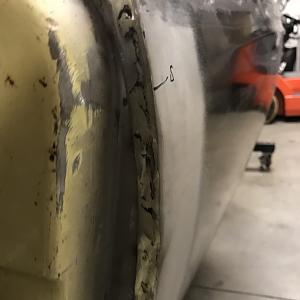
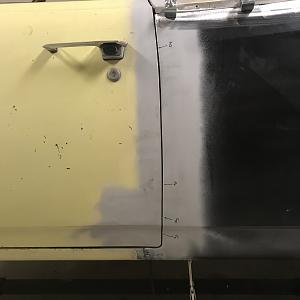
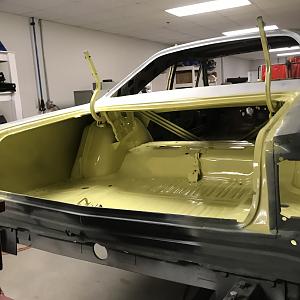
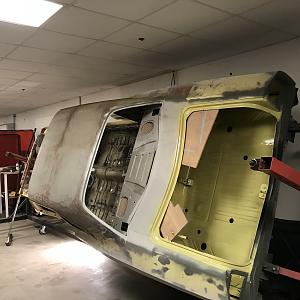
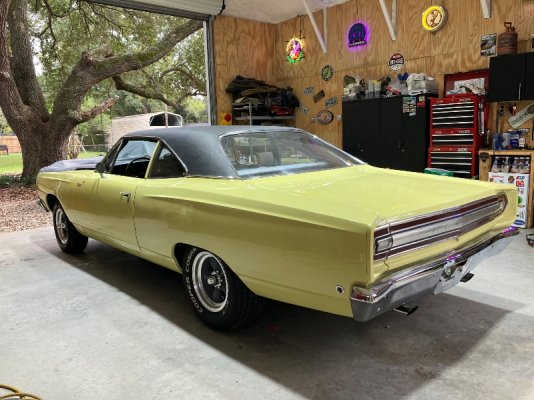
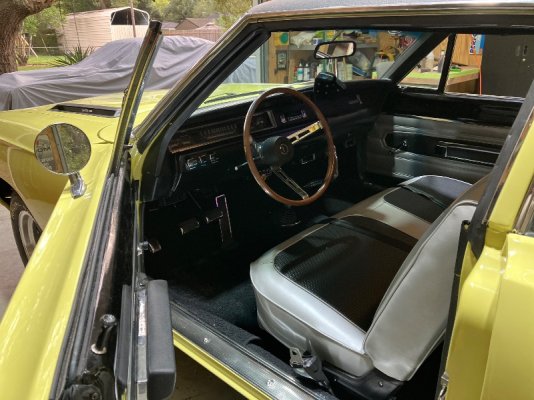
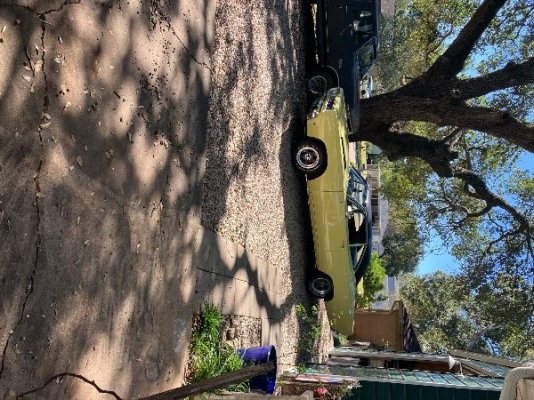
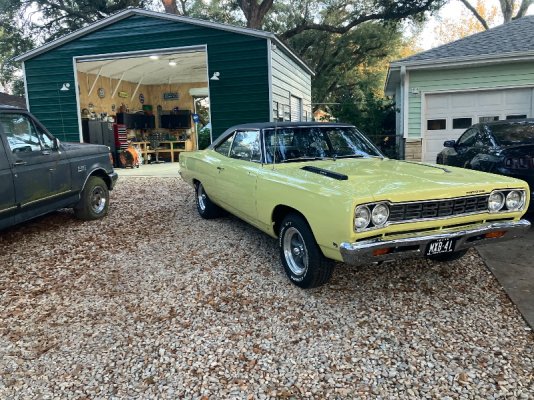
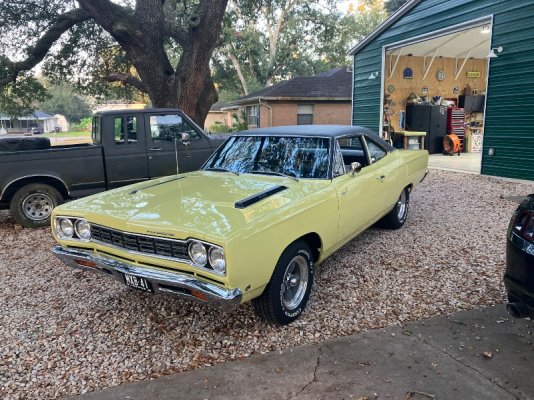
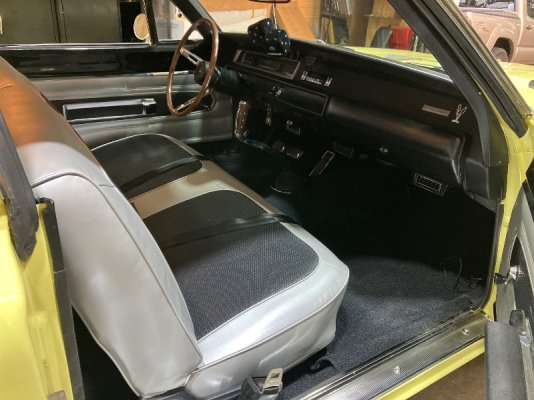
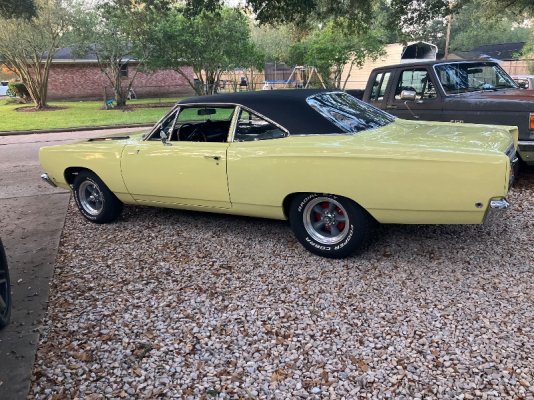
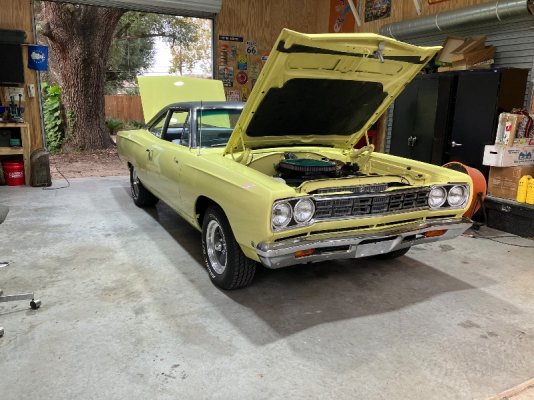
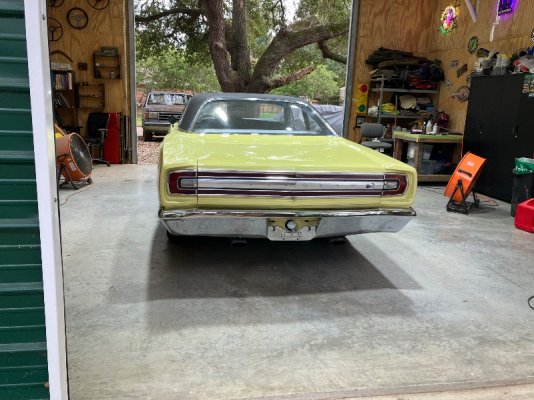
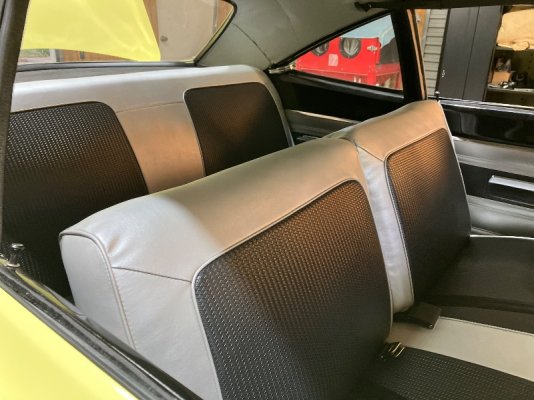
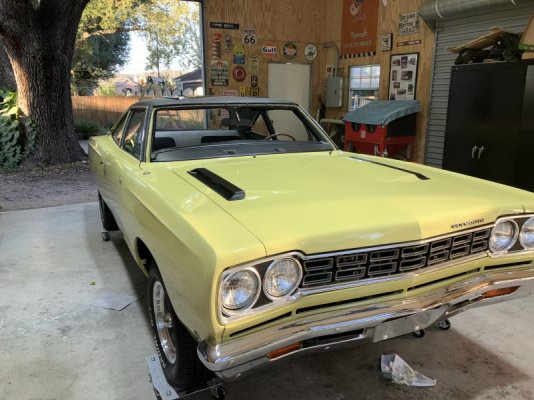
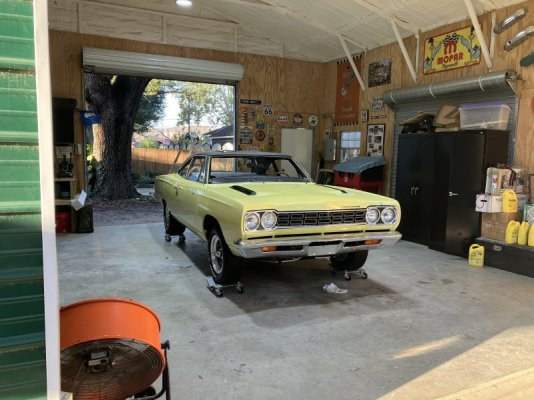
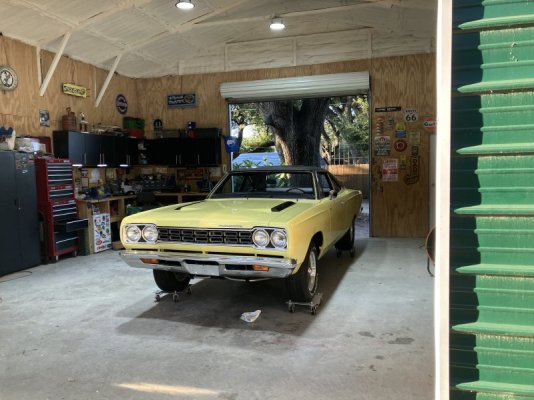
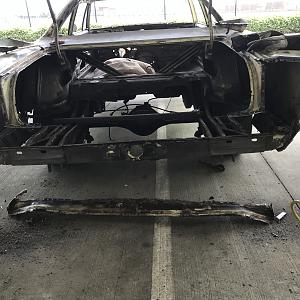
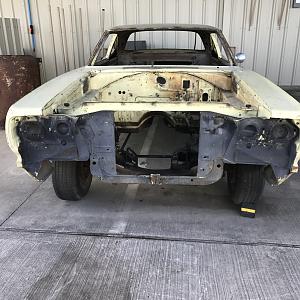
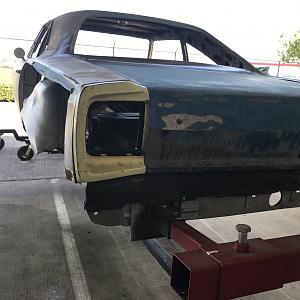
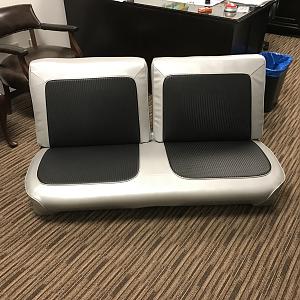
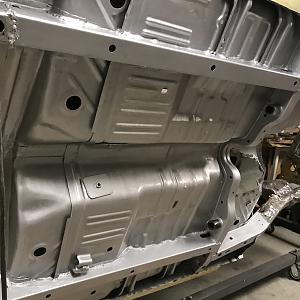
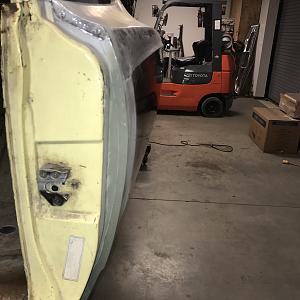
1968 Plymouth Road Runner Sunfire yellow, black vinyl top , silver and black interior. Was originally an automatic car but someone converted it to a 4 speed. I have replaced the trunk pan and have repaired the inner and outer wheelhouses. I am currently working on the quarter skin installations. Hope y’all enjoy the pictures. 19948152-B6CF-4486-9A18-A83DDE836C0B.jpegA09AA28B-4CBD-4FEE-89B0-B4980809DCFD.jpeg60815C19-20C2-4F46-B35D-34694D1780DF.jpeg1D90064F-B047-4D2C-983D-B8FA673F27E6.jpeg59148EB4-2955-4111-B67E-49052D79D131.jpeg2E26CBEE-A379-47DE-BFBC-83A279514040.jpeg88214E6A-60BD-40AF-8ECC-518426B0B9B2.jpegEEEA4122-BDE5-430D-83A8-EE1C3D3FCACC.jpeg021D18FA-F8C2-4D5D-949B-958BB5A51E83.jpeg82670F3A-C923-4887-8D3E-9BB49B6FB8E0.jpeg78A8DA77-8CBF-4E8B-9230-AC0BF33AF31D.jpeg14B42B6D-EC7E-4F80-B170-03CEB18E6964.jpegThanks. Here are some more pictures of the progress. Here’s my motivational poster thought some might like it
83E15539-5D7B-44B7-BBD1-27C770A4C9BB.jpeg
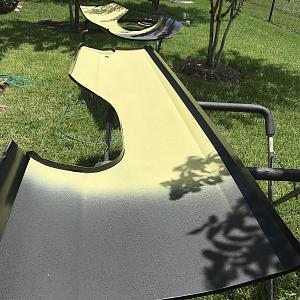
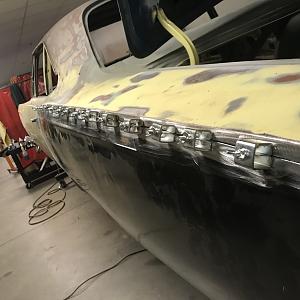
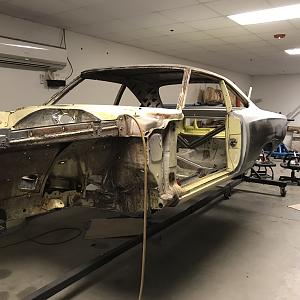
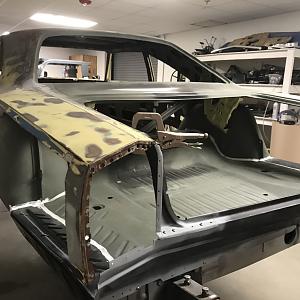
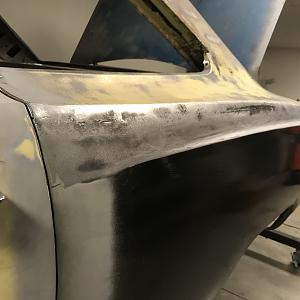
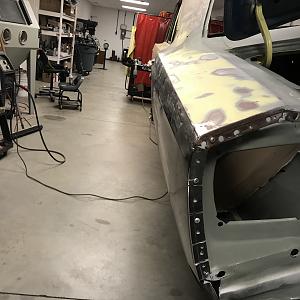
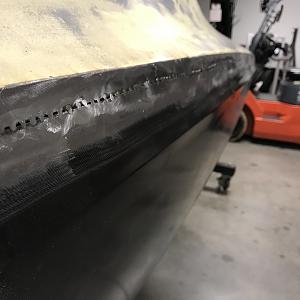
. Half way done with the restoration only 2 more Road Runners to install. Hers an update. Drivers side quarter skin installed. this is the last big piece to be installed. Thanks for looking 24E48059-8D1C-4047-B60E-4DC66586C03C.jpegCF1C2637-39EE-4579-ACC8-99515457B72F.jpegCF1C2637-39EE-4579-ACC8-99515457B72F.jpegB8364A75-72A2-48CD-AB09-3501F27F91DC.jpeg9E913FCC-93E7-4B53-867C-9CA9ADF3B720.jpegFDB1D925-5B1A-40E5-B5DA-0883059D1CB6.jpeg 
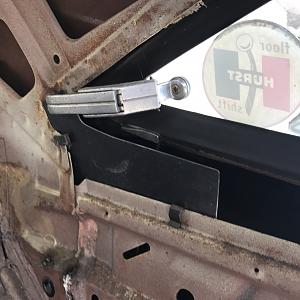
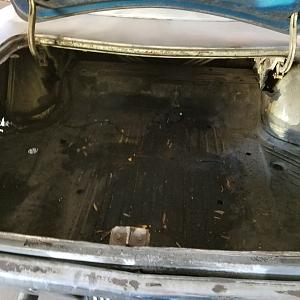
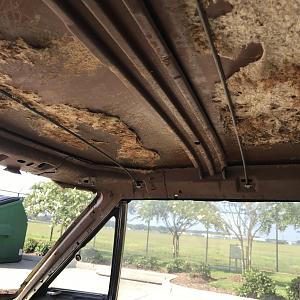
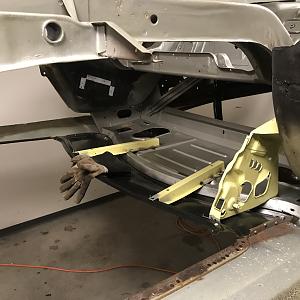
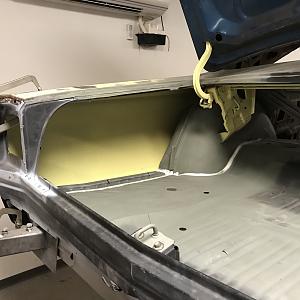
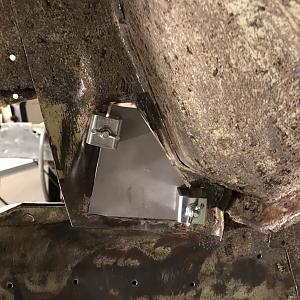
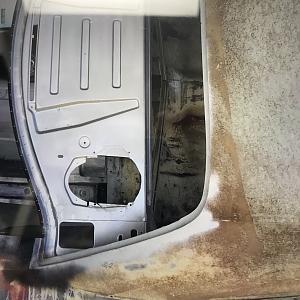
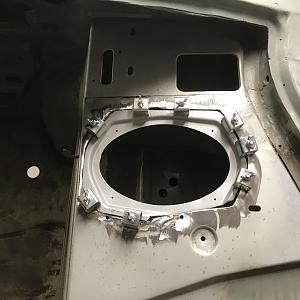
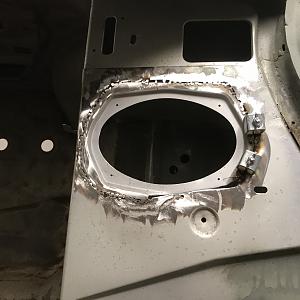
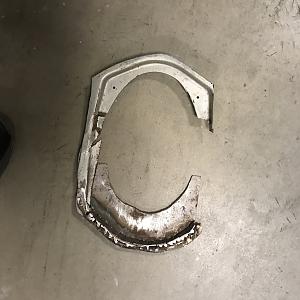
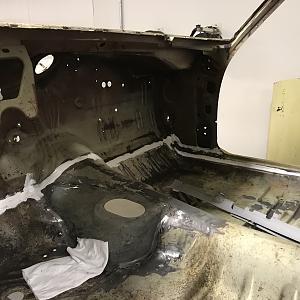
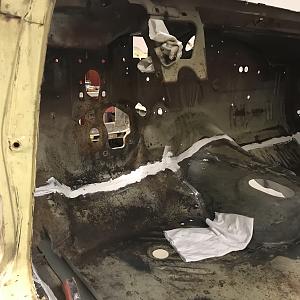
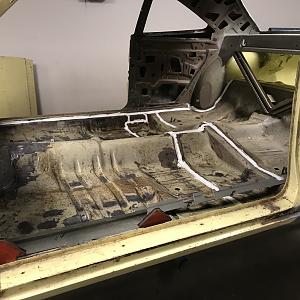
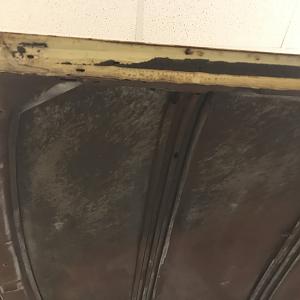
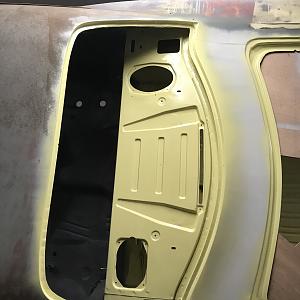
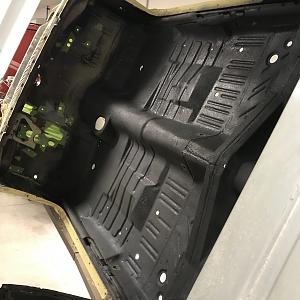
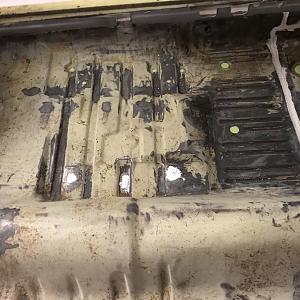
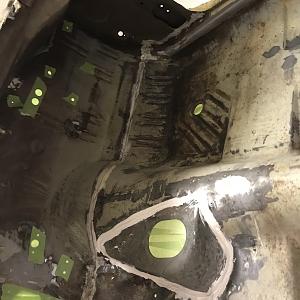
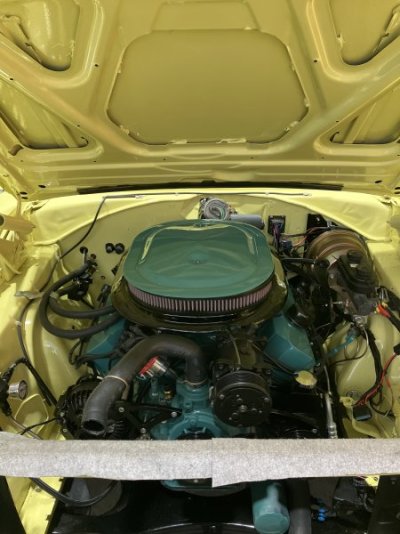
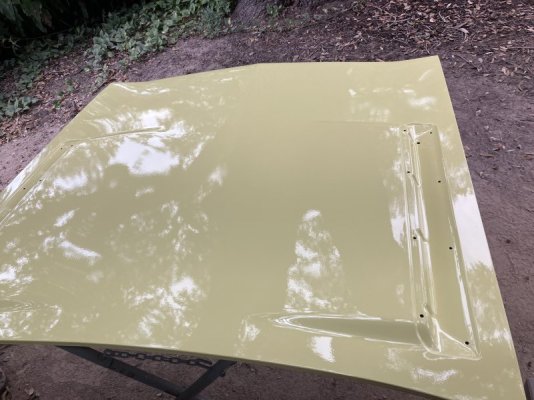
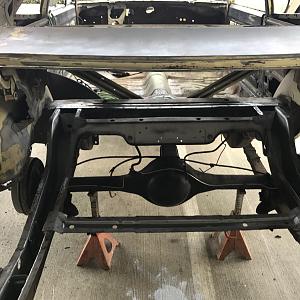
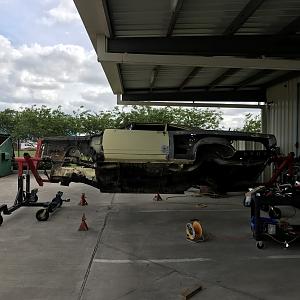
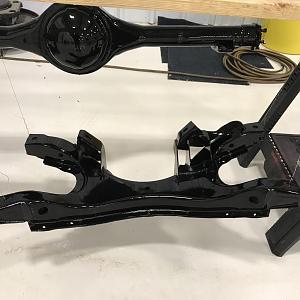
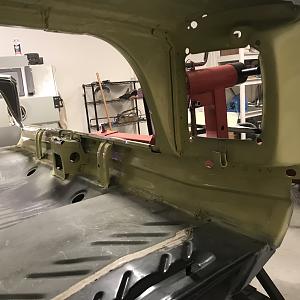
here’s a little progress had to fix the rear speaker cutout and started to fix the hatchet job on the inner fender well where the clutch s bar attaches. Closing it up going to put in a hydraulic clutch..Ok here’s a little bit of progress on the bird. Got a little paint shot. Re applied seam sealer to the floor pans. Cleaned and osphoed the floors cleaned the old insulation off the inside roof.. starting to work on welding up a lot of extra holes in firewall and engine compartment. Enjoy and thanks for looking. Here’s some pictures from today. Was able to spray the lizard skin sound deadner in the inside and sprayed a little yellow on the package tray

Latest updates

So the Bird is mostly finished, I’ve put about 45 miles on it since last week after getting the alignment, still tuning on the Fitech 6 pack but it’s going too make its first car show this Saturday . Heres some pics of the finished car! Thanks again for all the support!!!

Attachments

  • IMG_4982.jpeg
    IMG_4982.jpeg
    224 KB · Views: 107
  • IMG_4980.jpeg
    IMG_4980.jpeg
    208.7 KB · Views: 102
  • IMG_5081.jpeg
    IMG_5081.jpeg
    115.6 KB · Views: 27
  • IMG_5012.jpeg
    IMG_5012.jpeg
    330.3 KB · Views: 22
  • IMG_5011.jpeg
    IMG_5011.jpeg
    308 KB · Views: 27
  • IMG_4976.jpeg
    IMG_4976.jpeg
    195.6 KB · Views: 108
  • IMG_5010.jpeg
    IMG_5010.jpeg
    321.2 KB · Views: 24
  • IMG_4974.jpeg
    IMG_4974.jpeg
    230.1 KB · Views: 105
  • IMG_4983.jpeg
    IMG_4983.jpeg
    221.9 KB · Views: 25
  • IMG_4977.jpeg
    IMG_4977.jpeg
    167.5 KB · Views: 103
  • IMG_4966.jpeg
    IMG_4966.jpeg
    185.4 KB · Views: 107
  • IMG_4965.jpeg
    IMG_4965.jpeg
    190.8 KB · Views: 104
Mrs. 69 Bird
Mrs. 69 Bird
Very nice job done on your Bird!!!!
Eric Pearson
Eric Pearson
Thank you
Wel the last of the big pieces is on except for the windshield. I would like to thank everyone for the help, advice and encouragement! It’s been a long journey

Attachments

  • IMG_4936.jpeg
    IMG_4936.jpeg
    83.7 KB · Views: 41
  • IMG_4942.jpeg
    IMG_4942.jpeg
    46.2 KB · Views: 39
  • IMG_4938.jpeg
    IMG_4938.jpeg
    81.3 KB · Views: 47
  • IMG_4939.jpeg
    IMG_4939.jpeg
    76.9 KB · Views: 43
  • IMG_4922.jpeg
    IMG_4922.jpeg
    40.5 KB · Views: 36
  • IMG_4923.jpeg
    IMG_4923.jpeg
    73.7 KB · Views: 36
Well I tried to post a video of it running but apparently I don’t know how

Comments

Most people don't really know what it takes to restore these car's. I never have added up what I spent on restoring my bird. Really don't care just get in it and drive it. Wish you the best of luck with the build. What motor are you running. Put the four speed back in my car that is what it came with. Love shifting gears. Thanks for the pic's and the insight on the build. :thumbsup:
 
Most people don't really know what it takes to restore these car's. I never have added up what I spent on restoring my bird. Really don't care just get in it and drive it. Wish you the best of luck with the build. What motor are you running. Put the four speed back in my car that is what it came with. Love shifting gears. Thanks for the pic's and the insight on the build. :thumbsup:
I plan on a 496 striker with the FiTech 6 pack fuel injection. 3:23 sure grip,vintage air,power steering and 4 wheel disc brakes. I hope that when it’s done myself and my best friend of 50 years will take it on the power tour
 
Your workmanship is very impressive. Look forward to seeing this one through to the finish. Best wishes!
 
Its coming along. going to spray lizard skin sound control inside the car tomorrow. I will post some pictures soon. also have been welding up numerous. holes in the firewall. thanks for checking up on the project.
 
The quarter skins I got from Year One come up over the top.
Got the last two they had "scratch and dent" deal.
First skins I've ever done. Was surprised that they come up over the top of the panel.
That's were I'm making the seam, on top.
Is that something people do?
Haven't seen any before.
They also go around the door jam and down to the pinch weld on the rocker.
But the tail light end will have to be cut and modified.
My brother did the fitting on my car he left the piece that wraps aroung the front at the door and cut below the seam on the roof.
he's done many cars and lots of mopar resrorations
Yes, and we had to modify the back sections as well.
Nothing fits very well without some work to make it right.
 
I cut my quarters about an inch below the top panel line then butt welded it. It seems to work well. A lot of welding and grindin. But well worth it
 
That’s going to be killer. I love that 2 tone. interior and of course Y2 yellow. But I’m biased on that… keep up the great work!
 

Item information

Category
FBBO Member Photo Garage
Added by
Eric Pearson
Views
18,863
Watchers
13
Comments
25
Updates
21
Last update
Rating
5.00 star(s) 5 ratings

More in FBBO Member Photo Garage

Back
Top