Scooby67
Well-Known Member
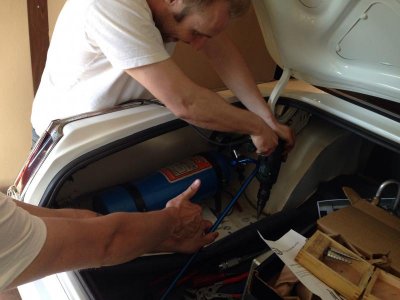
I would have given the engine bay a shot of paint before installation. Just a thought.
All I can find is the 15 inch long armrests on their site. I believe The belvedere should have the short 9-11 inch.
I have a thread regarding the armrests on early b body, but it´s a jungle, seems there is 3-5 different bases.
maybe the early A-body bases are the correct ones?????
I would have given the engine bay a shot of paint before installation. Just a thought.
Bases for my 64 Sport Fury are indeed 15" for front, 12" rear.
Tried looking in my 64 parts book...but, might be missing those pages. Off hand, I did a quick search for 64 Belvedere. From one interior photo I looked at, front base is colored, and short of the door handle. Could be possible to look up any photos online, to get a better idea what you are looking for.


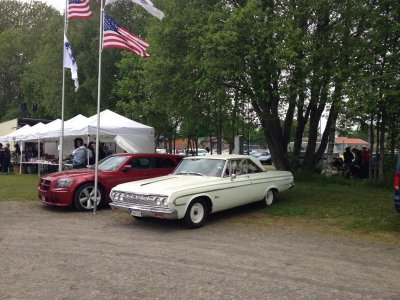
Update.
Was able to clock 8.82 and 82mph at 1/8 mile with the belvedere.
60' was 2.2sec
This was with old 205/75r15 regular street tires.
The track was 280 miles from home during classic car week here in sweden. Spent the entire week there with my family and put about 745 miles in the car.
The lack of space made me leave the slicks at home.
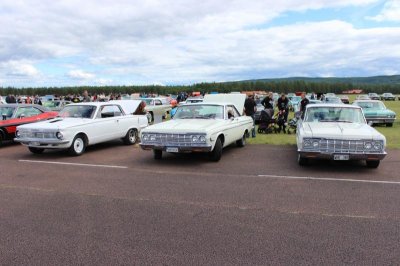
My daughter is already in to cars and plays hard with hot wheels.
View attachment 279173View attachment 279174