• When you click on links to various merchants on this site and make a purchase, this can result in this site earning a commission. Affiliate programs and affiliations include, but are not limited to, the eBay Partner Network.

1964 dodge 2 door conversion

brandon64

Well-Known Member
Local time
4:53 AM
Joined
Apr 19, 2011
Messages
380
Reaction score
13
Location
old hickory, TN
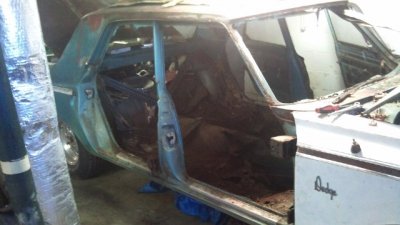
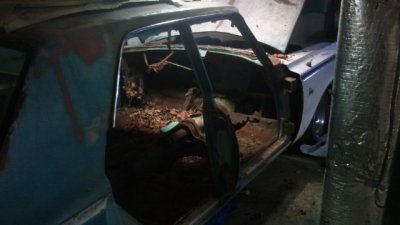
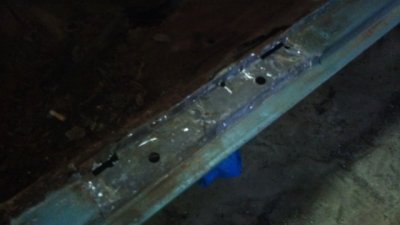
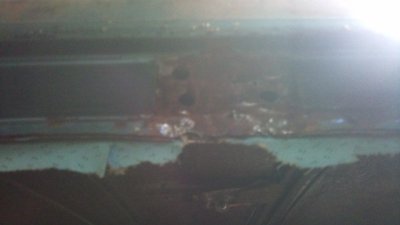
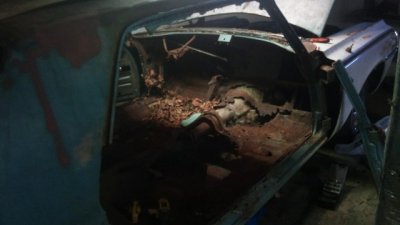
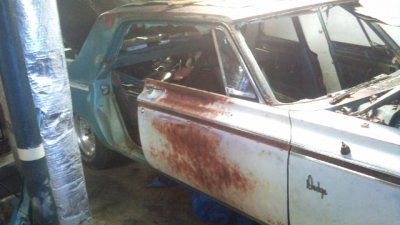
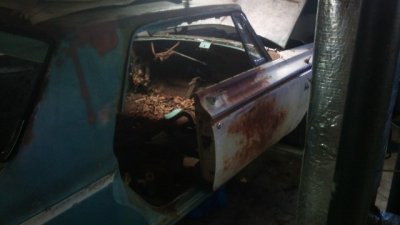
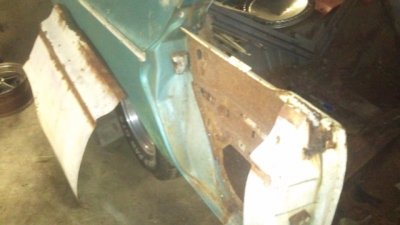
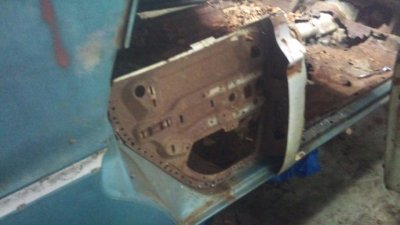
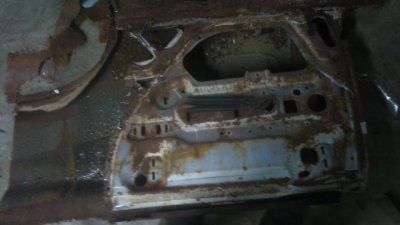
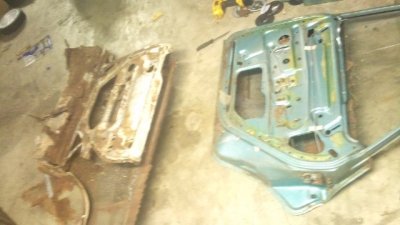
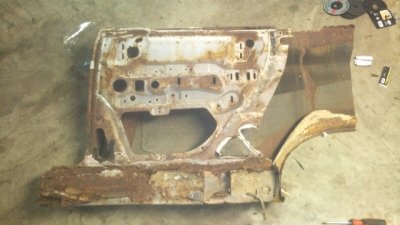
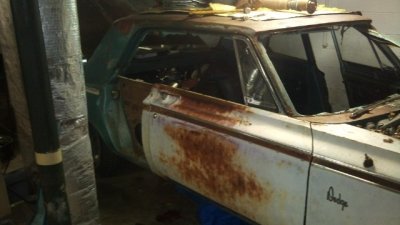
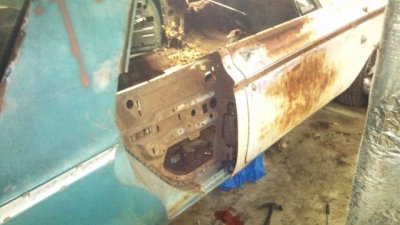
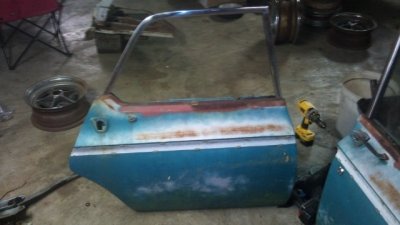
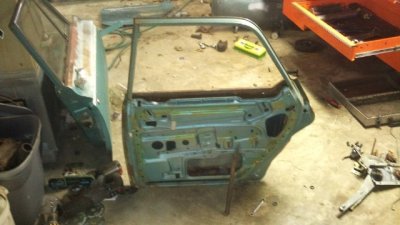
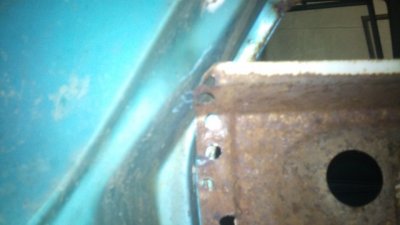
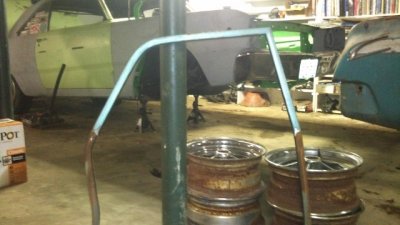
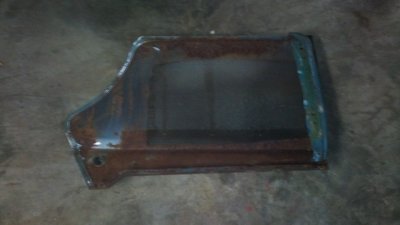
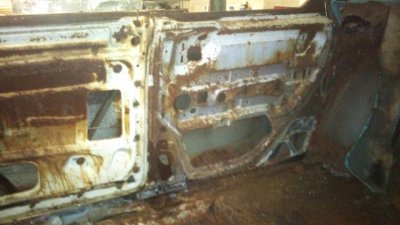
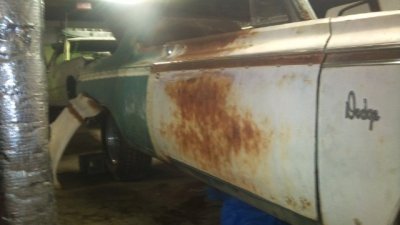
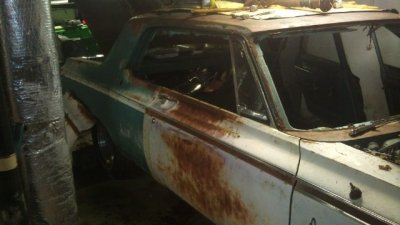
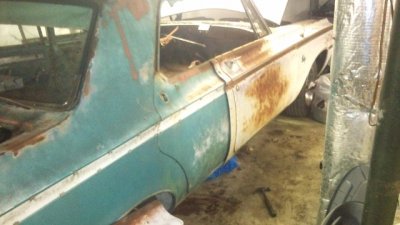
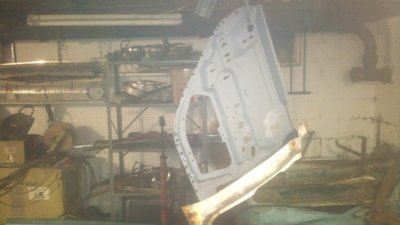
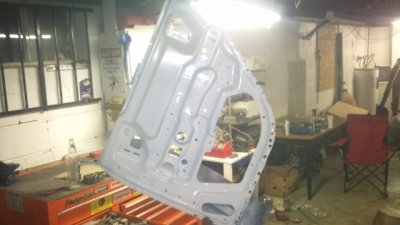
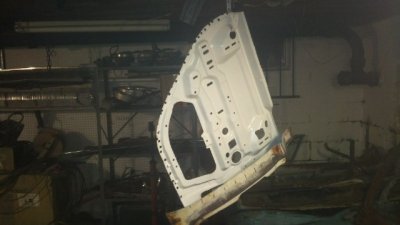
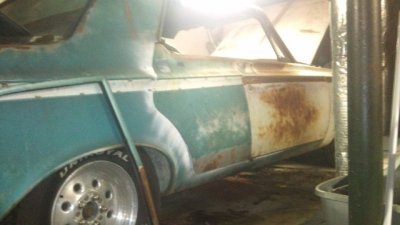
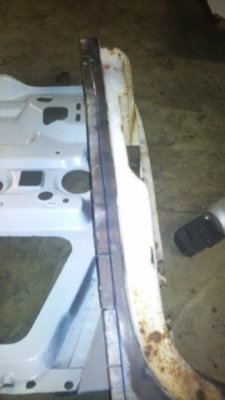
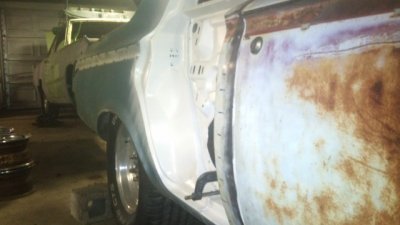
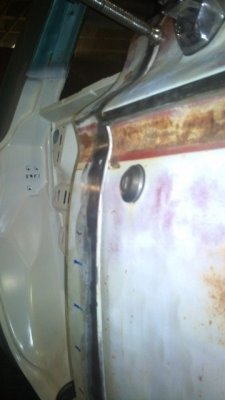
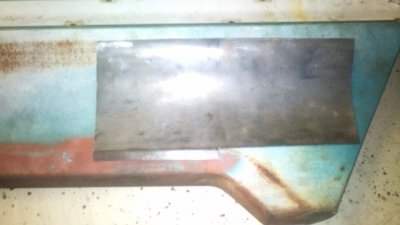
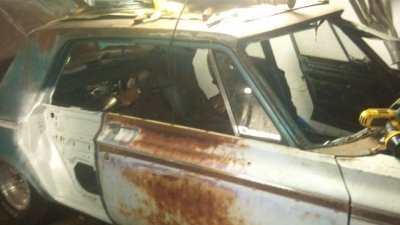
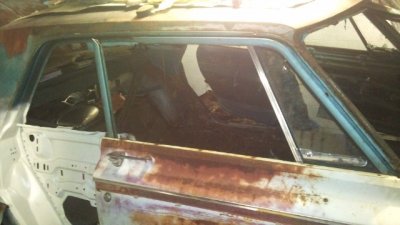
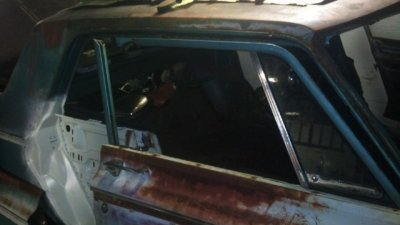
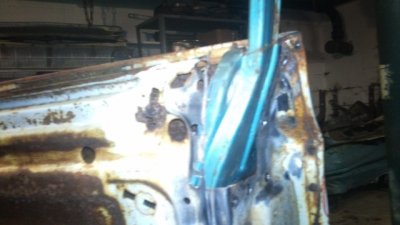
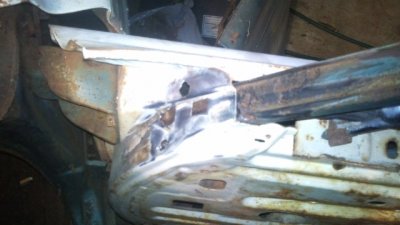
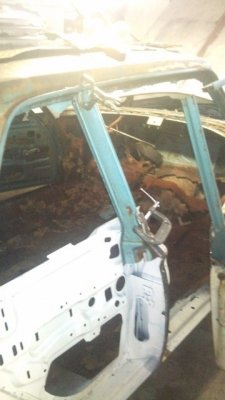
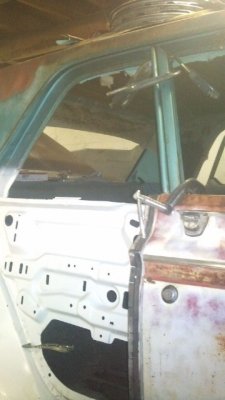
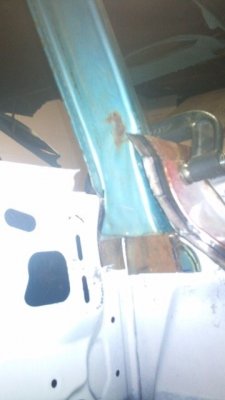
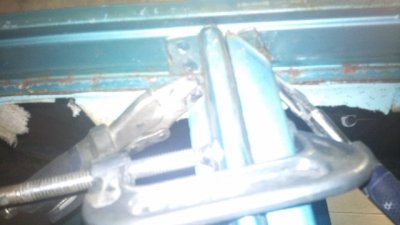
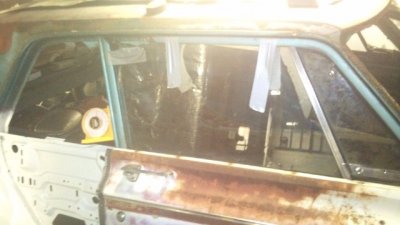
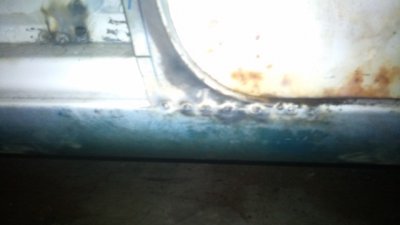
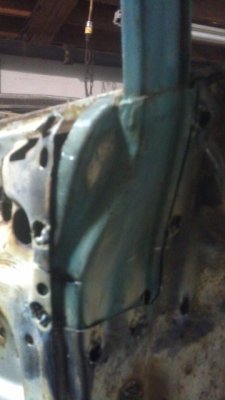
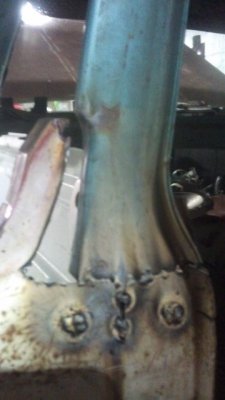
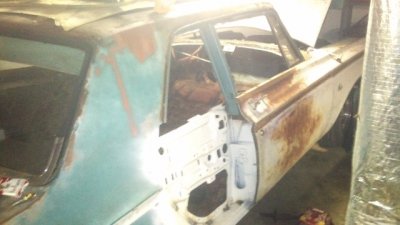
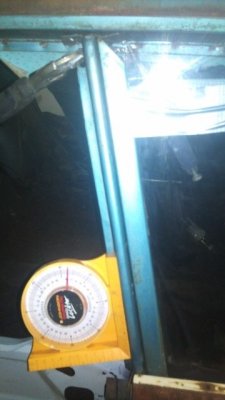
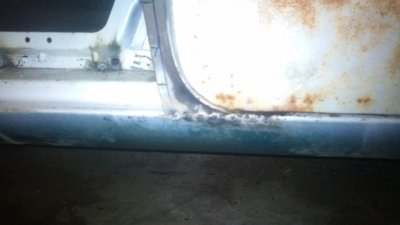
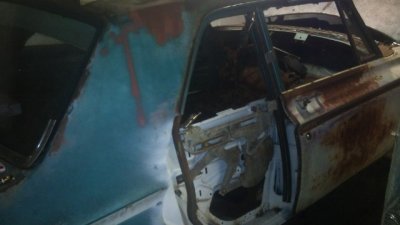
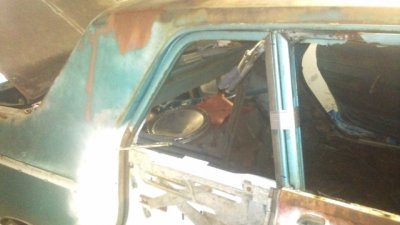
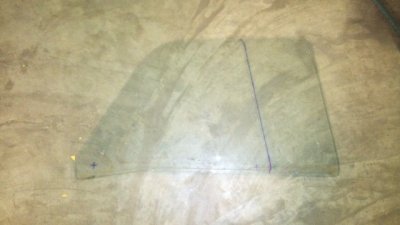
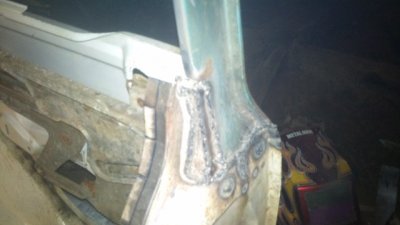
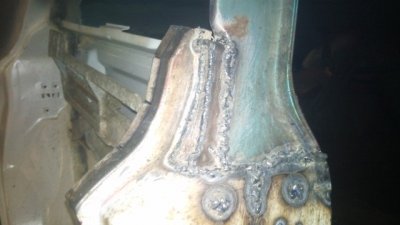
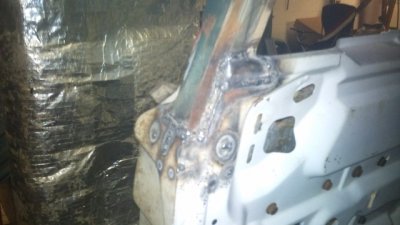
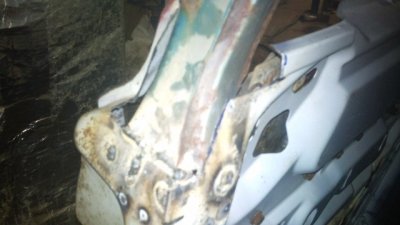
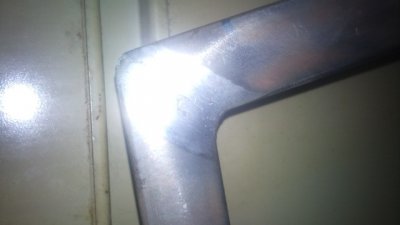
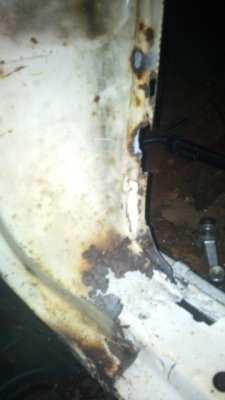
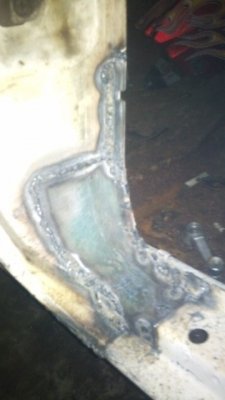
I started the conversion this morning, I got the doors pulled, the B-pillar removed and the new door hung on the passenger side. Now for the hard part lol. The progress on this project will be slow, it is my first time doing one, and I don't have alot of spare time. Tonight I plan on staying up late and trimming the 1/4 panel and fitting it to the car.
 

Attachments

  • conversion1.JPG
    conversion1.JPG
    131.8 KB · Views: 2,195
  • conversion2.JPG
    conversion2.JPG
    109.6 KB · Views: 2,173
  • conversion3.JPG
    conversion3.JPG
    90.5 KB · Views: 2,130
  • conversion4.JPG
    conversion4.JPG
    82.6 KB · Views: 2,114
  • conversion5.JPG
    conversion5.JPG
    99.1 KB · Views: 2,056
  • conversion6.JPG
    conversion6.JPG
    132.6 KB · Views: 2,038
  • conversion7.JPG
    conversion7.JPG
    99.8 KB · Views: 2,050
I've made a good bit of progress. I decided on using the rear door as the filler panel for the 1/4. It's much less rusty, and its already shaped to fit. Last night I drilled all the spot welds off of the piece I cut from the donor car and removed the inner panel and the door jam from it. Today I trimmed it where it would line up with the door correctly, and I gutted the rear door. Removed the window channel piece from it, and cut the skin off of it. I have it marked and ready to cut but the battery went dead on the saw. As soon as it's charged, I'll be back at it again. I hope to have everything fitted, have the inside sanded and painted and ready to weld in by the end of the day, I'll post some more pics tomorrow.
 

Attachments

  • c5.JPG
    c5.JPG
    111.9 KB · Views: 2,022
  • c4.JPG
    c4.JPG
    117.2 KB · Views: 1,999
  • c3.JPG
    c3.JPG
    107.3 KB · Views: 2,006
  • c2.JPG
    c2.JPG
    124.6 KB · Views: 1,977
  • c1.JPG
    c1.JPG
    134.9 KB · Views: 1,995
  • c10.JPG
    c10.JPG
    122.1 KB · Views: 1,976
  • c9.JPG
    c9.JPG
    142.8 KB · Views: 2,001
  • c8.JPG
    c8.JPG
    114.8 KB · Views: 1,967
  • c7.JPG
    c7.JPG
    138.1 KB · Views: 1,982
  • c6.JPG
    c6.JPG
    100.5 KB · Views: 1,975
  • c11.JPG
    c11.JPG
    134.2 KB · Views: 1,953
  • c12.JPG
    c12.JPG
    90.5 KB · Views: 1,941
  • c13.JPG
    c13.JPG
    117.4 KB · Views: 1,951
made a little progress and lost motivation so I called it quits for the night. Here's a few more pics.
 

Attachments

  • c17.JPG
    c17.JPG
    136 KB · Views: 1,916
  • c16.JPG
    c16.JPG
    106.9 KB · Views: 1,903
  • c15.JPG
    c15.JPG
    127.3 KB · Views: 1,898
  • c14.JPG
    c14.JPG
    136.2 KB · Views: 1,923
nice job. my buddy did a conversion on a 62 savoy. he said it looked harder than it actually was. keep up the good work.
 
Good luck on this project Brandon! The undertaking of projects like this is unreal... Looking forward to following along.
 
I got about an hour and a half in tonight after work. I wire wheeled and sanded the inner 1/4 piece and shot it in urethane primer, Then I rattle canned white the inside part. No sense in wasting the good paint on a part you never see.
 

Attachments

  • c18.JPG
    c18.JPG
    113.7 KB · Views: 1,826
  • c19.JPG
    c19.JPG
    117.4 KB · Views: 1,810
  • c20.JPG
    c20.JPG
    102.8 KB · Views: 1,824
Last edited:
I spent some time this evening fitting/trimming and aligning everything. It looks pretty good. I also sanded and painted the rear part of the door jam on the car. And I cut the door handle raised portion on the rear door skin and cut a patch panel for it from the 2 door 1/4. I'll bring the door skin and patch panel to work tomorrow and weld it in on my lunch break. I ordered the parts I need to build a phase converter so I can hook up my welder but they have not came in yet. If they don't come in this week, I'll see if I can borrow the welder from work and get this side finished.
 

Attachments

  • c25.JPG
    c25.JPG
    108.4 KB · Views: 1,812
  • c24.JPG
    c24.JPG
    117.1 KB · Views: 1,824
  • c23.JPG
    c23.JPG
    98.5 KB · Views: 1,785
  • c22.JPG
    c22.JPG
    108.2 KB · Views: 1,801
  • c21.JPG
    c21.JPG
    98.8 KB · Views: 1,791
I got the window channel pulled from the front door and fitted into the new door. I'm going to wait to weld this in until I get some glass so I know it will fit right. I had to remove a bracket from the front of the door, and remove a section from the back of the door as well to get the window channel in the new door. The other day I used a piece of the 2 door 1/4 to make the patch pieces for where the door handle was, and got it welded up.
 

Attachments

  • c26.JPG
    c26.JPG
    116.9 KB · Views: 1,746
  • c27.JPG
    c27.JPG
    99.8 KB · Views: 1,752
  • c28.JPG
    c28.JPG
    100.3 KB · Views: 1,754
  • c29.JPG
    c29.JPG
    128.5 KB · Views: 1,736
  • c30.JPG
    c30.JPG
    128.1 KB · Views: 1,764
  • c33.JPG
    c33.JPG
    107 KB · Views: 1,721
  • c32.JPG
    c32.JPG
    113.1 KB · Views: 1,773
  • c31.JPG
    c31.JPG
    118.4 KB · Views: 1,729
the quarter window frames are held in by screws in side the channel before the rubber goes in and then you use seam sealer is my understanding hope this helps
 
the quarter window frames are held in by screws in side the channel before the rubber goes in and then you use seam sealer is my understanding hope this helps

I was wondering about that, The other thing I was wondering was how much you cut out of the rear door window channel at the top and added to the front window channel. I don't have any 2 door side glass to stick in there and make sure it will fit. thanks
 
thanks for the kind and inspiring words guys. It really helps motivate me to keep the progress going on. I'm surprised I got this much done on it in a week and still managed to get 40 hours in at work. I brought the welder from work home tonight, it's a POS 110volt flux core welder with only high and low as the heat setting and fast and slow as the speed setting, but it should get the job done. Hopefully I'll get the passenger side finished this weekend.
 
also 1 more thing, I decided on keeping track of money and time spent on this project. I payed 500 bucks for this car with the rusty two door donor car, I got 260 bucks in scrap metal for the donor car after I parted it, and I've sold 475 bucks worth of parts from it, and I've spent 40 bucks in supplies on it so far. So I'm actually ahead about 200 bucks but it is still the beginning.


Money spent = -195
Time spent = 25 hours
 
Today I cut the B pillar down and fitted it to the car. I found that the drivers door had it's glass intact, so I pulled it and stuck it in the passenger side. So I found that the window channel needs 7 1/2 inches to be added, and the B pillar sits 12 degrees rearward of vertical. I got everything tacked in place and the door still lines up well and opens/shuts beautifully. I also got the rear window channel cut down and mocked up, and I installed the rear window mechanism from the two door hard top. I think it will work but I'm not sure, I'm going to try and cut the 4 door rear glass down and see if I can bolt it in and make it roll up and down.


Total money spent = -$195

Total time spent = 32 hours
 

Attachments

  • c34.JPG
    c34.JPG
    117.2 KB · Views: 1,687
  • c35.JPG
    c35.JPG
    114 KB · Views: 1,687
  • c36.JPG
    c36.JPG
    89.4 KB · Views: 1,661
  • c37.JPG
    c37.JPG
    104.1 KB · Views: 1,671
  • c38.JPG
    c38.JPG
    117 KB · Views: 1,653
  • c43.JPG
    c43.JPG
    78.1 KB · Views: 1,658
  • c42.JPG
    c42.JPG
    101.9 KB · Views: 1,652
  • c41.JPG
    c41.JPG
    105.9 KB · Views: 1,644
  • c40.JPG
    c40.JPG
    124.8 KB · Views: 1,672
  • c39.JPG
    c39.JPG
    105.6 KB · Views: 1,663
  • c44.JPG
    c44.JPG
    90.5 KB · Views: 1,624
  • c45.JPG
    c45.JPG
    101.5 KB · Views: 1,653
  • c46.JPG
    c46.JPG
    116.9 KB · Views: 1,623
  • c47.JPG
    c47.JPG
    103.8 KB · Views: 1,641
One of my favorite cars. Awesome project. I did the same to a 35 Willys sedan. After the first cut, I said, "what did I do now"? Mine turned out great, as will yours. Will follow your efforts.
 
I got the 1/4 window channel fitted and welded together, and I got the B pillar all the way welded in. I had to piece together the middle part where it meets the door jam. And I patched some bad rust at the lower part where it meets the rocker.

Money spent = -$180

Time spent = 41 hours
 

Attachments

  • c54.JPG
    c54.JPG
    99.8 KB · Views: 1,576
  • c53.JPG
    c53.JPG
    112.6 KB · Views: 1,618
  • c52.JPG
    c52.JPG
    120.6 KB · Views: 1,714
  • c49.JPG
    c49.JPG
    111.1 KB · Views: 1,580
  • c48.JPG
    c48.JPG
    80 KB · Views: 1,561
  • c50.JPG
    c50.JPG
    94.6 KB · Views: 1,581
  • c51.JPG
    c51.JPG
    94.9 KB · Views: 1,581
Back
Top