• When you click on links to various merchants on this site and make a purchase, this can result in this site earning a commission. Affiliate programs and affiliations include, but are not limited to, the eBay Partner Network.

1965 Belvedere I Sedan

BigFlo

Well-Known Member
Local time
7:43 AM
Joined
Mar 28, 2011
Messages
604
Reaction score
722
Location
NJ
This mild resto-mod is an original family owned car that's had a few lives. My Grandmother purchased the car new, in Newburgh, NY. Her nickname was "Big Flo" - she was all of 5'3" tall and 100lbs. This build is dedicated and named after her.
It was purchased as a 225ci /6, three on the tree, manual everything and radio delete. She drove that car into her 80's. My brother purchased it from her and it lived in Pensacola, FL, Beeville, TX and NJ before I bought it from him. I drove it for several years in the mid-late 80's and then parked it when I needed a better commuter car for work. And it sat for years and made a nice home for mice.
I did some work on it through the years but nothing serious until several years ago. Quarantine really accelerated my progress. I've done all the work myself, except for two things: Pulling the engine and putting the Sure Grip into the rear.
Pictures of the major milestones;

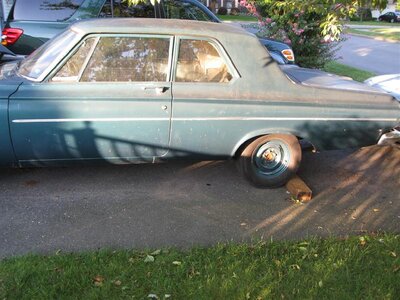
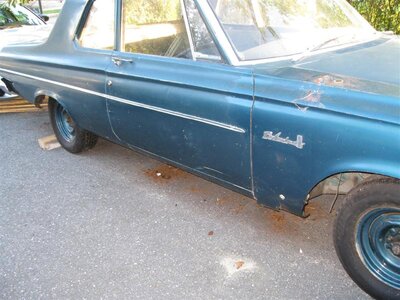
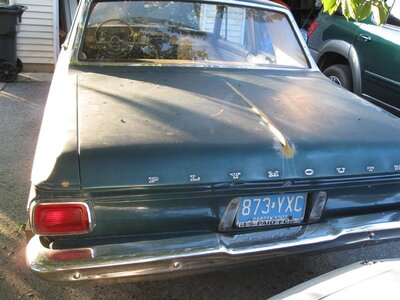
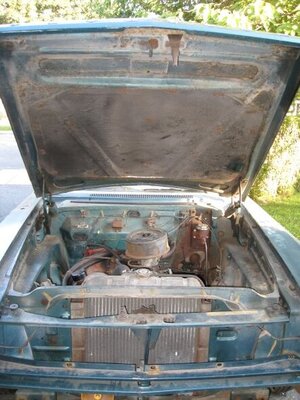
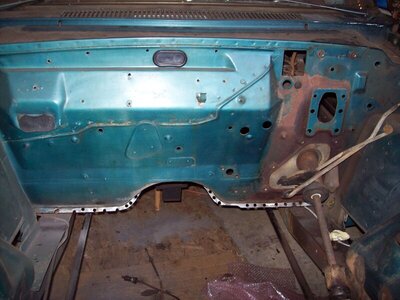
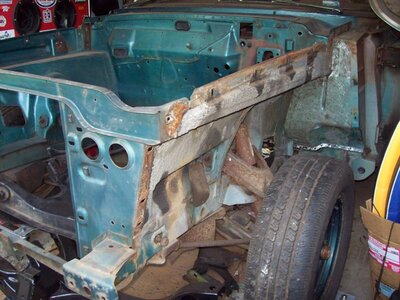
Here is the starting point
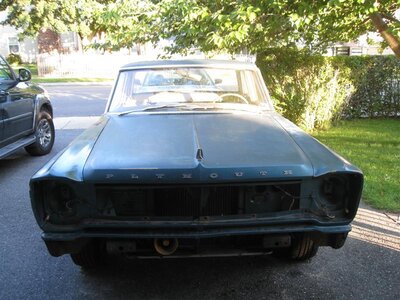
1IMG_0985.JPG 2IMG_1004.JPG 3IMG_1008.JPG 4IMG_1005.JPG 5IMG_0988.JPG
 
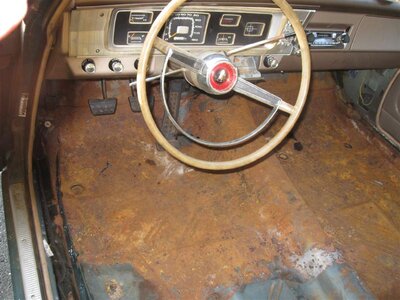
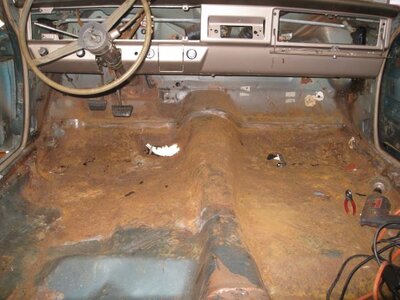
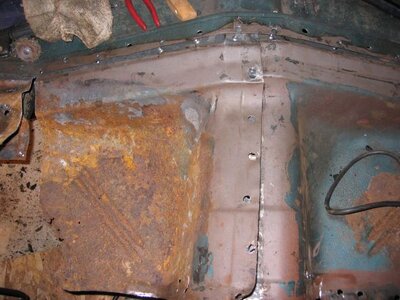
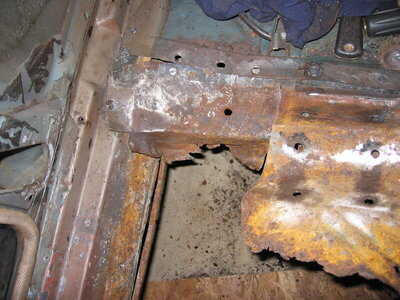
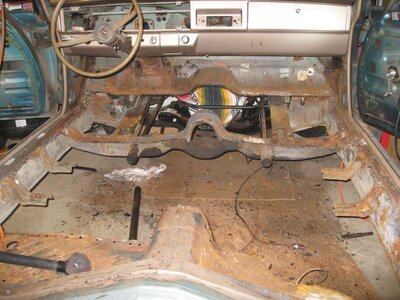
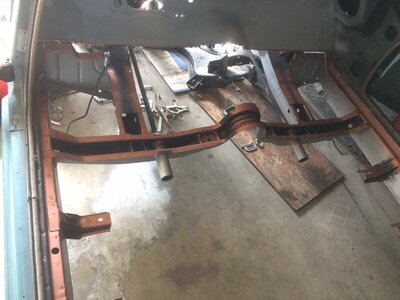
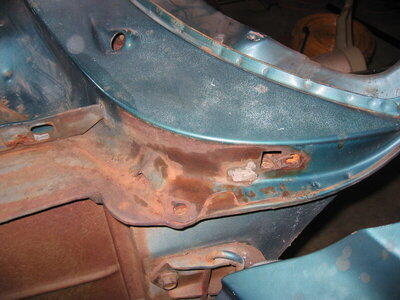
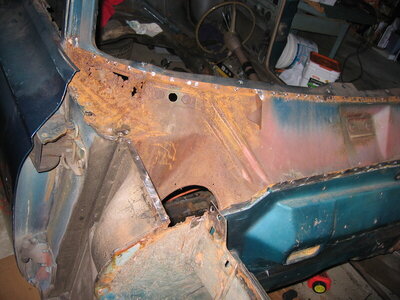
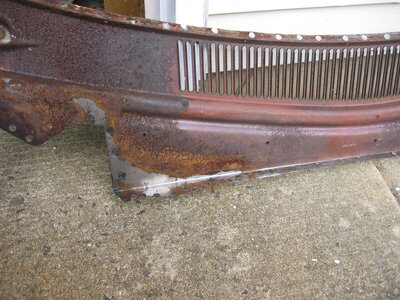
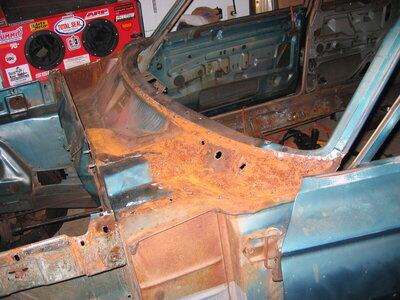
It had all the usual rust areas for a car that spent a lot of it's life in the Northeast; cowl, floors, trunk, lowers quarters and fender dog-legs. I'll try to show the before and after as best I can in the follo9wing pics - at least to the point where it is today.
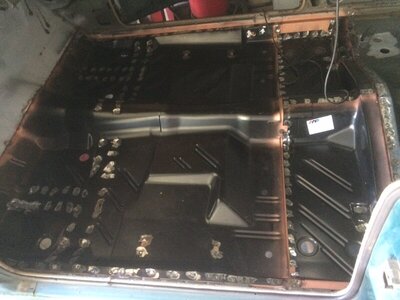
8OriginalFloor.JPG 9IMG_4957.JPG 10IMG_2305.JPG 11IMG_2306.JPG 12IMG_4976.JPG 13FloorPrep2.JPG 14IMG_3877.JPG
 
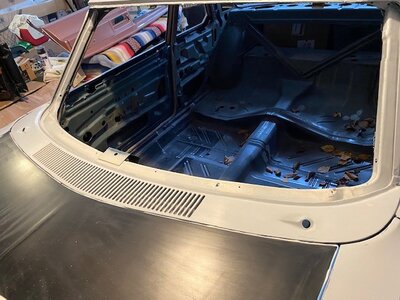
I used a combination of home made patches and a replacement end-cowl section on the drivers side to repair the damage.

15IMG_2315.JPG 16IMG_2317.JPG 17IMG_0016.JPG 17IMG_2319.JPG 17IMG_CowlFinished.jpg
 
Is the /6 actually worn out? I have seen them go through 5 generations before needing work. Is it getting an upgrade and restoration? Either way it's a cool project.
 
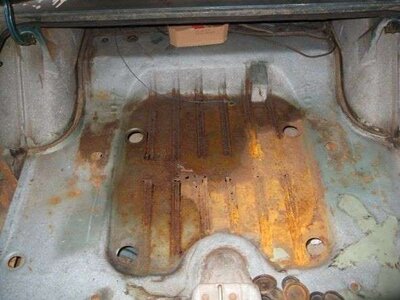
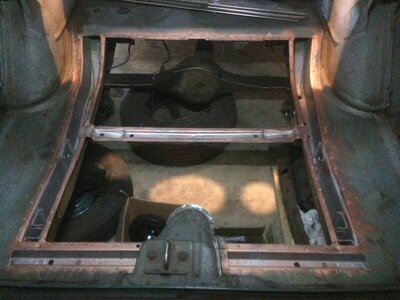
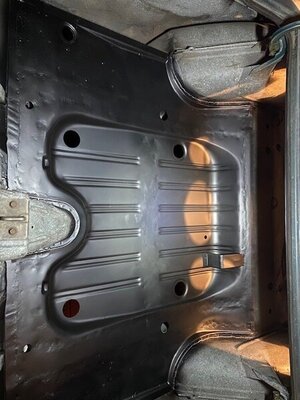
The trunk was only bad in the center section, between the frame rails. I didn't want to get into removing the seams all around the replacement trunk pan, so I decided to cut the center section to the left/right frame rails, and the front/back cross members - and then I cut the replacement pan to match. Fitting around the gas filler was a little challenging but it all worked out. Didn't care too much about the looks - it's the trunk, lol. But it came out pretty good - good enough for me.

18IMG_Trunk.JPG 18IMG_Trunk1.JPG 19TrunkPatch1.jpg 20TrunkFinished2.jpg
 
Is the /6 actually worn out? I have seen them go through 5 generations before needing work. Is it getting an upgrade and restoration? Either way it's a cool project.
The /6 had 110K miles on it when pulled. I Could get it to run, but it would need a freshening up. I plan to put a 383 4sp in it. I have the motor and trans. Planning to freshen up the 383 this spring.
 
Great work! You’re bringing it back for another life!
 
Yes - a slow resurrection......
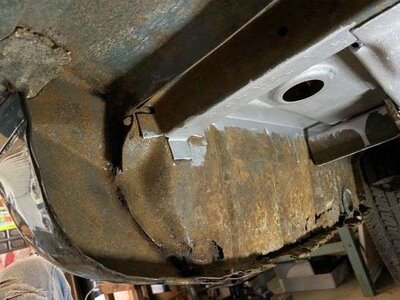
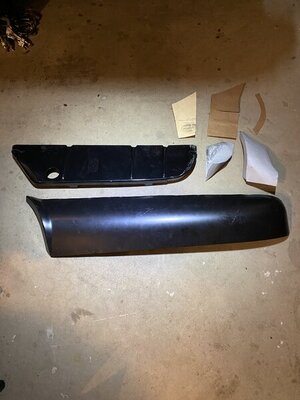
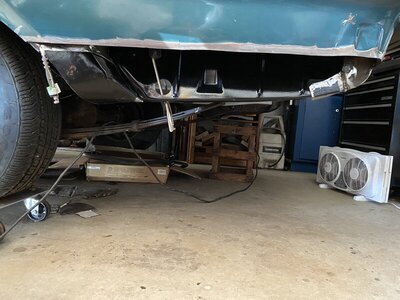
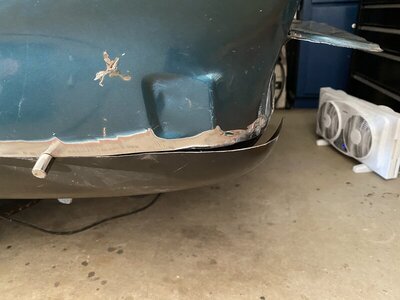
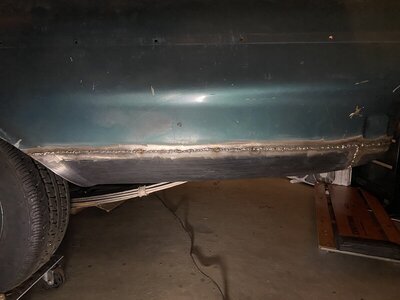
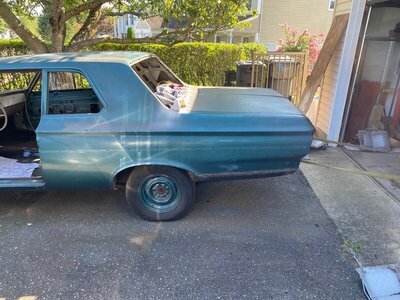
Lower quarters were toast along with the lower part of the trunk extensions and the outer wheelwells, where they all come together

21Quarter9resize.jpg 21Quarter15.jpg 22Quarter4.jpg
 
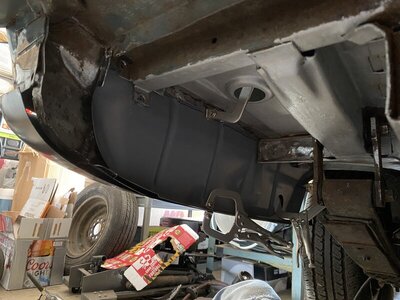
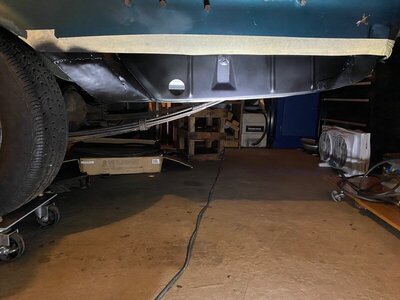
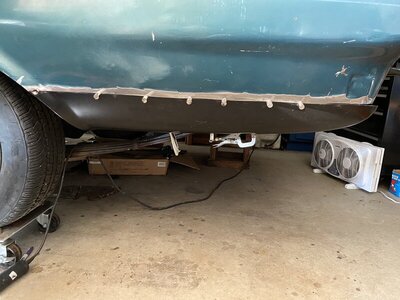
I bought the AMD trunk extensions and lower quarter patch. I had to fabricate the inner wheelwell pieces. Not easy where those three parts come together. I laid out the patters with folder-paper and beat the metal into submission! This was a challenge and many days to get these parts to come close to fitting. Since these handmade patches are not seen, I didn't care how they looked - just needed to seal the holes! Then clamped, welded and repeated until I had the patches in place. I butt welded the quarter patch to the quarter panel.

23QuarterPatchPiecesDriverSide.jpg 24Quarter3.jpg 25DriverQtrPatch3.jpg 26Quarter2.jpg
 
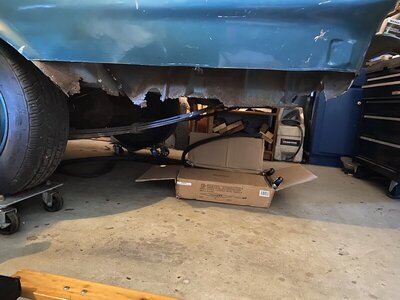
The quarter panel patch was longer than original. I had to match the wheel well arch, so I had an overhang off the end of about an inch. I had to slice a vertical section out of the quarter patch to eliminate the overhang and make it meet the rear of the original quarter, as shown in the 2nd pic below

27Quarter1.jpg 28DriverQtrPatch.jpg
 
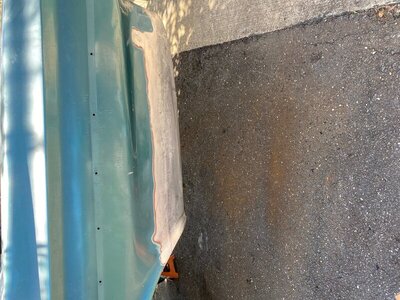
Happy with the results. I don't know how to rotate that picture, sorry!

28DriverQtrPatch1.jpg 29DriverQtrPatch2.jpg
 
I had a 65 just like that back in the early 70's. It had a 383 / 4 speed in it already. It was the only car I ever had with 4.10 suregrip rear! You are doing nice work. Best of luck with it. What part of NJ are you in; north, south or central??
 
I had a 65 just like that back in the early 70's. It had a 383 / 4 speed in it already. It was the only car I ever had with 4.10 suregrip rear! You are doing nice work. Best of luck with it. What part of NJ are you in; north, south or central??
Central. "Exit 91", lol
 
You know where I am by my location. Not too many folks from this forum near me.
 
You know where I am by my location. Not too many folks from this forum near me.
Out by the Water Gap right? Nice out there. I'm about 10 miles from the beaches - Pt Pleasant, Belmar, etc
 
SWEET 65 BEL I, nice work, always loved the front end on the 65's. Your granny is smiling somewhere I'm sure.

Chuck (snook)
 
Out by the Water Gap right? Nice out there
Yessir, & I am at about 800 feet above sea level. If rains for 25 days & nights, I'd still have a few days to make a raft, Lol! I haven't been down the shore in about 10 years. I like it but it's like a 75 mile trip.
 
Auto Transport Service
Back
Top