You are using an out of date browser. It may not display this or other websites correctly.
You should upgrade or use an alternative browser.
You should upgrade or use an alternative browser.
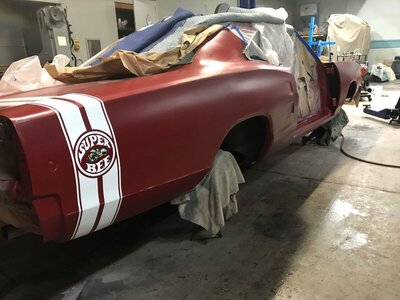
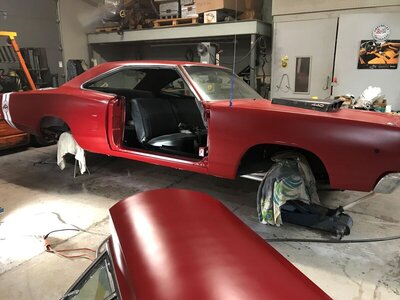
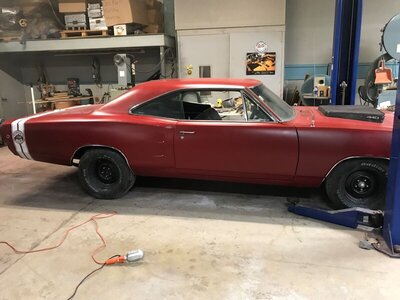
1968 Coronet 'Wanna Bee'
- Thread starter MTUCJ7
- Start date
CoronetDarter
Well-Known Member
You got the skills; the rest is time and money. The car is looking good; keep us posted.
MTUCJ7
Well-Known Member
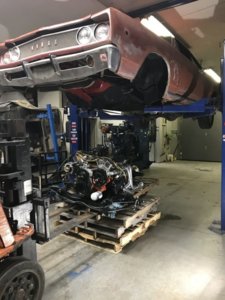
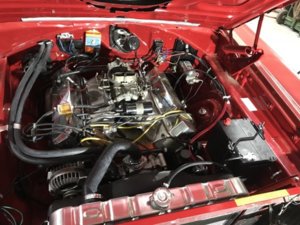
Wrapped up the engine earlier this fall and broke it in on an engine stand I made. I'm thinking it will roast the tires just fine.
440 bored 0.060" & decked 0.060"
Forged flat tops 0.025" in the hole
Comp XE274 Cam
Comp roller rockers
440 Source heads, port matched, light bowl work & milled 0.010"
Edelbrock RPM intake millled 0.060"
Calculated comp ratio 10.2:1
Hughes Hemi converter (big bolts) 2200rpm stall
Rebuilt my 727 locally.
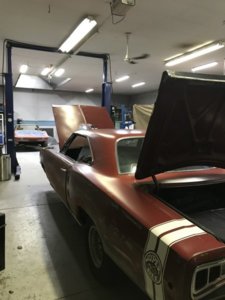
Finally got the car back in the shop in November. Time for the big push to spring....


MTUCJ7
Well-Known Member
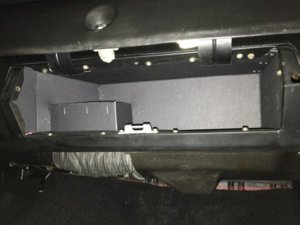
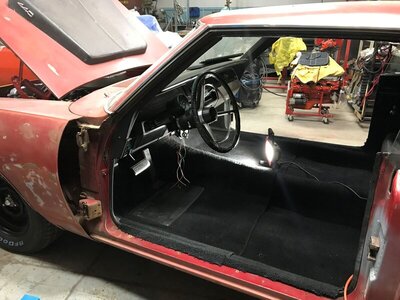
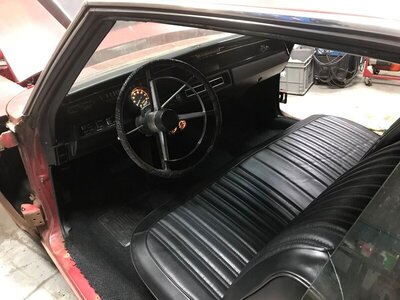
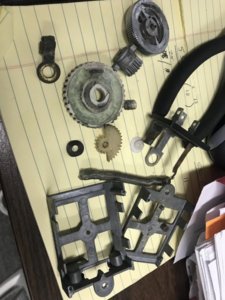
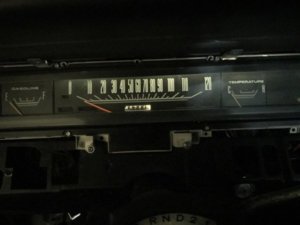
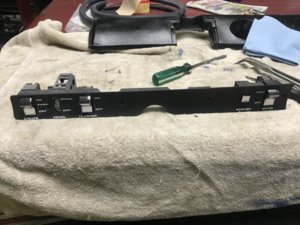
Then it was time to turn attention to the interior. I needed to have functioning gauges and dash lights at a minimum. Dimmer switch was bad but crazy expensive to replace. Tore it apart and rebuilt with some help of the search function on this forum. Replaced the burned out bulbs while getting a full ab workout in the process haha.


65-440
Well-Known Member
- Local time
- 5:50 AM
- Joined
- Dec 2, 2009
- Messages
- 3,394
- Reaction score
- 3,070
- Location
- virginia beach, va
Ok, so I " cleaned" my dimmer switch a couple years back. I never took the halves apart, just soaked in battery terminal cleaner and dipped in boiling water. Repeated a few times. It works but not prefect. I noticed the halves were riveted together, what did you do about that ?
MTUCJ7
Well-Known Member
I drilled the rivets out and used machine screws with nuts to hold it back together. I couldn't go your option because the coil portion was coming unbonded from the ceramic disc so it needed to be torn down. Sorry I should have got a final picture!Ok, so I " cleaned" my dimmer switch a couple years back. I never took the halves apart, just soaked in battery terminal cleaner and dipped in boiling water. Repeated a few times. It works but not prefect. I noticed the halves were riveted together, what did you do about that ?
MTUCJ7
Well-Known Member
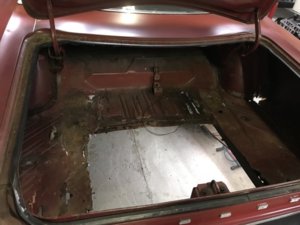
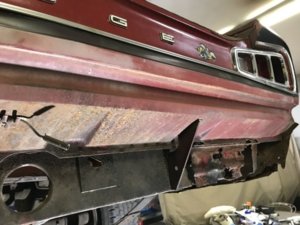
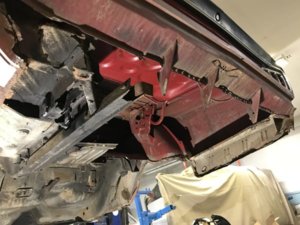
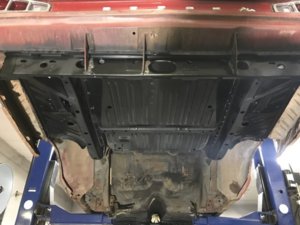
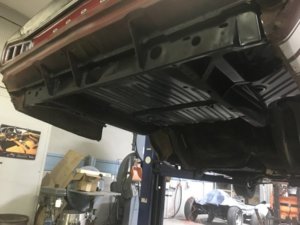
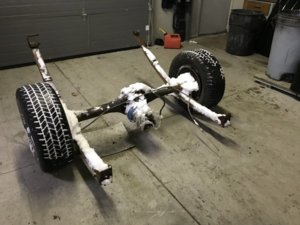
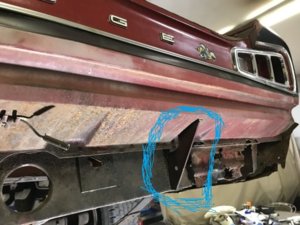
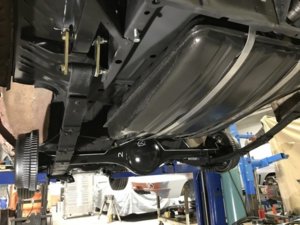
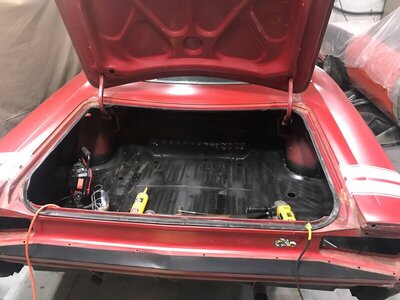
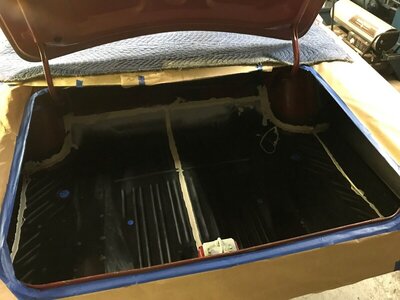
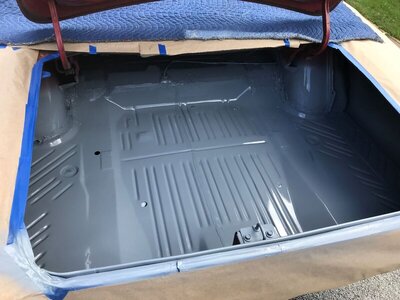
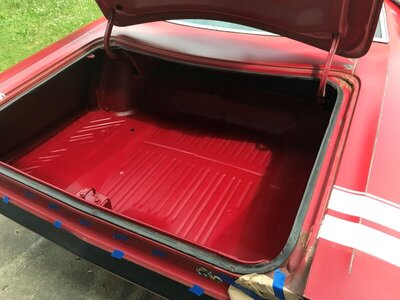
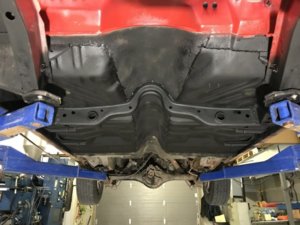
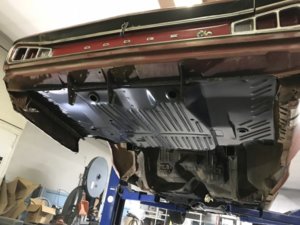
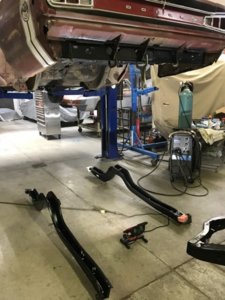
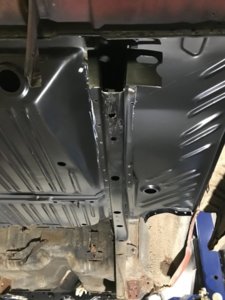
Started with cutting out the trunk floor, non-existent frame rails and rear crossmember. I only did one side at a time to keep as much structure as possible (haha) left in it while fitting/welding. So far i'm really happy with how it has turned out - we will see when I put in the rear axle this week and see how far off I am....


Basket case
Well-Known Member
MTUCJ7
Well-Known Member
Ha! Those are the factory brackets that were spared from the rot!great job! were you able to get these new? a buddy needs some for his '69...
MTUCJ7
Well-Known Member
Unfortunately I have to sell this car due to a move. I'll update this thread since I have actually finished the car last summer.
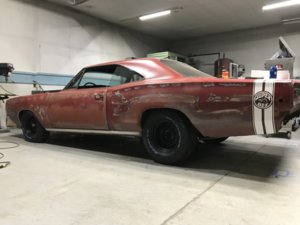
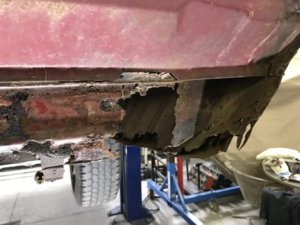
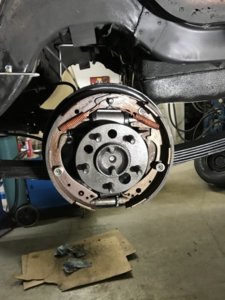
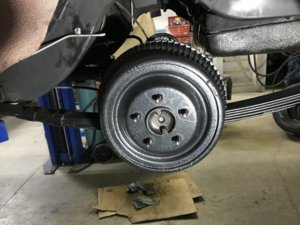
Jan18-April18 was a lot of rust cutting and welding new in. While I had the quarters off I also ended up rebuilding the rear window mechanisms and now they work great. Got everything welded in and drove it down the road - tracks straight and looks good!
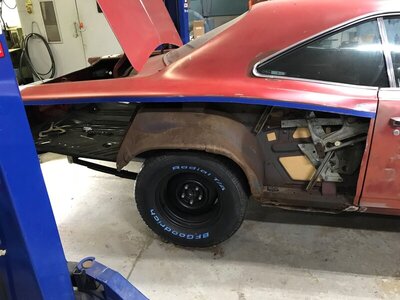
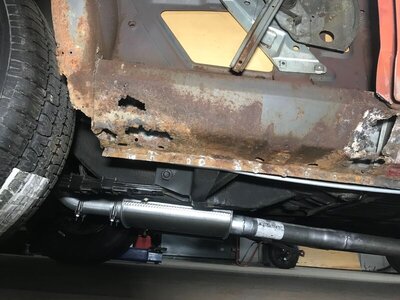
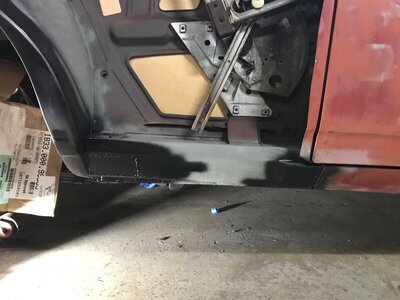
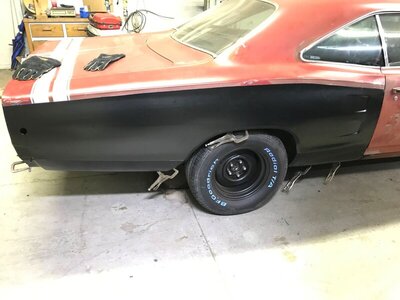
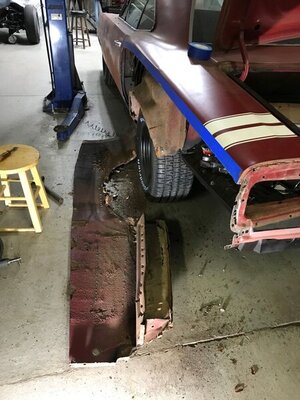
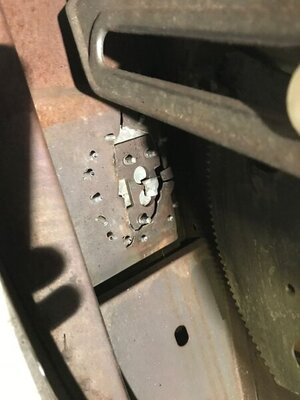
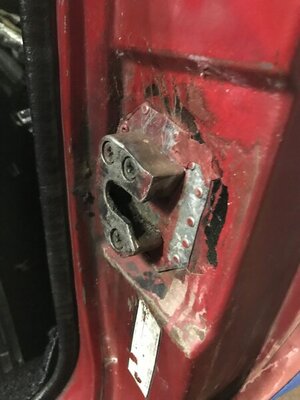
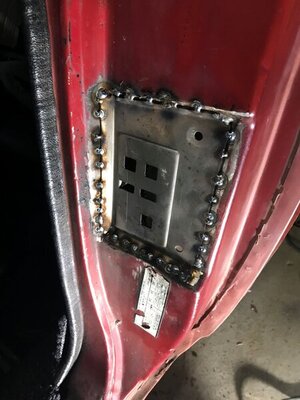
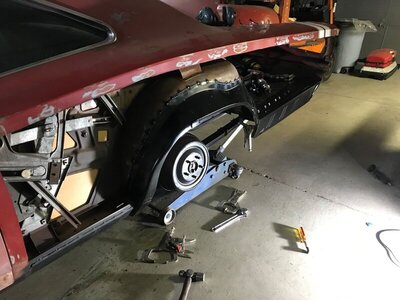
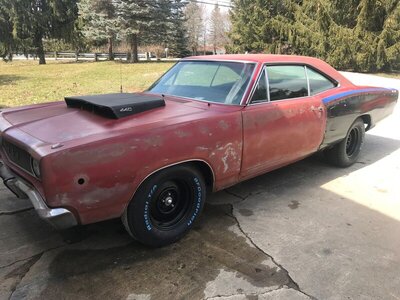
Jan18-April18 was a lot of rust cutting and welding new in. While I had the quarters off I also ended up rebuilding the rear window mechanisms and now they work great. Got everything welded in and drove it down the road - tracks straight and looks good!


Basket case
Well-Known Member
hate to hear this.been there done that.
MTUCJ7
Well-Known Member
MTUCJ7
Well-Known Member
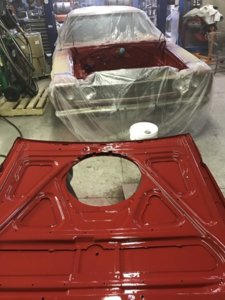
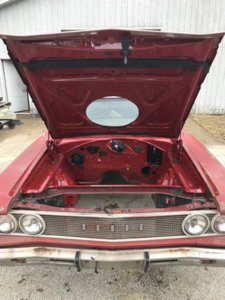
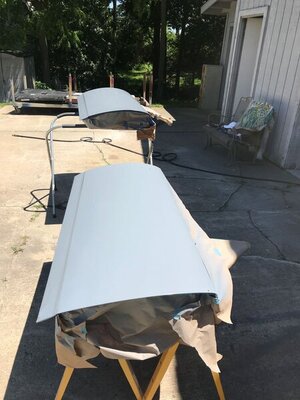
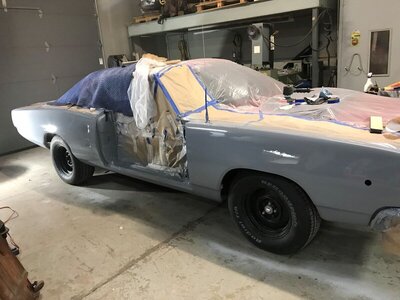
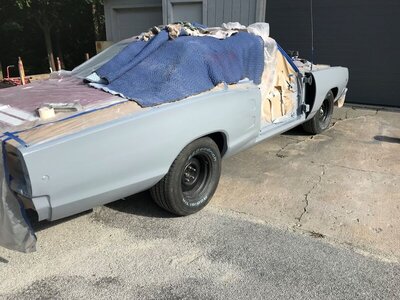
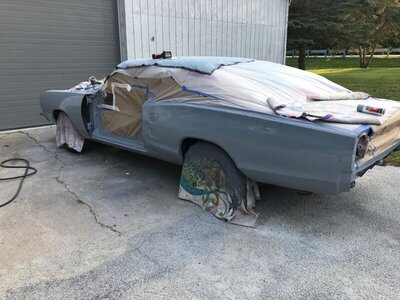
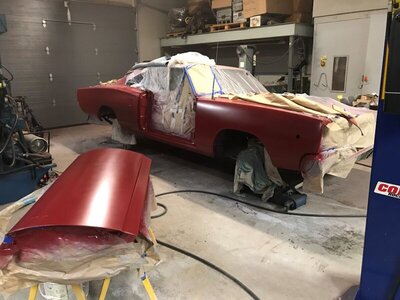
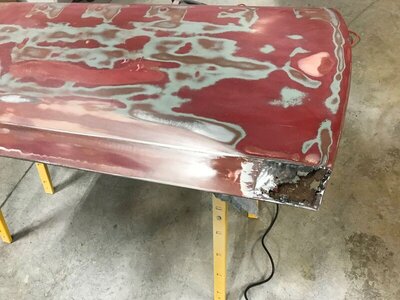
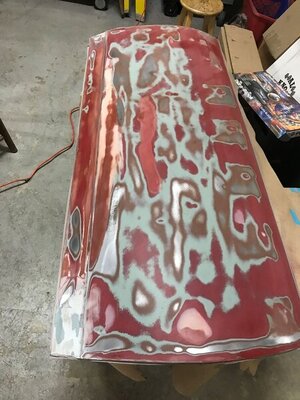
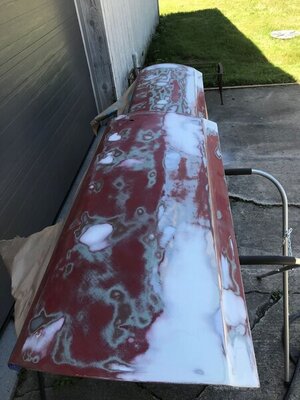
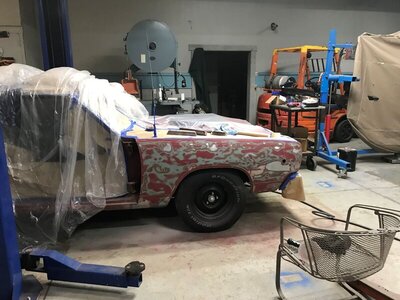
Hard to believe how wavy the doors and fenders are from the factory but a block will show the truth. New bushings/pins in the door hinges and some minor window regulator work was needed. MORE rust in the bottom corners of both doors and lower portions of the fenders. Why doesn't AMD make 68 Dodge fenders or trunk lids? I would have bought those!!


MTUCJ7
Well-Known Member
Similar threads
- Replies
- 18
- Views
- 252
- Replies
- 2
- Views
- 175
- Replies
- 32
- Views
- 766

