• When you click on links to various merchants on this site and make a purchase, this can result in this site earning a commission. Affiliate programs and affiliations include, but are not limited to, the eBay Partner Network.

1969 R/T Resto

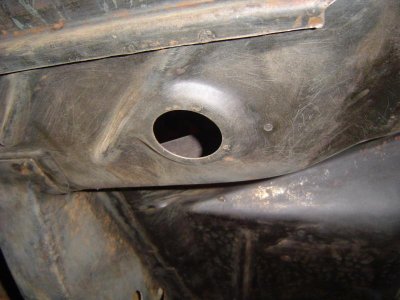
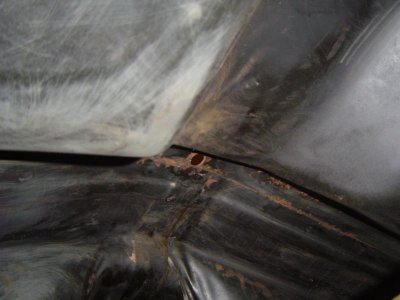
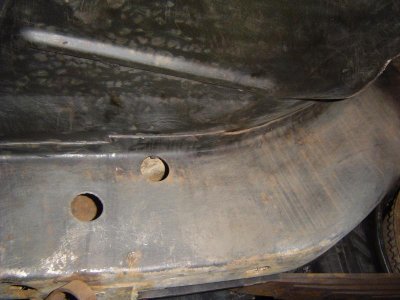
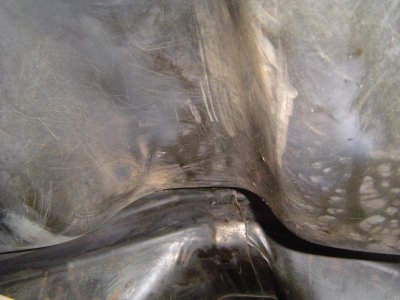
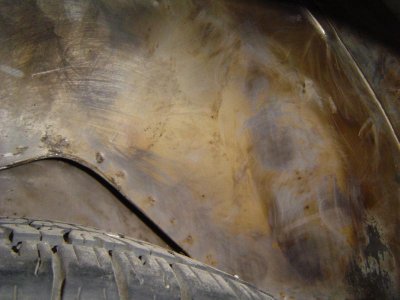
That may be the cleanest rear window channel of all time. Nice 69Coronetr/t :)

attachment.jpg


- - - Updated - - -


That just looks awesome Dennis !

x3! You really lucked out man, I had to patch probably 70% of my window shelf. Vinyl tops can definitely do a number on these cars
 
Best of luck on a great project that looks really solid!!
 
Thanks, so far so good. I'm continuing to scrape the undercoat and it's looking good underneath. I'll get a few shots posted soon. Getting farther back, rails look good so far. Glad I decided to strip it. As you can see only minor rust so far, but this was under areas that seemed to be completley sealed with undercoat.
 

Attachments

  • Undercoat 003.jpg
    Undercoat 003.jpg
    60.9 KB · Views: 234
  • Undercoat 005.jpg
    Undercoat 005.jpg
    44.6 KB · Views: 245
  • Undercoat 006.jpg
    Undercoat 006.jpg
    59.4 KB · Views: 239
  • Undercoat 008.jpg
    Undercoat 008.jpg
    53.8 KB · Views: 221
Last edited:
Thanks, so far so good. I'm continuing to scrape the undercoat and it's looking good underneath. I'll get a few shots posted soon. Getting farther back, rails look good so far. Glad I decided to strip it. As you can see only minor rust so far, but this was under areas that seemed to be completley sealed with undercoat.
I may have to stop watching this thread! Lol. I wouldn't find that virgin metal in the Bee!
 
Yea, I dropped the tank last night. Couldn't believe the factory paint was still there under the pad. Darin, I know this car was built on the west coast. But is that where you got it? It definitely spent the major part of it's life warm and dry.
 
That was a lot of work to get it where you stand, its great to see the original clean and solid metal, my metal ive been playing with is all painted black with AMD on it lol.. We do what we have to to get the job done! Keep up the good work, its sure showing!! :)
 
Yea, I dropped the tank last night. Couldn't believe the factory paint was still there under the pad. Darin, I know this car was built on the west coast. But is that where you got it? It definitely spent the major part of it's life warm and dry.
I got it from the Boulder, Colorado area. The history before that is a complete mystery.
 
Im going to do my wheel wells and i was thinking about doing it the way you did this, i was thinking though on just how well a heat gun may work, I have one and they do put some serious heat out quick! That must have taken you many hours to get it to look this great, Seems everything takes forever with me, ill just blame old age this time lol, I always look for some kind of excuse why things take me forever anymore..
 
The heat gun might work if you get the first area hot then keep it moving. I actually started one of my wheel wells the other night to see how it would go. I'll post a pic when I get a chance. I did change my method a bit and I like the results. Heat the area till fairly soft then use a small wire toothbrush. The stuff falls off if the temp is right and you don't have alot more cleanup to do afterwards like you do with the scraper. And it gets the contoured areas better.
 

Attachments

  • 1969RT 007.jpg
    1969RT 007.jpg
    52 KB · Views: 153
Last edited:
Thanks bud, When the time comes ill try it both ways and see which is quicker, right now im in the middle of a big job but it may be fun to get at one and give it a try, I actually bought the heat gun to help with back window removal and windshield and i got to thinking of the way you were doing this.. I like the way you have this working and a fresh surface when its time to finish things up with paint, undercoating would really be a plus, that and i want to know just whats under it, don't like surprises.. again, Good luck to you!
 
The heat gun might work if you get the first area hot then keep it moving. I actually started one of my wheel wells the other night to see how it would go. I'll post a pic when I get a chance. I did change my method a bit and I like the results. Heat the area till fairly soft then use a small wire toothbrush. The stuff falls off if the temp is right and you don't have alot more cleanup to do afterwards like you do with the scraper. And it gets the contoured areas better.

I thought about about using a heat gun or torch, but didn't like the idea of f the heat. I did 3/4 of my car with just a stiff painters putty knife - and then someone suggested a needle scaler.

Check out my thread - and check out a needle scaler on youtube too . . . you'll be amazed how quickly it does the work.

This will take you to the correct page - http://www.forbbodiesonly.com/mopar...dere-Convertible-Plans-and-Restoration/page15

Look for post 287 . . . this might save you a LOT of time ! ! !

After that gets about 99% of the stuff off - your heat gun might work a whole lot faster to finish up the last 1% . . .

For reference - I did all the nooks and crannies from the back axle back, all around the gas tank, trunk extensions, frame rails, and floor - in about 2-3 hours . . . it works great in the tight areas ! !
 
I'm sold on the needle scaler! That was an awsome video. Going out after work to buy one. :)

I am very jelous of your car but I'm glad you found such a solid body and frame to work with. Good work.
 
Auto Transport Service
Back
Top