• When you click on links to various merchants on this site and make a purchase, this can result in this site earning a commission. Affiliate programs and affiliations include, but are not limited to, the eBay Partner Network.

68 Charger Resto-Mod restoration

For my suspension no work was needed. If your car has a normal suspension travel then you will have to work the outer wheel well because of the way it's shaped. I worked mine with a torch, hammers, and dollies. turned out I didn't have to because my suspension travel wont allow the tire to go that far up in the wheel well. Also keep in mind I don't have a leaf spring in the way. I converted the rear suspension to a coil over set up.
That is awesome, I have changed the rear as well. Went with PST Tubular front arms along with their kit.
 
That is awesome, I have changed the rear as well. Went with PST Tubular front arms along with their kit.
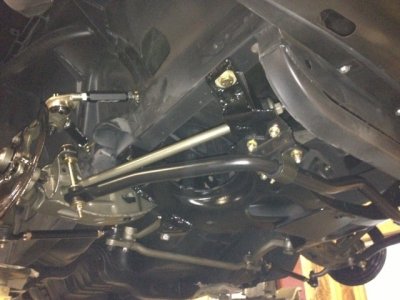
I used SPC Performance tubular A-arms and Boxed the lower control arm with a kit from Firm feel. The K-member I also used a kit from Firm feel and welded it in myself. Also seam welded the entire K-member for torsional rigidity. The list of upgrades is a mile long. I'll try to cover them as I upload pics.
 
Bent and installed my own roll cage. Using a new tubing bender purchased online for $500. Fabricated a frame to hold the tubing bender. The tubing bender frame bolts onto one of the uprights on my two post lift. Worked pretty slick.

IMG_0164.JPG IMG_0173.JPG
 
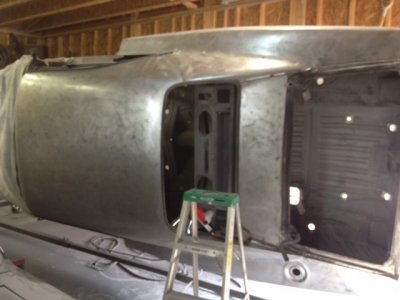
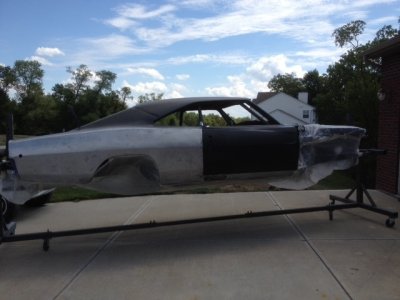
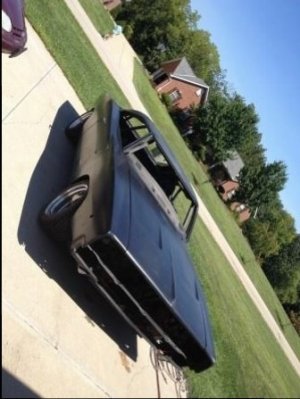
A couple more pics to start the day. After installing the roll cage I moved to the outside and stripped all the Epoxy primer and reprimed. Luckly I did because the last owner just epoxied over some bad surface rust that needed attention. Forgot to mention the lower valence was replaced also... Threw that in as the first pic

IMG_0159.JPG IMG_0175.JPG IMG_0176.JPG IMG_0177.JPG
 
A shot of the new rims and tires setting the ride height with the two post lift for the fabrication of the rear suspension. I fabricated the two control arms and welded in a 2" square tube, with fabricated bracket for panhard bar, to hold the coil overs. The panhard bar is a cut down aftermarket Camaro piece. The rear would use a firm feel large diameter anti sway bar slightly modified to the Camaro rear end. Unfortunately I couldn't find any pics of these components separate, but they will get posted in the painted pics when I get there. The emergency brake was all factory 68 Charger to the rear and a small fabricated adapter plate welded to the bottom of the floor to join this e-brake cable to the Factory Camaro set up. Works like a charm.

IMG_0182.JPG
 
Next step was building the front suspension. Put late model spindles on and bear brake setup. I used 14" rotors on a 17" rim. That took some machining of the caliper and caliper bracket to allow enough clearance. I like the look of the 17" rim and didn't want to go any bigger and was to stubborn to put anything smaller than a 14" rotor. The torsion bars, steering box, quick steering arms, and monster 1 1/4" tubular anti sway bar were from Firm Feel. I also bought the rear Bilstein coil overs and front Bilstein shocks from FF.

IMG_0183.JPG IMG_0184.JPG
 
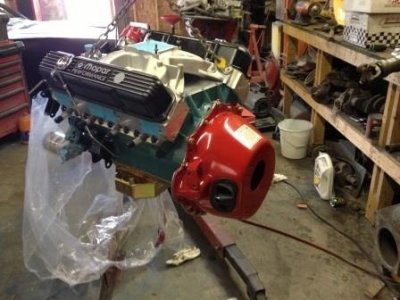
The motor was already sitting on the engine stand half built during the rotisserie portion of the build. The motor is relatively simple. Roller cam (approximately.590" lift), Ported Edelbrock RPM heads, and a Edlebrock torker intake( Also blend ported). Not shown in the pics I created a simple oiling system, fed from the rear oil gallery, for the valve train since the roller system had no oil ports. Works like a charm. Also had Harland sharp shaft mount adjustable rockers. Topped off the motor with a 750 QFT blow through blower carb. The internals were set up with forged 9:1 blower pistons and eagle H beam rods with the stock forged crank. Anyway enough about that... Painted the block the stock turquoise color. I just wanted the car to have the stock look but modified a little.. lol

IMG_0187.JPG IMG_0189.JPG IMG_1119.JPG
 
Last post at lunch
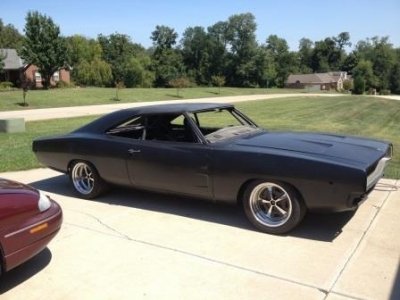
The car finally sitting on its own suspension ready for fine tuning of the ride height and flaring the front fenders for clearance.

IMG_0191.JPG IMG_0193.JPG IMG_0195.JPG
 
Thanks, I just got a set back the other day, the rear main was dripping slowly all summer and let go finally Friday...
:mad:
Oh well I pull the motor and inspect everything. Then get the single rear main adapter that Indy Cylinder makes. fix that for good. I wish my uncle would have mentioned that little part when I was building the motor the first time.
 
I see you have Kentucky Plates, you anywhere near Louisville? I sold one of my 68s up there when I lived near Knox in 1999. Indy has some great products makes life easier.
 
I see you have Kentucky Plates, you anywhere near Louisville? I sold one of my 68s up there when I lived near Knox in 1999. Indy has some great products makes life easier.
I'm about seven minutes from Lawrenceburg Indiana. As far north as you can get. I got this rolling rust bucket from a guy in Indianapolis in 2006. Yes Indy Cylinder heads have great products
 
LMAO, I didn't say it wasn't a rust bucket. It was pretty bad Hunter Green 383 4sp car.
 
LMAO, I didn't say it wasn't a rust bucket. It was pretty bad Hunter Green 383 4sp car.
LMAO that's the knick name I gave it after getting it home. The rust was all gone when I got it. The car was already sand and bead blasted. They just did a horrible job replacing the trunk and it all needed to be replaced.
 
I can relate, I am at a stand still right now, waiting to get into a shop as they forgot to add the fuel tank brackets when they replaced the trunk floor. You have done a lot and that looks like a fun ride.
 
I can relate, I am at a stand still right now, waiting to get into a shop as they forgot to add the fuel tank brackets when they replaced the trunk floor. You have done a lot and that looks like a fun ride.
Yeah that's why I do all my own work. Nobody to yell at but myself... :lol:
 
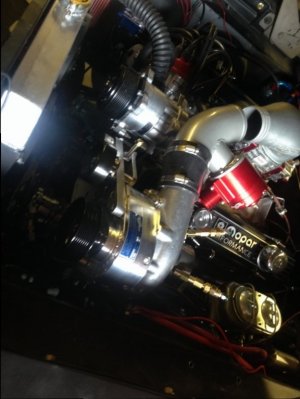
Last part of the mechanical puzzle was installing the F1C Procharger, Alcohol/water injection, and the Hydroboost brake system. Had to do some more machining to the carb cap and dropped the K-member about 1/4" to make the whole thing fit under the stock type fiberglass hood. Also had to do rework on the Hooker comp headers. Had to completely reroute one of the tubes so the center link and tie rod would have clearance. Oh the joy of a custom build...

I also fabricated a custom fuel cell out of the factory tank so it would accept 10an and 8 an lines to and from the engine. Cant find my pic of the fuel cell... :(

IMG_0629.JPG IMG_0635.JPG IMG_0651.JPG
 
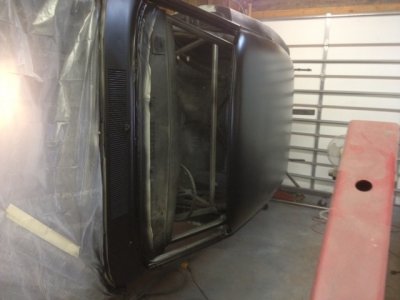
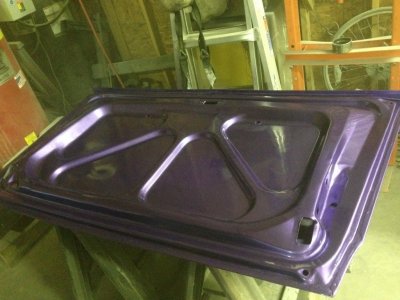
Now that everything was fabricated and the car was functional it was time to take apart the entire car and start the long painting process. I painted the cage first and then moved on to the underneath and remaining suspension components so I could get the car on its own wheel to paint topside.

IMG_1156.JPG
 
Auto Transport Service
Back
Top