• When you click on links to various merchants on this site and make a purchase, this can result in this site earning a commission. Affiliate programs and affiliations include, but are not limited to, the eBay Partner Network.

'68 Coronet 440 to R/T Clone

Then on went a new front end kit from 440 source.
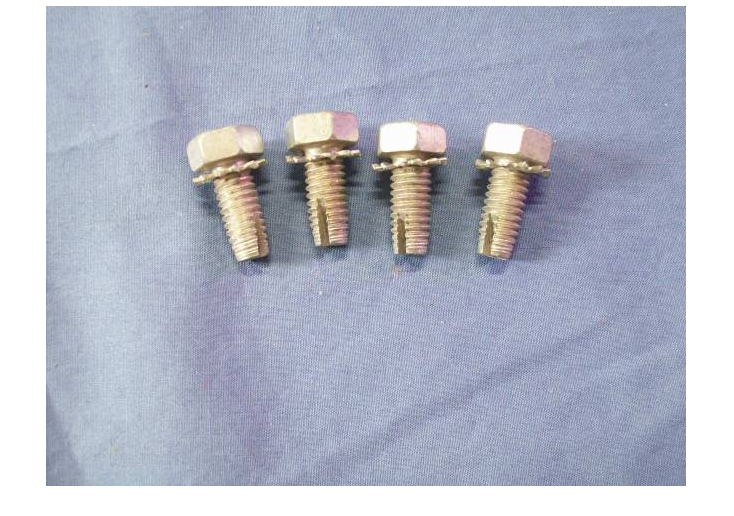
IMG_7742.JPG

IMG_7744.JPG
 
The harness that comes with the Edelbrock Pro-Flo kit isn't very long. So you are limited on where you can mount the ECU. Since I didn't plan far enough again, I didn't have a hole in the firewall to mount it inside. So I was stuck with having it in the engine bay. I didn't want it on the firewall or somewhere easily visible. So I decided to put it under the battery tray. The problem is the harness is not long enough to reach there. It would get about to the master cylinder.

IMG_8020.JPG

The connectors that Edelbrock uses are the Delphi brand GT series. The one connector is GT150 series and the one connector is a GT150/280 series. So I purchased all of the connectors, pins and required parts to make two harness extensions so that I could mount the ECU below the battery. If anyone ever wants all of the part numbers needed to extend the harnesses on the Pro-Flo, I can provide all the information.

GT 280 Series Plug.
1677119062809.png


So my extensions go from the firewall right behind then engine to just right around the master cylinder. It is the two harnesses in the flex loom going up over the brake booster. I may change the routing in the future once I get all of the other wiring installed. But for now this will work.

1677119485343.png
 
I also needed to make up power steering lines to go from the Saginaw pump to the Borgeson steering box.

OER makes a fitting for the back of the Saginaw pumps that converts from the 5/16-18 inverted flare to a 6AN male.

1677119849481.png

1677119931567.png


Borgeson makes similar adapters to go from the 16mm x 1.5 threads on the steering box to a 6AN male.

1677120003409.png

1677120074411.png


Earl's Performance makes hose and ends for Power Steering. For the supply line to the steering box, I used 90 degree fittings on both ends. I have not made up a return line yet because I am trying to figure out where to mount the power steering cooler.

1677120186508.png


IMG_8022.JPG
 
I decided to switch gears for a little bit and get back to some of the interior work that needs to be done. So I started with rebuilding the steering column.

The car was originally a column shift car. So I will also be swapping out the collars on the column and changing the color of the column to black.
IMG_2224.JPG

IMG_6436.JPGIMG_6443.JPGIMG_6446.JPG


IMG_6462.JPG


Once the column was apart, I sandblasted the column tube and then powder coated the tube, new floor shift collars and the firewall plates a semigloss black.
 
Last edited:
After I finished up the steering column, I put the new dash pad from Just Dashes on and put the dash in the car.

IMG_7760.JPG


Then I had to just temporarily installed the pistol grip handle to see how it looked.

IMG_8355.JPG
 
Once the dash was in I had to get the hoses for the defroster hooked up. My old ones were pretty dirty and tore up. After some looking, I found that Dorman makes a hose in the correct 2.25" diameter.

1677122880784.png


IMG_8452.JPG

On the left is the Dorman Hose and on the right is the original hose.
IMG_8451.JPG
 
Next I got the carpet out of the box. It also has been folded up inside the box for over 10 years.

IMG_8502.JPG

I let it lay in the car for a few days to generally come back to shape, which it did. Then I trimmed the edge up againest the heater box so that I could get it slid far enough up for the 4 speed hump to fit properly. Once the hump and the edge along the heater box were all good, I located where the gas pedal would be right at the edge of the heel pad.

IMG_8528.JPG
IMG_8532.JPG
 
Put the carpet back in place and bolted the gas pedal in. Though I forgot the foam block/seal that goes under the carpet. Still need to take it back out and put that in. Then I trimmed the hole for the shifter and bolted in the handle, rubber boot and trim.

IMG_8533.JPG

There are still some wrinkles in the carpet, but they are slowly coming out.
 
Next up was the steering column, tuff wheel adapter and tuff wheel.

IMG_8600.JPGIMG_8602.JPG
 
Nice attention to detail! I used the same 12pt SS fasteners on my ‘58 Apache build. You can get singles to replace the non-matching hardware on your 440 Source accessory drive.

Keep up the awesome work…
 
Looks very nice.

Until you have actually completed a restoration, you have no idea of the amount of time, work and money that is involved. Just when things seem to be coming together, there is that "other thing" that needs to be completed first.

Can't wait to hear it run.
 
Next up for some clean up are the bucket seat tracks. There were not to bad over all, just some surface rust.

IMG_6522.JPG
IMG_6521.JPG


IMG_6492.JPG
IMG_6520.JPG
 
After I figured out how to get the tracks apart, I sand blasted them and powder coated them a satin black.

IMG_6580.JPG


IMG_6574.JPG
 
Here they are all back together.

Does anyone know where to get the correct studs for the top that bolt the seats down? I have see the studs for the bottom that go through the floor, but never found the top ones for sale. I just have some carriage bolts in the picture below, but they don't fit very well.

IMG_7135.JPG
 
Auto Transport Service
Back
Top