• When you click on links to various merchants on this site and make a purchase, this can result in this site earning a commission. Affiliate programs and affiliations include, but are not limited to, the eBay Partner Network.

`71 Dodge N96 hood resto

detmatt1

Well-Known Member
Local time
8:29 PM
Joined
Dec 8, 2008
Messages
4,686
Reaction score
751
Location
Detroit Metro Area
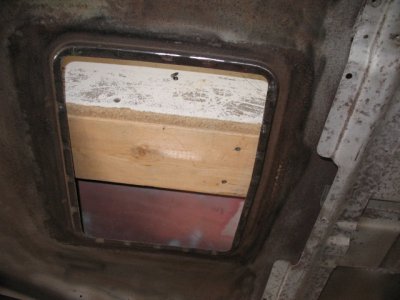
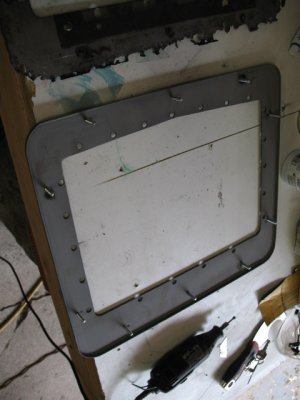
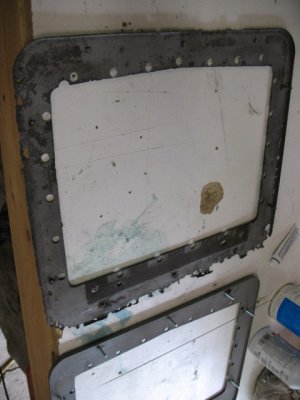
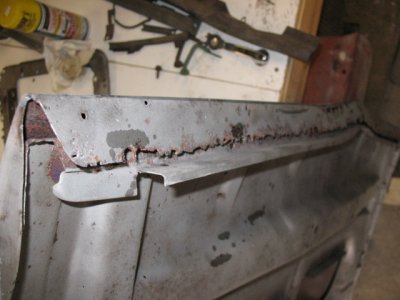
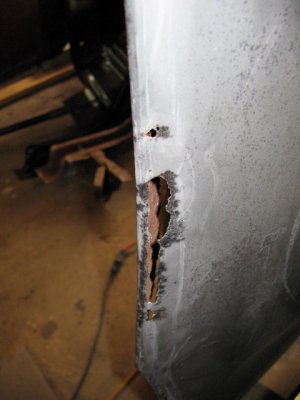
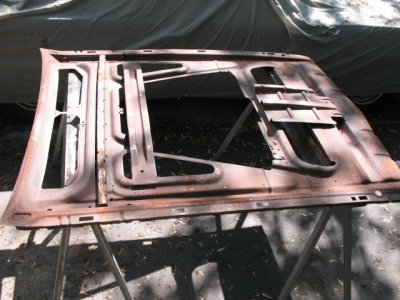
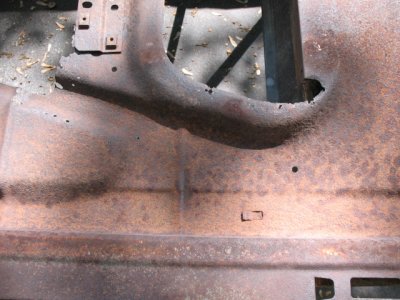
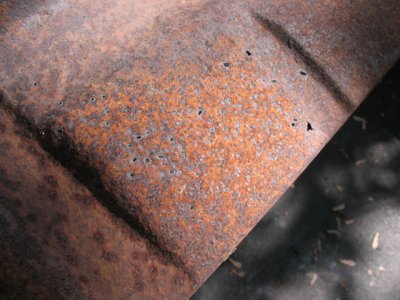
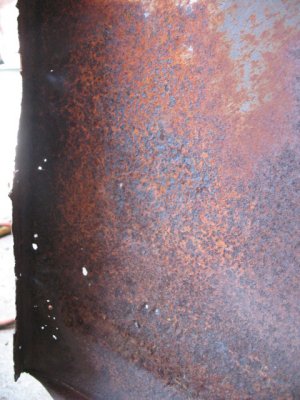
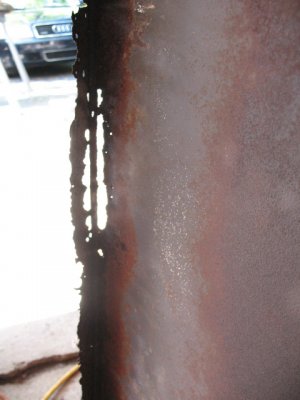
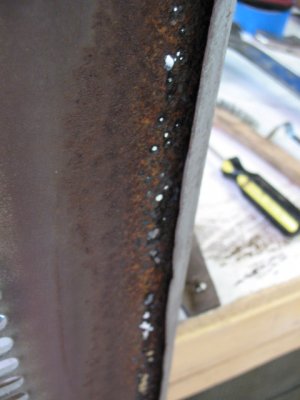
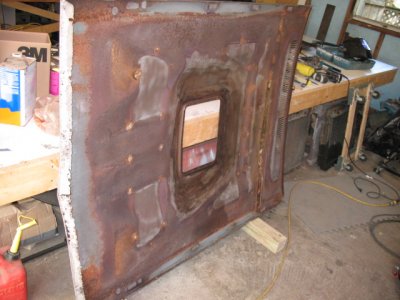
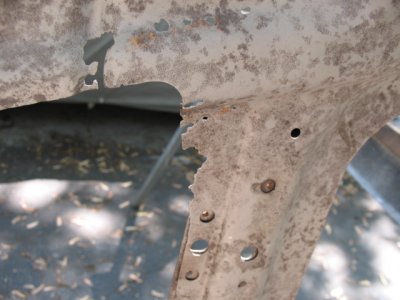
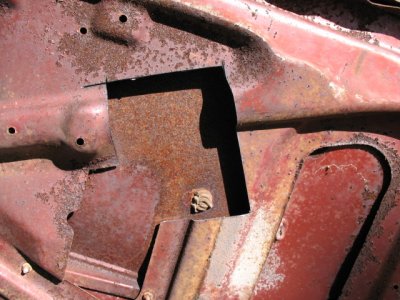
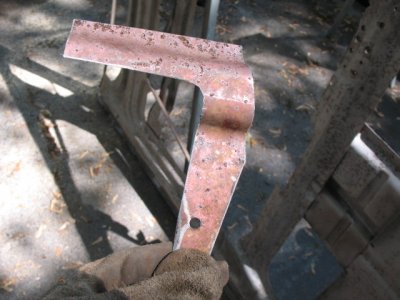
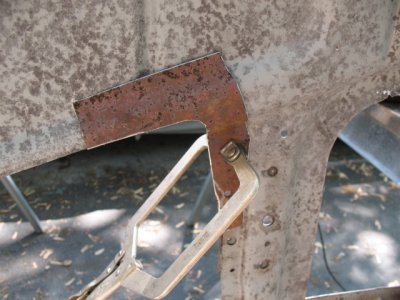
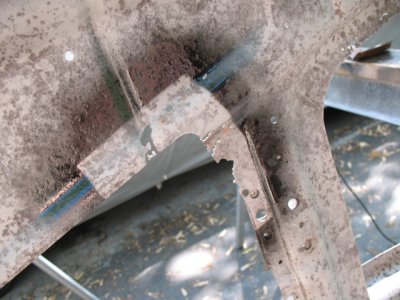
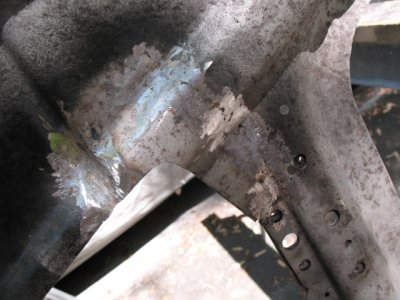
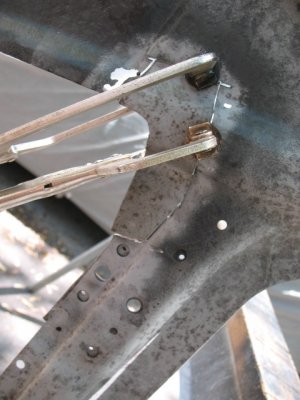
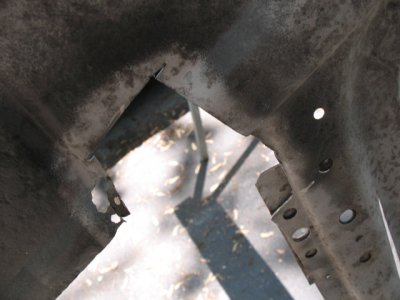
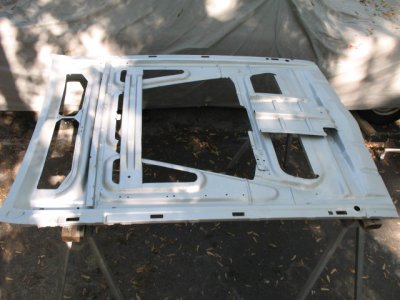
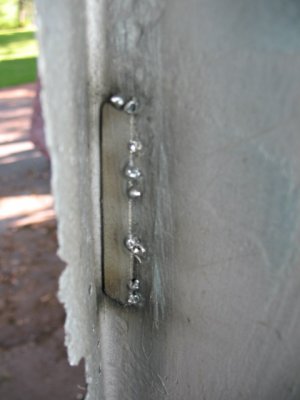
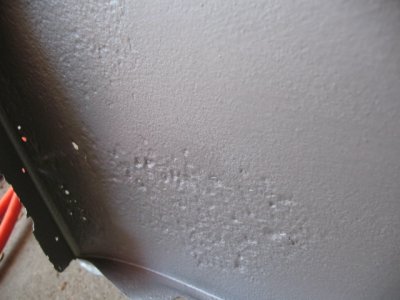
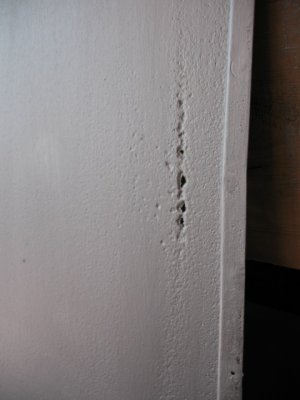
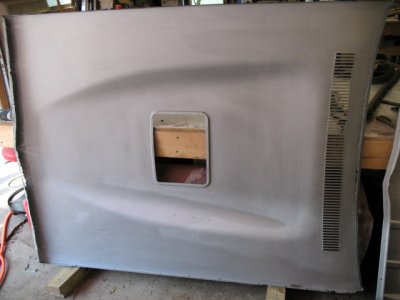
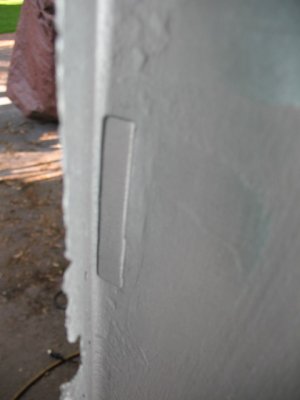
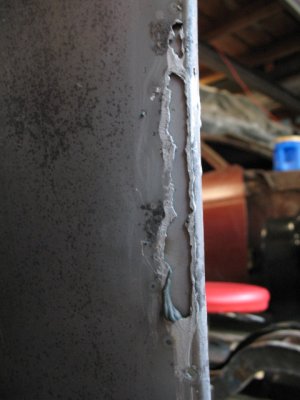
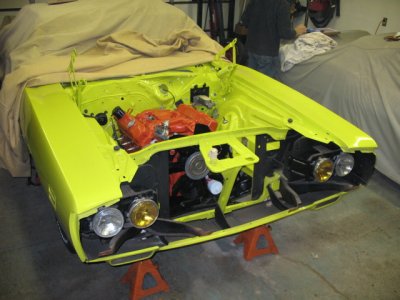
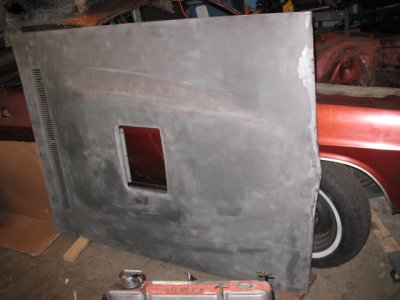
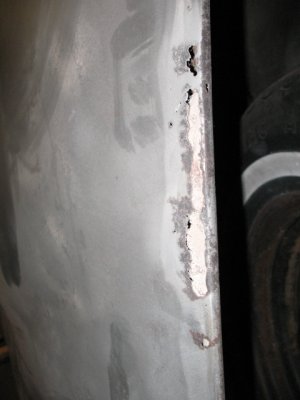
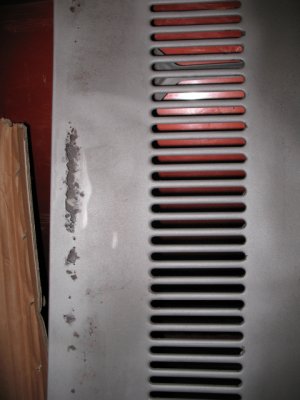
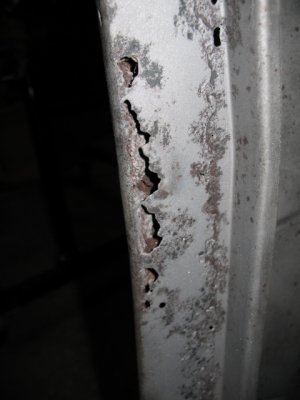
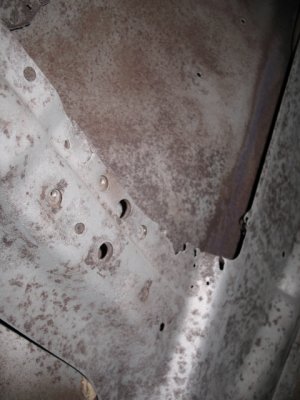
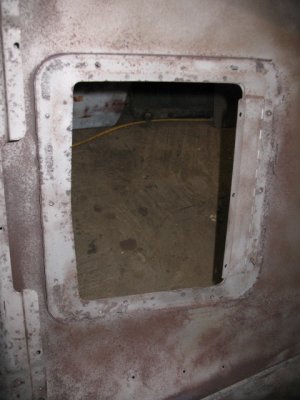
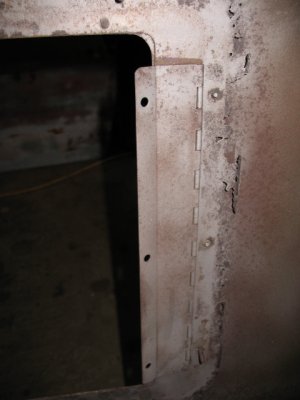
Me and a couple of buds are finishing up a resto on a very kool and real `71 Charger R/T that is an orginal N96 painted bumper car. The car was about 75% finished when we took it over and did not come with a fresh air hood. We ended up finding one locally that was rusty but complete for a not suprisingly large chunk of change but these things are rare and we really wanted to put the car back to original so we bought it. Took it straight to the media blaster and unfortunately didn't get any before pics but it looked rough and it got worse after it was stripped.
 

Attachments

  • IMG_7798.JPG
    IMG_7798.JPG
    158.9 KB · Views: 645
  • IMG_7779.JPG
    IMG_7779.JPG
    141.5 KB · Views: 653
  • IMG_7784.JPG
    IMG_7784.JPG
    158.7 KB · Views: 683
  • IMG_7789.JPG
    IMG_7789.JPG
    129 KB · Views: 654
  • IMG_7791.JPG
    IMG_7791.JPG
    165.2 KB · Views: 595
  • IMG_7770.JPG
    IMG_7770.JPG
    157.9 KB · Views: 590
  • IMG_7796.JPG
    IMG_7796.JPG
    177.9 KB · Views: 589
  • IMG_7795.JPG
    IMG_7795.JPG
    163.7 KB · Views: 575
  • IMG_7792.JPG
    IMG_7792.JPG
    134.1 KB · Views: 606
There was no saving this ring that the airbox mounts to so I hand fabbed a new one only to find out that it's repopped, didn't think it was, or at least not oem style. I will say that building one from scratch was a heck of a lot cheaper then the repop and it was fun to build too.
 

Attachments

  • IMG_8139.JPG
    IMG_8139.JPG
    101.8 KB · Views: 577
  • IMG_8141.JPG
    IMG_8141.JPG
    90.3 KB · Views: 574
  • IMG_8140.JPG
    IMG_8140.JPG
    93.3 KB · Views: 576
I decided that even after being stripped that there was still a lot of rust in between the skin and the understructure that I couldn't leave in good conscience, especially on such a rare high dollar part. The only way to get at it was to seperate the structure from the skin. This will also make the individual repairs needed on this piece easier to perform and the hood will last forever for the next owner. The words I live by are "If something is worth doing, it's worth doing right."
It came apart easily as there were only 26 spot welds and the old dry adhesive that was used to bond the skin to the frame wasn't doing much anymore. There was some very deep pitting hiding in between that would have eventually come back to haunt this piece.
 

Attachments

  • IMG_8137.JPG
    IMG_8137.JPG
    94.7 KB · Views: 567
  • IMG_8138.JPG
    IMG_8138.JPG
    89.3 KB · Views: 579
  • IMG_8142.JPG
    IMG_8142.JPG
    127.2 KB · Views: 556
  • IMG_8143.JPG
    IMG_8143.JPG
    152.7 KB · Views: 561
  • IMG_8144.JPG
    IMG_8144.JPG
    152.2 KB · Views: 561
  • IMG_8151.JPG
    IMG_8151.JPG
    148.1 KB · Views: 584
  • IMG_8149.JPG
    IMG_8149.JPG
    91.7 KB · Views: 548
  • IMG_8147.JPG
    IMG_8147.JPG
    86.6 KB · Views: 561
  • IMG_8145.JPG
    IMG_8145.JPG
    121.1 KB · Views: 560
There was one spot on the frame that I wanted to replace with a graft from a different junk hood. It was the mounting point for some of the N96 hardware and I knew that it was too bad for filler. this would have been much more difficult to repair with the hood still in one piece. There was no spot on the Doner hood that matched identically so I used a section that was close and made some mods to it, I think it turned out well and sure beats the paper thin swiss cheese that was there.
 

Attachments

  • IMG_8152.JPG
    IMG_8152.JPG
    103 KB · Views: 555
  • IMG_8153.JPG
    IMG_8153.JPG
    155.3 KB · Views: 573
  • IMG_8154.JPG
    IMG_8154.JPG
    109.3 KB · Views: 552
  • IMG_8155.JPG
    IMG_8155.JPG
    121.3 KB · Views: 578
  • IMG_8156.JPG
    IMG_8156.JPG
    125.9 KB · Views: 567
  • IMG_8159.JPG
    IMG_8159.JPG
    123.2 KB · Views: 572
  • IMG_8158.JPG
    IMG_8158.JPG
    106.3 KB · Views: 563
  • IMG_8157.JPG
    IMG_8157.JPG
    90.1 KB · Views: 561
After that repair and a couple of other welding repairs to the frame I wire brushed the entire thing and put 2 coats of Rust Bullet top and bottom. Also 2 coats on the underside of the hood skin.
 

Attachments

  • IMG_8160.JPG
    IMG_8160.JPG
    108.9 KB · Views: 561
can't wait to see it done matt.You're doing a heck of a job(as usual),what color is it going to be painted?
 
That hood will be citron yellow just like the r/t is and yes alot more work on that hood then I thought even more then on mine and its coming along nicely here is the hood which is next to tackle on mine
 
Oh you guys are going to love the car! I'll give you some preview shots next time I'm on the desktop. Citron Yella painted bumper, N96 car, very unusual and the only thing that is kind of a bummer about the car is its a bucket seat, non console column auto car!
 
Just bought a quart for this job from Summit for $61. Came with a coupon for $20 off next purchase of $100 or more and I think I'll put it towards a gallon of it for my A66 Challenger project. Great stuff if it truly does what they say does.
 
Here's the inside of the hood skin after a couple of coats of the Bullet. I didn't want to do any grafting on the skin because I don't think any of the holes are bad enough to go through that kind of hassle. The exception will be the strip that is folded under the nose and I plan on addressing that after the skin is back on the frame. The holes at the rear are backed up by the frame so the fiber reinforced filler will be fine back there. At the front the holes are a little worse so I welded in some backing plates that are covered on all sides with weld through primer.
 

Attachments

  • IMG_8170.JPG
    IMG_8170.JPG
    67.7 KB · Views: 505
  • IMG_8166.JPG
    IMG_8166.JPG
    104.5 KB · Views: 539
  • IMG_8164.JPG
    IMG_8164.JPG
    87.5 KB · Views: 510
  • IMG_8163.JPG
    IMG_8163.JPG
    75 KB · Views: 510
  • IMG_8161.JPG
    IMG_8161.JPG
    78 KB · Views: 511
  • IMG_8169.JPG
    IMG_8169.JPG
    55.3 KB · Views: 522
  • IMG_8174.JPG
    IMG_8174.JPG
    88.4 KB · Views: 523
Here's a peek at the rest of the car, but just a peek.
 

Attachments

  • IMG_7818.JPG
    IMG_7818.JPG
    189.2 KB · Views: 529
Wow. Sad that you got a shabby media blast job on that hood! I must say, I would not have let it go out looking like that from my shop; still too much rust on it! Splitting it apart is the only way to fix it though. Who is 'We' Matt that you refer to? I payed $165.00 per gallon of Rust Bullet from the manufacturer, but, I bought 2 gallons of it.

I my media mix I run Plastic, some Walnut, and some Powerblast (Staroulite) which is like A.O., but use it very leanly. I aim to get rid of paint, rust, fillers and leave the metal in a 1500 grit profile surface which is ready for priming.
 
Rust bullet through Summit Racing is $141.95 per gal.

Cool project Matt
 
Thanks guys! I'm happy with the media blast on this hood mainly because he went as far as he was comfortable with going on it and no further. We paid more for this slice of swiss cheese aka hood then I paid for 2 of my cars and to have it ruined by someone that was trying to clean every last bit rust off of it would have really been a costly tragedy. Bottom line, he could have taken it further with the blast and I still would have had to do the same thing with the repairs. In this case a little restraint was warrented.
We would be two good friends, car club guys. Met the first one when I bought the "DOG" from him(yep, became friends with him even though he unloaded that POS on me, lol!).
 
Shows prudence on the blasters end, judgement call, but, if you have the CFM, you can dial it down to 30psi and take that rust off with NO worries. But, again, its all about compromise -- best of luck in this!
 
Good observation Prop, yes it was. Brian was a new member here then and had it and another project up for sale simultaneously and whichever one didn't sell he was going to restore. Fast forward a couple years in on it's resto and he was doing a fine job I'll say, he found another project that interested him more and offered this one to me for a price I/we couldn't refuse. So we picked up where he left off and are getting close to being finished with it. Will be a real stunner here shortly!
 
Figured as much. Not like you see a ton of them floating around, especially with that color combo. Gotta say...nice work man. She's looking good.
 
Auto Transport Service
Back
Top