• When you click on links to various merchants on this site and make a purchase, this can result in this site earning a commission. Affiliate programs and affiliations include, but are not limited to, the eBay Partner Network.

73 Charger Dash Removal

Strykr73

Member
Local time
4:58 AM
Joined
Jul 31, 2022
Messages
22
Reaction score
11
Location
Pennsylvania
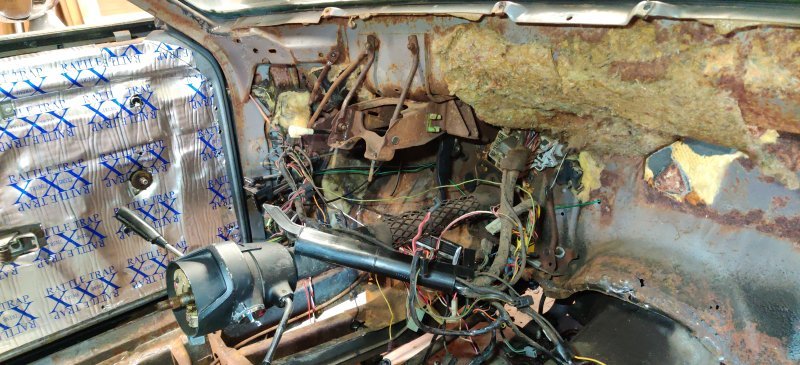
Does anyone have the schematic or step-by-step instructions for completely removing the dashboard from a 73 Charger? I have the heater box, heat & a/c controller, and glove box out already, but the steering column is still connected for now.

I can't figure out where the bolts are that connect the dash to the firewall, or how to get the dash pad off. Help please!
 
Remove Steering Column
Remove the two studs for the column going through the dash frame.
Loosen the two bolts going into the A Frame under the dash on each side. Do not remove
Remove the top speaker grille
Remove the 4 bolts going into the cowl
Now you can pivot the dash forward. Rest it on a block of wood
Disconnect anything left going to the firewall. Dash harness, speedo cable etc.
Now you can lift it up and off the pivots and remove it from the car.
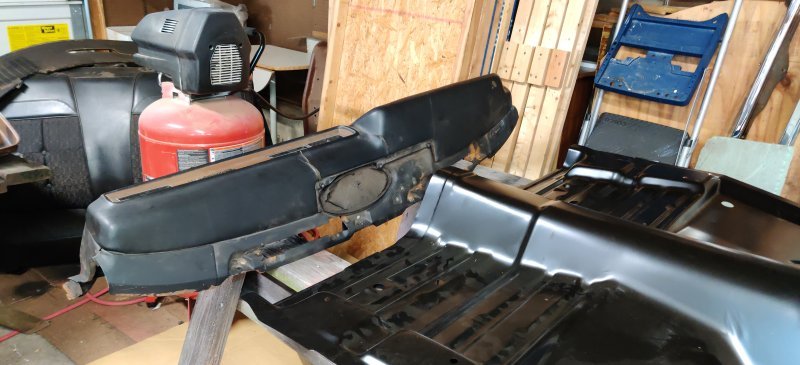
Make a handy stand to mount it to while you work on it.

IMG_2879.jpg
 
Thank you very much!

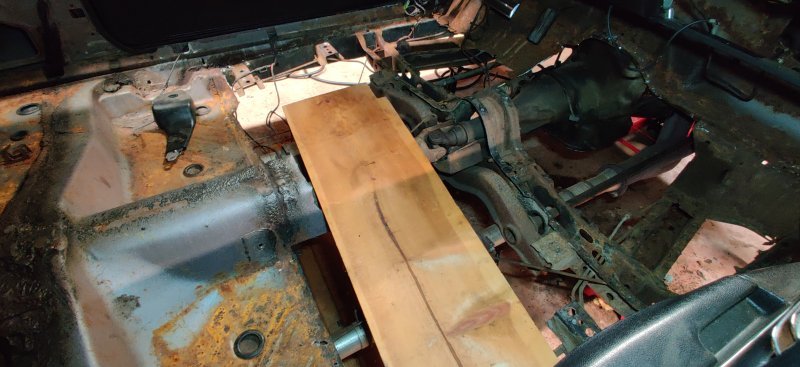
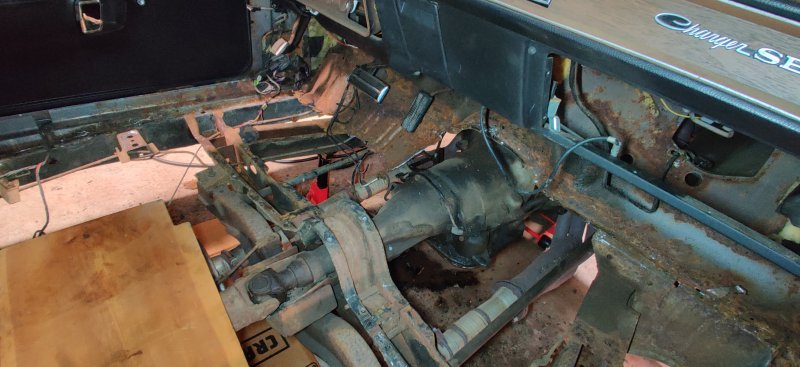
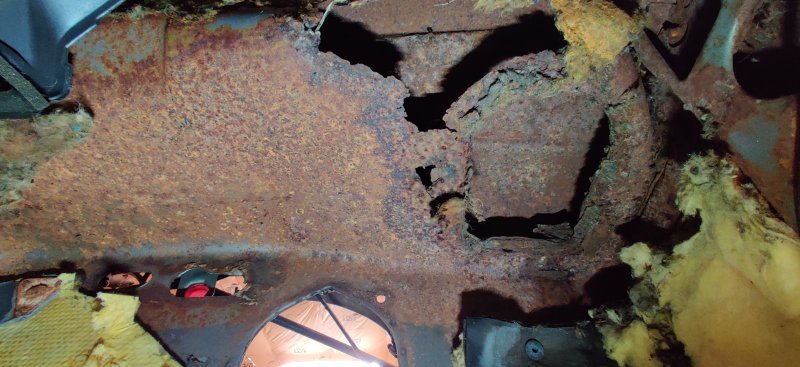
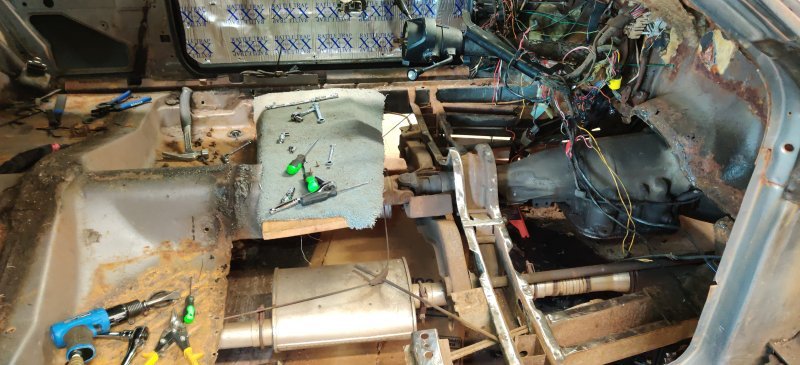
Gotta get it out of the way for the floor pan. There's also a hole in the cowl where the air inlet was that I need to patch.

IMG_20230514_001849.jpg

IMG_20230514_001859.jpg

IMG_20221106_153914.jpg

IMG_20230514_002026.jpg
 
Update
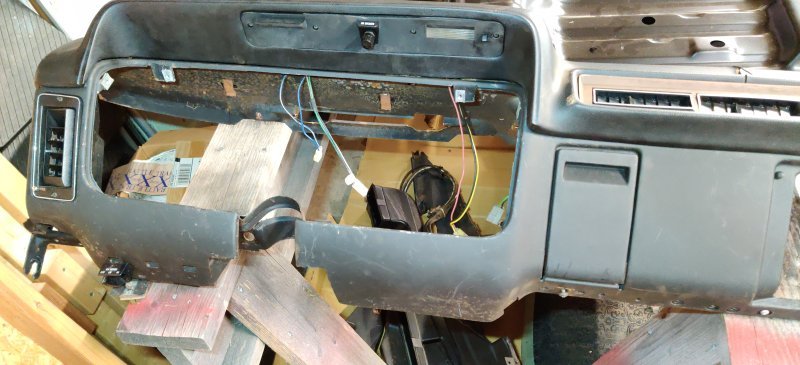
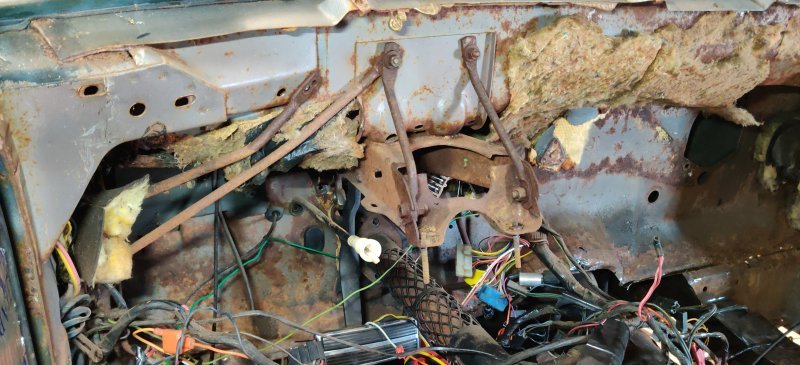
The dash is out... finally... Whoever the engineer was who decided it was a good idea to put those 1/4 inch hex screws right up against the windshield on that stupid angle is guaranteed a special placed in hell, I swear...

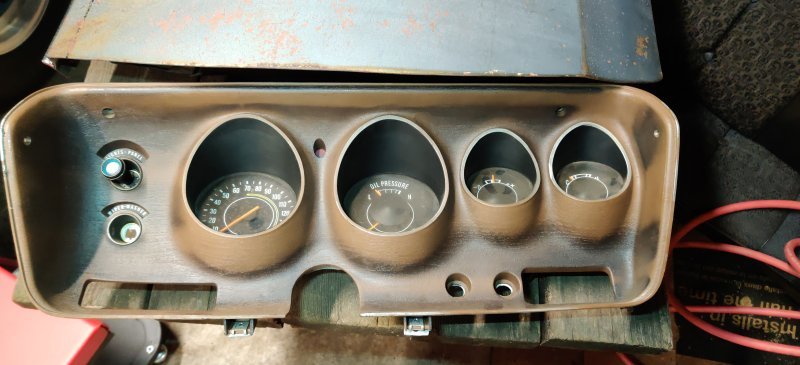
I also didn't realize how much of a PITA it was going to be to deal with the wiring harnesses. Apparently you do have to disconnect everything and then pul the cluster before the dash will come out.
Managed to break the wire going to the passenger door sensor right at the sensor so that's going to be fun to fix :rolleyes:

Lots of cleanup to do. Then the "fun" part of getting the new pan in and priming.

IMG_20230730_185412.jpgIMG_20230730_185427.jpgIMG_20230730_185503.jpgIMG_20230730_185516.jpgIMG_20230730_185533.jpgIMG_20230730_185546.jpg
 
It was designed that the entire dash be removed and installed fully intact. Disconnect the engine side harnesses at the bulkhead connector, pull the two nuts securing the bulkhead to firewall, disconnect the rear body harness at the kick panel, door pin switches, disconnect the any heater control cables. Never had an issue accessing the upper speaker grill with the windshield in place with the correct tools. Beats the previous design of this platform requiring the windshield to be removed to pull the dash.

BTW, removing the steering column is just a few more minutes up front, saves a lot of struggles later working around it. This service procedure is well described in the FSM, step by step.
Yeaaaaaahhhhh that sounds like it would have made things a lot easier. Also, the comment about "having the correct tools" was a key factor. Still replacing things after I had about $1000 worth of tools stolen - including universal joints for ratchets. They are on a really weird angle, though. Impossible to get to without several extensions and a universal joint. Also gotta make sure to have one of the nice sockets without the beveled edge so the dang thing doesn't just keep slipping off!

Is the steering column really just the two bolts at the universal joint or is there more to it than that? It really does need to come out, get some cleaning, and paint.
 
Knock the roll pin out at the gear box input shaft, pull the column out, looks like you have everything else loose. Just noticed the column shifter, will need to disconnect the shift linkage as well.
 
Last edited:
Yeaaaaaahhhhh that sounds like it would have made things a lot easier. Also, the comment about "having the correct tools" was a key factor. Still replacing things after I had about $1000 worth of tools stolen - including universal joints for ratchets. They are on a really weird angle, though. Impossible to get to without several extensions and a universal joint. Also gotta make sure to have one of the nice sockets without the beveled edge so the dang thing doesn't just keep slipping off!

Is the steering column really just the two bolts at the universal joint or is there more to it than that? It really does need to come out, get some cleaning, and paint.
Hello, I was reading your thread and noticed in one of your photos the insulation/sound deadener on the front door inner. What is it and have you used it before? Thanks!
 
Hello, I was reading your thread and noticed in one of your photos the insulation/sound deadener on the front door inner. What is it and have you used it before? Thanks!
It's called "FatMat" I got it on Amazon. Comes in different lengths Amazon product ASIN B00HZWSN3WI'm planning to use it on the floor as well as the doors. I got 75 sq ft of the stuff and still have probably more than half left after just doing the doors. Not sure if I'll need more than what I have to do the floor or not.

Works really great in my opinion. I could tell a difference just by doing the doors, and I still had literal holes in the floor!
Thanks! I did the floor pan with something just like DynaMat.
 
Does anyone have a good picture of the vent system for a 1973 Dodge Charger with AC. I'm converting to AC and I can use any help. I do have the vents for dash. I need the one for the defrost. Sent pictures. You can also text me 254-247-9821
 
Auto Transport Service
Back
Top