• When you click on links to various merchants on this site and make a purchase, this can result in this site earning a commission. Affiliate programs and affiliations include, but are not limited to, the eBay Partner Network.

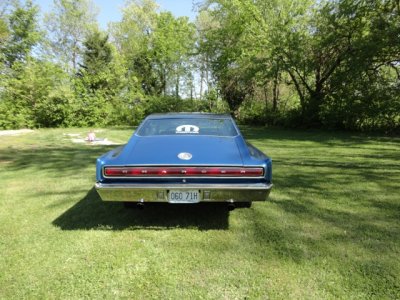
My 1966 Charger Page - Ongoing Project - Warning, pics galore!

My 3 giant cement playground turtles are not for sale. ;-)

Update:

Still working on the green primer. My new devilbliss gun arrived and I like it a lot better. It was weird at first as its very fast compared to the kobalt gun. I think this is how it is supposed to be.

I have painted all the doors and fenders and loose parts and now only have the hood and deck lid to finish.

I had to stop there because I forgot to take the firewall cover off the hood and the blaster failed to do that area so I am going to take it back before painting.

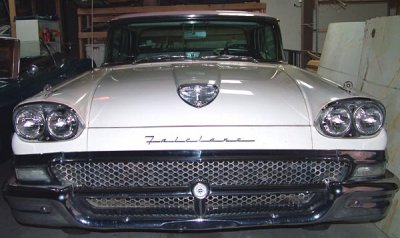
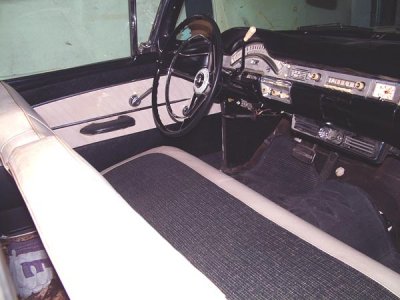
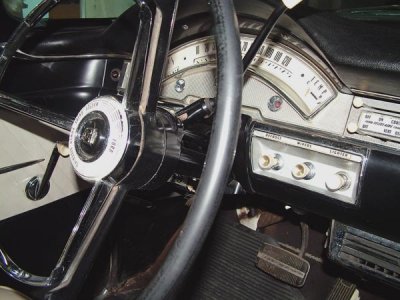
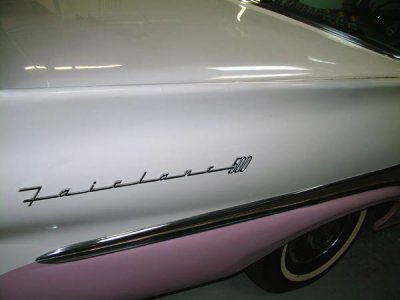
I got a little distracted this weekend when I found a near mint all original 1958 Ford Fairlane 500 Skyliner retractable sitting in a storage shed for the last 21 years. This car has the original break shoes on it! A true barn find that people dream about! I have been so excited. 100% garaged for its entire life, 66k miles, original mint condition interior, original powder pink and snow white paint that still looks good.

I spent the entire weekend with a mechanic buddy re-assembling the car and fixing all sorts of mechanical problems and yesterday, on day 3, I managed to drive it out of there just like she drove in 21 years ago. I gave her a bath when I got home. Its not a Mopar, but man what a stunning car.
 
Last edited:
Is that appropriate on a bbody forum? Anyway, here you go. I am still smiling.

front.jpg

front2.jpg

right-front.jpg

r-side-rear.jpg

int1.jpg

dash.jpg

rear-right.jpg

front.jpg


front2.jpg


right-front.jpg


r-side-rear.jpg


int1.jpg


dash.jpg


rear-right.jpg
 
etch prime

hey scott,you were not being misled by using the etch prime on the bare metal,etch prime is cheap and you do not use much at all. you only put down enough to cover and the added adhesion protection is well worth it,not to mention the added corrosion protection under your top coat. It's just one of the best ways to do it for longevity purposes
 
This is going to take forever. I went and located a right floor pan and had it blasted. The floor pan needs a floor pan. lol. The rust was so deep in one spot that I have to cut a small section from the pan. I have not yet located the left pan. The right one is a full pan front to back.

I reblasted the hood cause I left the firewall protector on it the first time.

So I am getting ready to spray the rest of the parts and drill out the right floor pan. I just got my welder functioning finally and should be moving along shortly.

Here is a photo of the engine so far:

This is a '73 440 block stripped to the bone and rebuilt to be capable of about 400-450 hp depending on where I take it from here. Everything inside is top of the line. All the stock parts are gone. The only stock parts are the block, crank and main caps. It is a mild street build so I can drive it. I am sad to see it sitting, but so far it seems to be very patient.

440onstand.jpg

440onstand-angle.jpg

I will update again once I get the floor cut out.

440onstand.jpg


440onstand-angle.jpg
 
I had my 67 Coronet painted at a Maaco place, it was $2k for some body work (half a dozen dents and some holes filled) plus full sand and paint. It came out great! People are shocked when they hear the details and see the paint. I advise checking these places out! They normally have many cars rolling thru so you can judge quality!

I've heard this type or recommendation from others as well. (I'm looking to repaint my '69 Firebird) I wonder why these guys tend to get overlooked so much?
 
This car project is not dead yet by any stretch. its a long haul as I have been working on other cars and a man cave to boot. The good news is that it now has all of its floors installed and they are fully complete which cost about $1700USD in labor and another grand in parts. I learned that good quarters are unavailable in the aftermarket so we have to go through these by hand.

This car is an education in the making. The only way this will be practical is to make it more wild and extreme than I had at first conceived.

What warms my heart is that there are not many of these that have been mod'd out. Most existing examples are stock. So we are going to go big or go home it seems.

I will post more photos as time allows.
 
Keep up the good work! Will follow your posts closely.
I'm working on my 67, started from 0 by buying a welder and learning from there...currently all rust fixed, body primed, trying to obtain the RR1 original color...
Martin
 
Keep up the good work, will be watching your progress!
 
Keep up the good work. Here is my 67 with a few mods. Trim shaved, hood scoop slicks etc.
 

Attachments

  • DSC00069.JPG
    DSC00069.JPG
    163.1 KB · Views: 171
  • DSC00074.JPG
    DSC00074.JPG
    182.7 KB · Views: 177
do you have a close up shot of the top of the door leading back? It looks like you shaved the trim lip and welded it shut. We are doing that real soon and it would be nice to see how it looks done.
 
Auto Transport Service
Back
Top