• When you click on links to various merchants on this site and make a purchase, this can result in this site earning a commission. Affiliate programs and affiliations include, but are not limited to, the eBay Partner Network.

Rebuilding my manual steering box

WesleyK

Well-Known Member
Local time
12:43 PM
Joined
Nov 3, 2012
Messages
426
Reaction score
646
Location
Collins Ms
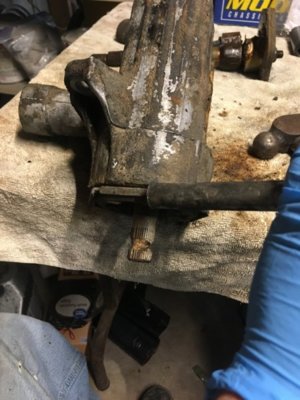
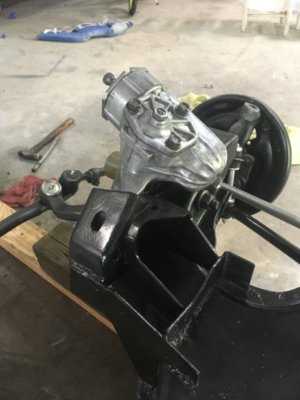
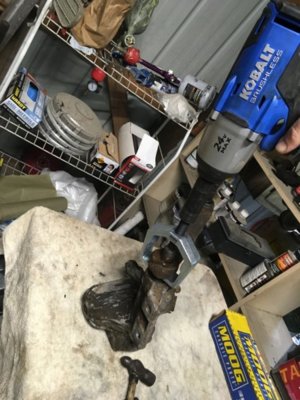
Rebuilding the manual steering box today on my 68 Bee. I couldn’t find any good write ups on this procedure,( not saying they’re aren’t any), so I thought I’d do one as I go. First have a good clean place to work. I used my impact and pitman arm pulled to first remove the nut and arm. I made marks with a punch on the end of the shaft to help when I intall the new arm to get the direction right.
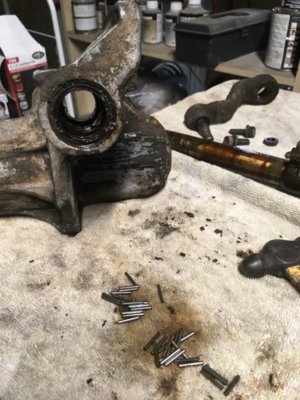
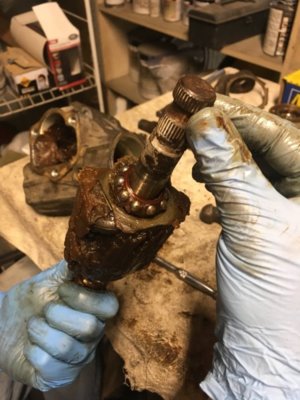
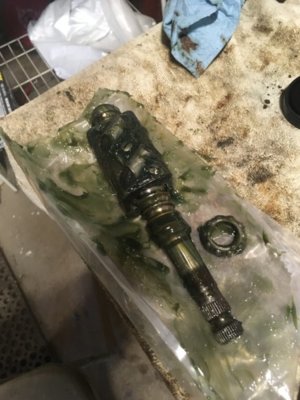
Then remove the three cover bolts on top don’t remove two then remove the center lock adjuster nut, or donut first. When you start feeding the shaft out of the top pay close attention the the two sets of needle bearings inside. One at the top one at the bottom. Mine stayed in place and I counted 41 on the bottom 40 on the top. I bagged em up and set them aside.
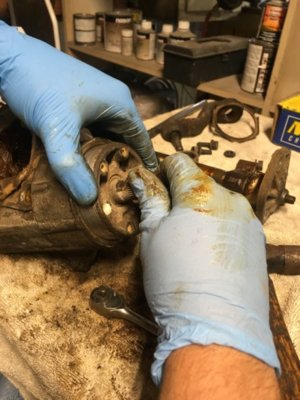
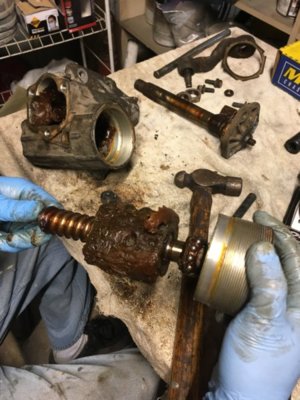
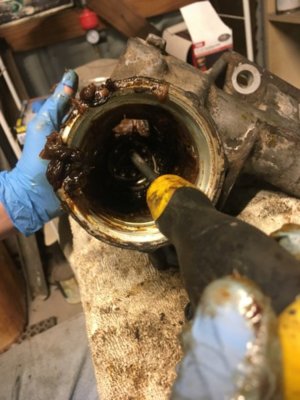
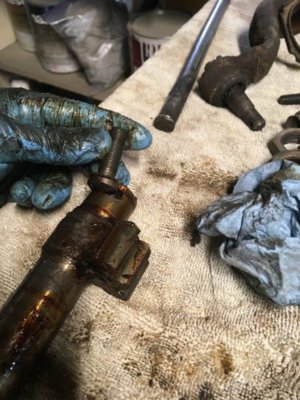
Next I took a punch and hammer and loosened the big lock nut on the front of the housing. Screw it completely off. Then with one hand hold the shaft and the other unscrew the aluminum threaded housing that keeps the worm gear. There’s a set of bearings on the front and back so watch for them. I’m in the process of cleaning now so stay tuned.
75014275-195C-4D7F-AD6F-5787C0F41F97.jpeg 5EC85222-95AE-4C63-BFB9-A261175632E9.jpeg A5A6E188-5147-4073-A706-A86D38758DA3.jpeg FFC28FD2-DE01-4D46-99C0-E855F54DECEA.jpeg 67D89B77-01A1-4AC4-9616-4E66DC32C094.jpeg 5B2DE3B2-A904-491F-BDCE-DFE73490DCA1.jpeg 564811BC-D626-4E9E-A978-DAFB5512EAB8.jpeg 1EB4C574-280D-4F0D-B923-D7F909A05234.jpeg AFCC7624-9FB6-467A-9CED-D0793F16D1D4.jpeg
 
Nice, looks about as gooey as mine was. I covered it somewhat in my restoration, but that section of my resto is on DC in the first 35 pages. Good to see a separate "how to" in the tech section! :thumbsup: Be REAL careful putting the input shaft seal in place!!
 
Nice, looks about as gooey as mine was. I covered it somewhat in my restoration, but that section of my resto is on DC in the first 35 pages. Good to see a separate "how to" in the tech section! :thumbsup: Be REAL careful putting the input shaft seal in place!!
Thanks, I’m gonna order my seal kit Monday hopefully. All my bearings looked ok. Any advice is appreciated haha.
 
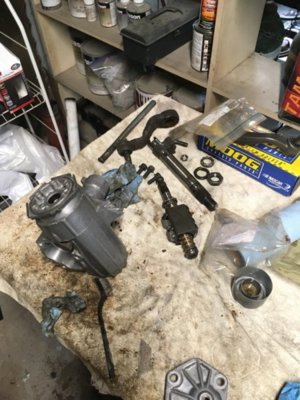
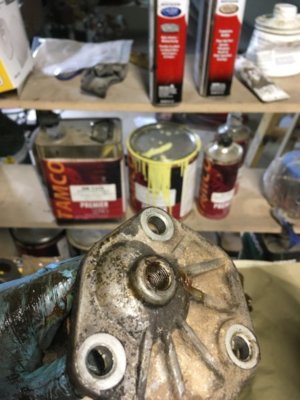
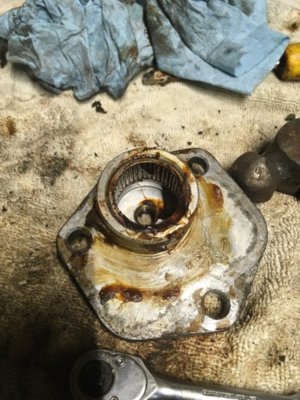
Got everything cleaned up. Once I separated the top plate by screwing in on the flat head screw I found you guessed it, another set of needle bearings! So as always be careful. I counted 41 again. Cleaning is straight forward degreaser and brake cleaner. A set of brushes from Harbour freight, plastic, brass, metal are handy! Use the brass though on the aluminum to prevent scratches. Scotch pad scrub and light rub with steel wool and bam! Cleaned all steel parts with wire wheel.

F2CCA543-19E5-47B6-867C-A2D2568E3268.jpeg B8557837-2C98-4FC6-BD27-E61DE22C009F.jpeg 66767F3C-1D7C-45EB-BFA3-25BBA5DB4F62.jpeg 31035D0C-B3C1-4544-8A71-5D51B0A44A0A.jpeg D1464179-B10D-41A3-BD44-34785186C7FB.jpeg
 
There is a specific Miller tool for setting the bearings and removing the shaft without losing the needle bearings. I'd have to dig it up to see the part number but it came in handy when I did mine.
20190413_122717.jpg
20190413_122750.jpg
 
Thanks, I’m gonna order my seal kit Monday hopefully. All my bearings looked ok. Any advice is appreciated haha.
Order an extra input seal, that way you won't screw it up and have to wait for another one. It goes in backwards to how you usually press a seal in so easy to f up..
 
I was gonna order the kit from Firm Feel. Is that where y’all got yours?
 
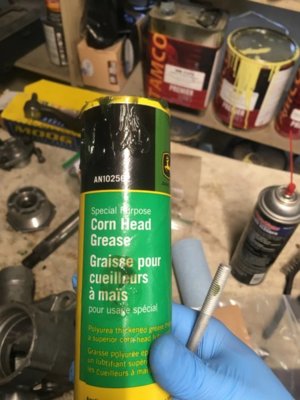
Well I didn’t get to go to Mopars at the Battleship today so I got my box finished up. I made some mistakes but was able to get it worked out. The seals from firm feel fit great but be extremely careful putting them in. I got a tube of corn head grease from the John Deere place for $4. One tube was plenty. It’s defiantly thinner than bearing grease so it should spread throughout the box fine.
While I was trying to remove the bottom seal I busted the lip on the bottom bearing race. So don’t do that. Remove it from the bottom with either a seal remover or like i did with a flat head screwdriver. Be careful! Top seal is an easy knock out. Thankfully I had an old power steering gear box that I disassembled and got the bottom race out.
I greased all my needle bearings and top bearings. Installed my worm gear making sure the front and rear bearings were seated good. Coated all my needle bearing and placed them in with my finger 1-4 at a time. Then gently slide the shaft through. That’s when I filled to box up with grease. The top cap bearing went in the same. Place the screw in the top of the shaft put the top gasket in place. Slowly lower the cap down aligning the screw. Once it stops grab your flat head and start turning the screw to the left. You’ll feel the cap lowering. Once it starts down keep rotating the cap back and forth to help seat all the bearings. After that it’s just torquing everything down or as I did on the caps pretty snug. I adjusted my screw back to where it was before.
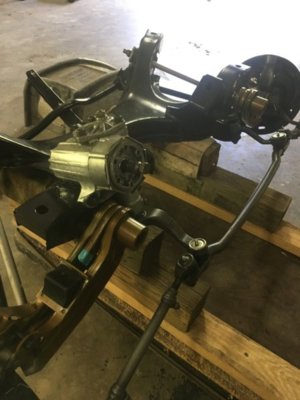
Rotate the shaft all the way either right or left. Mark the top of the shaft where the column slides on. Count your rotations until you hit lock the other direction. Divide that by two and rotate it there to center the steering box. Mine was 4 full rotations so a went back 2 rotations and that was my center. Install pitman arm, clean off the grease and mount her up! She feels way better than before just having fresh grease.

669325A1-24B4-442E-8E04-028AD25AECC4.jpeg D541BA74-FAD0-48F0-97B3-878F08AA8057.jpeg 9229A706-4105-47A6-8E7A-9300088017EE.jpeg 192F68CA-7A34-45DC-B3DA-57ADDD27E31E.jpeg
 
Last edited:
*Working on a filthy, greasy, towel.*

:poke: :D

Thank you for taking the time to write up your project! :thumbsup:
Hahahaha it’s stained up but clean! I mean I ate my lunch on it yesterday and I’m still here so....:lol:
 
Auto Transport Service
Back
Top