subboz
Active Member
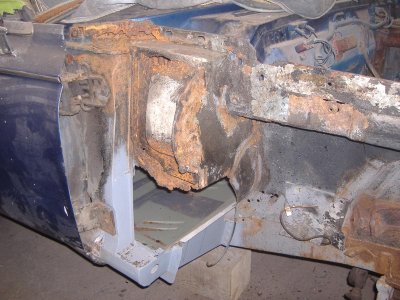
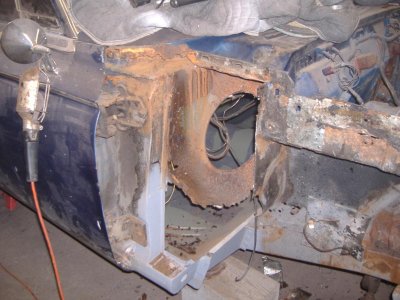
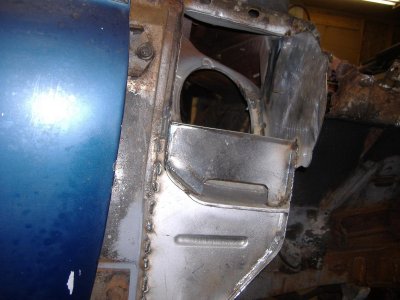
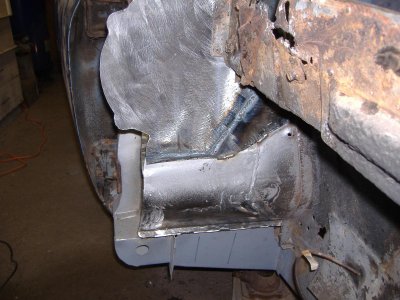
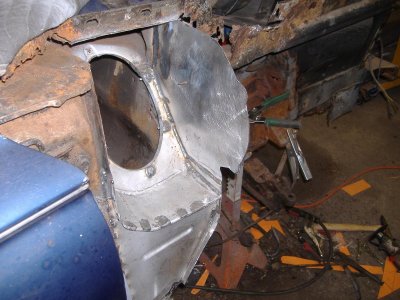
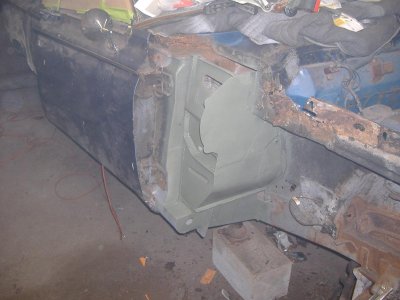
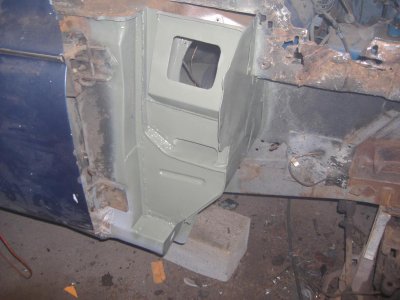
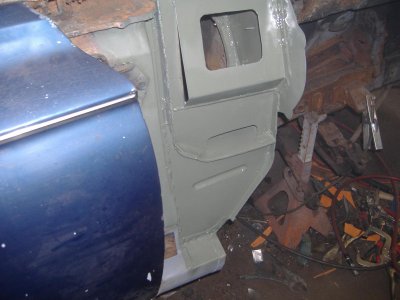
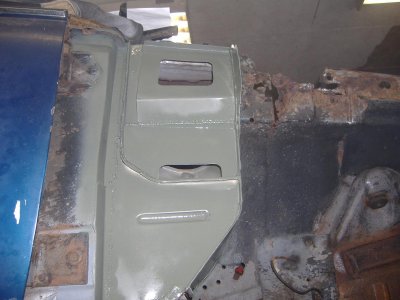
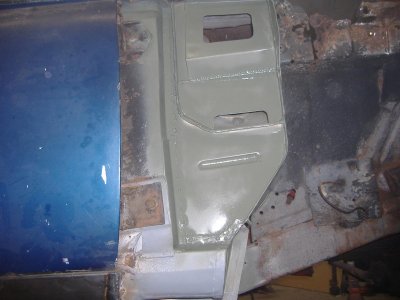
So that is what 2 hours of sun a day does to you. Damn snow makes you a metal craftsman. Amazing
")
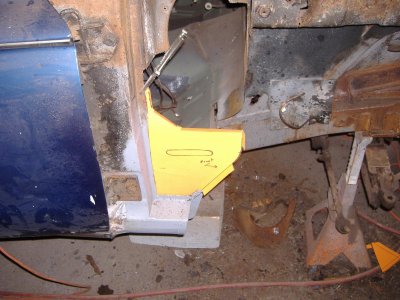
Would you mind showing where you are going to locate the seat belts for the rear? I need to do the same for the grand kids.

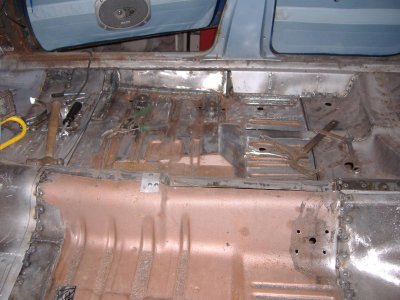
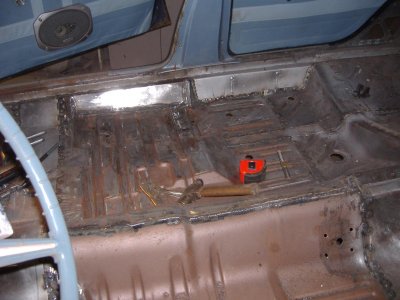
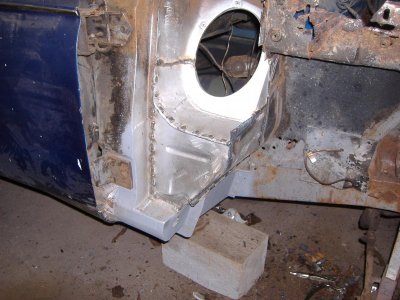
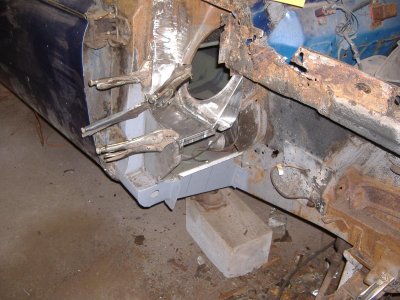
Joe, I just looked at some pictures of later B bodies to get a general idea on where they went and then I put the lower rear seat in place to get a guide on the height.
I THINK my locations will work fine but I can't make a recommendation on the exact location to put them.
I will say that you should use large plates under the floor and if possible weld them into place...although your car may be finished and welding not an easy option.
Whatever you chose to do, make sure to have it strong as the people those belts are holding are not replaceable!!! ;)
Very nice work, You are a highly skilled craftsman with much ambition to take on that project. Kudos to you!
What percentage of the sheet metal do you figure you will replace on this unibody? About how many hours you got into this? I'm sure by now you donated some blood and skin to it right?
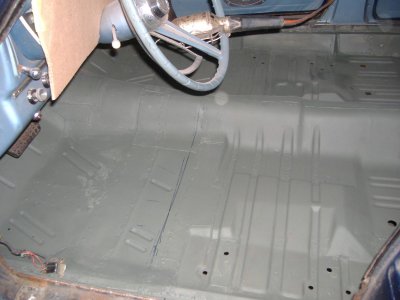
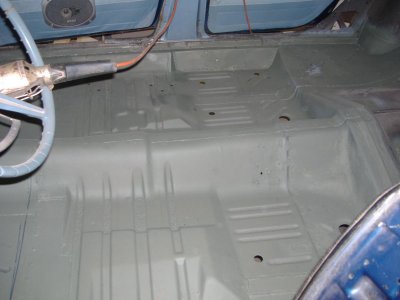
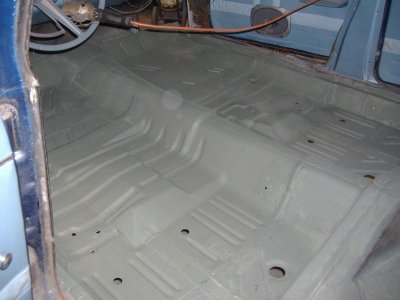
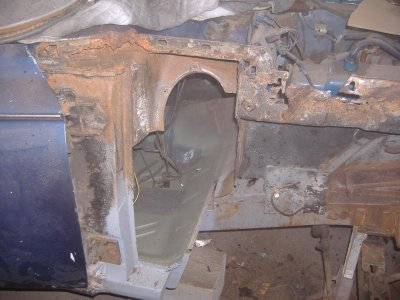
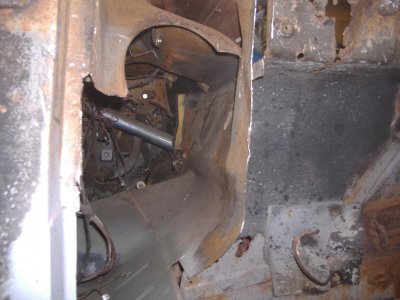
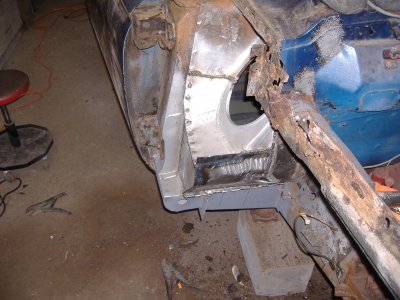
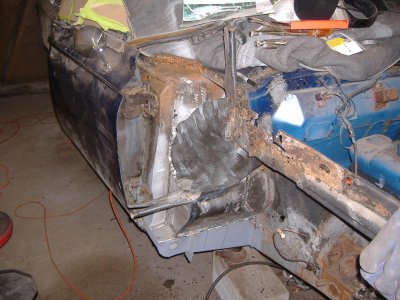
Percentage? Hard to say....100% of the floor! Hahaha
I'm just fixing what needs fixing....
Hours...hard to guess.
I don't spend ALL my free time doing this...gotta live too!
I will guarantee its too many though!
This is "fun" to me. Some people have a hard time justifying hours vs bodyshop labour rates...material costs.
I really don't care.
If I wasn't doing THIS car I'd be doing a different one.
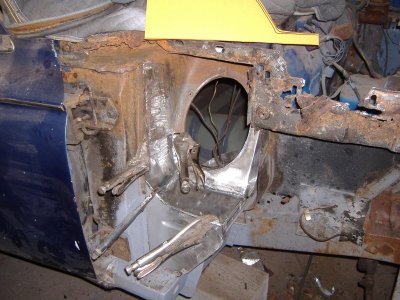
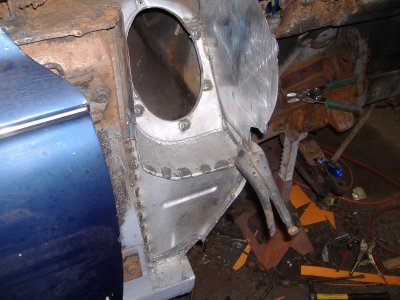
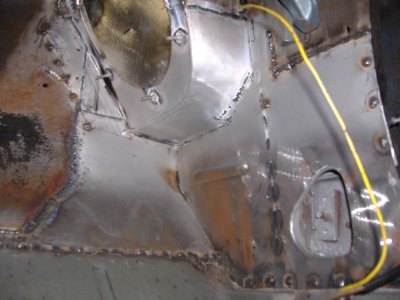
Besides...I make everything myself so material costs are low other than the normal consumables!
NO aftermarket patch panels were harmed in the building of this car! Hahahaha