• When you click on links to various merchants on this site and make a purchase, this can result in this site earning a commission. Affiliate programs and affiliations include, but are not limited to, the eBay Partner Network.

Updating the Super Street Mopar

ckessel

Well-Known Member
Local time
12:59 AM
Joined
Apr 23, 2015
Messages
5,876
Reaction score
7,701
Location
Los Osos Ca.
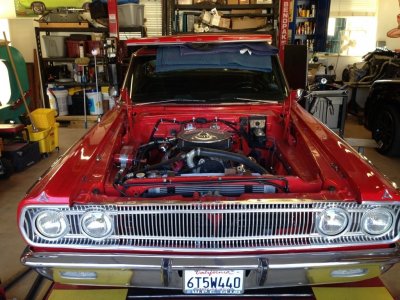
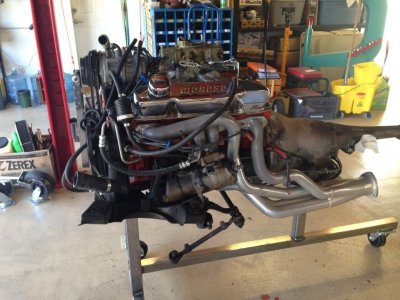
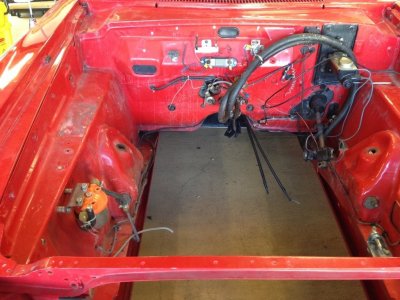
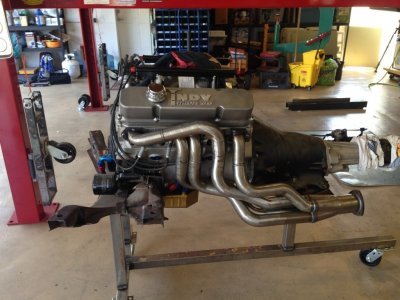
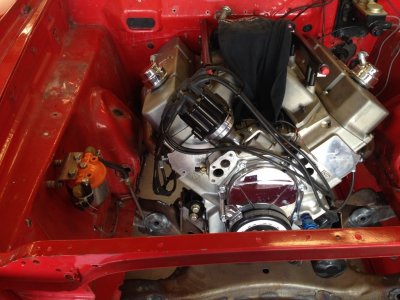
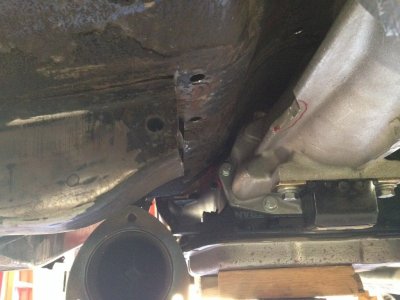
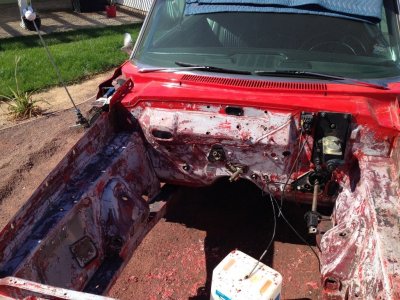
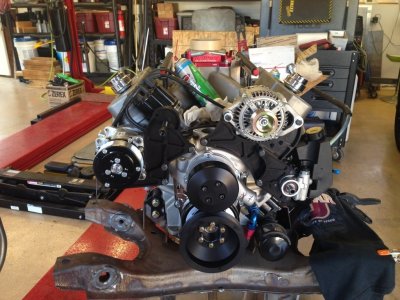
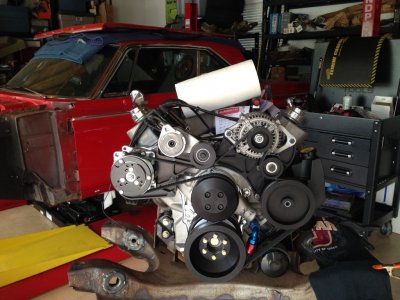
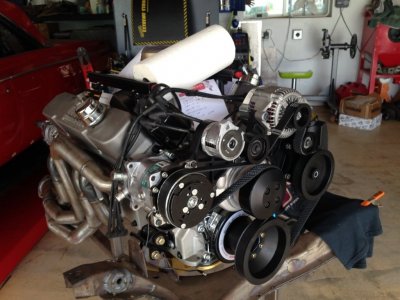
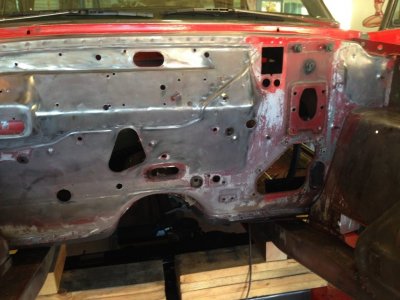
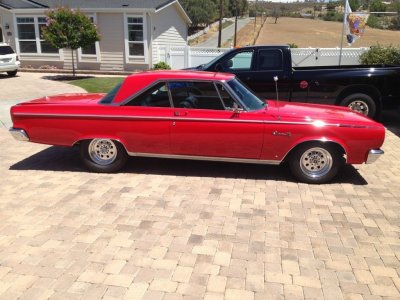
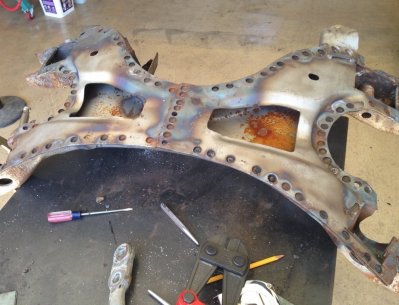
I've finally had time/funds to get after updating my 65 Coronet. This car is the one that was used for the cover of the old S A Design suspension and handling book from years back. My friend, Jeff Williams, that used to own it was friends with Larry Schreib and Larry Atherton of the publishing company. I bought it back in 08 after losing my 70 Challenger in the 07 fires that went through here. I did some basic upgrades on it when I first got it. New TTI 2" headers, 3" exhaust system, tires and other minor stuff. I started buying and stockpiling parts and assemblies for it knowing which direction I wanted to take it. I made Firm Feel happy, Indy Cylinder head for the new alloy bullet, Pro Trans for the 727, Gear Vendors OD, Dr Diff on the Strange Dana 60 plus 4 wheel disc brakes, ART [auto rust technicians] for structural pieces, Ron Francis for wiring, AEM on the efi brains, TTI for headers, Be Cool for the new radiator/fans unit, SD Concepts on the serpentine drive, Bergman Auto Craft for the Borgeson unit, Master Shift for paddle shifting, US Car Tool for spring relocation and mini tubs plus more to come. I already have the engine/trans out to start fitting things up. Figured this would be wise since I'm using a 70 k-frame. Pretty much cut and dried up front but in the trans extension housing area, because of the GV extension/adaptor, I will have to do some remodeling on the floor because its got almost as much girth as a 518 trans in that area. If I had gone straight 727 it would be close but no issues of hitting. I have found some old car damage as far as stress cracks in the rh frame rail where the k attatches and the passenger compartment floor. These along with excess hole will get welded up. The only holes on the firewall will be for the master cylinder, steering column and my planned old school NASCAR cowl induction. I have also spent some time working the k over with a bunch of reinforcing and added plug welds[ 100+ over the factory 30 or so]. Once I get things fitted up, I'll strip the engine compartment of paint/junk etc, do all the metal work then paint the area again after which I'll move to the middle for structural pieces then the back for its portion.
IMG_0404.JPG IMG_0889.jpg IMG_1454.JPG IMG_1495.JPG IMG_1497.JPG IMG_1510.JPG IMG_1511.JPG IMG_1517.JPG
 
Wow, what an amazing build!! It seems you're bringing it back to life in true style and safety and are doing things right.
I'll be keeping an eye on this one ... hit me up if some Powder **** is in your plan too.
 
Just finished wiring my GV and i love it ! 2500 RPM's with 4:10 & 30" tire, passing most on the fr.Wy not sure how fast im going, my speedo isn't working yet but i would guess 70 + -
 
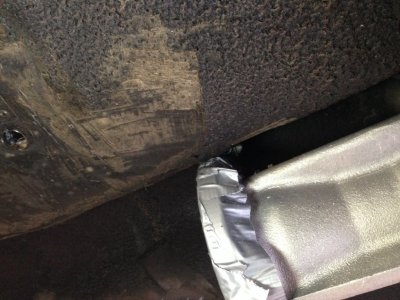
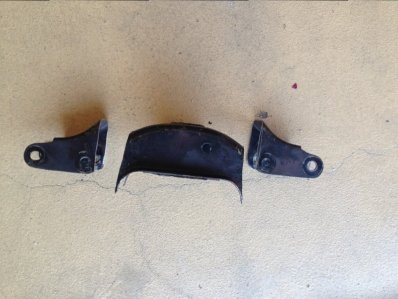
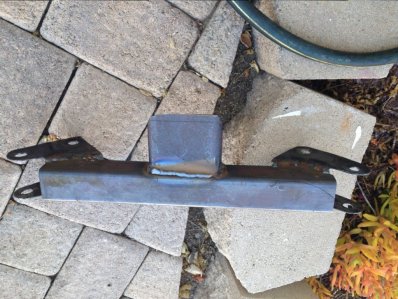
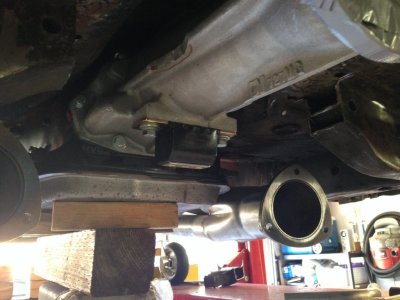
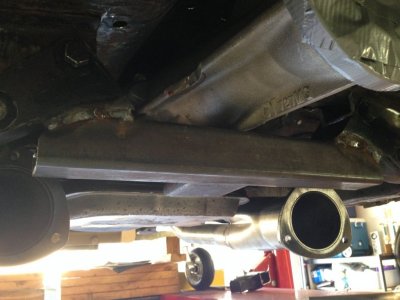
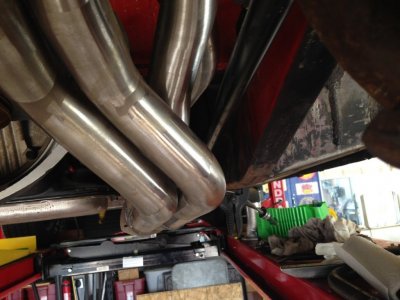
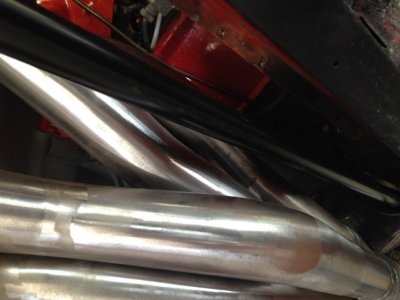
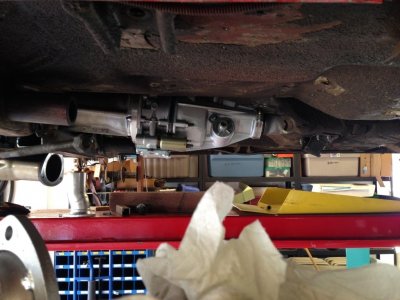
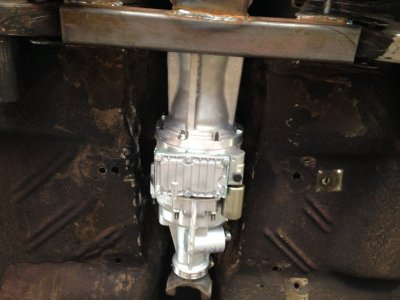
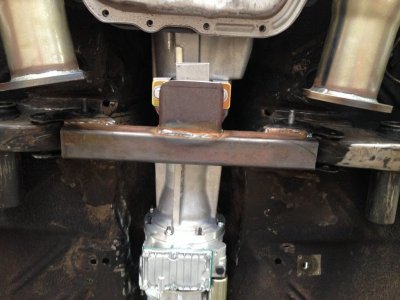
Have been making some more progress on the car. I pushed the floor around with an air hammer to gain some clearance around the trans/gv unit. It was too tight in some areas but all is fine now. I ended up cutting out the upper hoop of the t-bar crossmember as it seemed like it was not helping with fitment. I was designing up a new one that would be on the carpet side of the floor, gaining an inch more clearance on the trans side, and would tie it in to the existing remainder of the old unit. When I was fit checking the the units after the floor remodel, it turned out that I can put the old hoop back in. I suceeded pushing sheetmetal around enough to clear the trans/gv unit with a little room to spare. Cool!!! I modified the trans mount unit and made up a new one. The GV extension housing has a GM pattern on it for the mount. Weird, but whatever. Have plenty of clearance between the headers and t-bars, steering box and just about everything else. I'm going to put the units back in one more time so I can find the best location for the O2 bungs in the collectors to give me the best access and protection for them. I started taking the side trim off the fenders and rockers so that I can take the fenders off. I want the fenders off so I can chemically and mechanically strip the engine compartment. After the paint is off, I weld up the excess holes, oopses, etc. The only visible protrusions after will be for the column, master cylinder, throttle cable and cowl induction duct. I did find one k-frame boss on the frame that is spider webbed from age/damage etc so that will get repaired. I'll make up some inner fender braces like the US Cartool units, make a new lower tie bar out of something more substantial than 20ga foil and also make a new core support for the new be cool assembly. I'm going to use some of the newer car tech on ducting for cooling to aid and direct air flow better under the hood. My oil coolers will get a duct to them since I plan on putting them behind the lh headlamps in the big open area in front of the wheel. They will get exhaust ducting for the hot air off them plus protection from road debris. The only thing I'm planning to be ahead of the radiator will be the condenser for the a/c. Here are some current photos for your viewing pleasure!

IMG_1532.JPG IMG_1533.JPG IMG_1536.JPG IMG_1537.JPG IMG_1538.JPG IMG_1541.JPG IMG_1542.JPG IMG_1549.JPG IMG_1550.JPG IMG_1551.JPG
 
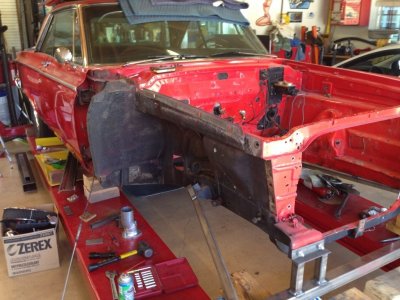
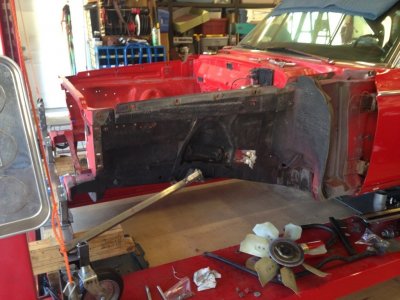
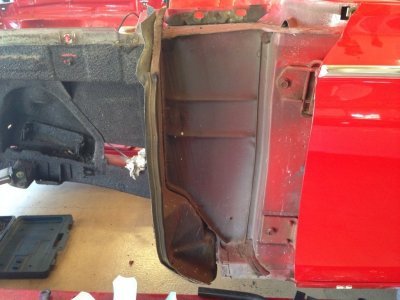
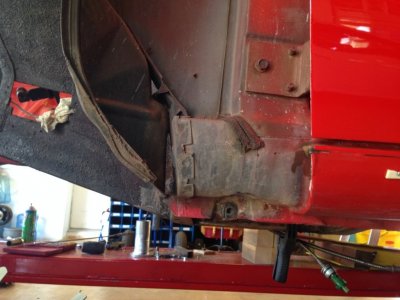
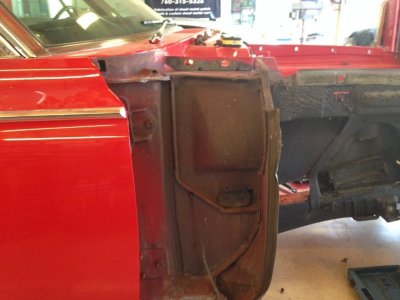
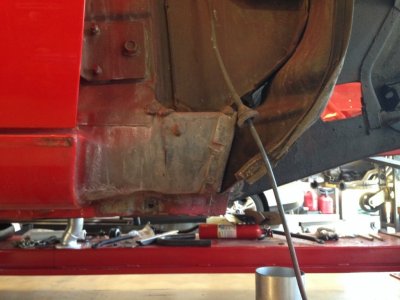
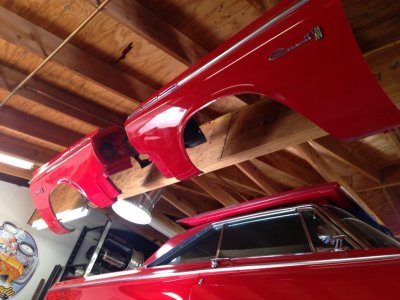
I got the fenders off yesterday in preparation for paint stripping prior to a grip of metal work. Crumley and Glenwood will be jealous. I found [so far] no rust out issues like what they have experienced. I'm still going to squirt some material in those cowl areas plus the frame rails and other spots as I work my way out.

IMG_1555.JPG IMG_1556.JPG IMG_1557.JPG IMG_1558.JPG IMG_1559.JPG IMG_1560.JPG IMG_1561.JPG IMG_1562.JPG
 
ckessel, looking good, I will be following along.

You lucky dog, no rust in the cowl area!!!! Man you are missing out on all of the rust repair fun...lol.
 
This week end I plan on hitting the engine bay with stripper. I want to get that old stuff out of the way so the metal work can begin.
 
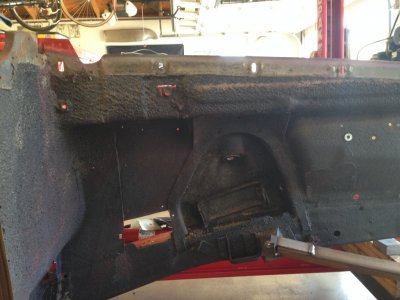
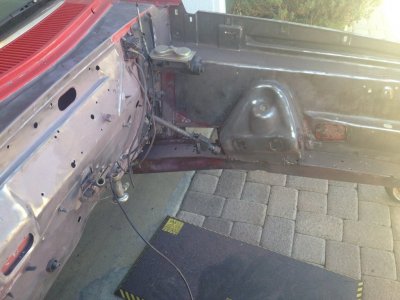
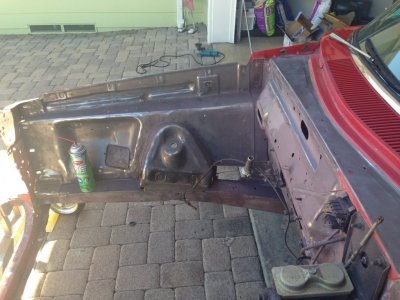
Got to hang out with the strippers today. Oops, meant stripper! I still have to use mechanical means to finish as the material I used was old. Can was still sealed up but was still lacking in some areas. No big deal. I read on the net that mastic and floor adhesive remover is supposed to be the bomb for undercoating. I will nab some tomorrow and hit the backsides of the inner fenders. They need to be cleaned off too for all the holes and repairs that will involve welding. Man there is a grip of holes to fill beyond just the firewall stuff. How do you like the "bigs and littles" going on with the tires? Shades of Big Daddy with his dragster. One of the layers of paint is the original color which is a burgundy of sorts. Think I'm staying with the Porsche red though. I also continued fitting up the SD Concepts front drive unit. The rest of the accessory units showed up today. I want to get that stuff fitted up before it ends up in the engine compartment. Much easier to deal with stuff when its on a stand and is easier to see and get at.

IMG_1567.JPG IMG_1568.JPG IMG_1569.JPG IMG_1570.JPG IMG_1571.JPG IMG_1572.JPG IMG_1573.JPG IMG_1574.JPG
 
I got the fenders off yesterday in preparation for paint stripping prior to a grip of metal work. Crumley and Glenwood will be jealous. I found [so far] no rust out issues like what they have experienced. [/QUOTE]

Yeah I'm jealous! Lol but I would not have had an excuse to learn mig welding!

Looks like a fun project Carl.
 
Glenwood, you are so correct on having an excuse/need to learn a skill. I've been welding since I was a kid, learned gas welding on old rusty irrigation pipe, and have expanded from there. I don't do it everyday so sometimes I need a warmup. Kind of like shooting. Need to do it consistently to be really good. I recently took some schooling in TIG to augment my skills. One of the TIG jobs I have planned on the car is to make a gas tank out of stainless. The tank needs to be narrower because of the spring relocation and placement by the exhaust. I will take out the dip in the floor of the trunk, so it will be taller, to help pick up what I lose in width. Need a tank anyway, so since I have new skills and the machine I'll give it a go. One thing about having your own welder/welders is you can do other fixes/builds around the pad plus pick up some extra coin when someone has a need.
 
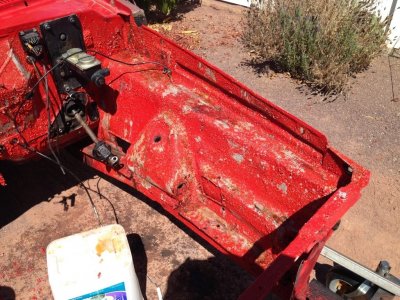
Well, my experiment with the mastic remover was a bust. Most likely because it is the approved PRC version. Tried my pressure washer on the undercoating and it didn't budge. Same with the remainder of the paint, no go. Oh well! I'll spend the evenings after work scraping in the areas to be welded and then on saturday roll the car out of the garage so I can get after the remaining paint.
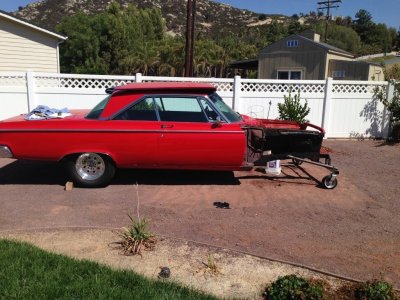
 
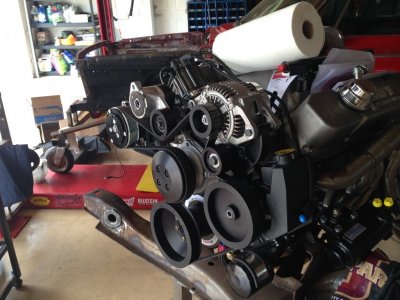
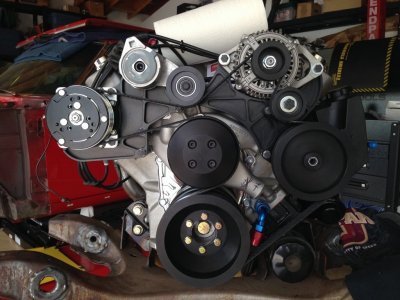
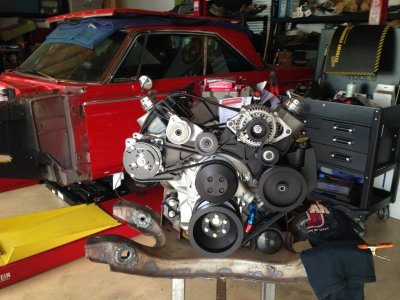
I have the front drive hung on now. After I get the engine bay and other areas scrubbed off this weekend of the remaining paint, I'll slip the engine/trans back in for another fit check. I need to pop in the holes for the O2 sensors, so I need to verify their placement plus slip in the radiator/fan combo to see if there will be any interference at the front of the engine with all the new stuff. Here are some photos of the drive assembly.

IMG_1577.JPG IMG_1578.JPG IMG_1579.JPG IMG_1580.JPG IMG_1581.JPG
 
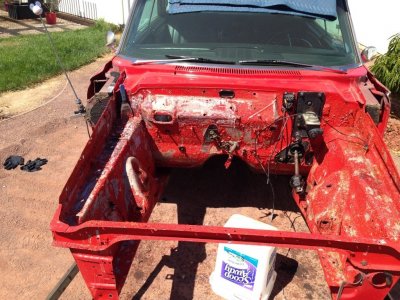
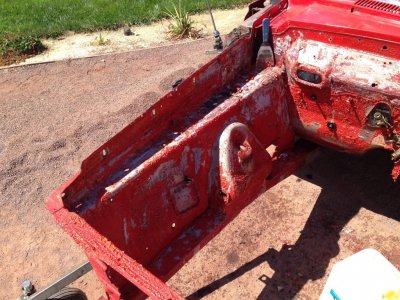
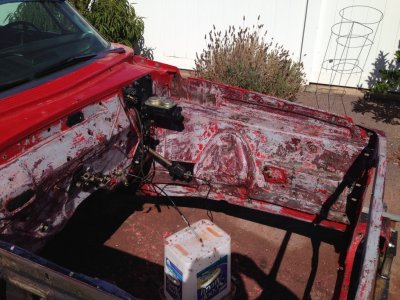
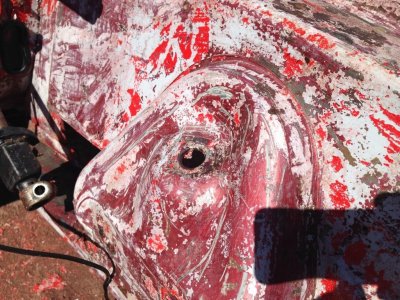
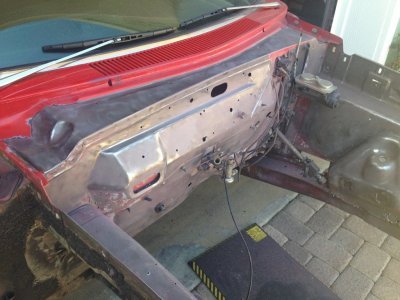
I removed about 75% of the remaining paint yesterday in the engine bay. The remainder I'll get at when its on the lift and after the firewall is emptied of components. The undercoating was interesting!!! That factory applied stuff was tough even using a hamburger wheel on it. I just cleaned off the areas where I know there will be some welding done. I changed my mind on the color. Instead of the Porsche red, I'm going to go back with the factory maroon color. I'm going to paint the bay and backside of the hood then pull the doors off, remove paint from the jambs and backside of the doors, and squirt those areas too. That way some more of the inner stuff will be done. Down the road I'll get to the outside. You'll get a laugh out of the picture of my neurotic cat Cuda in one of her new sleeping positions. She was probably stoned.

IMG_1588.JPG IMG_1589.JPG IMG_1590.JPG IMG_1591.JPG IMG_1592.JPG
 
CK, warm up the undercoating with one of those small butane torchs, not to flames, just warm, tiny bit of smoke won't hurt but no more! it will scrape off very easy with a putty knife, and is way quicker than any other way I've found. pwDave.
 
IMG_1605.JPG
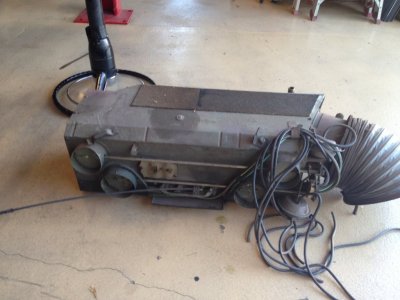
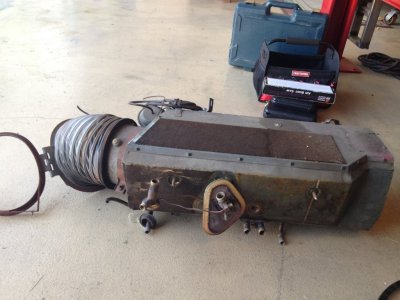
Had a chance yesterday to do some more dissassembly on the car. Along with more old wiring, snip snip, I removed the HVAC unit. That thing is huge and heavy!!! Later on today, remove more stuff from the backside of the firewall so that I can start welding. IMG_1599.JPG IMG_1600.JPG IMG_1602.JPG
 
Looking good. Someday when I get time and some cash put up, I'll get to some restomoding of my 65. It won't be anything near what your doing but it'll be a great street car. I'll be following your build and borrowing some tips. Thanks for posting and documenting your build.
 
Auto Transport Service
Back
Top