• When you click on links to various merchants on this site and make a purchase, this can result in this site earning a commission. Affiliate programs and affiliations include, but are not limited to, the eBay Partner Network.

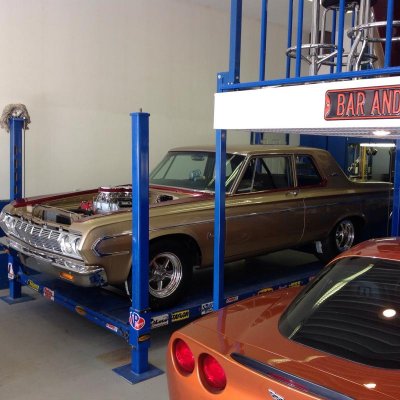
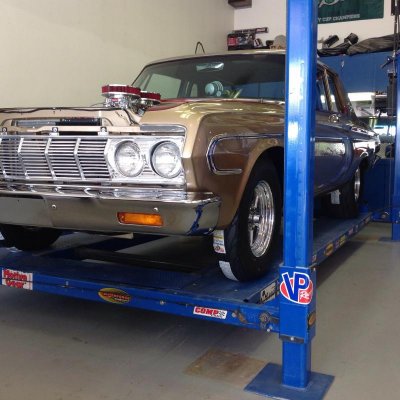
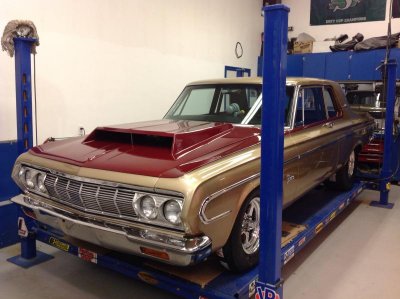
1964 Plymouth Belvedere Project.

What an incredible build, this car is stunning and looking mean as hell. That Hemi sure sets off the engine bay with that refrigerator looking intake haha "Love it"!
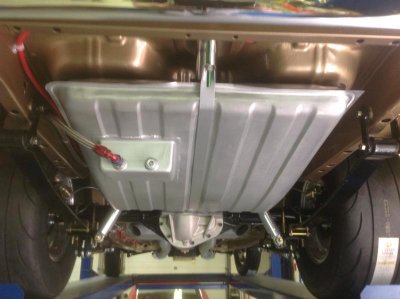
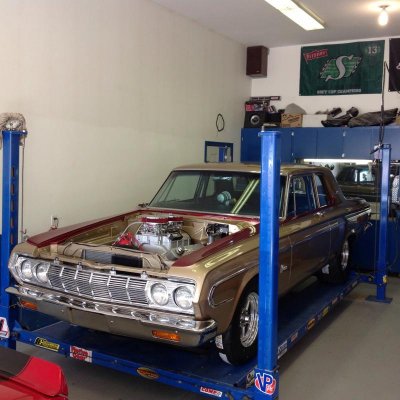
Thanks 747! Just about to put on my interior hat..
 
Gonna take off on vacation for a week or 2 but when I'm back it's time for glass and interior. This project is getting close to coming to life! image.jpgimage.jpg
 
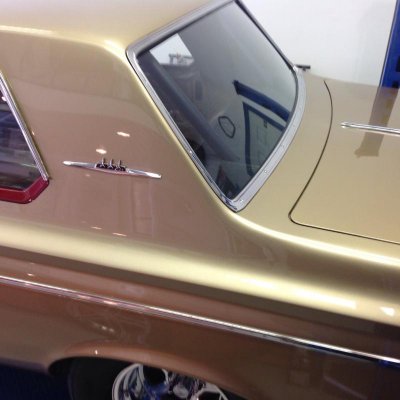
So after a nice vacation to Victoria BC Canada I'm back at it on the 64. The glass is in and the stainless is back on except door locks, which I'm still on the hunt for. Mine were opened at some point with a screw driver..
Next up is to finish the interior up. The headliner is also installed but I'm not satisfied with the sail panel areas so will have to work on that some more.
Once the interior is back in place it will be time to fire this bad boy up!
image.jpgimage.jpgimage.jpgimage.jpgimage.jpg
 
Over the last year or so I've seen numerous topis here on FBBO on frame connector installation, body sag, flex, and the various thoughts and comments on that. With this in mind and the point to where I'm at on the Plymouth, I'm able to share some of my own findings.
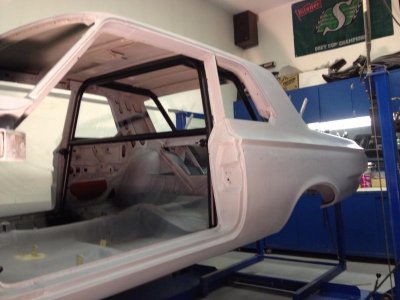
If you've been following my build you'll recall that I did my restoration on the rotisserie. While on the rotisserie I fabricated my frame connectors as well as build the roll bar while the car was in various positions on the rotisserie.
Fast forward to now, the Plymouth is 99% complete and time to slip the door bars back into place and find out if there was any or how much body shift I ended up with. When I put the bars into place I found that the top pins needed force to slide them into place, but that was it. From the time the car was stripped and swinging on the rotisserie when the frame connectors and roll bar was installed up to today, where it is now 99% complete, the amount of shift was essentially nil. The minimal change is that the distance between the pin holes slightly increased.
Interesting find! image.jpgimage.jpg

- - - Updated - - -

So it's 8 1/2 months since Project Plymouth kicked off and yesterday I fired it up for the first time! Everything went pretty much as good as it could have, although on first fire up the timing was retarded. This resulted in my first experience with this big intake back fire. Many guys have experienced the top actually blowing off when this happens. My intake has burst valves installed on both sides to eliminate this and sure enough, my damage was limited to the burst valve blowing out. Within a few minutes I had cut a beer can up and replaced the blown aluminum. The good news is that this stroked big block max wedge is alive and well and feeling crazy strong.image.jpgimage.jpgimage.jpg

- - - Updated - - -

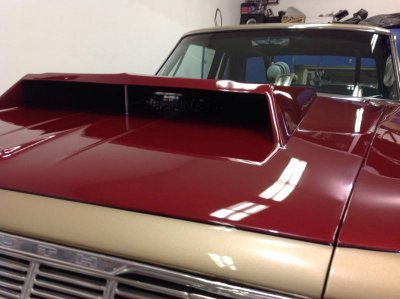
The scoop is a 5" from VFN. I cut it down to 4". With a 2" filter there is only 1/4" between the top of the front filter lid and the scoop. That's cutting it close!
 
Man the car is nothing short of BAD ***! Nice job!

Do you want to do my 65 for me :icon_salut: LOL
 
Man the car is nothing short of BAD ***! Nice job!

Do you want to do my 65 for me :icon_salut: LOL

Thanks KD! It's turning out real nice. I think I'll pass on yours though. I want to have some fun with it and that takes time!
 
Cant wait to see the interior on this masterpiece! Man, this is a beauty!!!
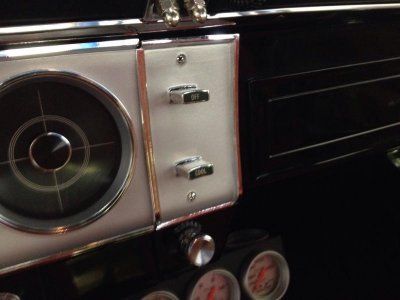
 
Cant wait to see the interior on this masterpiece! Man, this is a beauty!!!
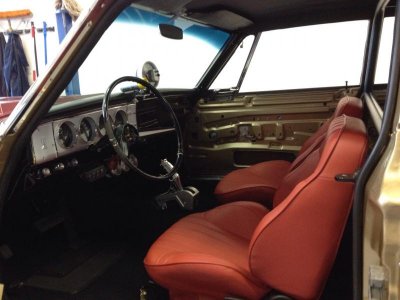
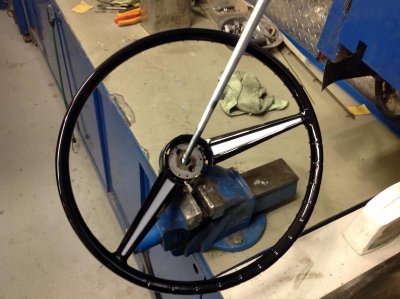
Me too Ron! I did get my cluster back from Chrome Tech USA today and Robert did a terrific job!! A couple more fills on the steering wheel and it will be ready for finishing and then it can go on. There were a few cracks to take care of..
image.jpgimage.jpg
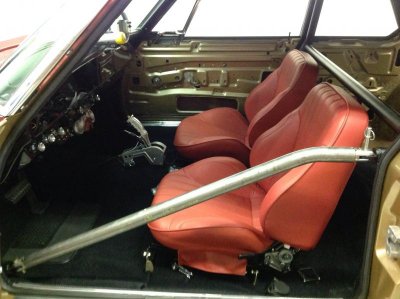
The side panels and rear seat is all that is left and that is underway. For the rear seat I bought additional matching upholstery used on the front buckets and that will be going on the rear seat, which is being made to resemble the front buckets.

- - - Updated - - -

[video=youtube_share;CyWVkNVWsrM]http://youtu.be/CyWVkNVWsrM[/video]

Grabbed a short vid when firing up the Plymouth for the first time.
 
Fired up and running! That is one of the best parts of a build to me. To hear the machine come to life is a sound that screams success! Congrats, it is looking great.
 
Hi Malex, I've been watching your project from the original post. It's been inspiring and fun to watch your vehicle rapidly approaching completion. Your workmanship is superb and the work you have accomplished in the time frame of this project is truly amazing! You seem to have an overall vision for the car and it is truly inspiring to watch you bring your vision to reality. So many of us talk a good game, but you're not talking, just getting it done. Your car is beautiful and I hope someday to see it in person. Thanks for sharing and showing us the way! Brian.
 
Hi Malex, I've been watching your project from the original post. It's been inspiring and fun to watch your vehicle rapidly approaching completion. Your workmanship is superb and the work you have accomplished in the time frame of this project is truly amazing! You seem to have an overall vision for the car and it is truly inspiring to watch you bring your vision to reality. So many of us talk a good game, but you're not talking, just getting it done. Your car is beautiful and I hope someday to see it in person. Thanks for sharing and showing us the way! Brian.

Brian, I appreciate your compliments and interest on the Plymouth build. Thank you Sir!
It's been enjoyable the whole way through. This is a great site where we can share, help, motivate and inspire each other.

So for today I was able to finish up the steering wheel and tomorrow I can get that installed. I was also able to round up another door lock so now I can get them re-keyed and installed. The list is getting short!
image.jpg
 
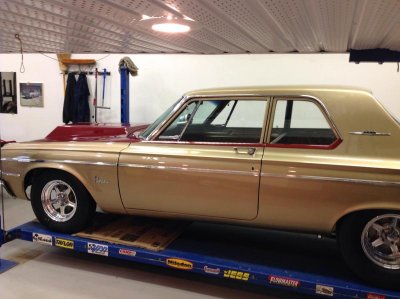
Today the Plymouth rolled off the hoist for the first time and out onto the driveway. Got a few pictures of it of the right side. Throughout the entire build every picture was of the left side. Pretty much time to register this bad boy and take it for a spin!
image.jpgimage.jpgimage.jpgimage.jpgimage.jpg
 
Grabbed a few pics of the Plymouth today. Resto is pretty much done, just waiting for the rear seat and door panels. I did try out the Protrans brake and 2 step. Sure hits hard!

image.jpgimage.jpgimage.jpgimage.jpgimage.jpgimage.jpgimage.jpgimage.jpgimage.jpgimage.jpg
 
image.jpgSo the Plymouth is now pretty much completed with the rear seat and door panels back and installed. To that end it was time to make my helpers day and take him for his first ride. We also hit a show & shine along the way, which was a big hit! image.jpgimage.jpg
 
Awesome, the car looks fantastic. Well done. Congrats. :wav:
 
I just went thru the build, that was a awesome....man that gives me lots of motivation on my 64 hardtop...I bet it is a blast to drive down the road....I can't wait to get to that point on my build...
 
Auto Transport Service
Back
Top