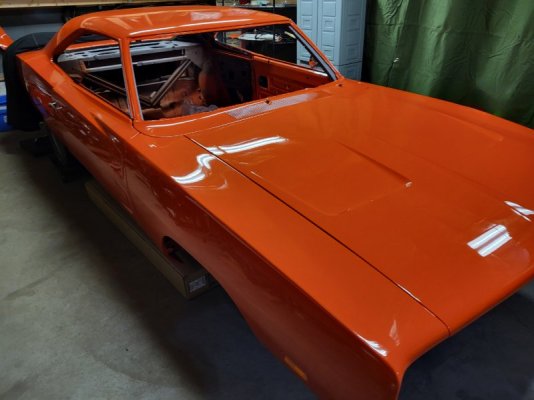
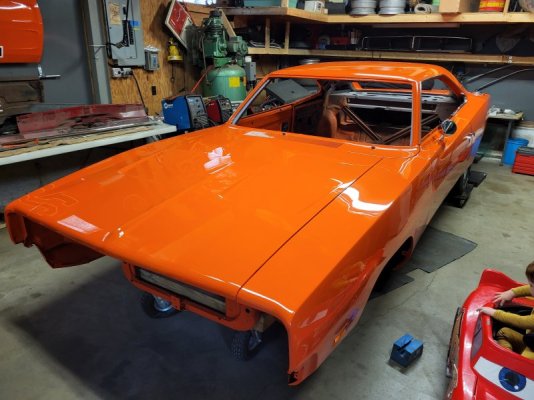
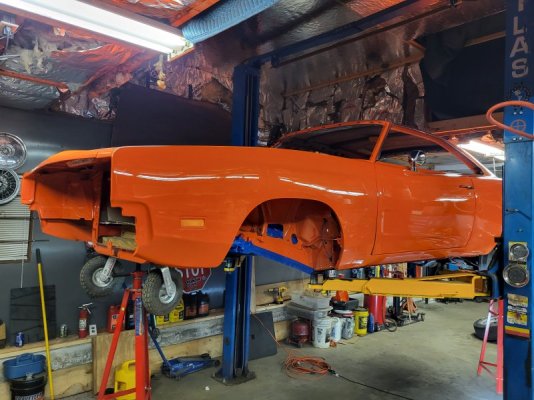
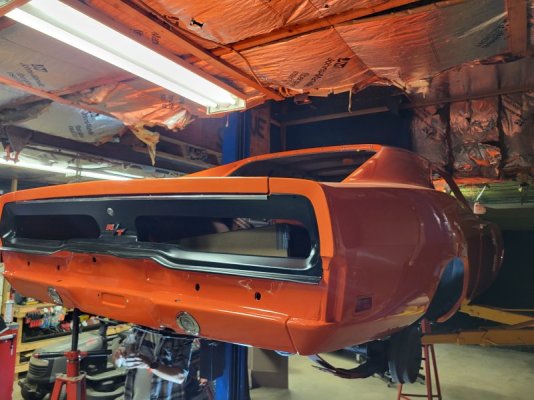
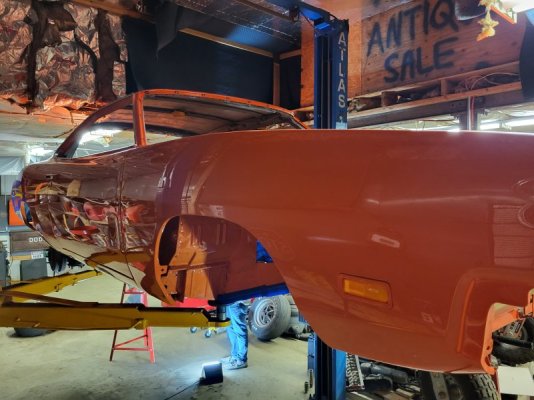
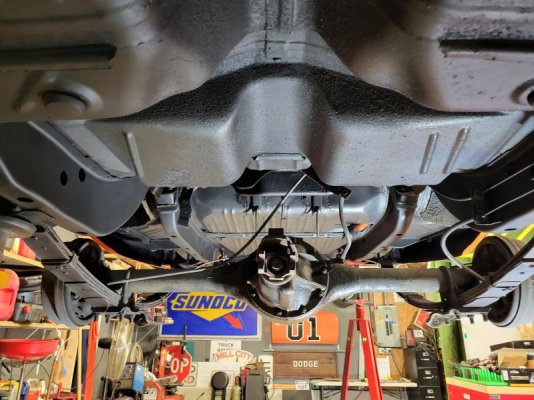
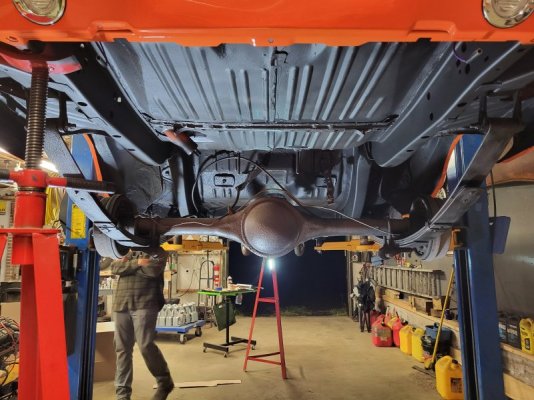
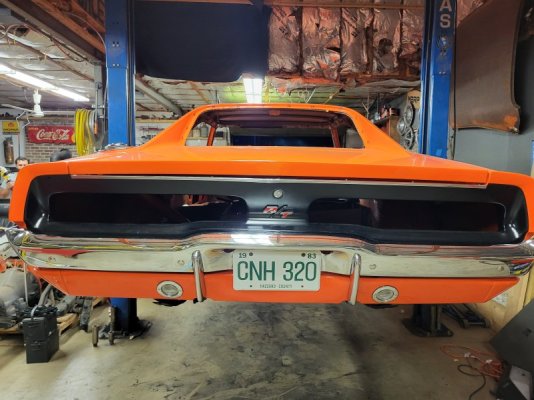
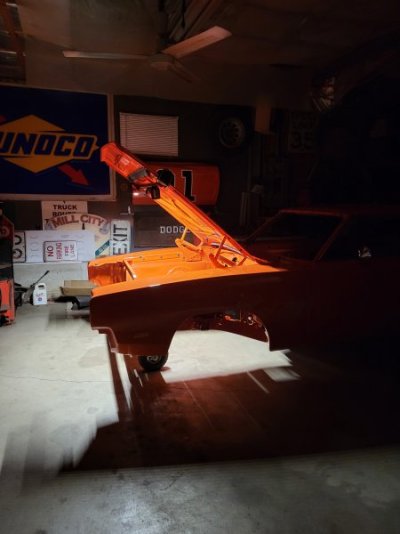
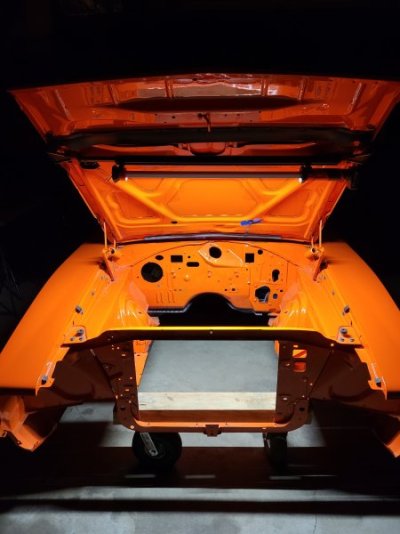
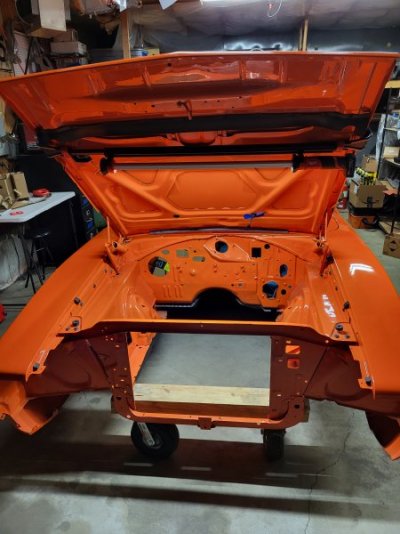
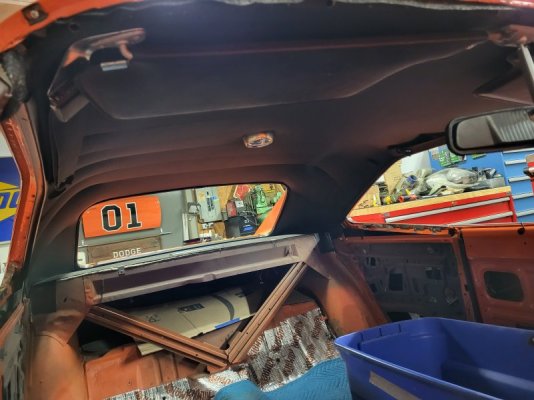
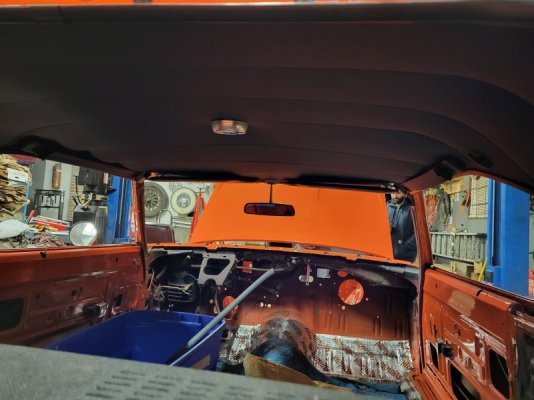
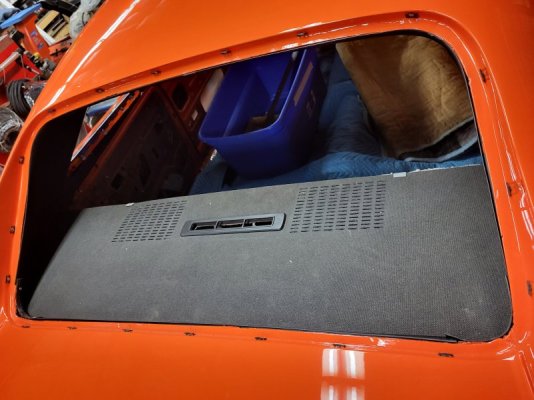
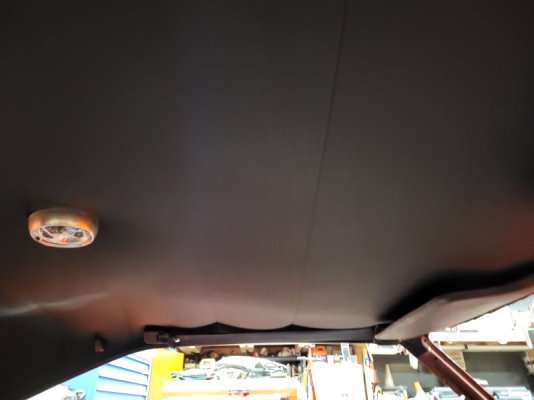
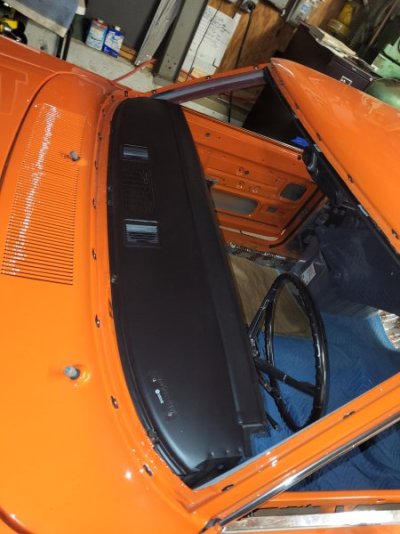
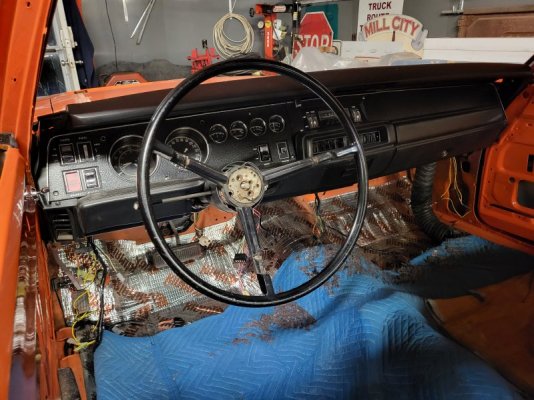
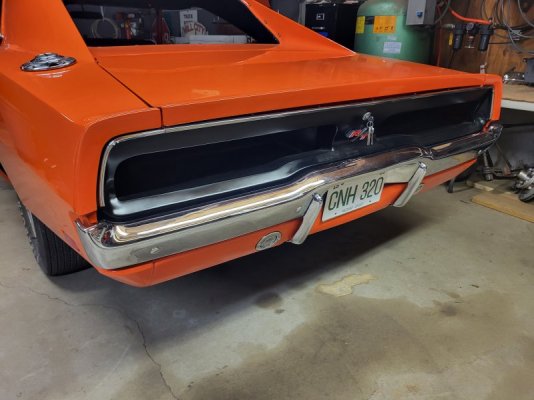
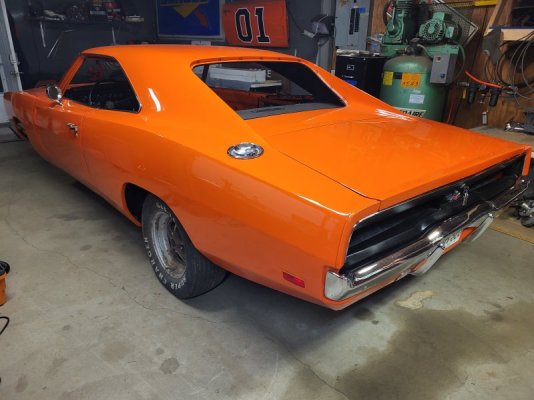
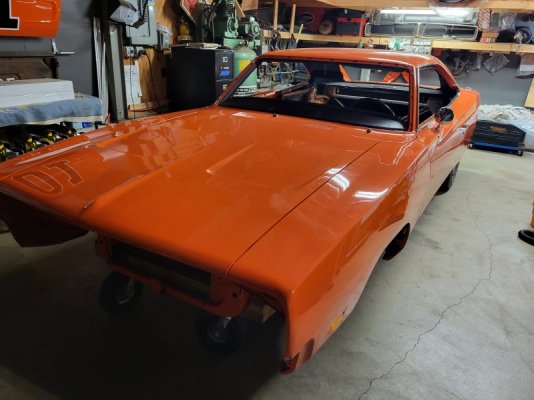
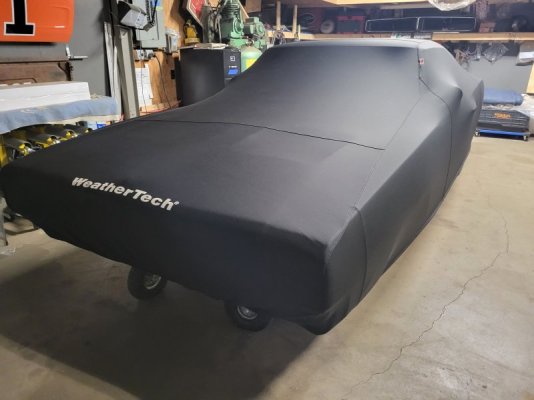
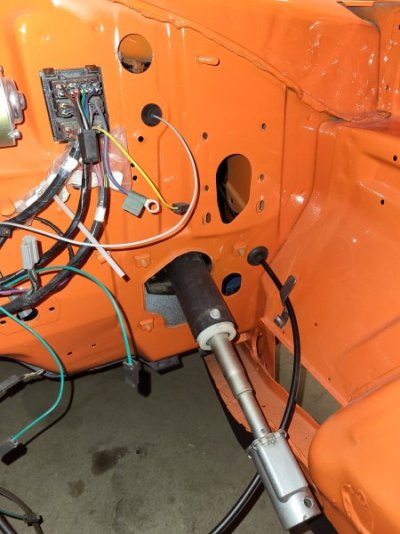
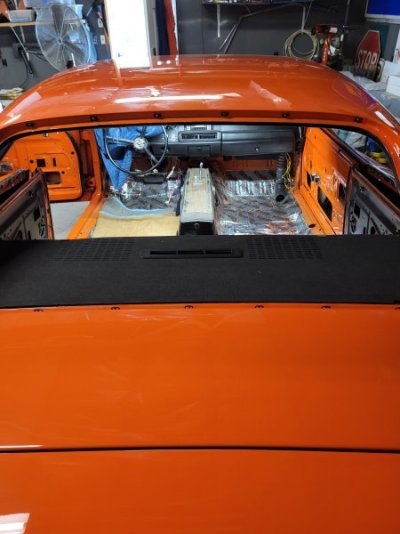
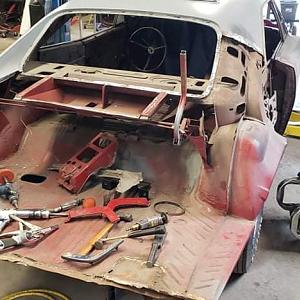
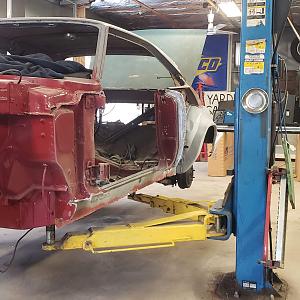
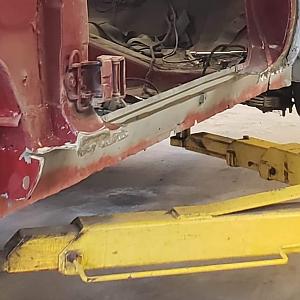
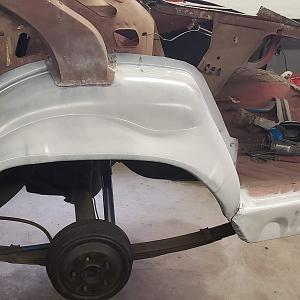
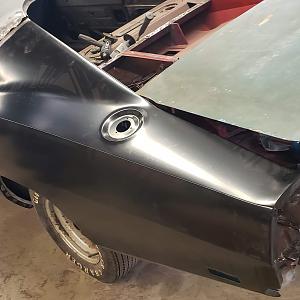
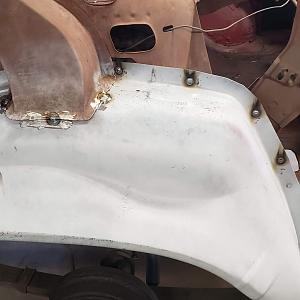
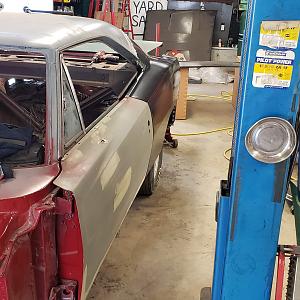
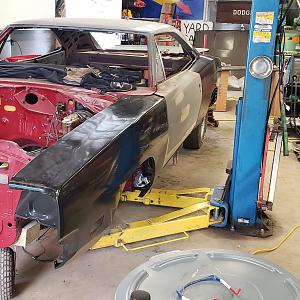
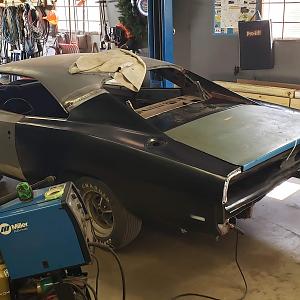
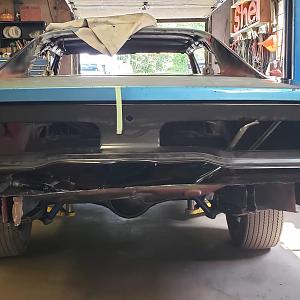
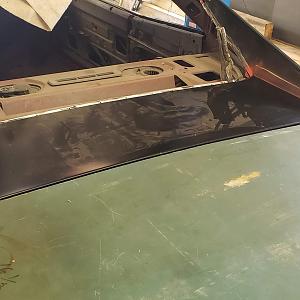
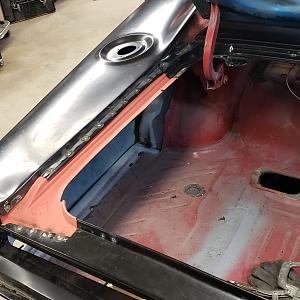
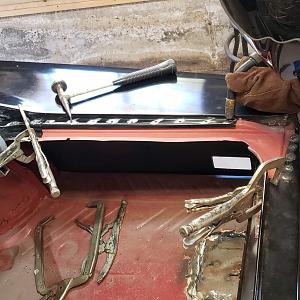
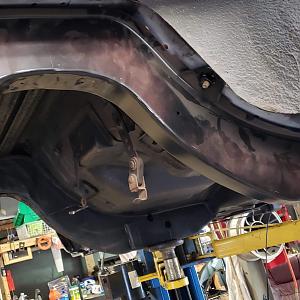
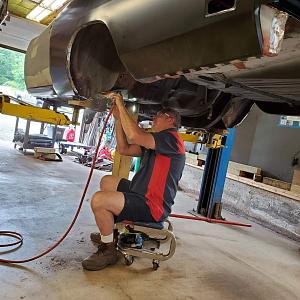
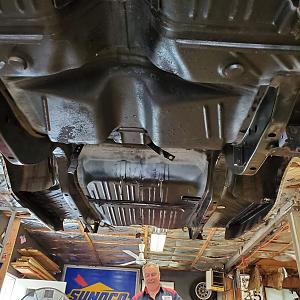
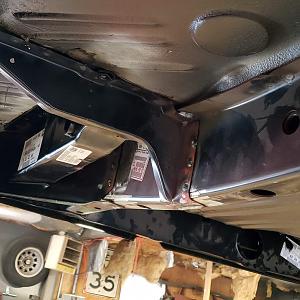
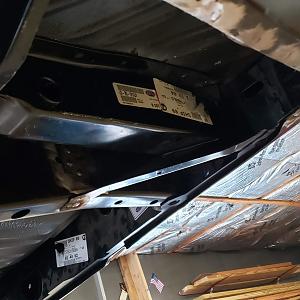
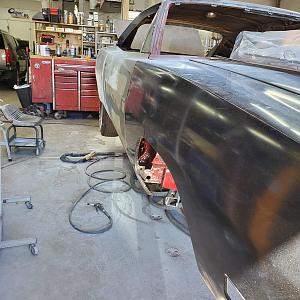
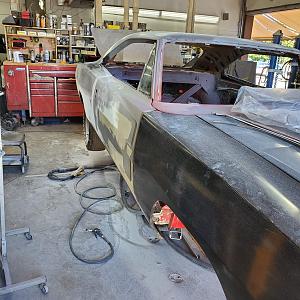
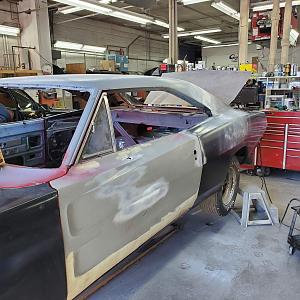
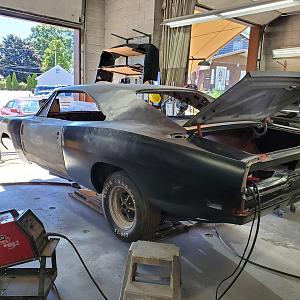
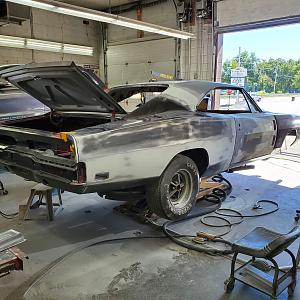
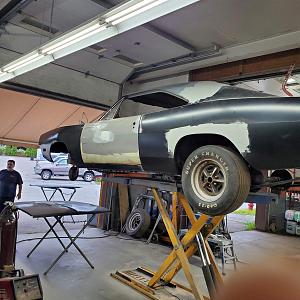
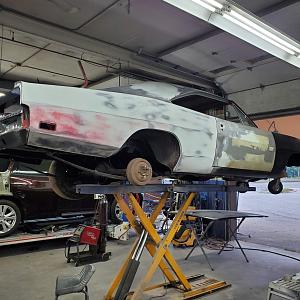
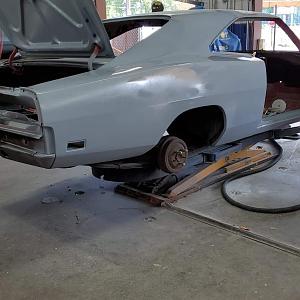
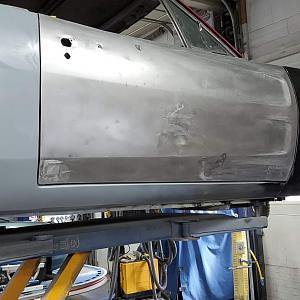
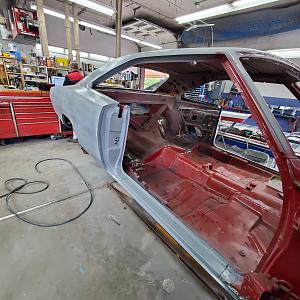
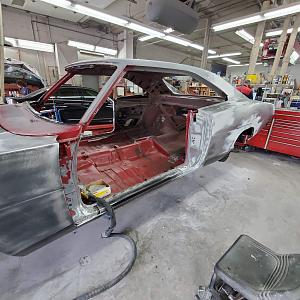
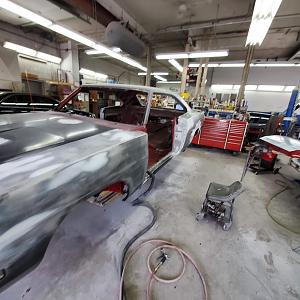
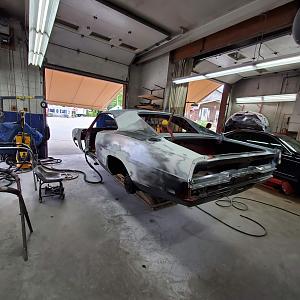
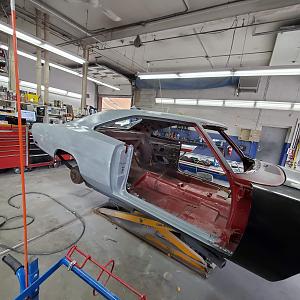
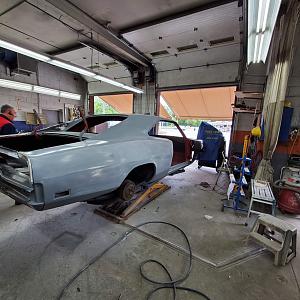
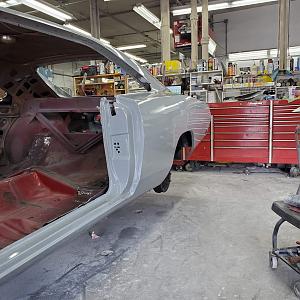
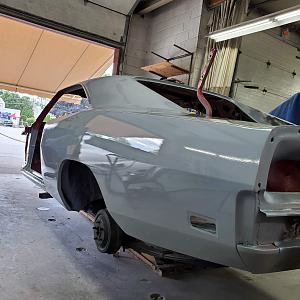
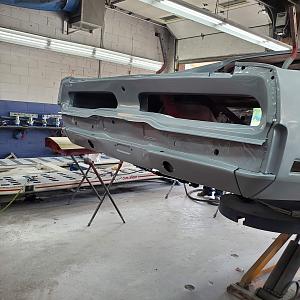
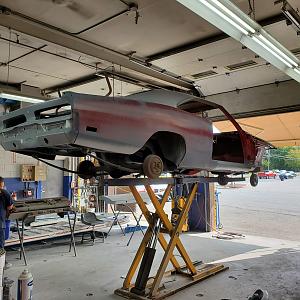
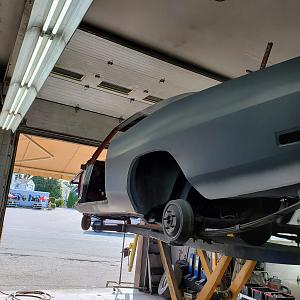
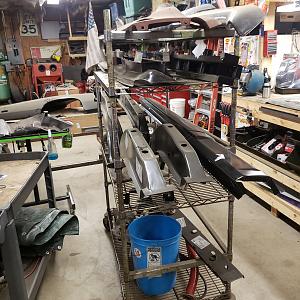
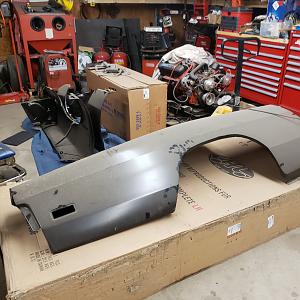
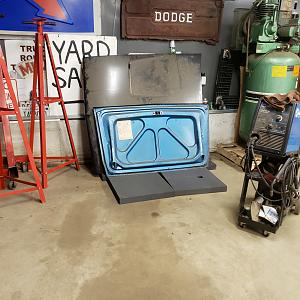
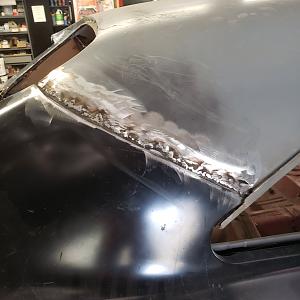
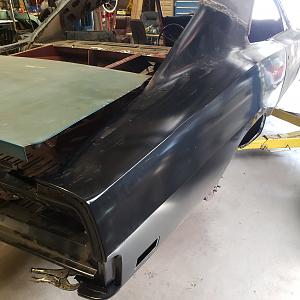
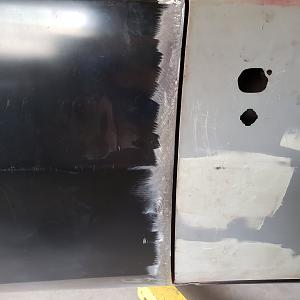
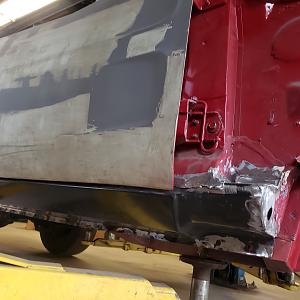
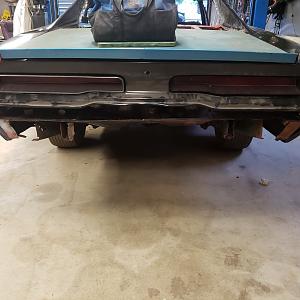
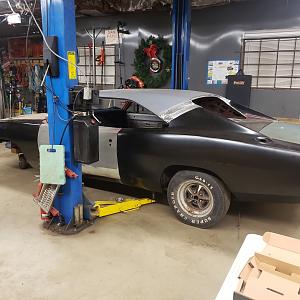
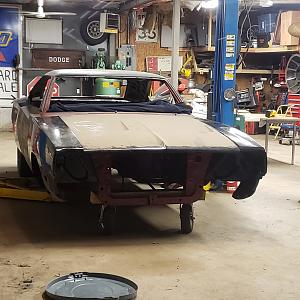
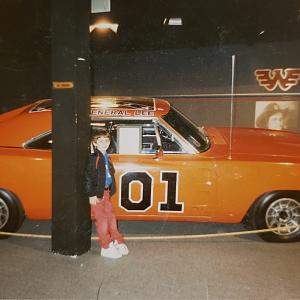
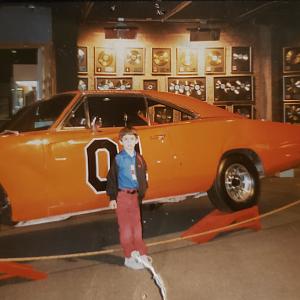
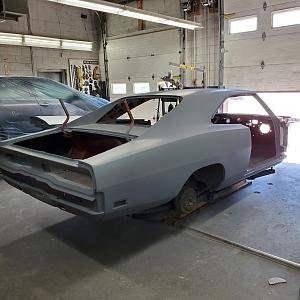
Photos of my 69 charger in progress after 22 years, started back up on it this past june. The last two photos are me when i was 4 years old next to Waylon Jennings general lee wanted a 69 charger pretty much my whole life!
About this Mopar:
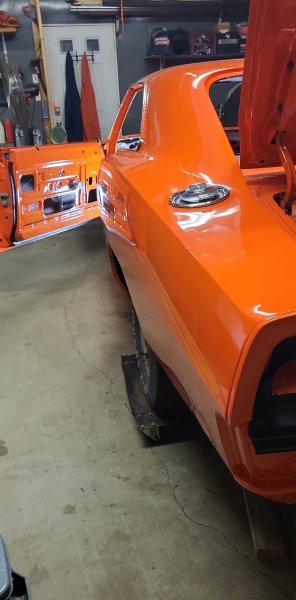
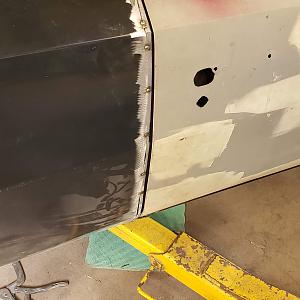
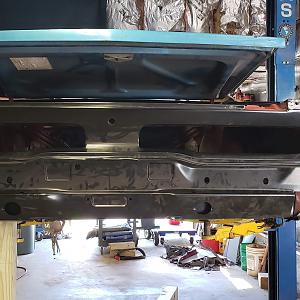
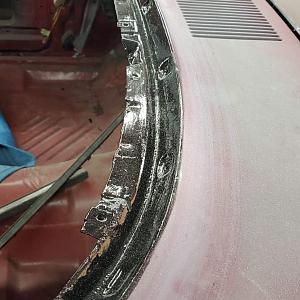
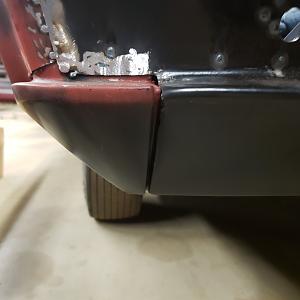
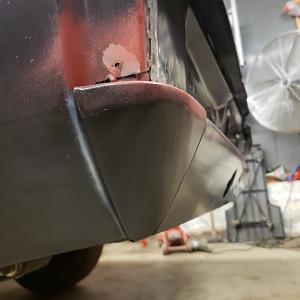
I guess I was late to the party with this forum for sure! I had joined others 15 or so years ago but I forget which ones! Someone at Classic Industries suggested I join this page, said I can learn a lot from it and I hope so!. I was asking them about proper mounting locations for the R/T emblem on the tail panel as well as, the charger script emblems on the upper quarter panels. So if anyone has some info please feel free to share it! I have seen some of the quarter panel emblems with rough measurements off of the vinyl top trim. But I do not have that trim so I will have to give them whatever I can find and see where it goes from there i guess.
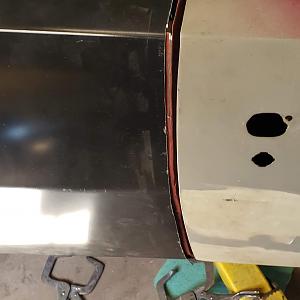
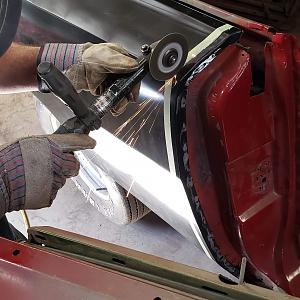
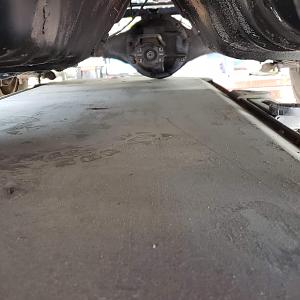
Long story but I bought this car back in 98 when I was 17. it was a basket case. I sent it off for body work in 2001 and it went to paint jail for 2-ish years and when I got it back I was extremely disappointed. Cracks in the extremely thick Bondo started appearing everywhere.. and I decided to strip the car down.. I found so many more issues and then just started collecting parts until this year.. 2020 has been a roller coaster for many, and my story isn't much different, except my wife and I gave birth to our first kid a healthy baby boy back in May, and then with another crazy turn of events in June an opportunity to help out a family member and their body shop where business was slowing down due to Covid and viola! My charger sitting for many many years is now getting a new lease on life. I do have many progress photos on my fb page "restoring my 69 charger" hope its ok to share that here.. thanks again all!
Long story but I bought this car back in 98 when I was 17. it was a basket case. I sent it off for body work in 2001 and it went to paint jail for 2-ish years and when I got it back I was extremely disappointed. Cracks in the extremely thick Bondo started appearing everywhere.. and I decided to strip the car down.. I found so many more issues and then just started collecting parts until this year.. 2020 has been a roller coaster for many, and my story isn't much different, except my wife and I gave birth to our first kid a healthy baby boy back in May, and then with another crazy turn of events in June an opportunity to help out a family member and their body shop where business was slowing down due to Covid and viola! My charger sitting for many many years is now getting a new lease on life. I do have many progress photos on my fb page "restoring my 69 charger" hope its ok to share that here.. thanks again all!
-
 received_928657774212374.jpeg61.9 KB · Views: 1,016
 -
 received_636338720572668.jpeg57 KB · Views: 191
 -
 received_978789979257696.jpeg53.8 KB · Views: 181
 -
 received_325903358428106.jpeg66.8 KB · Views: 184
 -
 received_2765753993564347.jpeg53.6 KB · Views: 177
 -
 received_560094524874295.jpeg295.2 KB · Views: 177
 -
 received_302882597763736.jpeg439.3 KB · Views: 177
 -
 received_190681519027928.jpeg477.6 KB · Views: 164
 -
 received_680256972831286.jpeg541.5 KB · Views: 164
 -
 20200629_121148.jpg67.4 KB · Views: 139
 -
 received_2606239059614601.jpeg428.1 KB · Views: 144
 -
 received_271240007522685.jpeg378.6 KB · Views: 149
 -
 received_305556637246035.jpeg483.5 KB · Views: 141
 -
 received_712014002676684.jpeg369.5 KB · Views: 149
 -
 received_274661853859251.jpeg671 KB · Views: 145
 -
 received_1271317996532507.jpeg646.9 KB · Views: 145
 -
 received_273640463872348.jpeg475.4 KB · Views: 140
 -
 received_329821028019608.jpeg466.5 KB · Views: 141
 -
 received_927523294363146.jpeg370.8 KB · Views: 147
 -
 received_870005410156524.jpeg462.7 KB · Views: 129
 -
 received_3213754318682493.jpeg561.2 KB · Views: 137
 -
 received_313131706384822.jpeg520 KB · Views: 136
 -
 received_352812639041565.jpeg267.2 KB · Views: 129
 -
 received_1878737445595239.jpeg280.9 KB · Views: 140
 -
 received_1222300528116869.jpeg611.8 KB · Views: 124
 -
 received_286235789287667.jpeg409.1 KB · Views: 128
 -
 received_309423883565081.jpeg614.7 KB · Views: 121
 -
 received_291810951967785.jpeg492.9 KB · Views: 129
 -
 received_274437396984819.jpeg465.2 KB · Views: 123
 -
 received_200697084652694.jpeg588 KB · Views: 128
 -
 received_951171958661801.jpeg687 KB · Views: 123
 -
 received_1152442808457932.jpeg423.8 KB · Views: 125
 -
 received_2077104902434358.jpeg938.3 KB · Views: 132
 -
 received_1995105677290184.jpeg1 MB · Views: 215
 -
 received_1569022296592361.jpeg907.4 KB · Views: 126
 -
 received_618747185729153.jpeg860.2 KB · Views: 123
 -
 received_1680334742115389.jpeg839.4 KB · Views: 127
 -
 received_963107657486118.jpeg847.2 KB · Views: 118
 -
 received_309408576786931.jpeg696.9 KB · Views: 123
 -
 received_683204499219969.jpeg163 KB · Views: 123
 -
 received_758231214967876.jpeg185.6 KB · Views: 127
 -
 received_314491559637557.jpeg347.5 KB · Views: 123
 -
 received_977767076072595.jpeg125.1 KB · Views: 121
 -
 received_764355207722016.jpeg135.7 KB · Views: 117
 -
 received_968371583634400.jpeg914.5 KB · Views: 107
 -
 received_649500065697540.jpeg815.9 KB · Views: 112
 -
 received_3015738165199205.jpeg643.1 KB · Views: 114
 -
 received_777187263100110.jpeg740.5 KB · Views: 117
 -
 received_1120862914973887.jpeg745.3 KB · Views: 122
 -
 received_345638213240668.jpeg837.1 KB · Views: 125
 -
 received_319457609130901.jpeg998.2 KB · Views: 112
 -
 received_419397569030027.jpeg778.6 KB · Views: 120
 -
 received_2793194467568843.jpeg772.7 KB · Views: 165
 -
 received_3312593875498666.jpeg717.9 KB · Views: 109
 -
 received_990773791347801.jpeg686.3 KB · Views: 109
 -
 20200622_204057.jpg1.4 MB · Views: 102
 -
 20200622_204118.jpg1.9 MB · Views: 107
 -
 20200622_204122.jpg1.1 MB · Views: 111
 -
 20200622_204137.jpg1,005.1 KB · Views: 105
 -
 20200627_141622.jpg1,022.2 KB · Views: 103
 -
 20200627_141617.jpg1 MB · Views: 103
 -
 20200627_141627.jpg916.4 KB · Views: 102
 -
 20200627_141656.jpg708.2 KB · Views: 102
 -
 20200630_185230.jpg784.2 KB · Views: 103
 -
 20200730_212010.jpg879.7 KB · Views: 103
 -
 20200730_212559.jpg758.4 KB · Views: 96
 -
 20200822_210040.jpg404 KB · Views: 102
 -
 20200822_210044.jpg542.9 KB · Views: 107
 -
 20200822_210051.jpg474.6 KB · Views: 106
 -
 20200822_210054.jpg724.2 KB · Views: 101
 -
 20200822_210126.jpg613.4 KB · Views: 105
 -
 20200826_074350.jpg1.7 MB · Views: 101
 -
 20200826_074357.jpg1.4 MB · Views: 100
 -
 20200826_074402.jpg1.2 MB · Views: 101
 -
 20200826_074431.jpg1.3 MB · Views: 135
 -
 20200826_074427.jpg1.2 MB · Views: 101
 -
 20200124_065457.jpg536.1 KB · Views: 109
 -
 20200124_065718.jpg641.5 KB · Views: 117
 -
 chg2.jpg317.3 KB · Views: 92
 -
 chg.jpg318.7 KB · Views: 98