• When you click on links to various merchants on this site and make a purchase, this can result in this site earning a commission. Affiliate programs and affiliations include, but are not limited to, the eBay Partner Network.

1962 Plymouth Belvedere "Jackpot"

Thanks for the comments so far here are some updates:

As the cowl repair progressed, I also got working on some other rust repair. There were a couple spots in the trunk, the lower corners and rear lip of the back window were rotten, and both quarters ahead of the rear wheel were rotted through. So all that was getting patched as well. Also dent repair on the roof and top of passenger quarter where years ago a tree fell on the car. Also a big crease by the tail light panel where some yahoo apparently pushed the car around with a forklift while it was in storage

084.jpg

085.jpg


Quarters being patched:

IMG_5158.jpg


And done:

IMG_5507Copy.jpg
 
Before the front end started coming apart for the straight axle, I installed frame connectors (still a greasy,dirty underside - but not for long) These frame connectors were made by Hammer, a guy on this site and the 62-65 Mopar website. Nice piece and a great guy to deal with.

012.jpg

015.jpg


Notice how these connectors pass up through the floorpan so they can connect to the center of the rear frame member

0066.jpg
 
Great looking work Bodee...Man I feel sorry for you early B-Body guys. Almost every one of you end up doing some kind of crazy surgery in the cowl area because they're always rotton. Turned out real nice!
 
Sure is looking great. Thats a cool story behind it, wish you luck although it sure looks like you have it covered!
 
Where is the update on this beast? Don't make me post the Guilded Lady cardboard facsimile.
 
Great project and can't wait for updates. I have a warm place in my heart for 62's...fortunately mine was rust free and has 2 extra doors as a bonus:icon_mrgreen:
20150201_122058.jpg
 
Okay........Time to raise this build thread from the dead. I've got a few years of (slow) progress to bring up to date. So bear with me. Here comes some more posts from the past to catch up to present day.

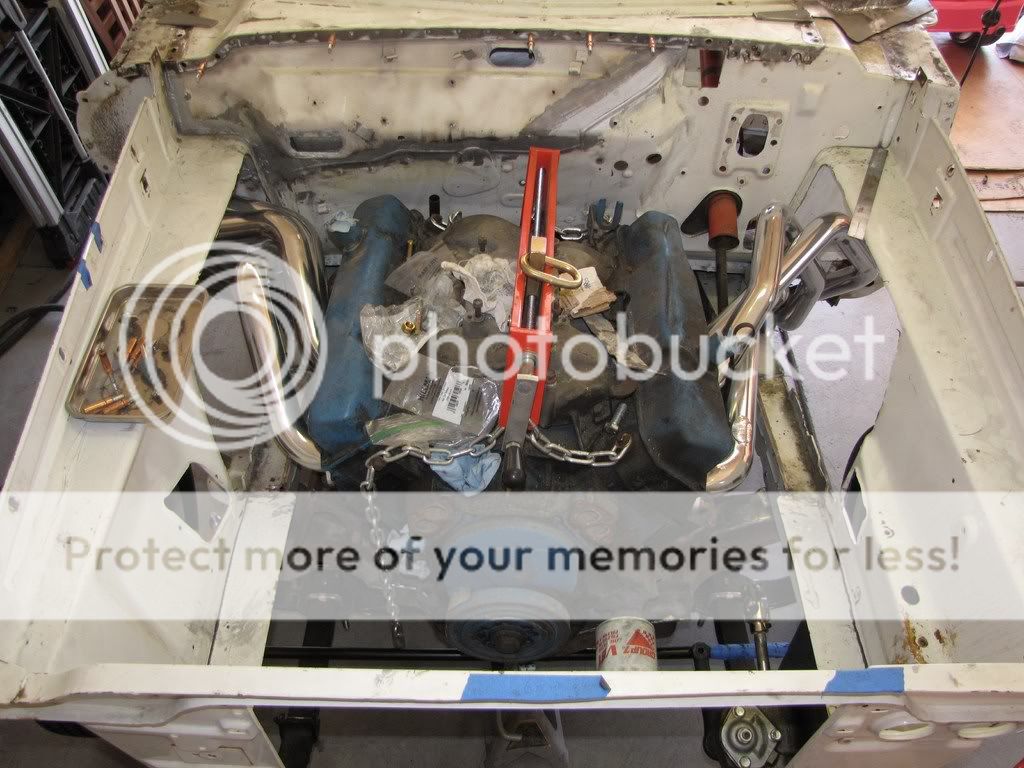
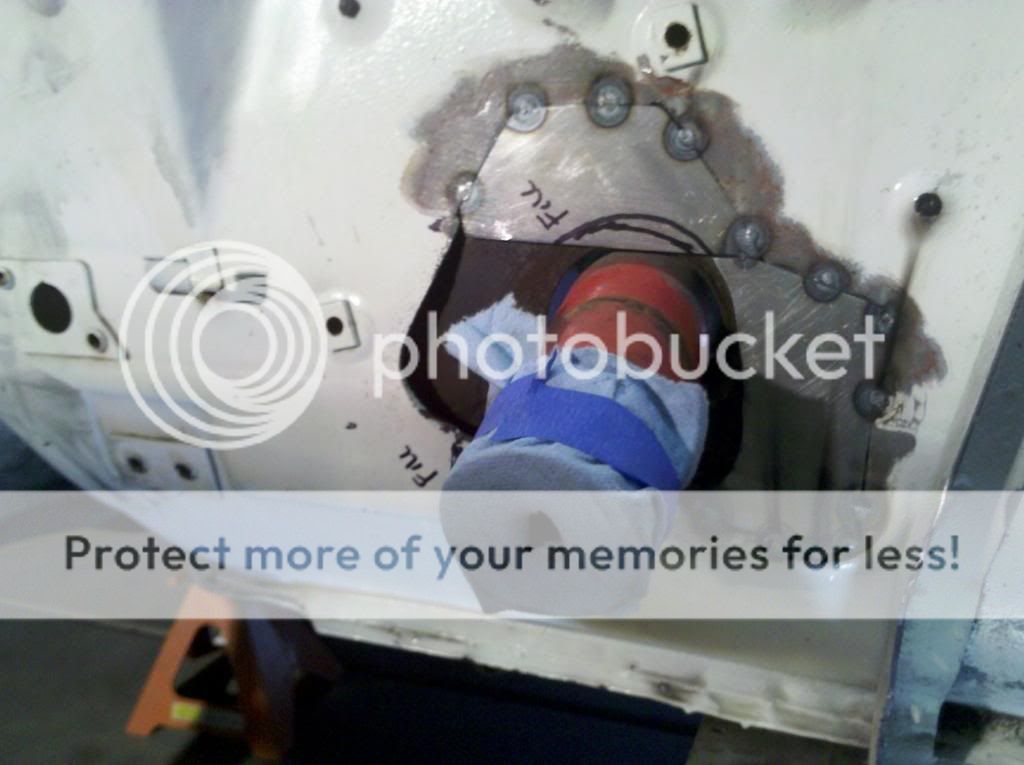
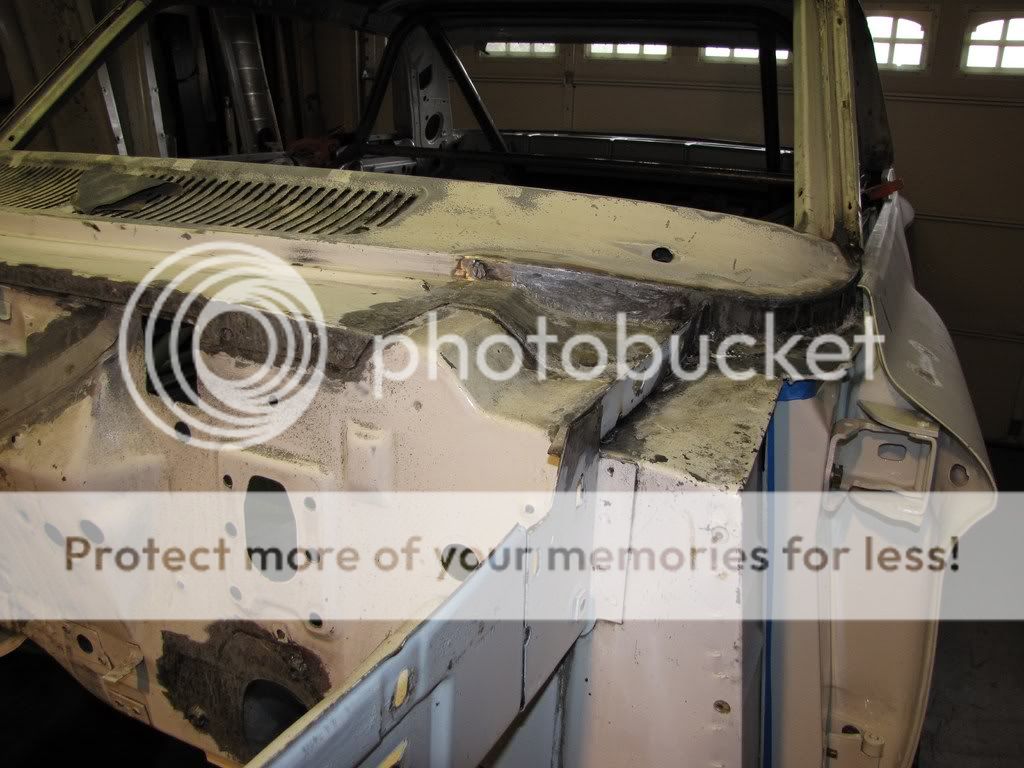
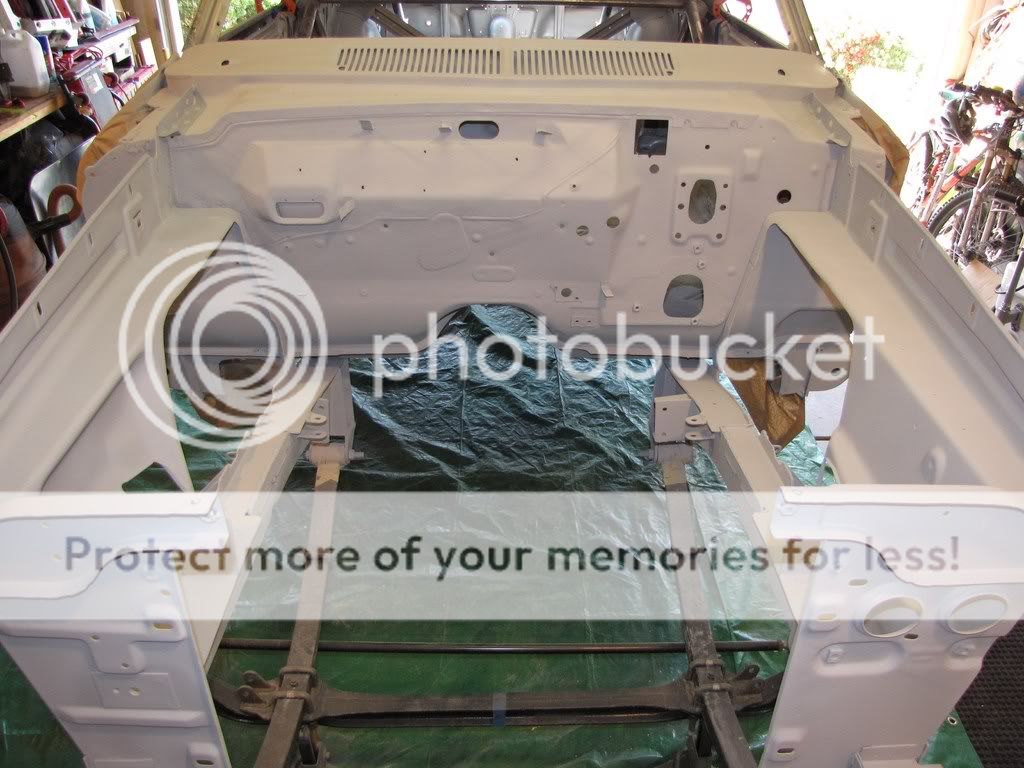
So.. let's see where I left off. I had the firewall reconstruction done and quarter panel repair and other sheetmetal rust repair patches and stuff done (Check!). Frame connectors are in. (Check!)

So the next thing up is The front axle swap, the cage and some seat relocation/ interior craziness.

The axle swap, cage and seating mods kind of were figured out and went together all at once, since it all fit together like a puzzle - but I will start posting pics the inside first, then move on to the axle/steering setup.

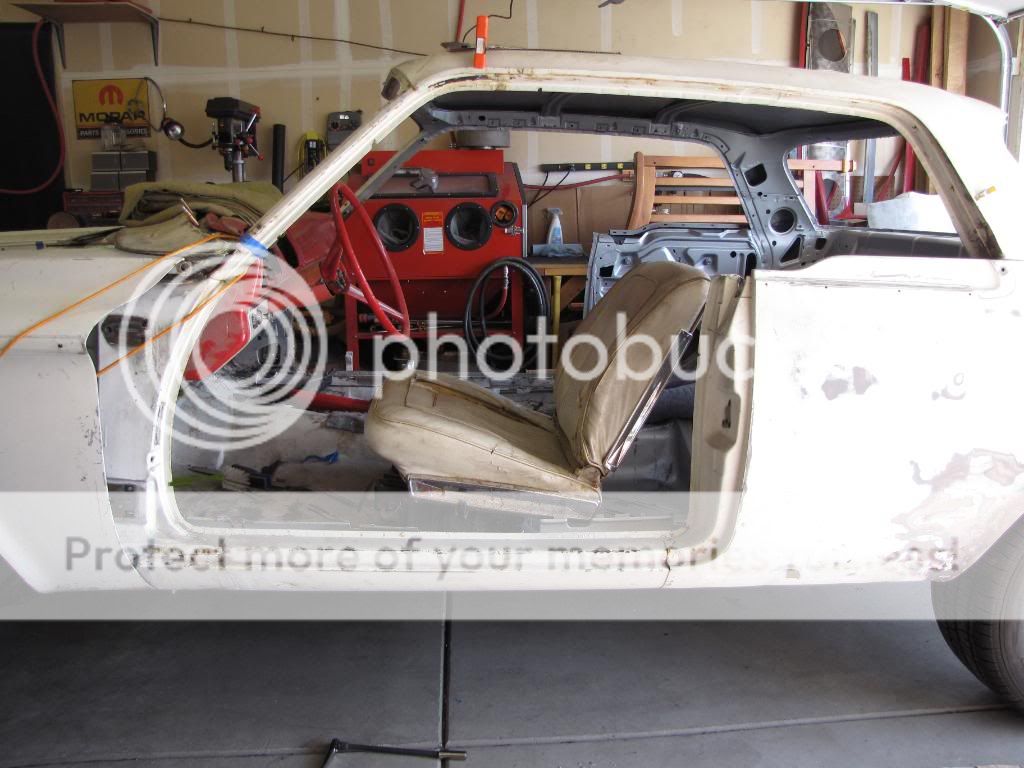
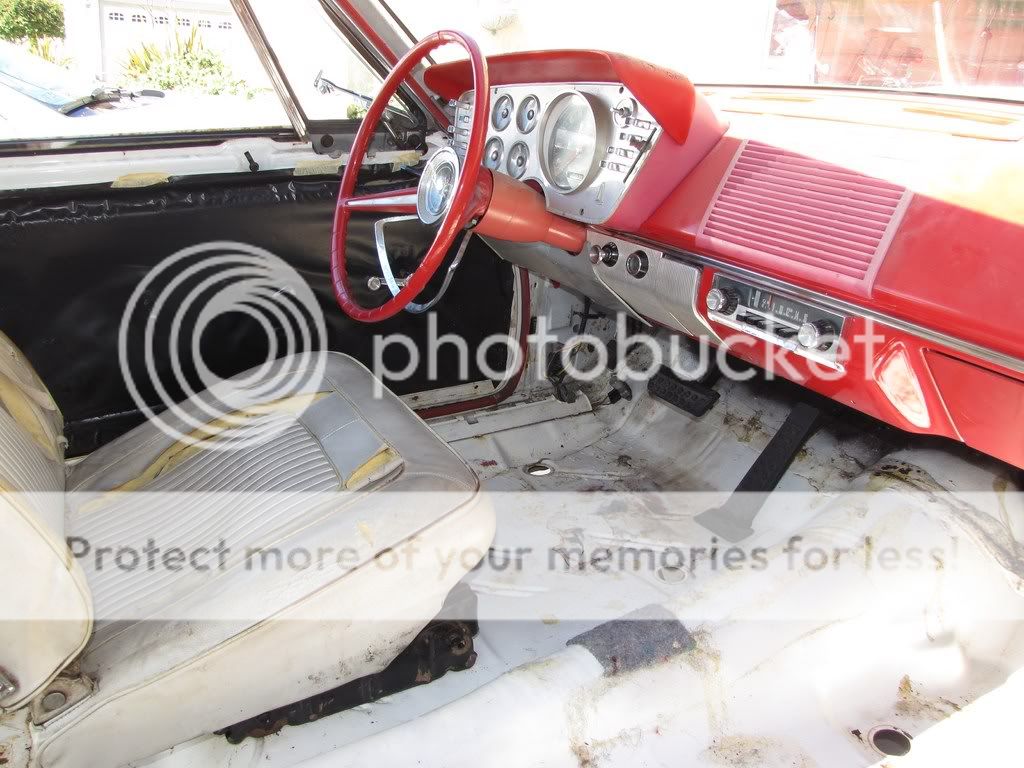
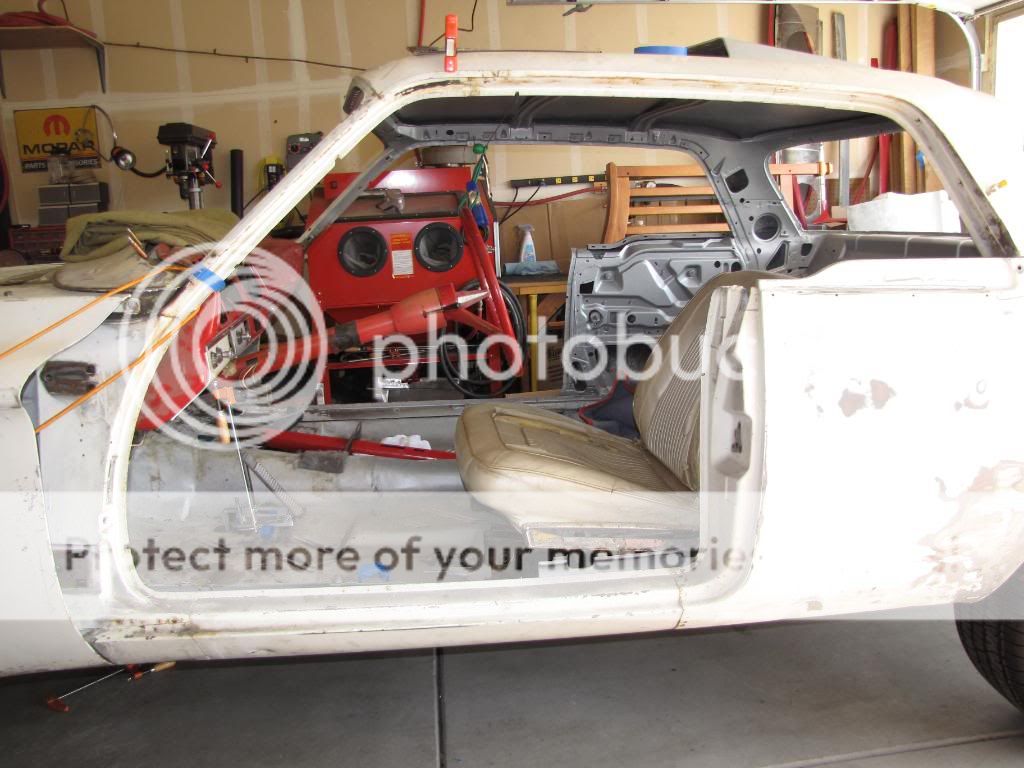
I figured there will be no rear seats so let's just move those front ones back! The first thing to figure out was the new seating location. Here are some rough pics of where the original seats and steering wheel were, and a mock-up of where they will be moved to..
The original seat location:
022-Copy.jpg

IMG_1307.jpg

And a mock-up of where they are going:
027-Copy.jpg


- - - Updated - - -

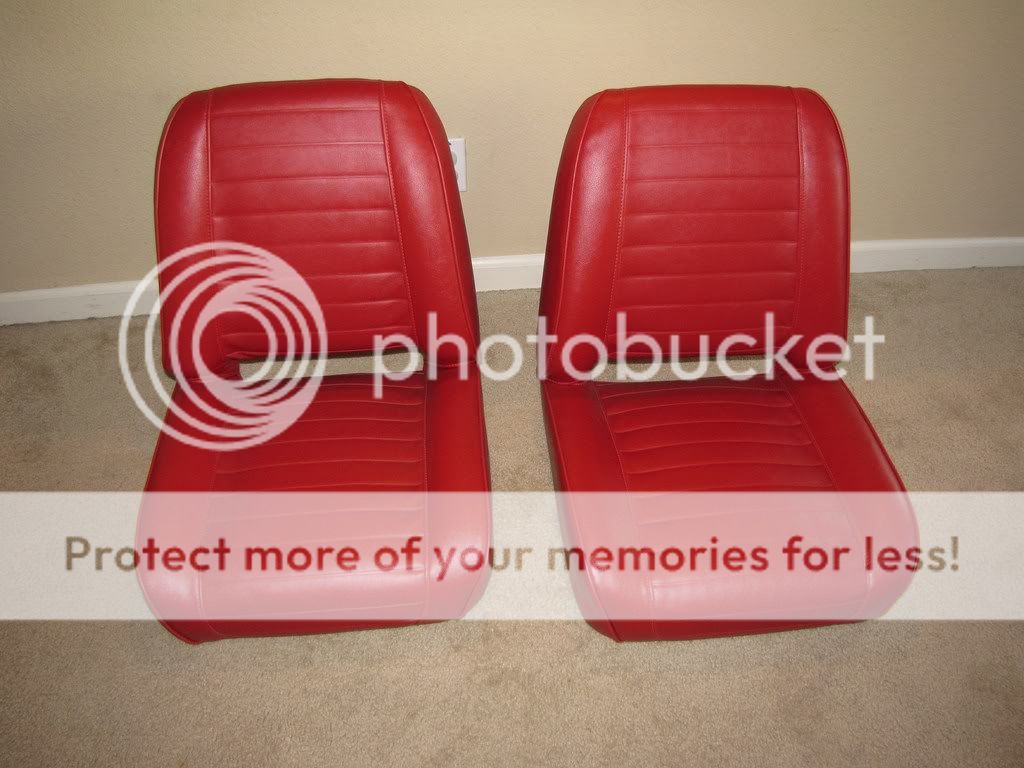
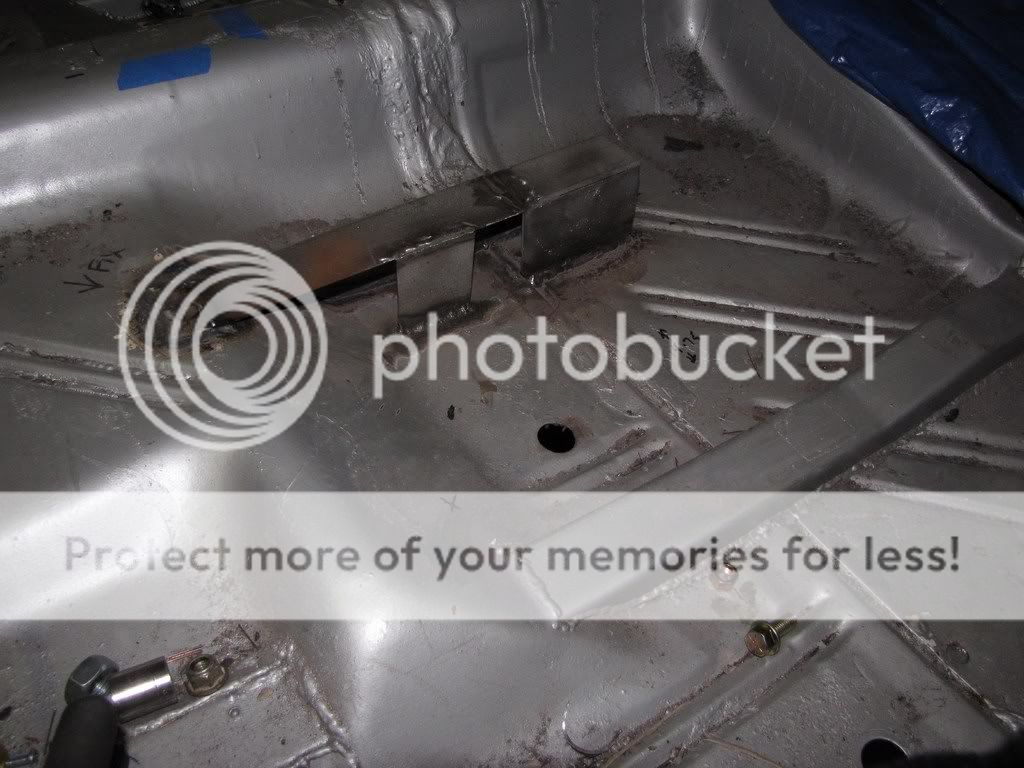
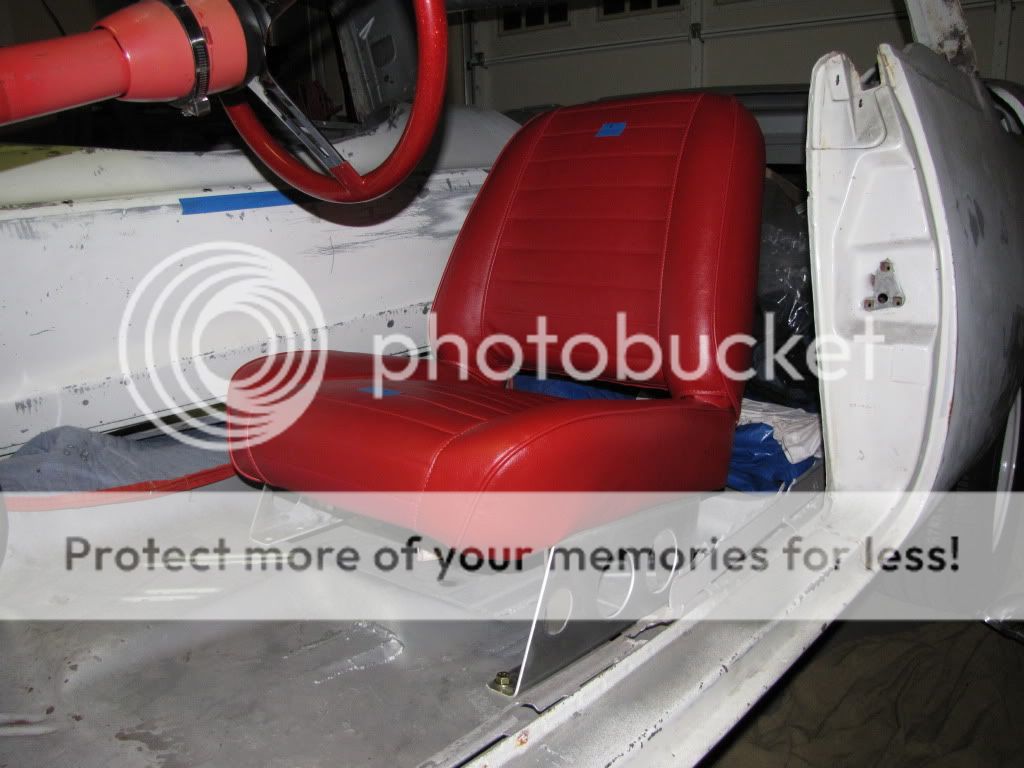
The seats were moved back a total of 12 inches. Reinforcement plates were welded under the floor sheet metal to prevent any "pull through" of the mounting bolts. The actual seats going in the car are a pristine set of A100 van seats, along with reproduction aluminum mounts. The same Seats used in the old Super Stock Mopars back in the day:
098.jpg


The relocation of the seats required a fabricated riser be built into the floor for the inboard seat rails:


0022Copy.jpg


- - - Updated - - -

So here is the new drivers seat in position, (note that this picture is before the inner floor support was built):

010_zps25fa47e4.jpg


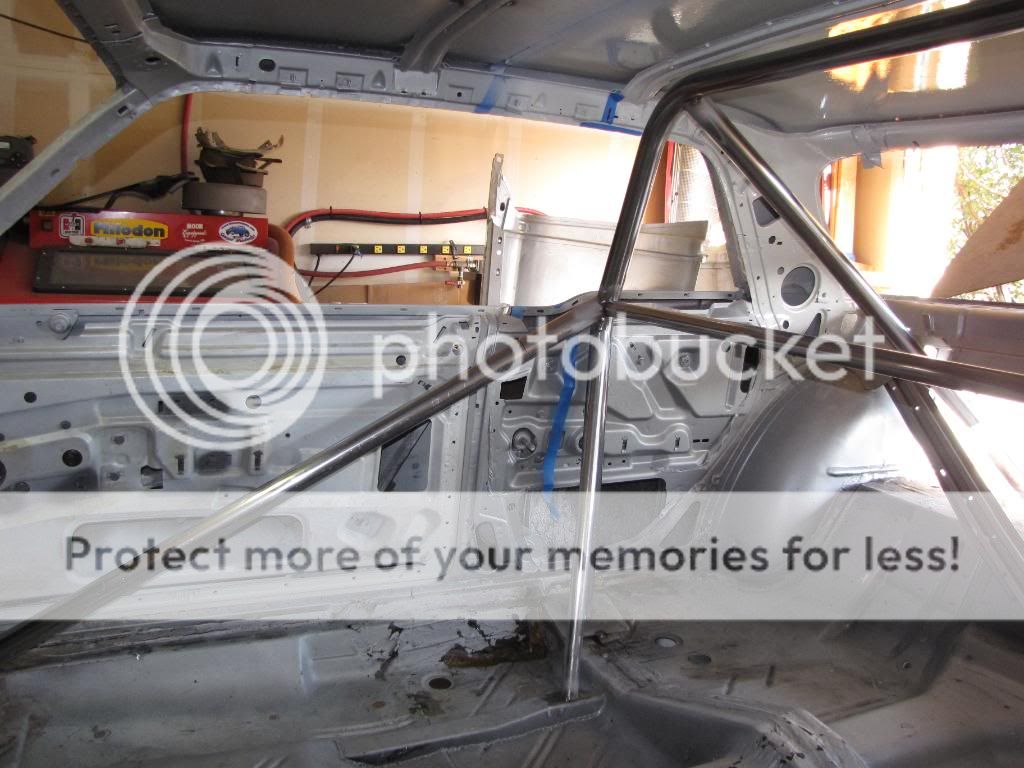
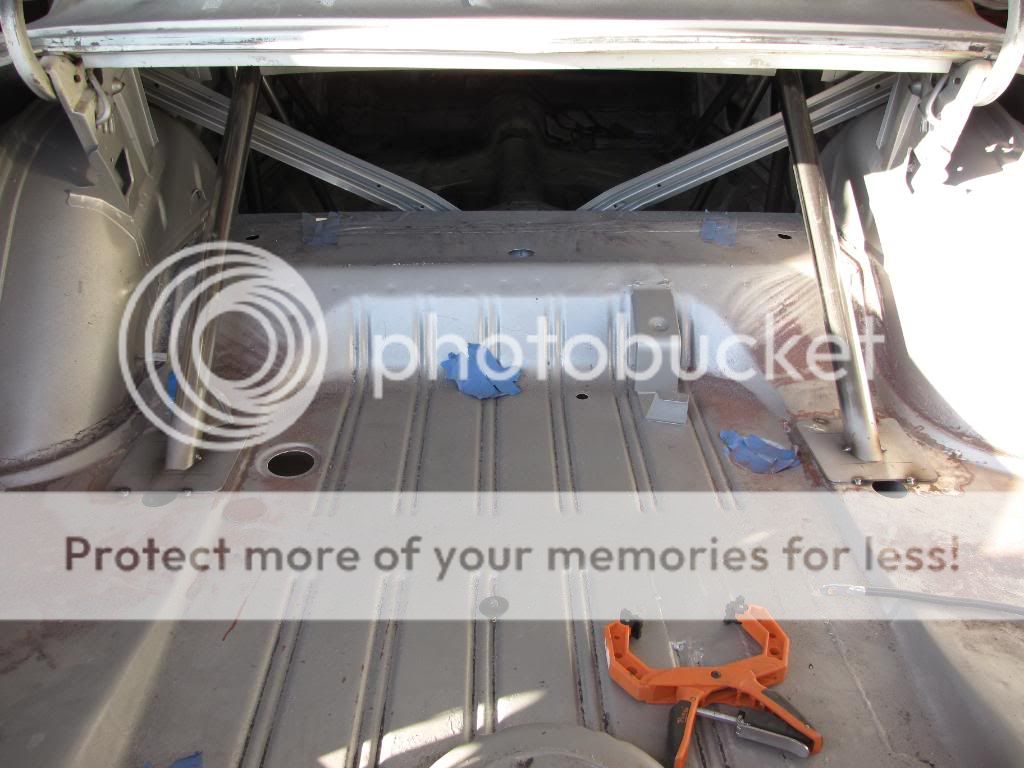
With the seating position worked out, I could start working out the cage and getting it fitted. It is all built NHRA legal (minus the required headrest for the low back buckets) That will be added at a later date. So here are some pics of the cage being fitted and tacked in:
0193-Copy.jpg

028-Copy.jpg

0233-Copy.jpg
 
The next order of business was getting some steering and some stop and go pedals sorted out.

The original steering column and another from a donor car were spliced together to create the length that was needed to reach the new seating position. (both the shaft and column) A spacer was fabricated under the dash where the column mounts to get the correct "drop". The electrical wires inside the column were extended so the factory column harness/plugs remained intact. So there are proper horn and turn signals. And the original hole in the firewall was partially patched and a new hole created below it a bit.

This came out really nice, from the engine compartment side the finished result will look "factory", just with the hole in a different position. I don't have a pic of the finished thing put together (yet), but there are some pics of the mod in process to give you an idea.

The steering shafts themselves were cut to the correct length so that the welded joint would be hidden inside the column. The mating ends of the shaft itself were cut into a "double D" shape. A steering column coupler with DD ends to receive the shafts was fitted, then welded securely into place. I used a jig of angle iron to keep the shaft straight - it was a bit tricky! This union between the shafts is very secure, it will never fail under twisting loads due to the DD flats used in the splicing.

Here is a really long steering shaft!!
0013Copy.jpg


In this pic, you can see the location of the original column exit into the engine compartment:
011Copy.jpg


Here is the column exit into the engine compartment being moved into in it's new location. Note the hole in the firewall for the clutch linkage (4 speed car) was filled in as well.
IMG_20101021_162434.jpg


In this next pic, you can see the finished modification to the firewall before primer (down in the lower right)
IMG_4553.jpg


- - - Updated - - -

Here's a better pic of the firewall modification after primer

IMG_4577.jpg
 
Auto Transport Service
Back
Top