Now that is really cool SixPakSteve . . . sure beats lying on your back and welding parts into the car . . . except I'd be concerned about keeping it all true with the new forces on it ? ?
Good luck . . .
Good luck . . .
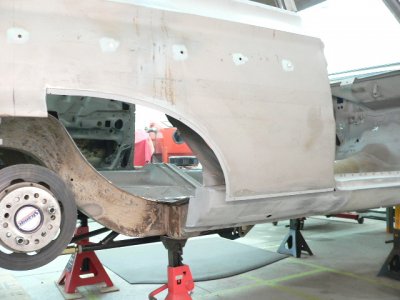
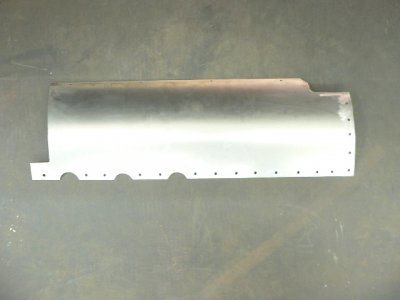
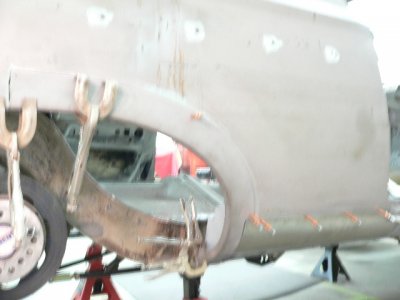
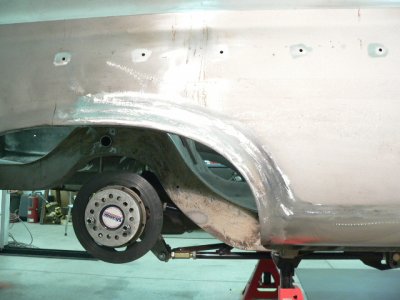
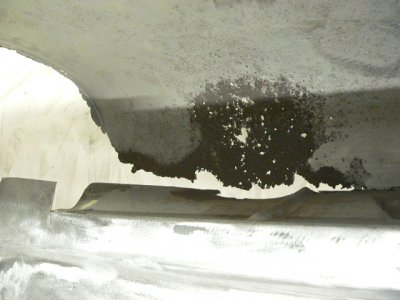
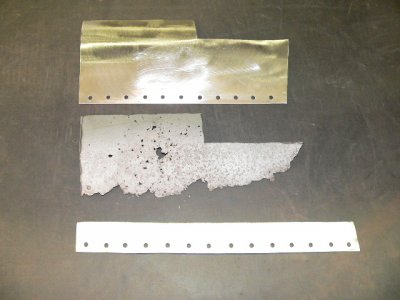
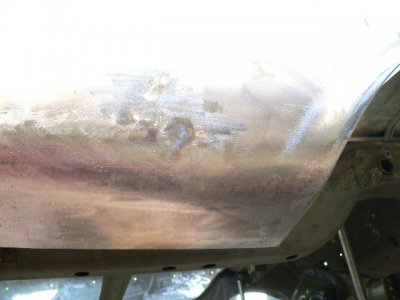
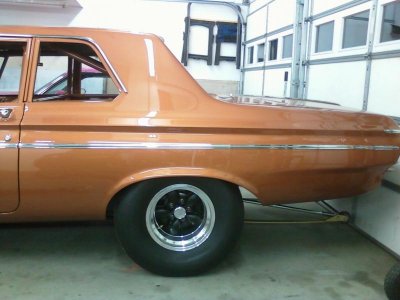
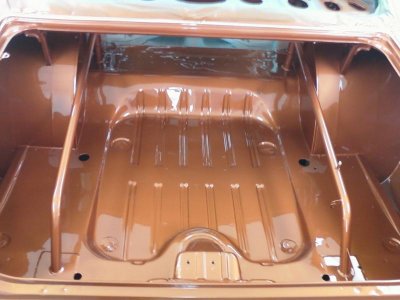
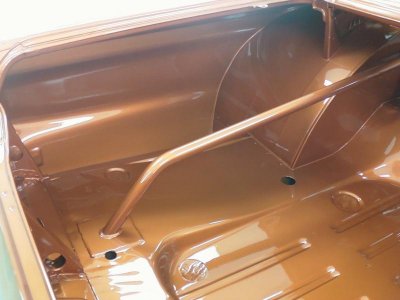
") "Keeping it all true" is a concern that I share as well. I know that I have some floor pan work ahead of me, and a inner & outer patch to do on that passenger side lower 1/4 panel. But until I get the entire car blasted I won't know what other welding has to be done.
"Keeping it all true" is a concern that I share as well. I know that I have some floor pan work ahead of me, and a inner & outer patch to do on that passenger side lower 1/4 panel. But until I get the entire car blasted I won't know what other welding has to be done.