You are using an out of date browser. It may not display this or other websites correctly.
You should upgrade or use an alternative browser.
You should upgrade or use an alternative browser.
1966 Satellite Big Block Commando
- Thread starter robinsonwr
- Start date
robinsonwr
Well-Known Member
dryheat
Well-Known Member
Excellent work. Would you mind posting pictures on how you have the car supported? I'm about to tackle my floor and cowl so I need all the help I can get.
robinsonwr
Well-Known Member
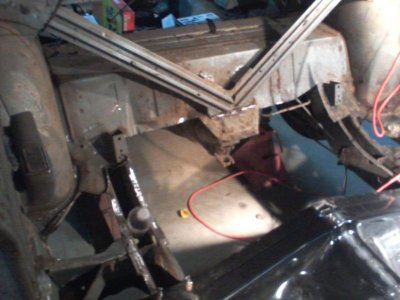
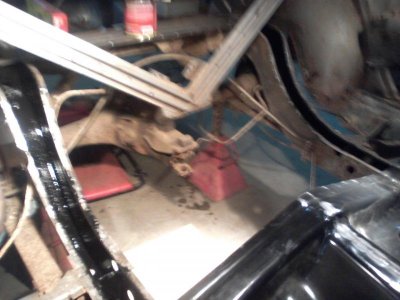
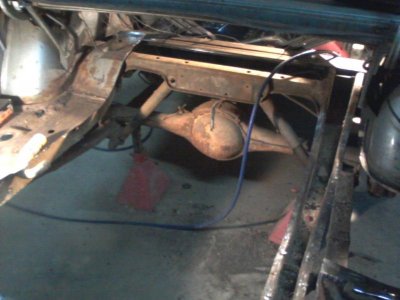
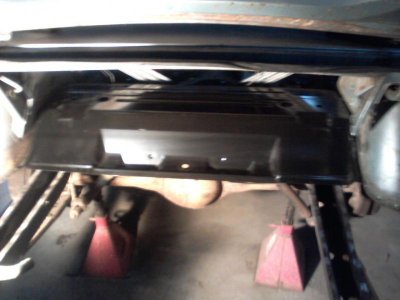
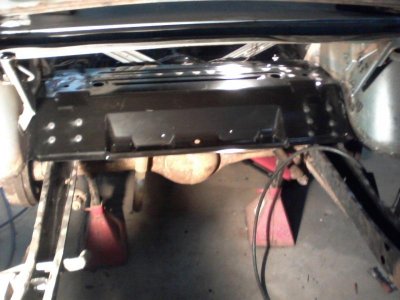
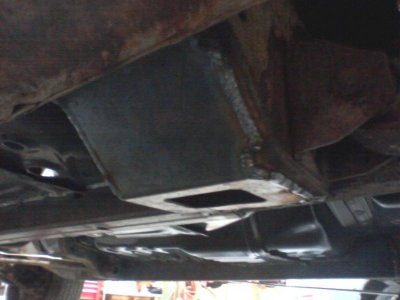
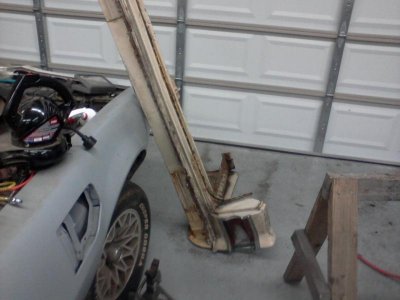
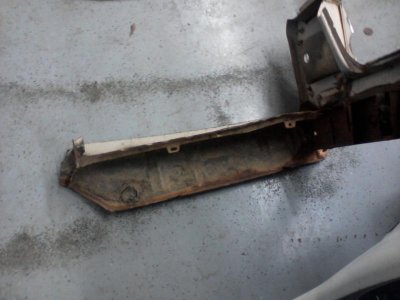
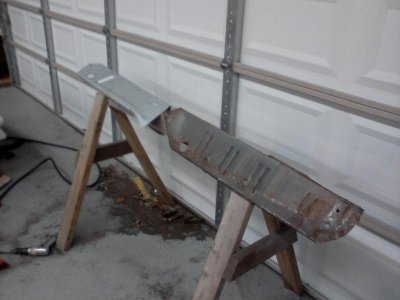
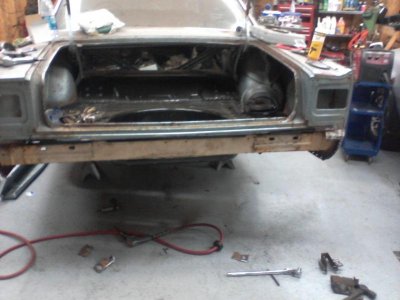
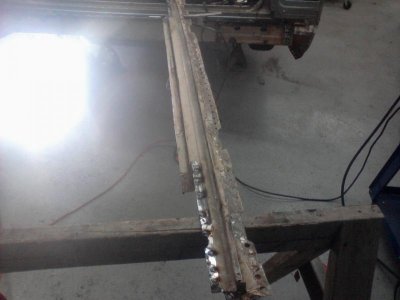
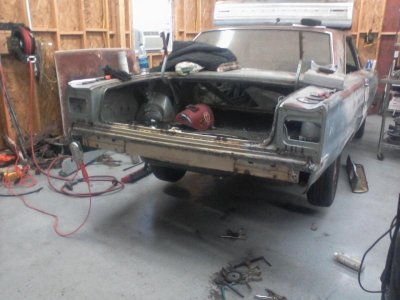
I am currently waiting on my quarter extensions to come in from Sherman. Then I will install my AMD lower quarter patch panels. The bumper support or rear panel was cut out of my donor 67' Belvedere.
- - - Updated - - -
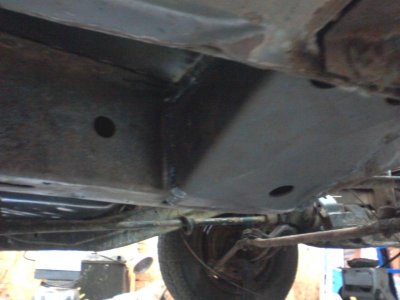
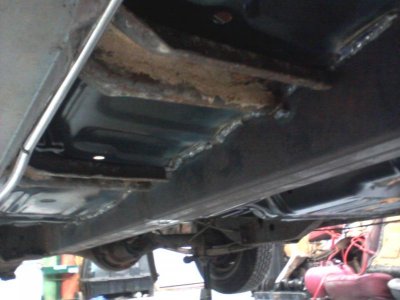
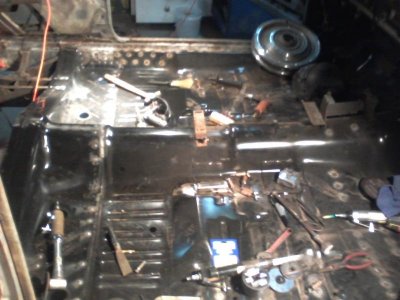
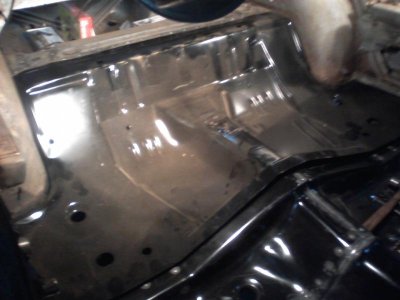
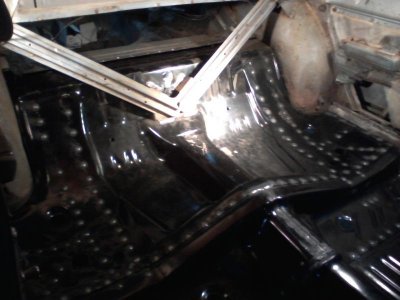
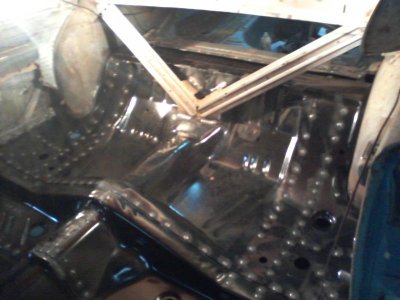
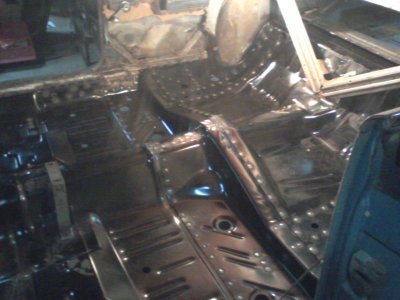
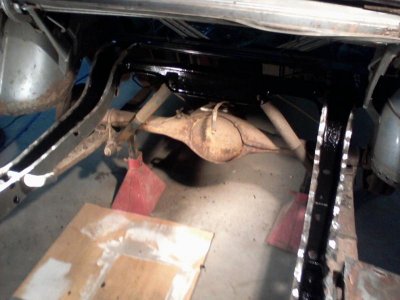
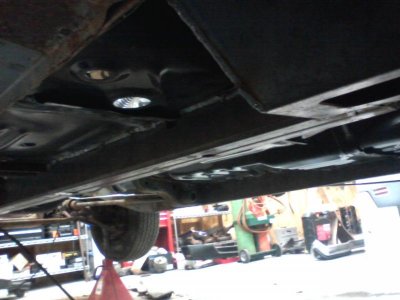
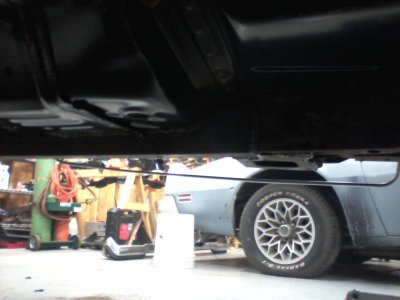
Well for the one piece floor pan first I leveled the car on jack stands. Once leveled I used screw stands along with 2 X 3 box tubing. After the one piece floor install was complete I installed weld in sub frame connectors and torque boxes from CarTool.
- - - Updated - - -


Excellent work. Would you mind posting pictures on how you have the car supported? I'm about to tackle my floor and cowl so I need all the help I can get.
Well for the one piece floor pan first I leveled the car on jack stands. Once leveled I used screw stands along with 2 X 3 box tubing. After the one piece floor install was complete I installed weld in sub frame connectors and torque boxes from CarTool.
dryheat
Well-Known Member
Thanks for the info ... I have 4 screw jacks that I planned to use to support the front floor pan area while doing the replacement. Did you run the 2 x 3 steel from side to side?
Also I saw that you had rust proofed the inside of your frame rails ... what product did you use?
Also I saw that you had rust proofed the inside of your frame rails ... what product did you use?
robinsonwr
Well-Known Member
Thanks for the info ... I have 4 screw jacks that I planned to use to support the front floor pan area while doing the replacement. Did you run the 2 x 3 steel from side to side?
Also I saw that you had rust proofed the inside of your frame rails ... what product did you use?
Yes, I tacked the 2 X 3 to the frame rails to keep them from moving. The rust proofing product is POR15. It is some really good stuff I more or less removed one panel at a time from front to rear. Make sure if you do the one piece front pan to have friends help with fitment. Oh, spend the money on 1/8" draw clecos. They are much better than conventional spring clecos.
robinsonwr
Well-Known Member
roadrunnerman
Well-Known Member
Floor and connectors look good in place. You've got a really good start on this.
robinsonwr
Well-Known Member
Thanks roadrunnerman I am trying to get the car ready to receive the 512" stroker that will be nested between the frame rails. I hope to have the metal work complete by December so it can go to the body shop.
robinsonwr
Well-Known Member
Well Christmas arrived early my Sherman quarter extensions came in yesterday. Look like pretty nice pieces. I hope they fit as well as they look. I will post pictures of them shortly.
robinsonwr
Well-Known Member
The sherman quarter extensions I would not use because the quality was poor. I cut them out of my 67 Belevedere parts car along with other rear panels needed for the restoration. Should have more pictures shortly.
robinsonwr
Well-Known Member
robinsonwr
Well-Known Member
clemul,
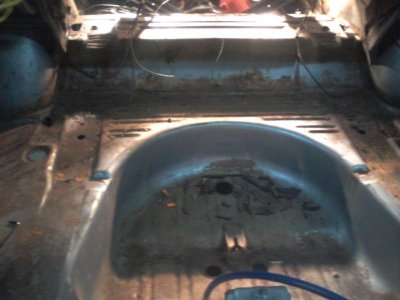
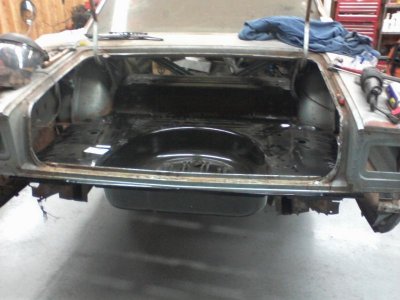
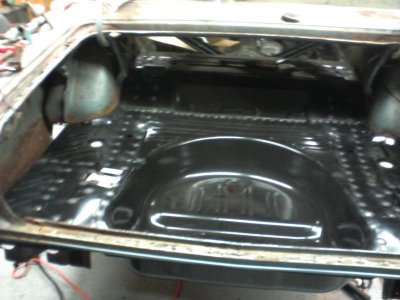
Unfortunately it will not slide in through the trunk opening. I actually cut the rear valence enough to slide it right through the back of the car into place. I knew the rear valence had rust issues so it made it a viable option. AMD also makes a two piece trunk pan that I highly recommend. I did not want the seam to be visible.
Unfortunately it will not slide in through the trunk opening. I actually cut the rear valence enough to slide it right through the back of the car into place. I knew the rear valence had rust issues so it made it a viable option. AMD also makes a two piece trunk pan that I highly recommend. I did not want the seam to be visible.
robinsonwr
Well-Known Member
747mopar,
I appreciate the kind words. The poncho is my 14 year olds first car.
I appreciate the kind words. The poncho is my 14 year olds first car.
robinsonwr
Well-Known Member
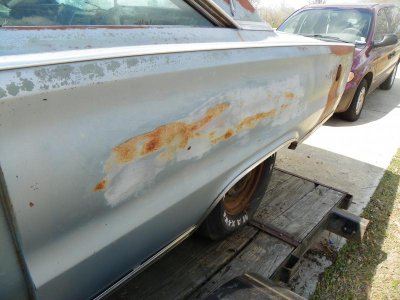
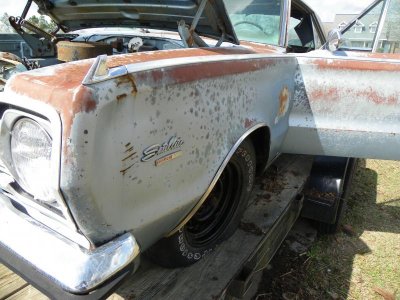
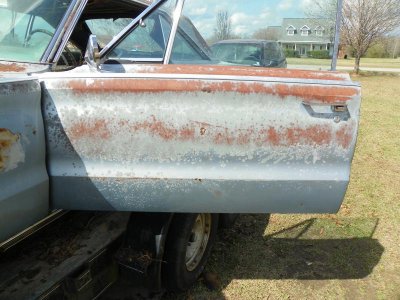
I found my pictures of the car when I bought it. I paid $1225.00 for the car originally. The car was complete but in rough shape. The exterior trim was in place and the interior was there but had been ravaged by time and vorments.
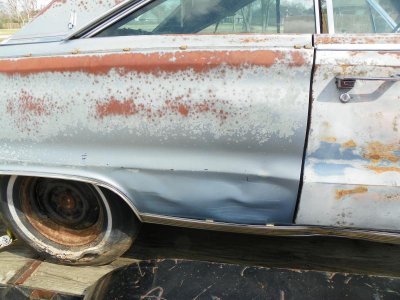
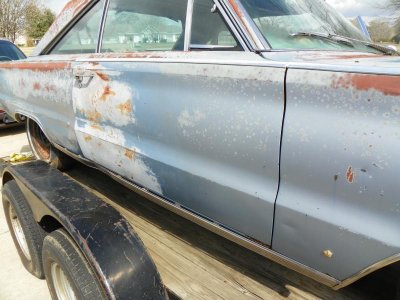
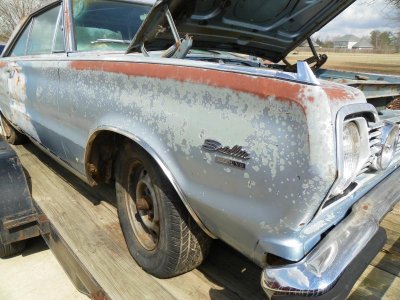
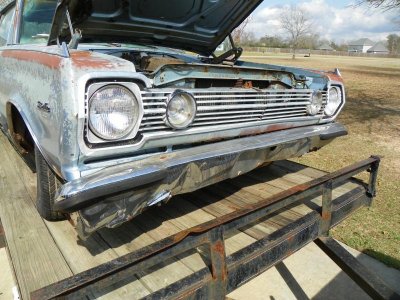
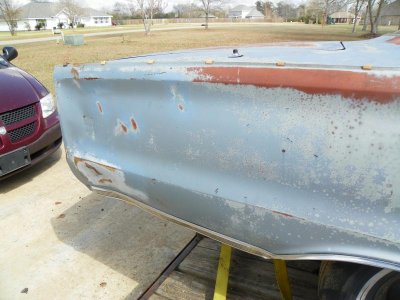

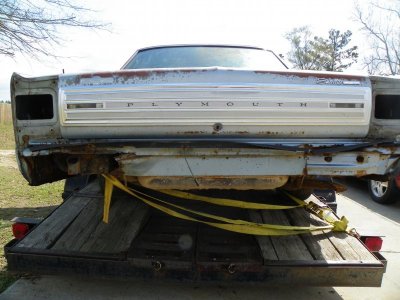
- - - Updated - - -
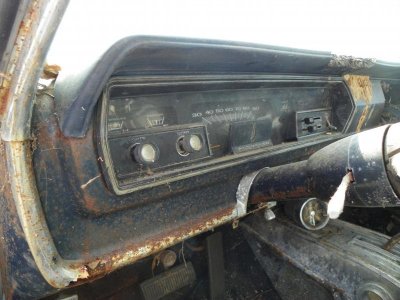
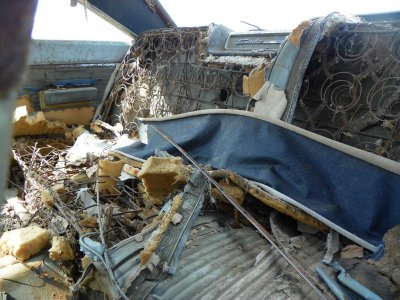
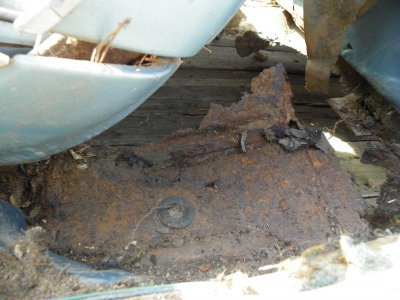
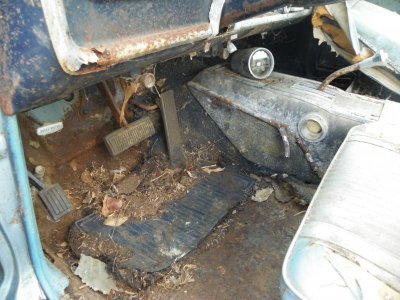
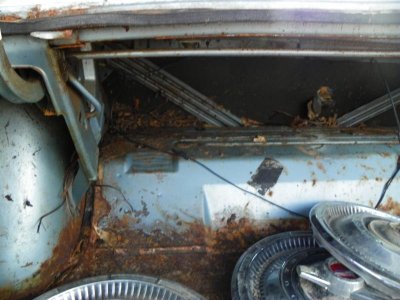
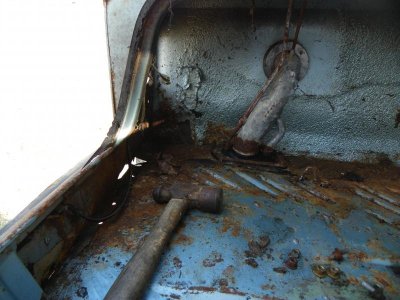
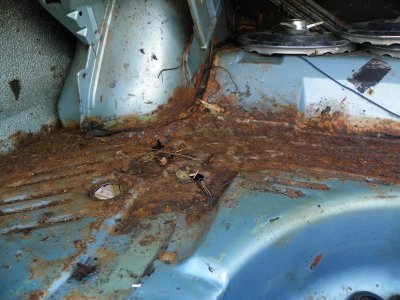
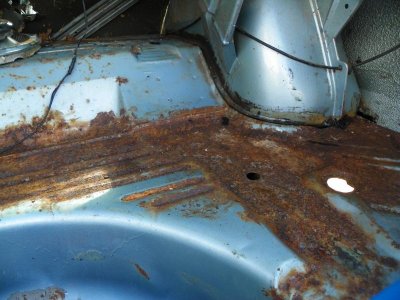
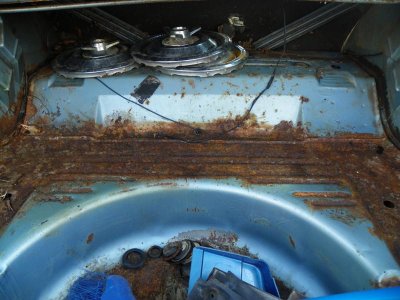 Here are the interior pictures. Please do not laugh. The car sat in a barn in Arkansas for thirty five years. The joop under the carpet sucked up the moisture and rusted the floor pans out. That is the reason I changed all the interior metal first. All I can say is Legendary will be getting my business in the near future.


- - - Updated - - -


 Here are the interior pictures. Please do not laugh. The car sat in a barn in Arkansas for thirty five years. The joop under the carpet sucked up the moisture and rusted the floor pans out. That is the reason I changed all the interior metal first. All I can say is Legendary will be getting my business in the near future.
charger360
Well-Known Member
really nice work so far! the welding looks top notch! and she was a rough one for sure!
robinsonwr
Well-Known Member
charger360,
I always wanted a mopar since my dad was a mopar fanatic when I was growing up. My dad had a 1966 Satellite hemi four speed car. It was the only new car he ever bought. The car in the post is the same paint code and interior code as his hemi car. Of course mine is not a hemi car just a 361 big block automatic car. My dream is to transplant the elephant into the car and A833 18 spline tranmission. For right now a 512/440 with a forward manual valve body 727 will do.
I always wanted a mopar since my dad was a mopar fanatic when I was growing up. My dad had a 1966 Satellite hemi four speed car. It was the only new car he ever bought. The car in the post is the same paint code and interior code as his hemi car. Of course mine is not a hemi car just a 361 big block automatic car. My dream is to transplant the elephant into the car and A833 18 spline tranmission. For right now a 512/440 with a forward manual valve body 727 will do.
Similar threads
- Replies
- 13
- Views
- 349
- Replies
- 11
- Views
- 1K

