• When you click on links to various merchants on this site and make a purchase, this can result in this site earning a commission. Affiliate programs and affiliations include, but are not limited to, the eBay Partner Network.

1969 Dodge Coronet R/T restoration, going one piece at the time

Well, got the top coat in place over all the floor.
Takes quite more time then expected to paint but the results pay off.
Allowing the paint to dry i had to find some other jobs so removed the tail lights and trim to do some detailing and cleaning.
Polished the tail lights as they showed quite some scratches etc.
Found some defects in the paint of the tail light trim so i went for a complete paint job, back in matte black as it was.

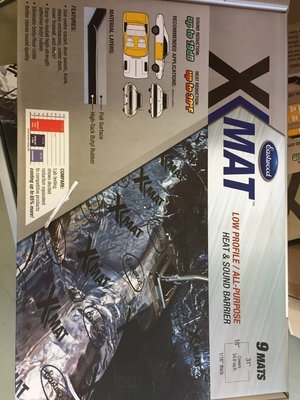
Hopefully this week i will receive my set of floor plugs so i can install them and make a start on the floor insulation plates.
Still need to start on the dash board as well and see what it needs.
 
Handle tail light lenses very gently. I used to remove and clean them every year until I broke 2 tabs off. Be careful. They are made of unobtainium at this point. Submerge them and soak if already off. Take pictures.
 
Handle tail light lenses very gently. I used to remove and clean them every year until I broke 2 tabs off. Be careful. They are made of unobtainium at this point. Submerge them and soak if already off. Take pictures.
So your better off just cleaning the outside?
 
Yes, i figured they will be hard to get if i would damage them.
I've cleaned them inside and out and already reinstalled them to keep them safe as possible.

Did anyone has any idea between the "1 light option" and "2 light option" on the tail light wire harness?
Not really clear what they mean with that.
 
Call them and ask.
Not sure they are more knowledgeable than people here but it's worth a tru
 
I have seen one, and only one 1969 super bee that had a single tail lamp on each side. Most have two tail lamps per side. Perhaps that is the option?
 
R/T and 500 will have same rear panel. Exclusive lighting to these 2 models. Super bee different. Let us know what they tell you.
 
I've raised the question at Classic Industries, see what they tell me.
I do have 2 light bulbs in the rear light unit, plus the back up light on each side.

Today i did not do a lot of interesting stuff on the car as i am sick as a dog....proper cold and my head feels cemented.
I layed out som floor insulation sheets to see how to put this in a most economical way without cutting it up too much.
Main thing is i am still waiting for my set of floor plugs to install them first....
I did remove most of the components of the dash board, gauges, radio, trim and loosened up most of the wiring harness which i will replace with a new one because it's messed up.
Hopefully i will feel a bit better tomorrow and get the harness out.
 
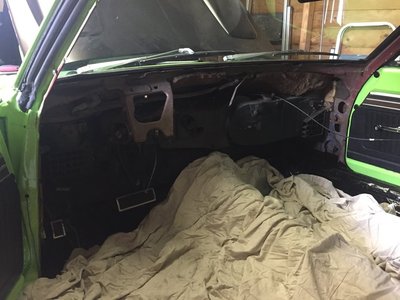
Well, i got the wiring harness out....and some more.
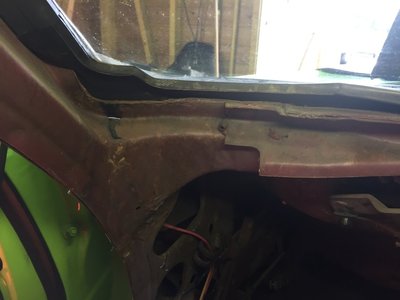
And i got the dash removed without removing the window :)

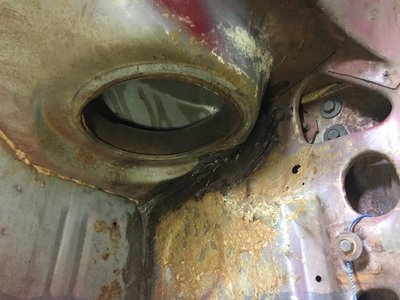
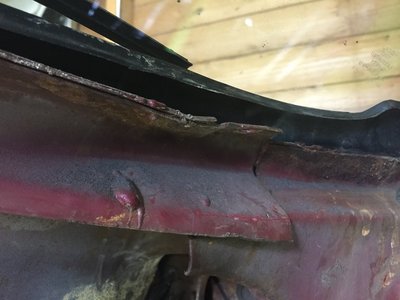
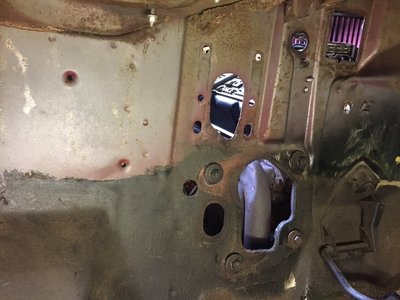
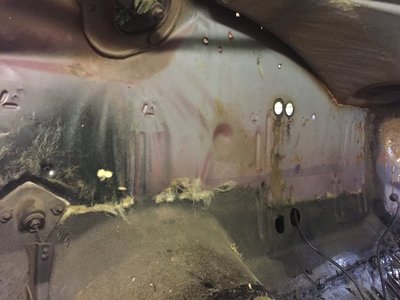
Doesn't look really bad, no area's rotten but surface rust is present everywhere.
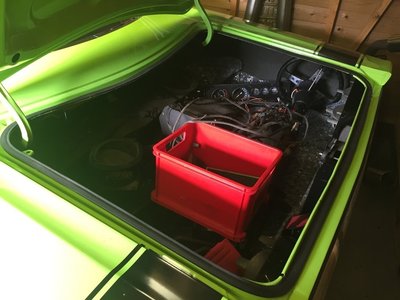
I stored all the stuff in the trunk for now, after i can pick what i want and do a restoration and reinstall it.
First things first, need to get everything cleaned up and sanded down and apply some POR 15.
All the insulation will no longer be required i guess as i will install the sound and heat insulation on the fire wall as well.

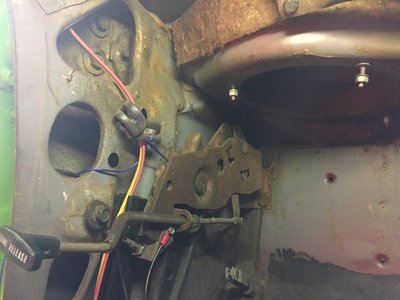
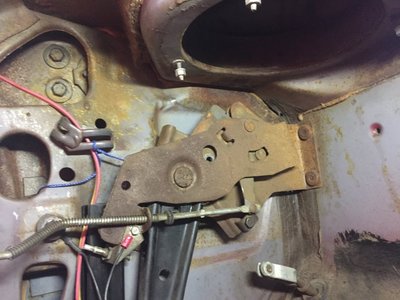
Just something i did not figure out, how to remove the hand brake bracket?
Does the fender need to come off to get access to the nuts?

IMG_8392.jpg IMG_8402.jpg IMG_8403.jpg IMG_8404.jpg IMG_8405.jpg IMG_8406.jpg IMG_8407.jpg IMG_8408.jpg IMG_8409.jpg IMG_8410.jpg
 
How did you pull the dash out with the windshield in place? This is a achievement.
 
How did you pull the dash out with the windshield in place? This is a achievement.

I was expecting this as the first question :)

Well, i used my Dremel tool with flexible extension shaft and a small cutting wheel.
I cut the little clips with the threaded hole in half first. (on the bend)
After i cut off the threaded section including the bolt as close to the clip as possible.
4 out of 5 of the clips jumped off when they came close to cutting it completely and where flying like bullets through the car.
Must have been some tension on there.

I still need to have a very good look on how the gutter is below the window, if any doubts i will pull the window anyway to do a 100% job.
If it turns out ok my plan was as follows:

Tag weld on washers and nuts on the edge of the dashboard and use shortened bolts to reinstall from the bottom.

For now i will plan on finishing the paint job on the fire wall first, and partially rebuild the interior to create some space in the garage again. (i will leave the front seats out)
 
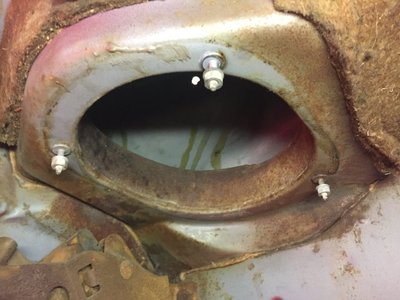
Some words of wisdom, better to replace the brake booster with a new one?
I found one on Classic Industries but it says the firewall requires modifications??
 
I've cleaned up the dashboard but i think i will get it blasted and painted.
It appears to be matte black, is that correct for a black interior or should it be gloss?

I will send the ashtray and seat tracks with it as well to get it all done properly.
Spray painting things like that are not my thing.
 
Matte black for the dashboard, semi gloss for the seat tracks.

Maybe you also want to join the german mopar-forum.eu - English okay and some of your fellow Countrymen are members too. ;-)
 
Matte black for the dashboard, semi gloss for the seat tracks.

Maybe you also want to join the german mopar-forum.eu - English okay and some of your fellow Countrymen are members too. ;-)
are you going to dynamat that floor for insulation?
 
Matte black for the dashboard, semi gloss for the seat tracks.

Maybe you also want to join the german mopar-forum.eu - English okay and some of your fellow Countrymen are members too. ;-)

Ok, cool.
I took the dashboard and all metal parts of the heater box to a repair shop who will sand blast and paint everything.
He will mix a paint that matches the original color/matte appearance.
Few more days and home and then back to work for 4 weeks, by the time i am back it will be ready for pick up.

Thx for the suggestion, i will check and create an account there.
Sometimes is very handy to have some "close" contacts in this world.

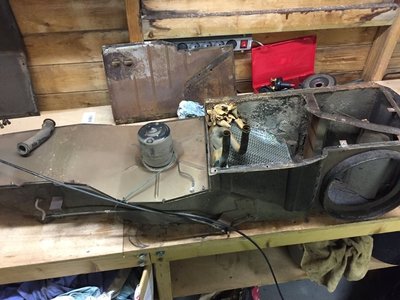
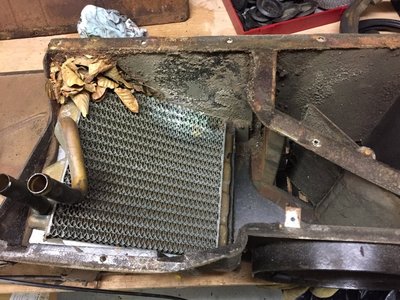
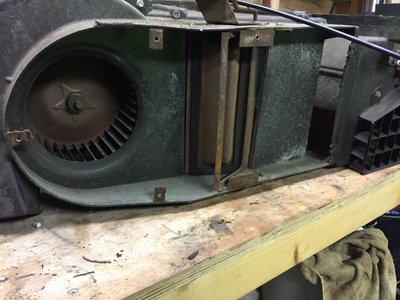
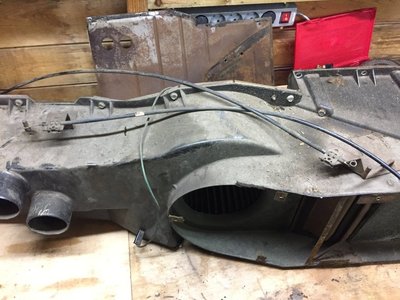
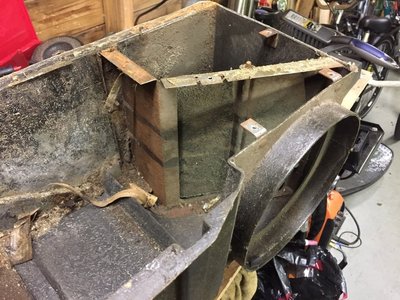
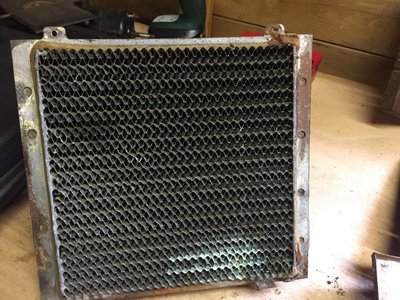
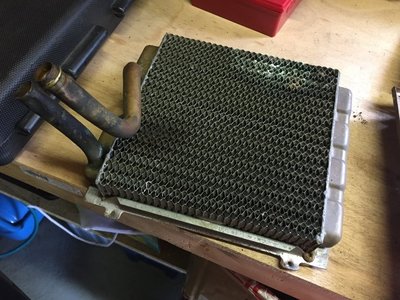
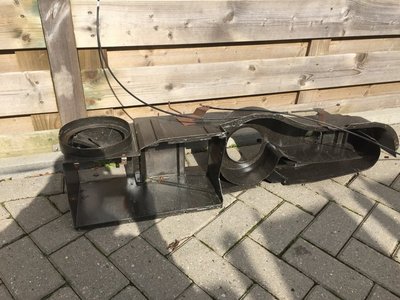
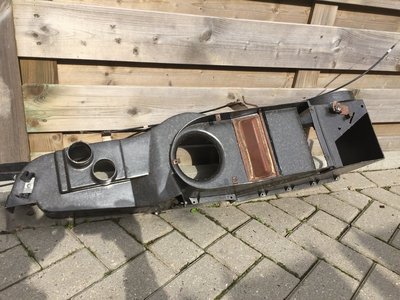
I've stripped the heater box and it was not so bad, but to reinstall all the metal parts in it's current condition is a waste so that's why i added them to get them blasted and painted as well.
The polyester housing was cleaned and i did not find any damage to it.
Also painted the complete fire wall in POR 15 now and waiting to dry.
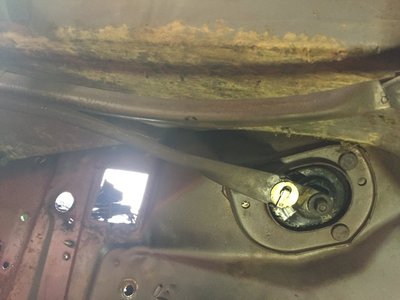
I got a 3 speed wiper motor to go in, ordered the right arm and bushing for it to complete installation once received.
Looking at the wiring, the colors match but from how i understand the are not supposed to go on the same color as the wiring harness from the 2 speed motor.
I've tested the motor so i will need to figure out what wire color goes on which from the harness.

IMG_8419.jpg IMG_8420.jpg IMG_8423.jpg IMG_8424.jpg IMG_8426.jpg IMG_8439.jpg IMG_8440.jpg IMG_8443.jpg IMG_8444.jpg
 
Auto Transport Service
Back
Top