wantahemi
Well-Known Member
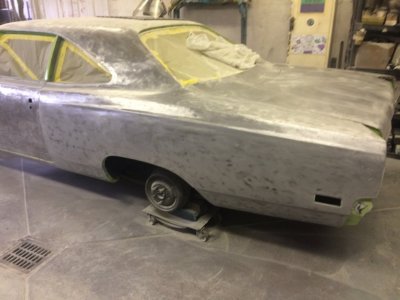
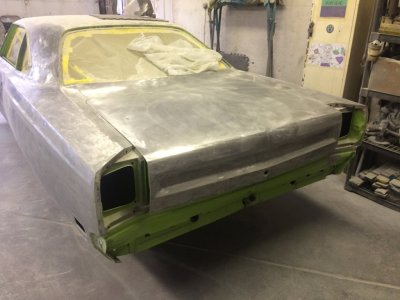
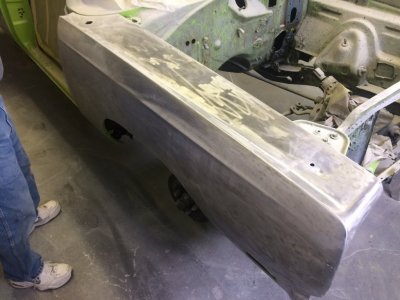
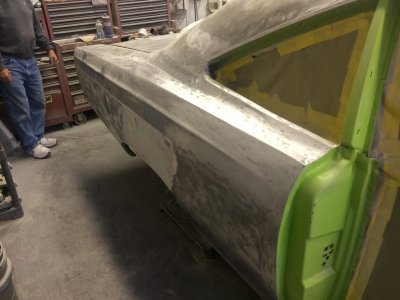
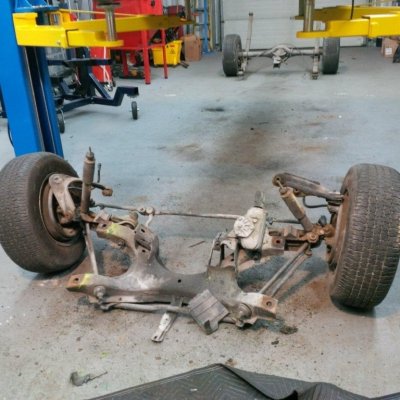
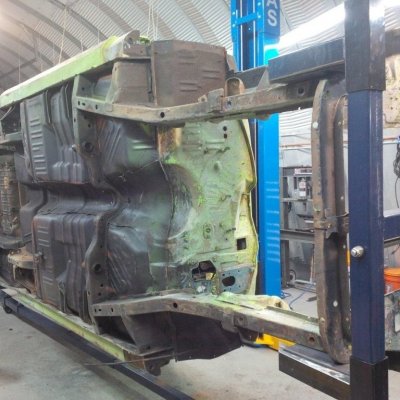
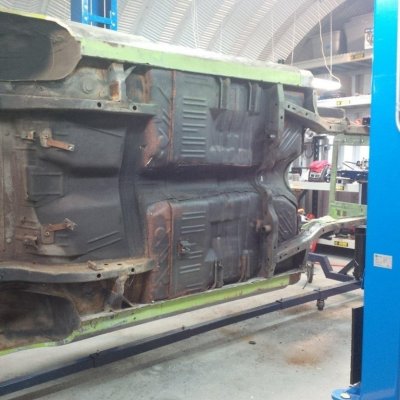
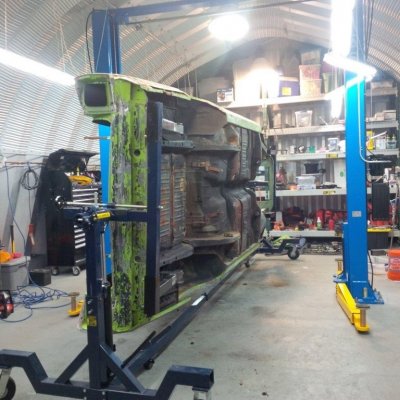
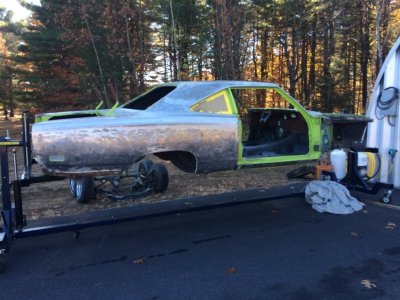
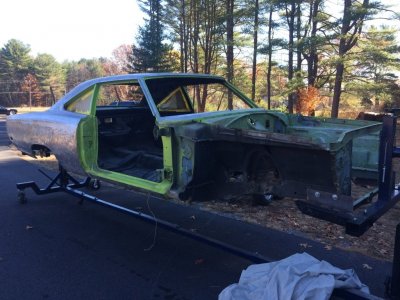
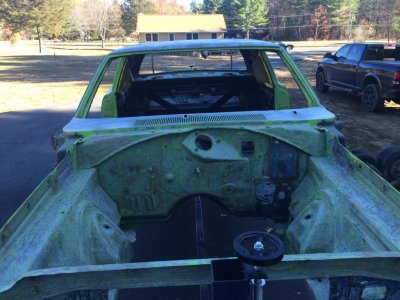
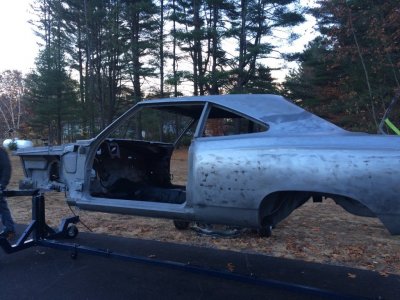
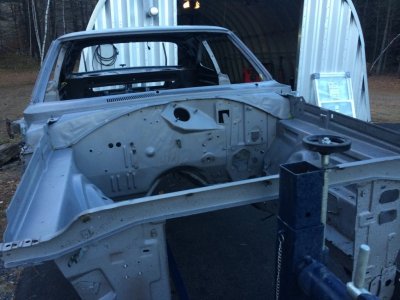
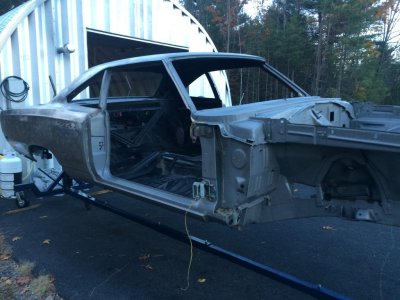
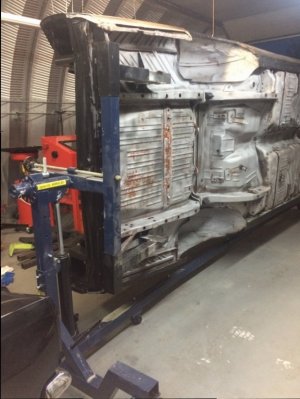
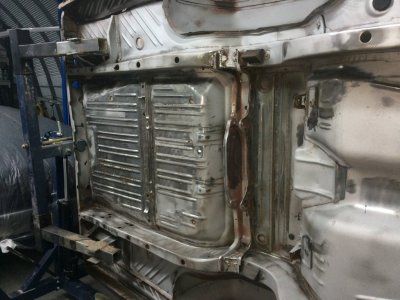
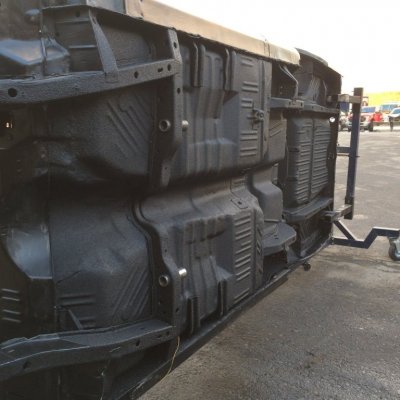
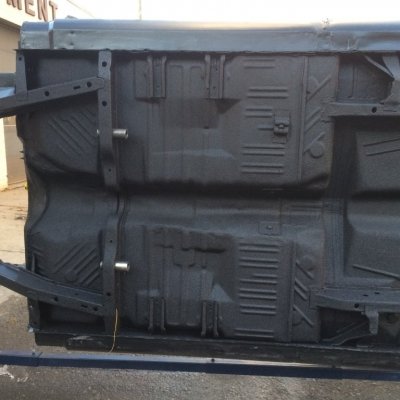
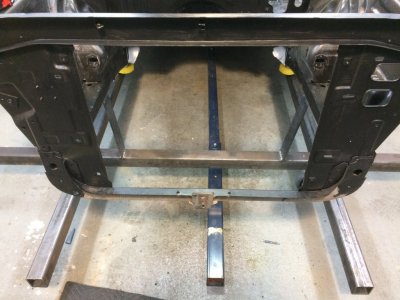
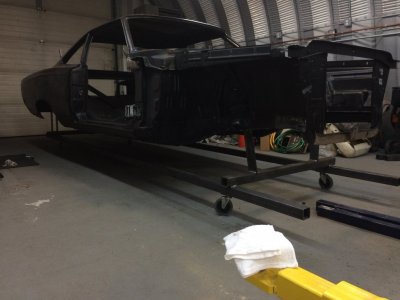
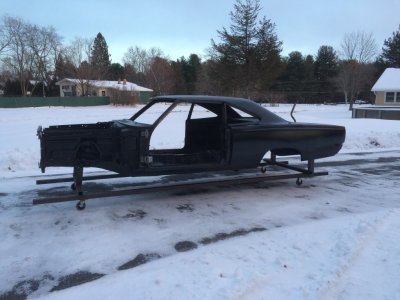
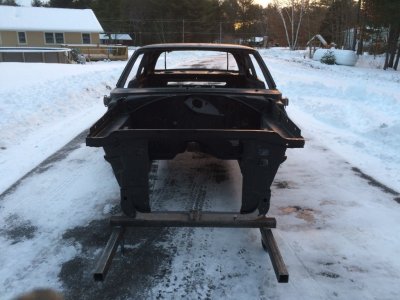
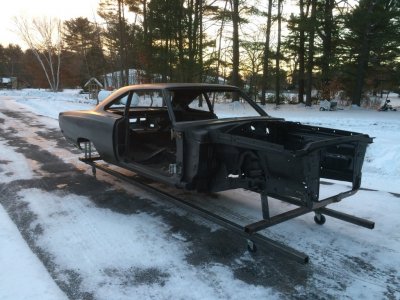
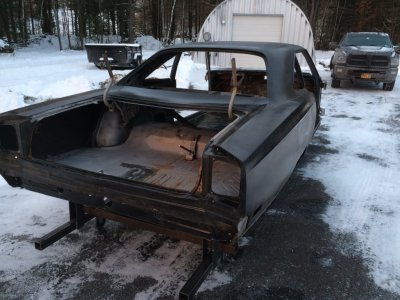
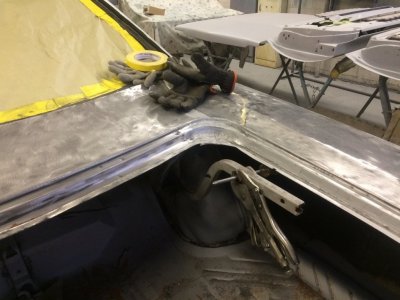
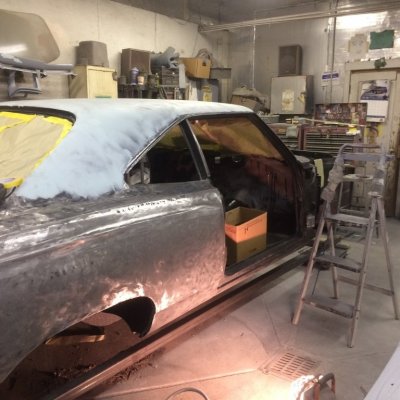
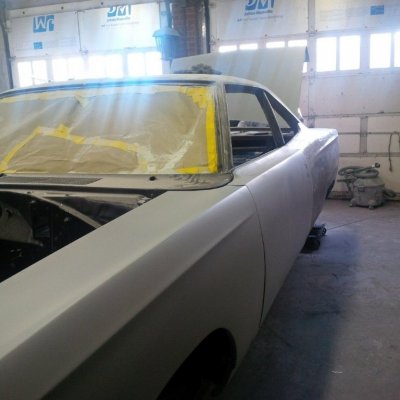
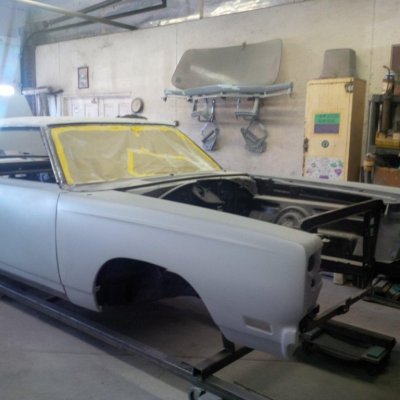
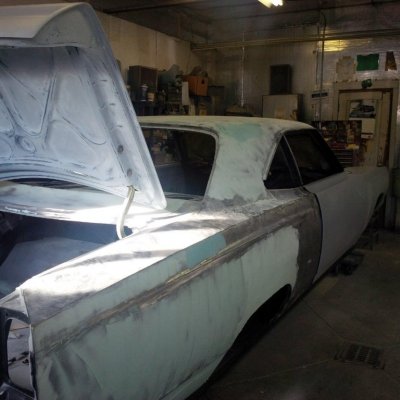
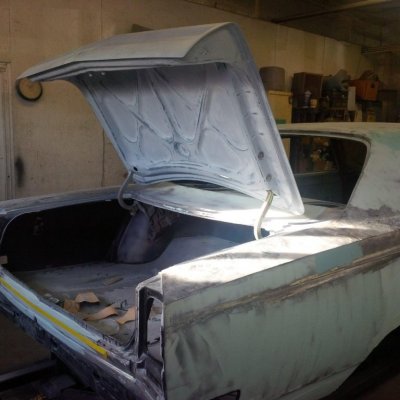
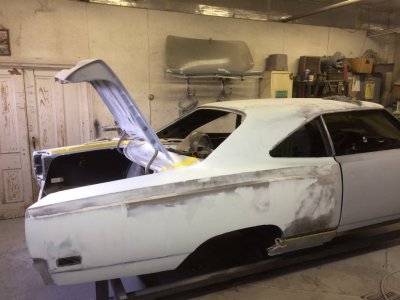
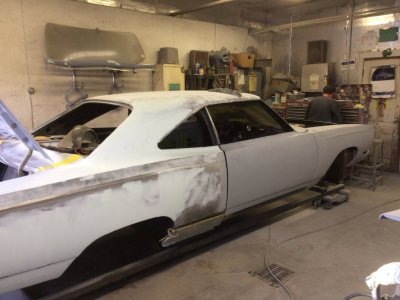
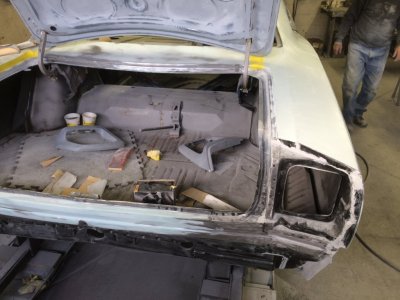
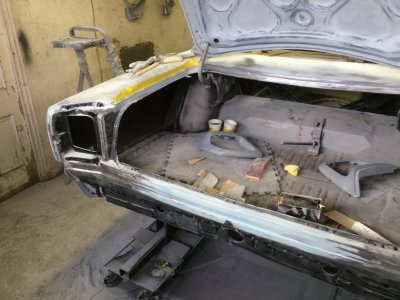
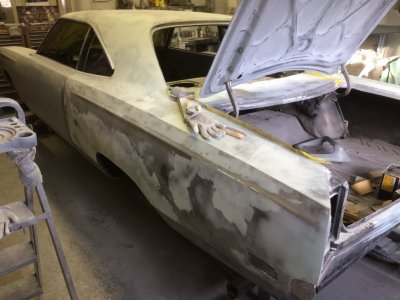
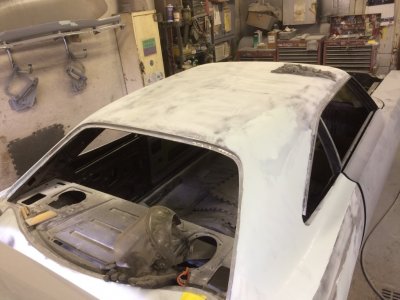
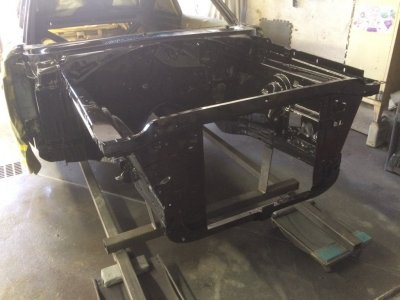
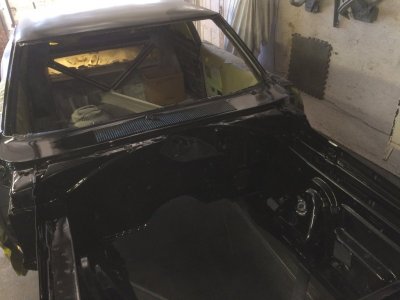
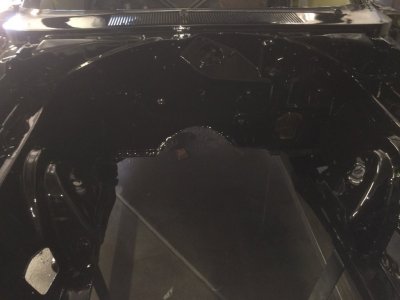
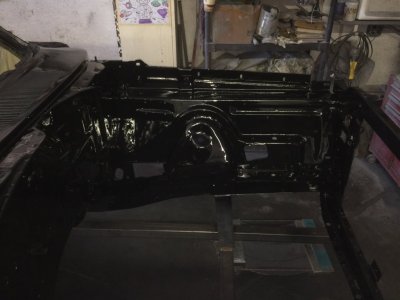
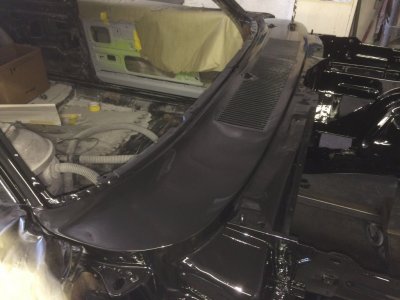
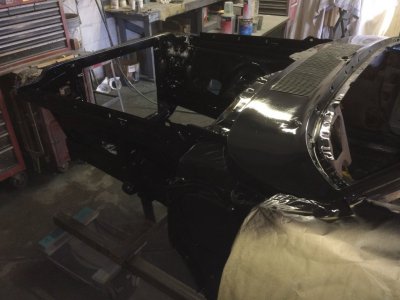
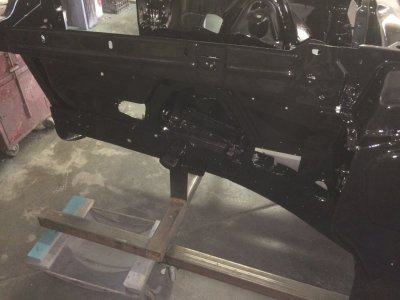
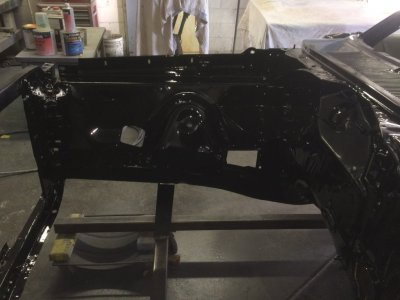
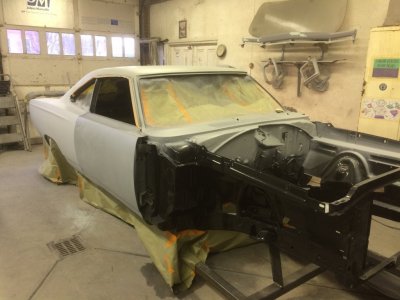
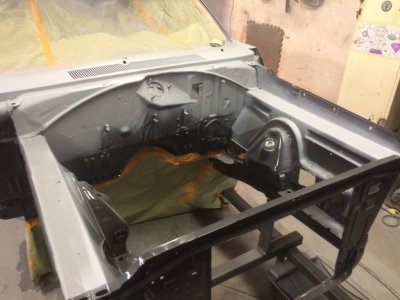
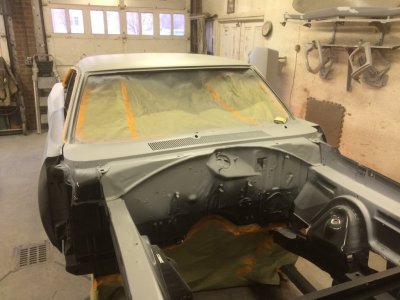
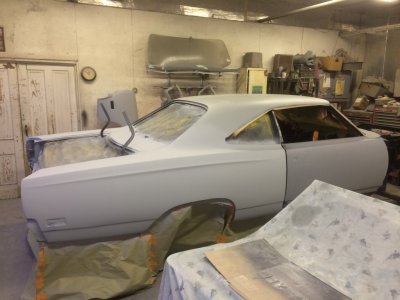
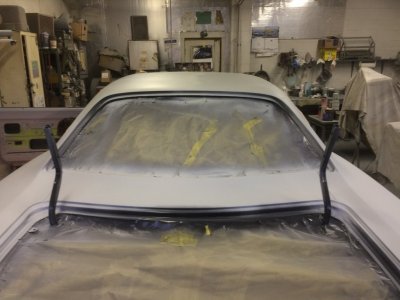
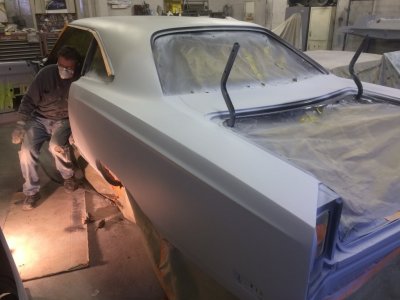
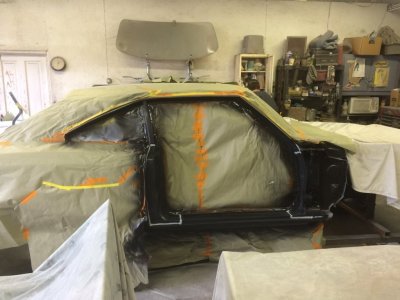
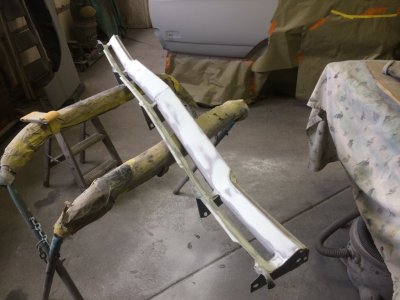
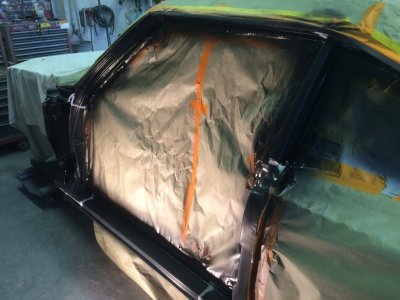
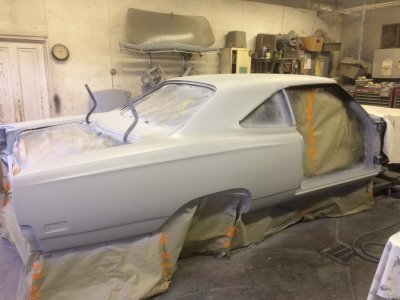
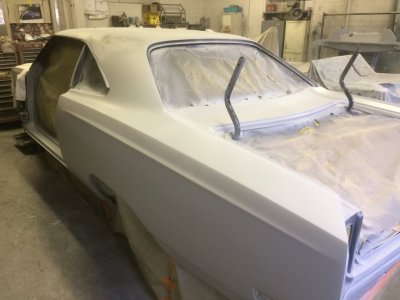
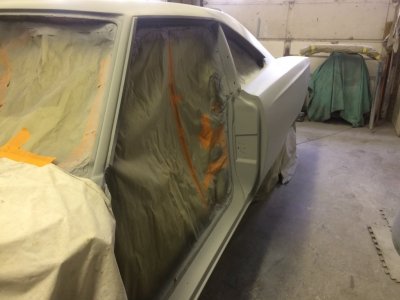
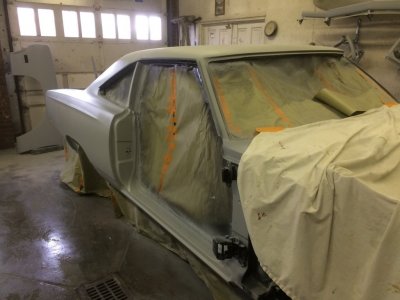
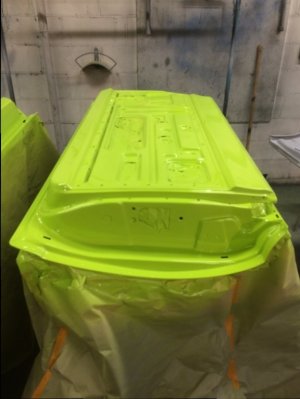
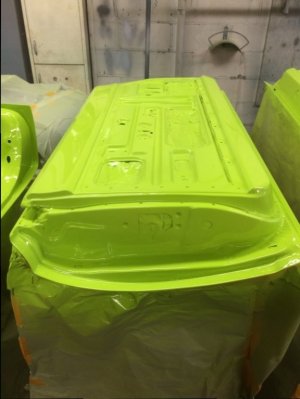
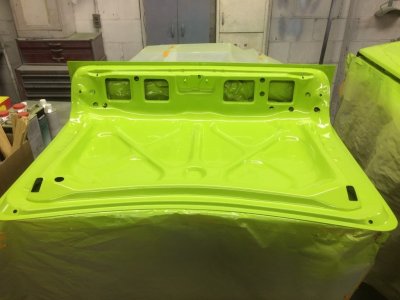
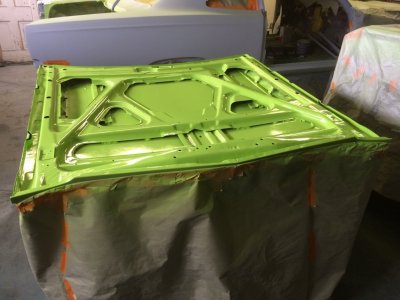
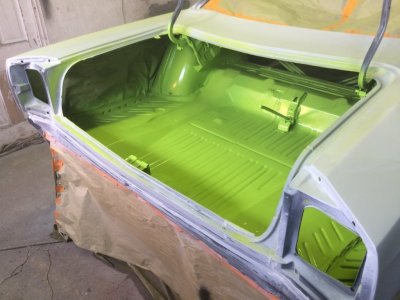
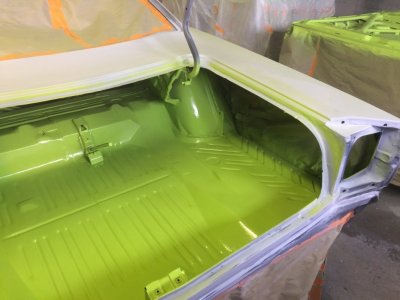
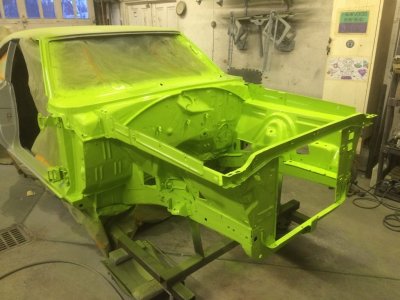
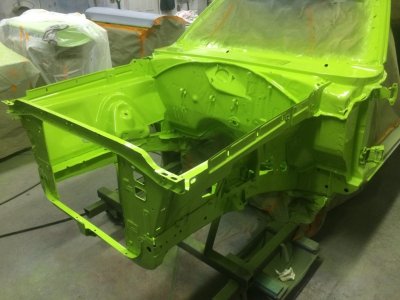
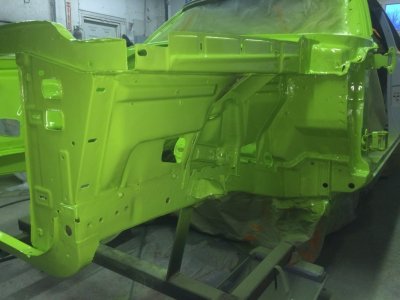
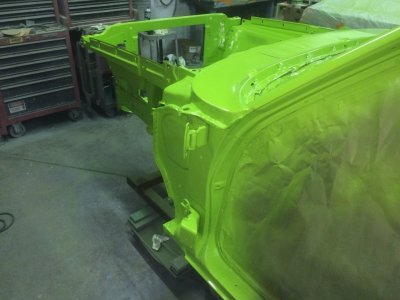
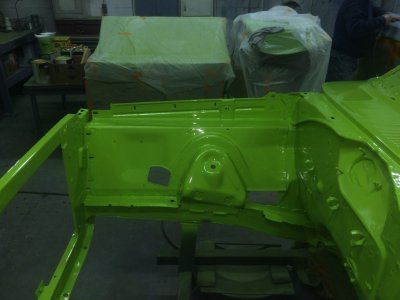
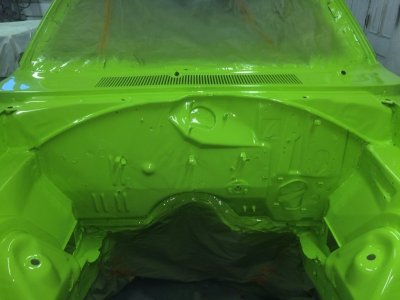
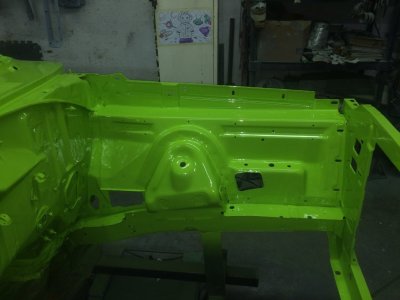
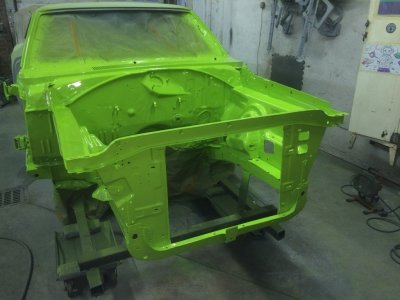
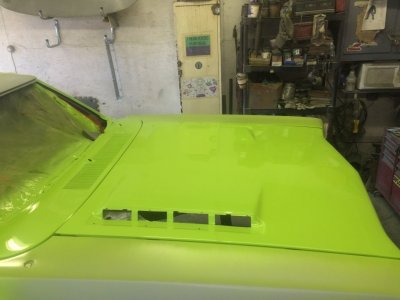
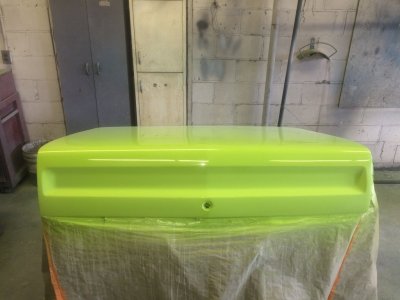
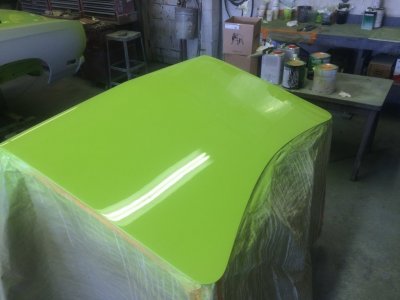
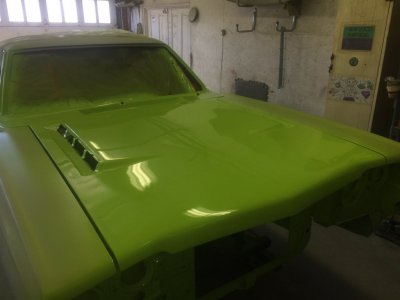
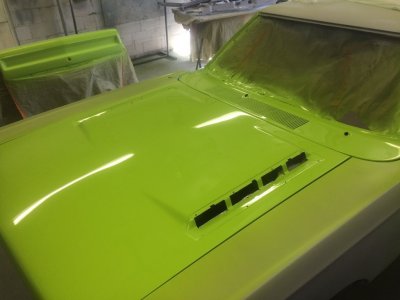
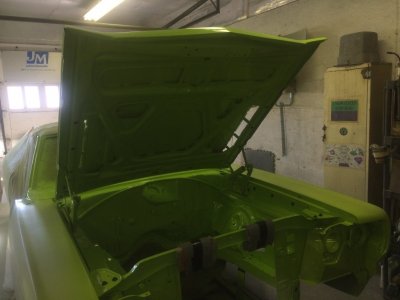
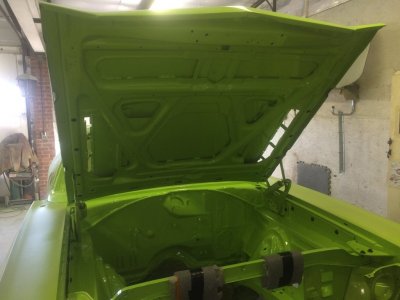
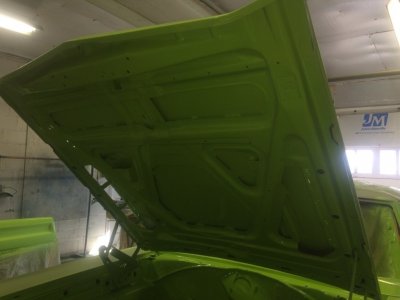
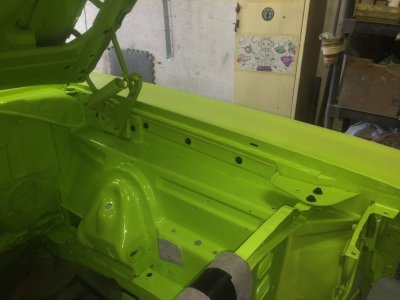
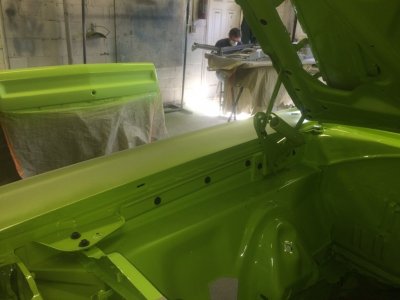
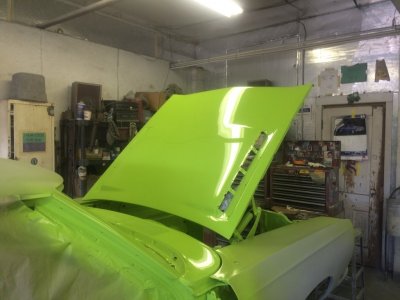
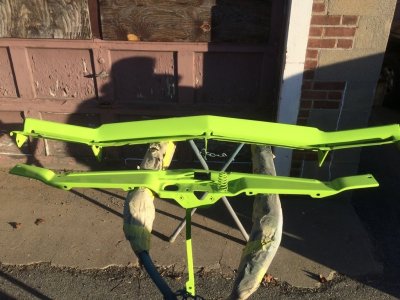
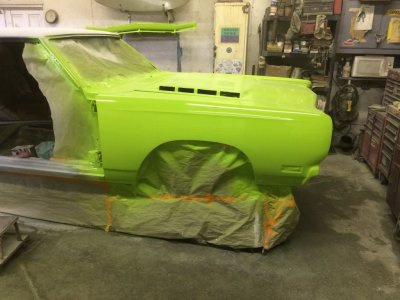
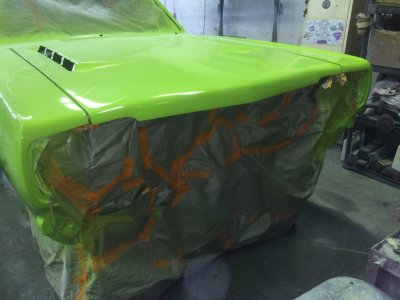
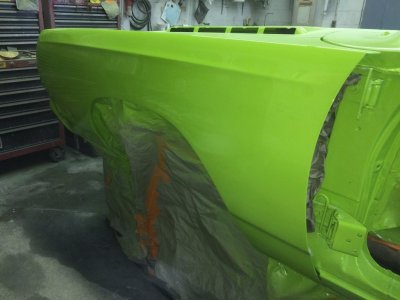
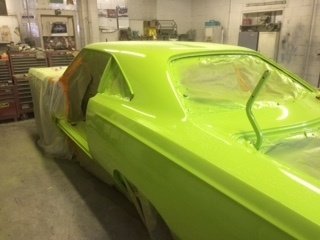
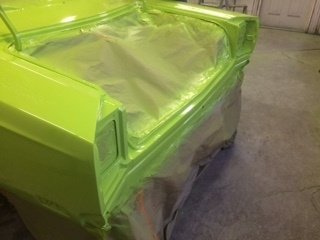
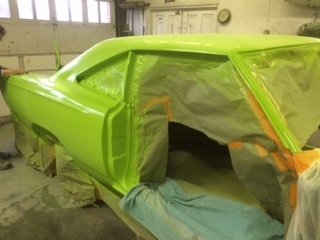
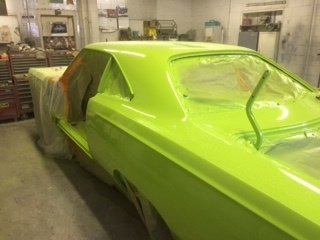
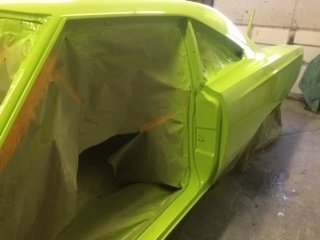
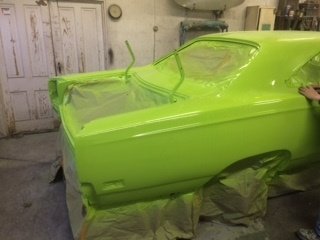
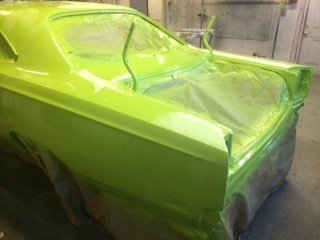
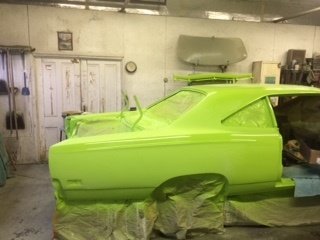
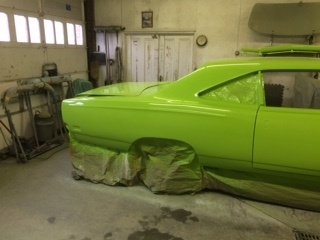
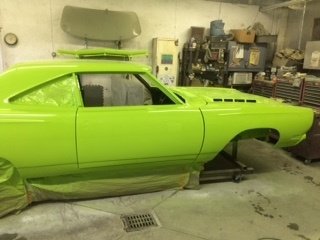
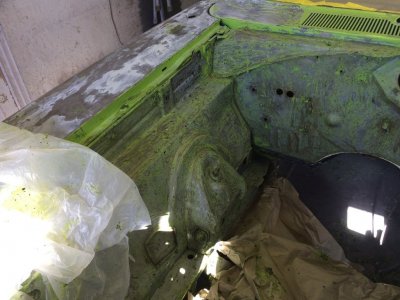
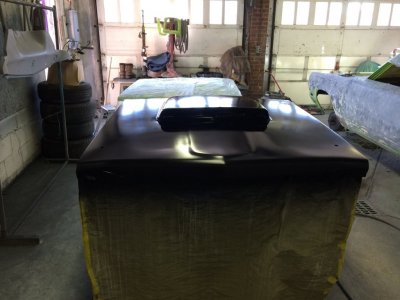
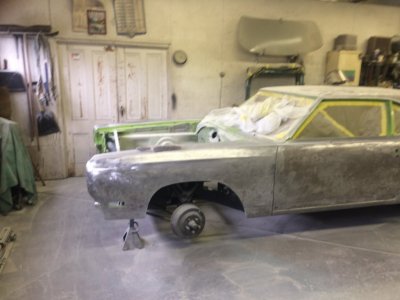
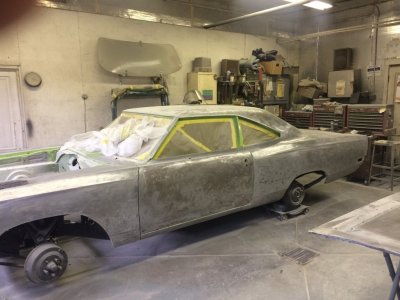
I finally decided to make the time to restore one of my other 1969 Roadrunners. After much deliberation, I decided to take it all the way down and give it a rotisserie restoring like all these rides deserve.
A little history on this bird...
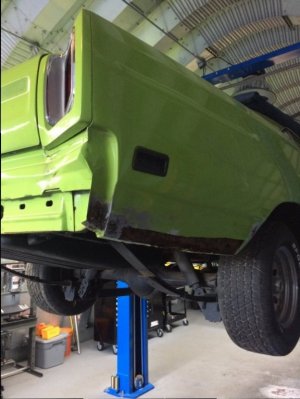
Was on vacation in Orlando and my Dad was driving through Lake Havasu Arizona and saw this on the side of the road for $11,500. He called me as I was standing in line at Universal Studios. After a few pics and thinking, I negotiated the price to 7K. Left the park to wire transfer the money and it was on a trailer that day to Phoenix where my Dad lives. Had it shipped to NY for $900. Upon arrival, the sublime paint looked ok, but not to the level I wanted.
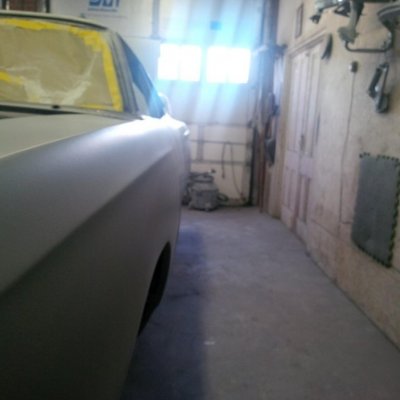
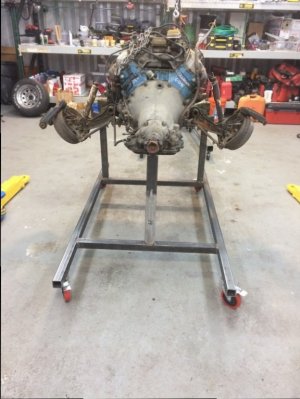
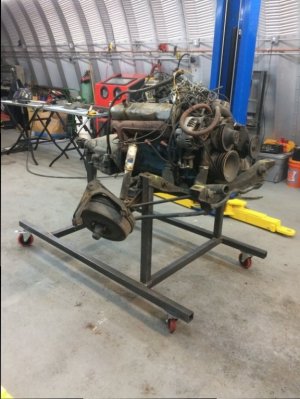
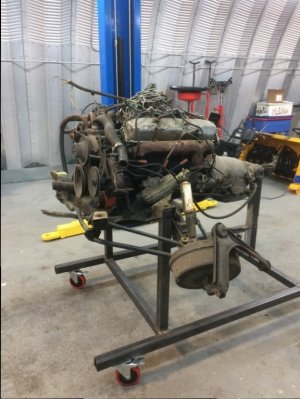
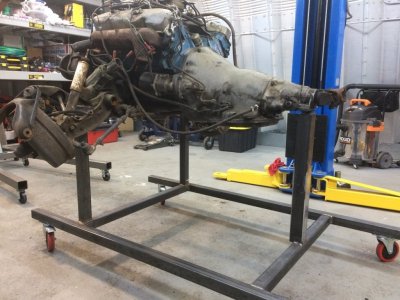
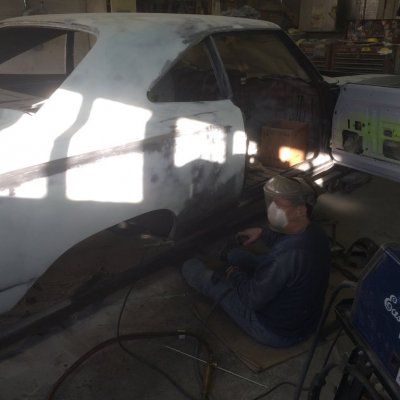
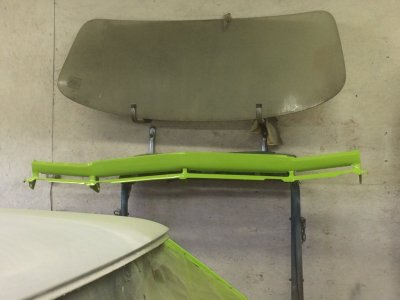
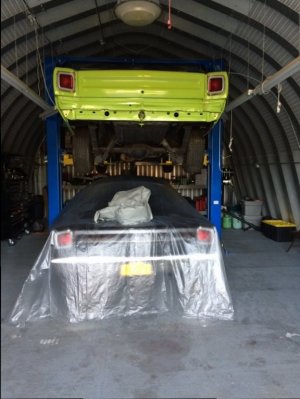
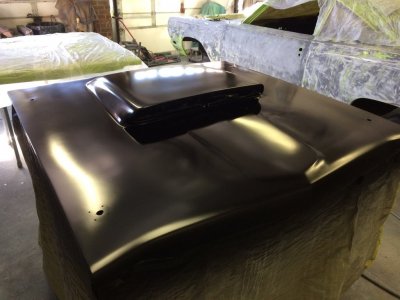
The car had an awesome sounding 440 engine, 727 tranny and an 8 3/4 rear. Absolutely no interior of any kind. I spent the next few years tracking down the interior, bucket seats, tons of minuscule trim, screws and am in the home stretch. Finally, decided to pull her in on the lift and strip it down to a body this fall. The disassembly started in September 2016, and by mid March, 2017, she will be all painted, sanded and polished.
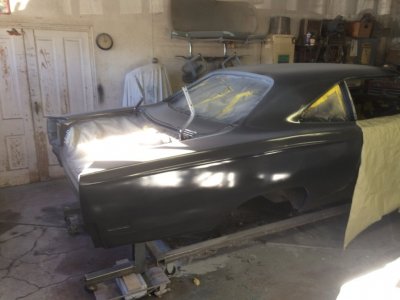
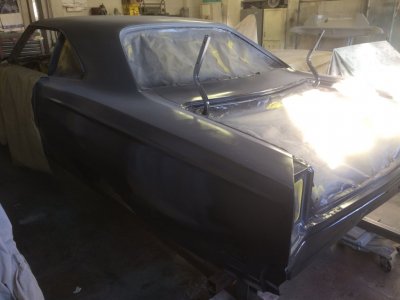
I built my own trolley for the motor and transmission for me to overhaul things and another trolley for the car to be rolled around on for paint. The rotisserie in the pictures I bought from a guy who never used it and it was in the boxes. This is my first true complete disassembly and rebuild and am devoting the time and energy to make Mopar fans proud.
Final plans are to begin interior and drivetrain assembly during spring. The interior will be done with Legendary Interiors. They are 3 hours from my house and the car will go for its first ride on a flat bed trailer out to them. When it gets back, a For Hemis Only 572 cubic inch Hemi built by Tim Banning will be going in the bay. QUICK NOTE:For Hemis Only just bought up KEITH BLACK ENGINES with a few investors. Anyway, Tim will call me when he is all ready to dyno the beast and I will drive up to his shop around 4 hours away in Canada to see the thing run! The tranny will be built to handle around 800 hp and a Dana 60 goes in the rear with 4 wheel disc brakes all around.
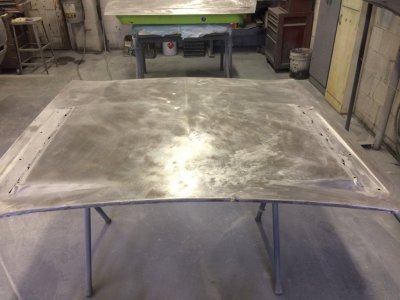
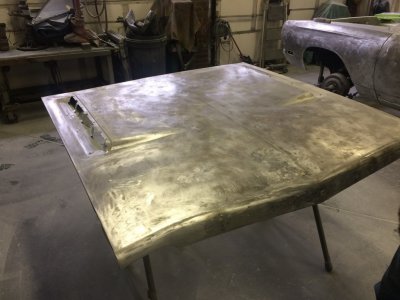
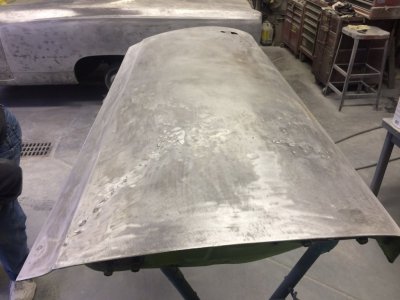
Hoping to make Mopar fans Proud. Many pics to follow!


