• When you click on links to various merchants on this site and make a purchase, this can result in this site earning a commission. Affiliate programs and affiliations include, but are not limited to, the eBay Partner Network.

1970 FM3 Satellite Conv - The car that should have been crushed

I would stash the original drivetrain, and build a nice 383 or 440 a 727 transmission and a 3.55 sure grip differential. It's all bolt in stuff that can be switched back at anytime. You will get bored with the 318 very quickly.
 
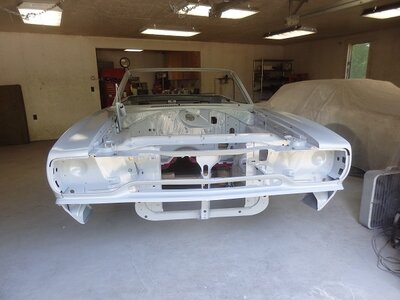
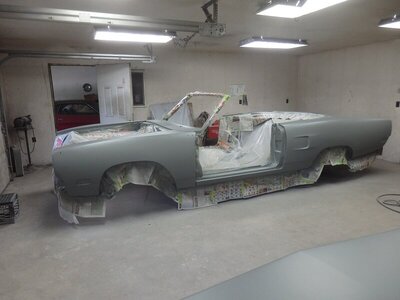
As of 5/30/21. The hardware you see holding the nose together is not correct at this time. Just needed something to put it together with for alignment and preparations for putting the car in slicksand.

View attachment 1117177 front.jpg LH side.jpg
 
Nice work Chris, you are making me feel a whole lot better about my 70 Road Runner convertible project! I thought mine was a real project that I was bringing back from the dead,your car was farther gone than mine and you gave the car a second chance! I needed the inspiration. Thanks for saving that car. 70 Plymouth b body convertibles are few and far between!
I've been following your project for a while. I recall seeing pictures of it before you bought it. Glad to see it coming along.
 
Your car is getting close to being in paint,I got a long way to go before I get it to that point. Nice work, it won't be long before you can start assembling the car.
 
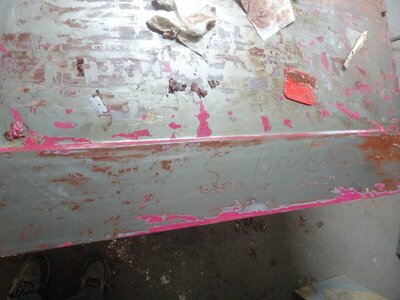
Found these markings under the paint when I stripped the hood. I traced it out to make it more legible. Looks like "8AM S Bake" to me.

hoodmarksA.jpg hoodmarksB.jpg
 
Work is going slow these days. I am finishing up my first round of blocking this week. I'm not sure what others do, but my process is to:
1) get the majority of the filler work done prior to applying the first primer coat, this is done with the car dismantled.
2) prime the entire car in pieces with epoxy primer (this is my first time using SPI primer, I usually use PPG DP40 but it is getting way to pricey),
3) I then put the car together,
4) fix the panels gaps as needed,
5) block the whole car with 180, fix the small defects that appear during this process.
6) prime it again. Some people may decide to consider this to be the last primer step before painting, but the next steps really even out the panels relative to each other.
7) apply 3 coats of Slicksand and a dusting of guide coat,
8) block it again with 180
9) apply final primer coat
10) sand with 600
11) and paint away.

today I am on step 5.

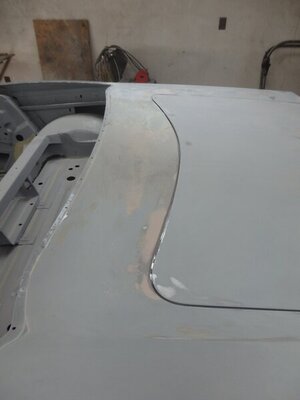
It took me some time to get the trunk lid gaps the way a like them. I think it will turn out really nice.

blocking.jpg trunklid gaps.jpg
 
Awesome car, awesome project ! Do you have the original drivetrain ? You CAN build a relatively healthy 318 (or 360) with a stock outside appearance, albeit with a 4-bbl intake, which is more easily swapped back to the stock 2-bbl than a complete drivetrain.
 
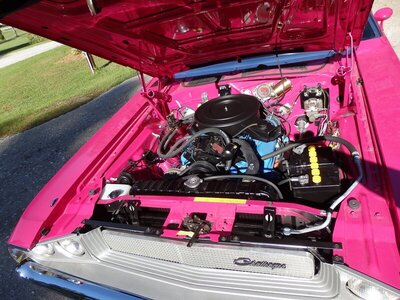
I have an 318 FM3 Challenger that's is all original, so I really would like to show them as a matching pair. So definitely 318 2bbl on the outside.

engine comp.jpg
 
I moved North 5 years ago and don't know many car guys, but went to look at a beater W150 a week or so ago and the guy was a local Mopar guy. Told me about some amazing local area cars and one of them was a FM3 70 Hemi challenger that was originally from this area, it's now owned by a woman in WA state.
 
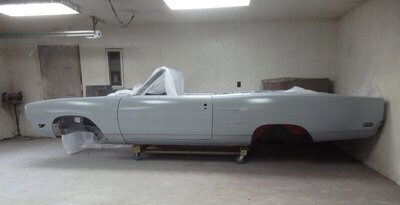
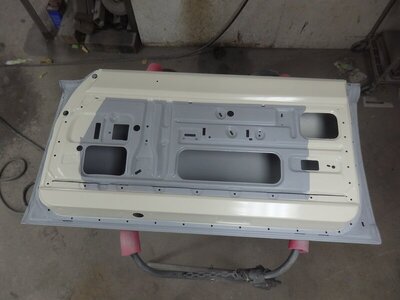
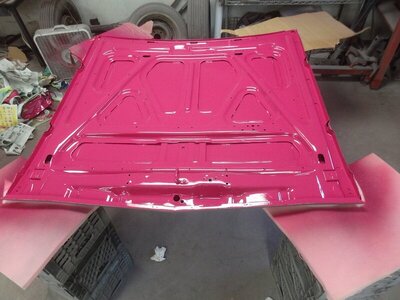
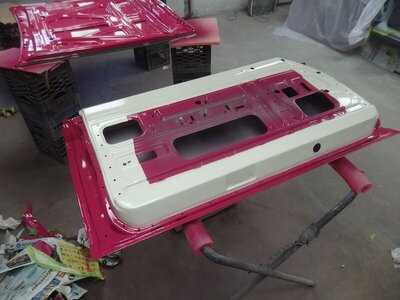
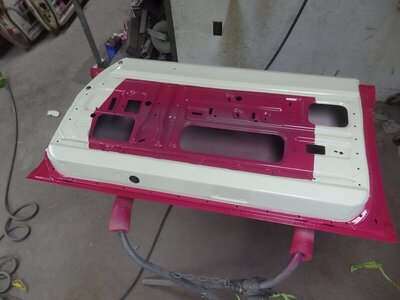
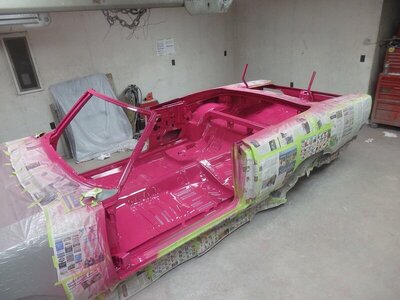
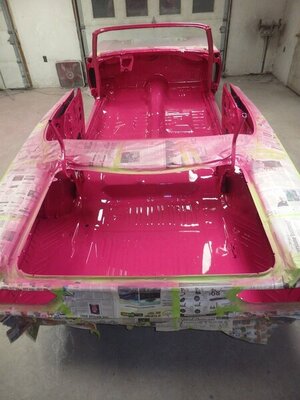
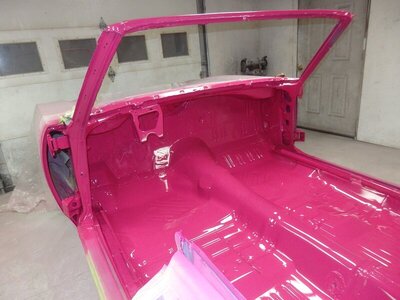
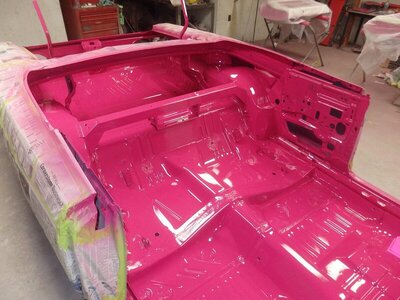
Well it's in final primer. All I need to do now is sand it and put it in color. I've already painted the inside faces of the doors in white and will be spraying the FM3 on the insides of the panels this weekend.

P8132410_resized.jpg RH Door.jpg
 
Well, after looking at the before pics. I got to hand it to you.
Most would have crushed that and moved on, I wouldnt have drug it home.

Kudos
 
Work is going slow these days. I am finishing up my first round of blocking this week. I'm not sure what others do, but my process is to:
1) get the majority of the filler work done prior to applying the first primer coat, this is done with the car dismantled.
2) prime the entire car in pieces with epoxy primer (this is my first time using SPI primer, I usually use PPG DP40 but it is getting way to pricey),
3) I then put the car together,
4) fix the panels gaps as needed,
5) block the whole car with 180, fix the small defects that appear during this process.
6) prime it again. Some people may decide to consider this to be the last primer step before painting, but the next steps really even out the panels relative to each other.
7) apply 3 coats of Slicksand and a dusting of guide coat,
8) block it again with 180
9) apply final primer coat
10) sand with 600
11) and paint away.

today I am on step 5.

It took me some time to get the trunk lid gaps the way a like them. I think it will turn out really nice.

View attachment 1125222 View attachment 1125223
If that is original trunk lid then you may be ok. Think mine was a donor so had to shave down my corners where the dutch mans panel is. Then weld it back up. Looking good. Yep lot and lots of time blocking and filling. Your on the right track.
 
That's what my wife tells me every time I drag a project into the yard. LOL.
 
Auto Transport Service
Back
Top