• When you click on links to various merchants on this site and make a purchase, this can result in this site earning a commission. Affiliate programs and affiliations include, but are not limited to, the eBay Partner Network.

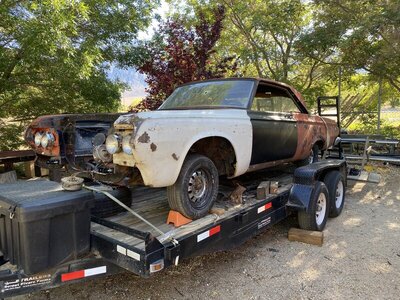
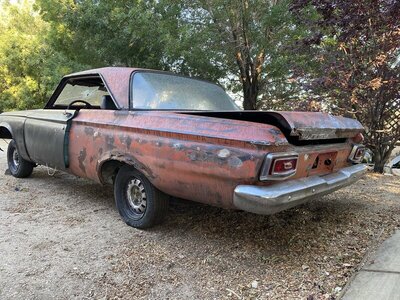
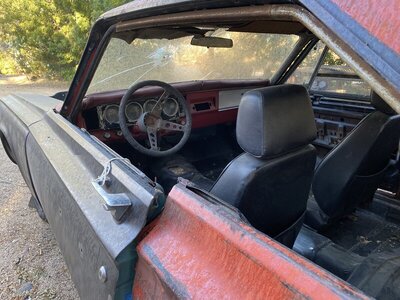
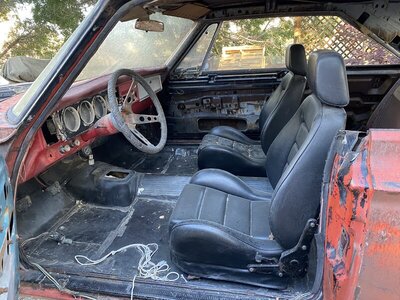
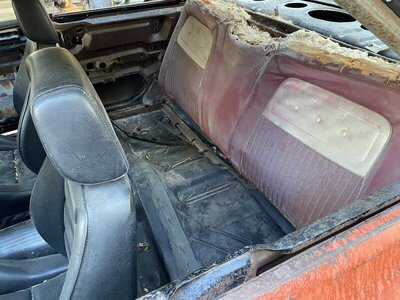
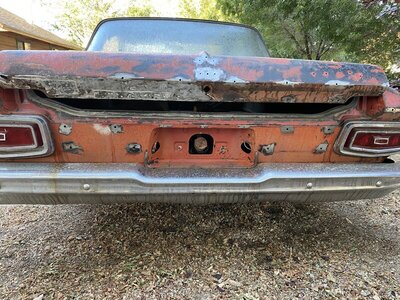
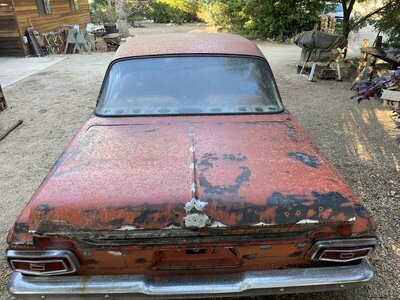
64 Sport Fury

Congrats! But a bit of caution. Don't be in a huge hurry to buy parts/stuff unless it's a rare part and/or you've been looking for a while. The 64 sport furys are not rare. Since we are building a daily driver, its ok to wait for the next part...most often it'll be cheaper or in better shape. Patience is your friend. I have spent many hours looking at pictures of how things were assembled and where specific bolts/nuts/screws are supposed to go. Don't be afraid to ask for help! Don't be afraid of updating systems (disk brakes, electronic ignition, overdrive systems, A/C, power steering etc.). Get the factory service manuals and a parts catalog, but most importantly build YOUR car the way you want! Know what your end goal is. Then drive the wheels off of it!

I'm not afraid of making modern upgrades on the Fury. I also purchased the 64 Plymouth service manual. I haven't read through the book yet but I learned about the front suspension and clutch assembly.
I am aware that patience can be my ally and waiting for the right part to show up has paid dividends.
 
Apr 2021
While the engine was being sourced, I continued to press on with the transmission.
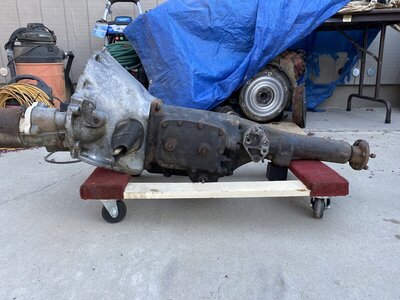
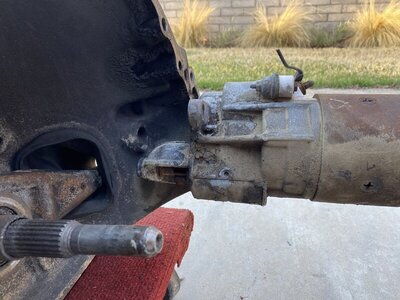
I knew I had an early A833 with an aluminum bell housing but that's about it. I read an article on hotrod.com that featured Passon Performance and made a phone call. I told the guy what I had and after sending a few pictures, it turned out I needed a lot.
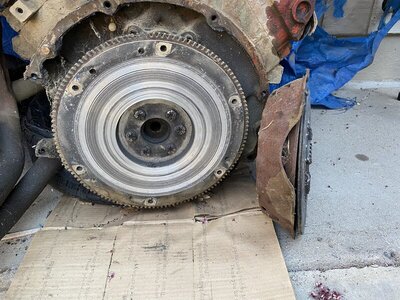
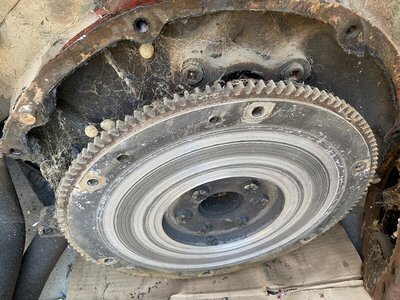
The clutch was shot, flywheel was mangled, and I didn't even have a shifter.
I ordered a whole bunch of parts including a rebuild kit.

Oct 2021
Took the transmission over to Anaheim Gear, no transmission guys in Bishop, and I got a call on Wednesday that the rebuild was complete! I can't wait to see it! They also put synchro gears in it.

Here are some pics of the original hardware.

IMG_9256.JPG IMG_9257.JPG IMG_9258.JPG IMG_9259.JPG IMG_9261.JPG IMG_9262.JPG View attachment 1180859
 
Last edited:
Apr/May 2021
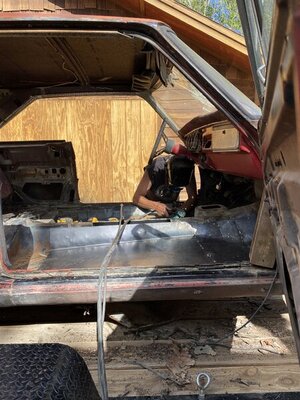
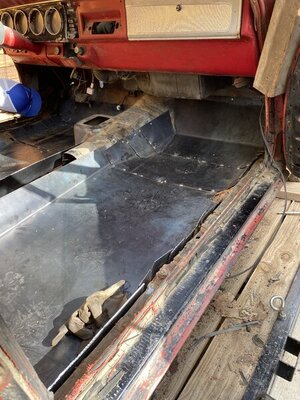
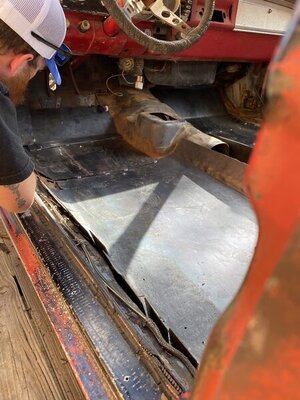
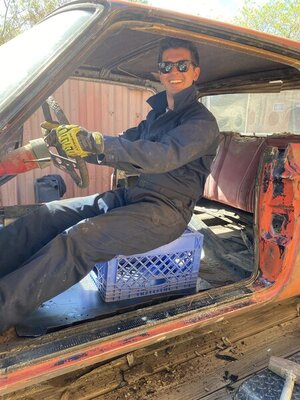
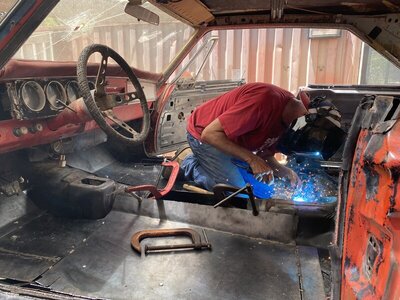
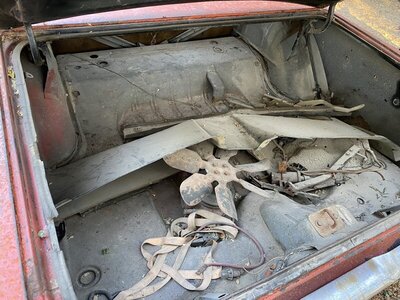
While the engine and trans are important to getting the Fury started, getting a floor in the car was paramount. I figured that once I got a floor in the car my friends and family would take the project seriously. It sure beats the heck out of Fred Flintstoning around town.

At the time I was unaware of any floor patch panels or full floors available so my welder and I decided to use 18 gauge steel to make out floor. We elected to do it in 3 sections: driver's side, passenger' side, and transmission hump. This part was tough!!

Getting familiar with the welder, plasma cutter, machine screws, beers, and angle irons we got the job done! Major success!

IMG_9299.JPG IMG_9306.JPG IMG_9307.JPG IMG_9274.JPG
 
May 2021
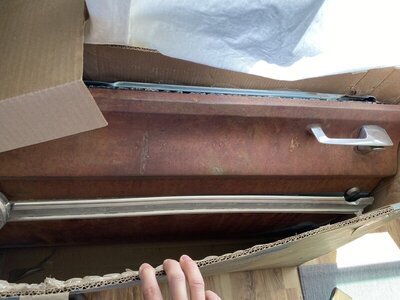
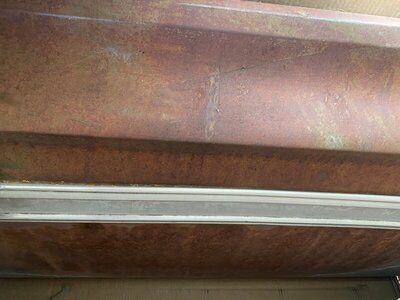
Finding a driver's door was one of the bigger challenges for this project (so far). I scoured eBay, Google, and junkyards throughout California and Arizona but to no avail. I was referred by Turner's in Fresno, CA to L&L Classics, ID.
They did have a door available! The door was pricier than I anticipated but I looked for a door since I first bought the Fury so I bit the bullet.

IMG_9332.JPG IMG_9333.JPG
 
May 2021
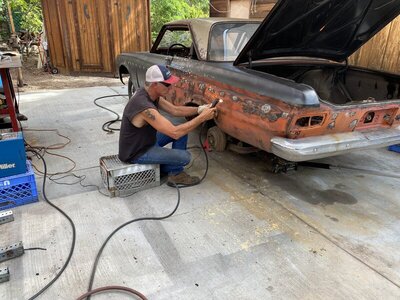
Now that the floor was in it was time to work on the rest of the body. I purchased the Eastwood Contour SCT to help strip the body and paint. I wanted to take the car down to bare metal so I could see all the blemishes from bondo to body rot.

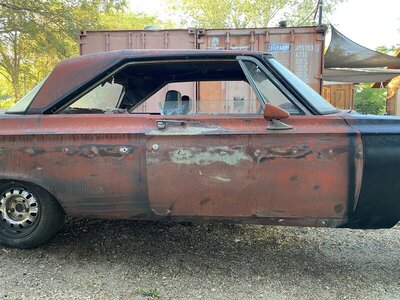
I used the SCT Contour on my new door and it worked great. Once I got it sanded, I sprayed some semi gloss black rustoleum to seal the bare metal. Once the paint dried, I threw the door on the car.

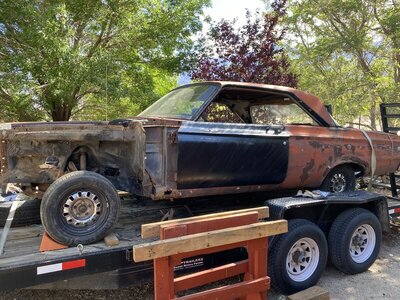
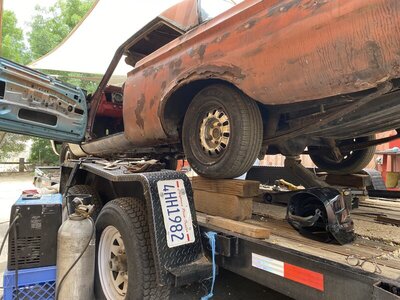
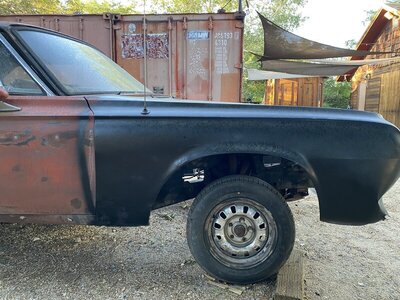
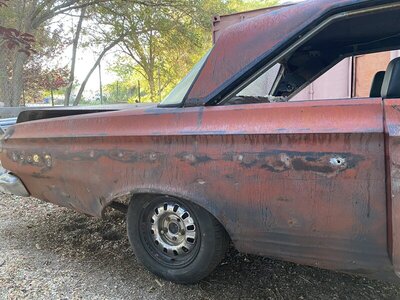
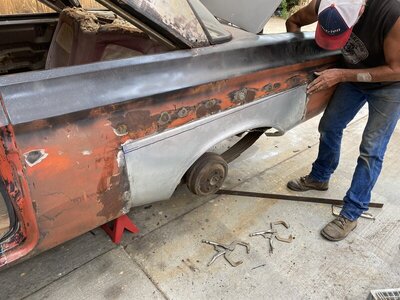
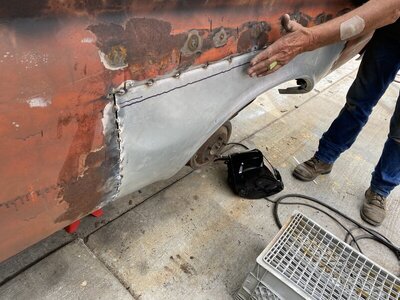
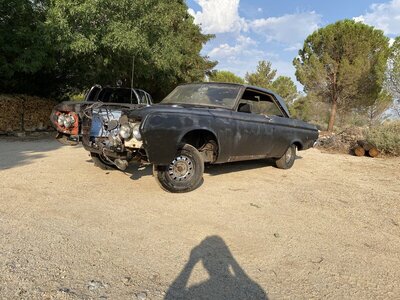
Two of the biggest problem areas was the driver's side fender and driver's side quarter panel. Both had extensive rust damage. I decided to purchase a new fender and buy a quarter panel patch.

Finding the fender was easy, I found a guy selling a '64 Belvedere fender in Fresno, CA. It was a helluva drive but driving to and from was a lot cheaper than shipping costs.
IMG_9336.JPG IMG_9444.JPG IMG_9393.JPG
 
May 2021
Time to weld the floors in place!

I also had some black seats in my inventory and I threw in them in the car just to see how they would look. They look great but they are small! The only person who fits in them was my 8 yr old. Anybody have a good suggestion on seats? I'm not going for originality so the sky's limit.
IMG_9451.JPG IMG_9457.JPG
 
Jun 2021
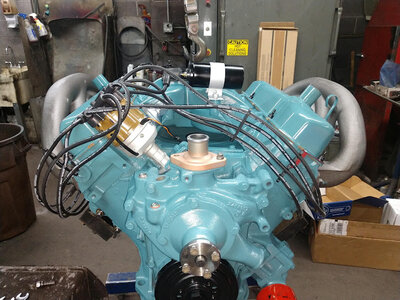
It was time to figure to out the engine build. I was told by a Mopar expert that the 383 loves a 10:! compression ratio. I based the performance solution of his recommendations.

One alteration I made to the original plan was an EFI system. I make drives from Bishop (4000ft) to Orange County (Sea level) to Mammoth Lakes (8000ft) often and I decided that I wanted the Fury to run strong no matter what. Shout to @threewood and @Dennis H for sharing their EFI stories and insights.

Here's what I got so far:
Holley Sniper EFI
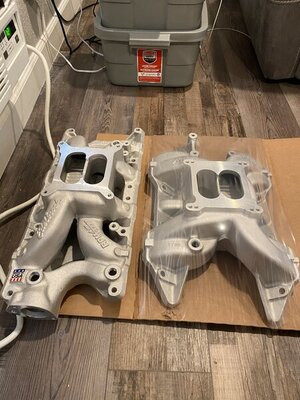
Edelbrock Performer RPM intake
516 heads with hardened valve seats and enlarged 2.08 inch intake/2.08in exhaust
Mopar Performance Purple Camshaft Kit: Cam and Lifters, Hydraulic Flat Tappet, Advertised Duration 292/292, Lift .509/.509,
Keith Black 0.030 over pistons
ARP bolts for connecting rods
ARP bolts for cylinder heads
New timing chain
New dampener

At this moment, I still need to figure out: rocker arm assembly, push rods, water pump, oiling system, exhaust. I'm sure there's more I'm forgetting.

How does that look so far? Any suggestions?

IMG_9836.JPG

Edit: I took that photo to show my friends the difference between RPM air gap small block Ford vs Performer RPM Chrysler "B" big block
 
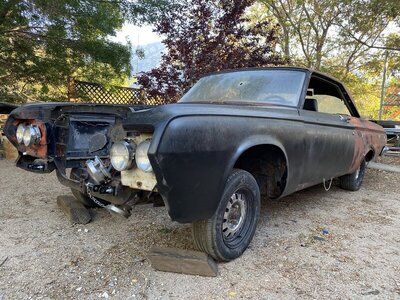
Photos of the Fury as of jul 2021

IMG_9545.JPG IMG_9546.JPG IMG_9547.JPG IMG_9548.JPG IMG_9549.JPG IMG_9550.JPG IMG_9551.JPG IMG_9552.JPG IMG_9553.JPG IMG_9555.JPG

Can anyone identify the type of mirror on the passenger's side door? My guess is Challenger but I could be wrong
 
Aug 2021

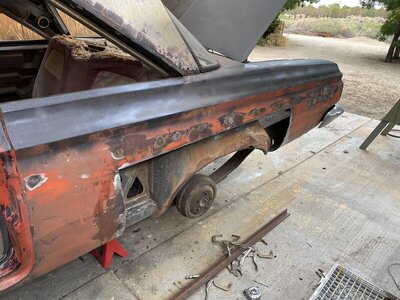
I mentioned previously that I was on the hunt for a driver's side fender and quarter panel patch. I was able to find a fender no problem but the quarter panel patch was another story.

I looked through internet and all I could find was 64-65 Dodge patch panels. I though they looked the same but other Mopar folk told me that there is a subtle difference between the two. After extensive looking, I got in contact with Kramer Auto and they had one.

Getting it in the mail was one thing but installing it was something else.

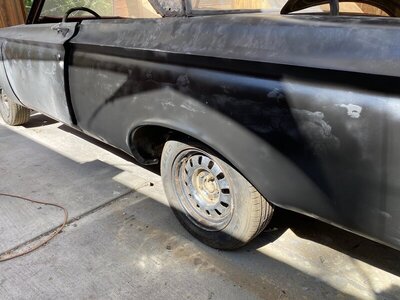
We got really lucky cutting out the old sheet and mocking up the new patch panel. I think it turned out great!

IMG_9605.JPG IMG_9606.JPG IMG_9608.JPG IMG_9609.JPG IMG_9610.JPG
 
Aug 2021

No one told me that body work would take so much time and energy! I do firmly believe that the professional body shops earn every penny.

I really wanted the Fury to have a clean look so I elected to remove all trim from the trunk, quarter panels, doors, and fenders. In some previous photos, some of the trim holes have been sanded and/or filled in.

I got to practice some welding by filling in some of the holes. The problem with plugging all the holes is the grinding, sanding, and body filler. Repeat process x3 (at least).

It's a pain but I'm really happy with the look.

IMG_9623.JPG View attachment 1180866

One more thing my welder friend and I experimented with is a two tone idea. We both noticed that the roof area was remarkably clean from any damage or rust. We sanded down the roof and sprayed it with clear coat. The silver roof and black body looked cool but i am going to go with one tone.
 
Last edited:
Looking Good!

Can't go wrong with a MP cam, but technology and new cam designs have made huge improvements. May consider a aftermarket company for a cam. Have you considered stroking the 383 (440 crank into the 383 or...), or sourcing a 440? The RB 440 makes lots more torque and the build can be milder 440 and get the same results. Also don't forget about your other systems, window cranks, door seals, heater,/AC, wipers, dash (gauges) and electrical stuff. This stuff goes on and on and gets expensive. Consider what the factory did with the all the B-bodies (sway bars, torsion bars, radiators, clutch fans, disk brakes 11" drums on the rear and leaf springs ect) and the Big Blocks. Take the best of what they offered and if it fits into your vision, make it better. The floors look awesome! Keep the pictures coming!

440.jpg
 
While you’ve got your welder out, one thing I’d suggest is adding subframe connectors. Your new floor has none of the original stiffening ribs, and running a four speed I think it would be a good idea. On a unibody, the floor is a major part of the structure.
 
While you’ve got your welder out, one thing I’d suggest is adding subframe connectors. Your new floor has none of the original stiffening ribs, and running a four speed I think it would be a good idea. On a unibody, the floor is a major part of the structure.
What he said on the above. Also once you get your seat location nailed down, you'll need some reinforcement plates under the floor for backup on the seat mounting. Since the panels are flat, you might consider a tubing frame under the floor that attaches to the frame connectors for the seats to mount to. Thats what I'm going to do on mine.
 
Hopefully you aren't planning on doing bodywork and painting this. Rustoleum is not a substrate you can paint over with conventional epoxy. It is a bad idea to use on any external surface unless it is the final topcoat.
 
Hopefully you aren't planning on doing bodywork and painting this. Rustoleum is not a substrate you can paint over with conventional epoxy. It is a bad idea to use on any external surface unless it is the final topcoat.
Also what he said. The Rustoleum may be ok for temporary but remove it when you get to actual paint time. It may give you issues with whatever brand you use for the real deal. Get some good stuff from PPG, Glasurit, Martin Señor etc for all. Primer is porous and not to be used to protect, it must be topcoat. Gun paints are also much higher quality products than spray cans. The primers adhere much better over prepped, clean metal than zip cans. Save the zip cans for smaller stuff that are out of the elements but Rustoleum is great for that stuff. Way better than Krylon and others.
 
While I'm thinking of it, check in with Inland Empire Driveline for a better setup on the ball and trunion joint of you driveshaft. Since you'll be upping the horsepower and traction, this would be a needed upgrade.
 
While you’ve got your welder out, one thing I’d suggest is adding subframe connectors. Your new floor has none of the original stiffening ribs, and running a four speed I think it would be a good idea. On a unibody, the floor is a major part of the structure.

I forgot to mention this in my earlier posts. We did subframe connectors. I knew I was changing the structural integrity and I saw from other posts that it was a good idea.
 
What he said on the above. Also once you get your seat location nailed down, you'll need some reinforcement plates under the floor for backup on the seat mounting. Since the panels are flat, you might consider a tubing frame under the floor that attaches to the frame connectors for the seats to mount to. Thats what I'm going to do on mine.

That's something I had not considered. That's a great idea!
 
Hopefully you aren't planning on doing bodywork and painting this. Rustoleum is not a substrate you can paint over with conventional epoxy. It is a bad idea to use on any external surface unless it is the final topcoat.

I used the Rustoleum as a paint to cover the bare metal. My plan was to sand it down a bit before applying a primer and real paint. Is that still a good plan?
 
Auto Transport Service
Back
Top