• When you click on links to various merchants on this site and make a purchase, this can result in this site earning a commission. Affiliate programs and affiliations include, but are not limited to, the eBay Partner Network.

70 Hemi Superbird Restoration..................errr.....scratch that........

Subscribed!!

I like the way you are building this car. It's good to see how you've saved the rockers and chassis legs with quality repairs rather than just replacing with new parts.

Great job!
Thanks Matt. I'm not enough of a craftsman to put in AMD metal and make it look like the factory did it and repairing the rocker was way less work than replacing it.
 
I feel the same, if i have to use AMD i just tackle it the best i can but any place i can repair with a patch panel, that is the way to go!!
 
dammit, i was excited by my own build...not now after seeing this...this is gonna be EPIC, im in love with this already!!!!!!
 
Just think, your hood and deck lid once resided on this soon to be monster!!

someone offered to buy my car, just thinking, only just thinking. i might regret this, but is your sublime green 70 HEMI roadrunner still for sale.
 
Awesome! I see you're really moving along! This things gonna be crazy! I'll be in touch for the pistons. Take care!
 
someone offered to buy my car, just thinking, only just thinking. i might regret this, but is your sublime green 70 HEMI roadrunner still for sale.

Isn't everything? LOL

- - - Updated - - -

Awesome! I see you're really moving along! This things gonna be crazy! I'll be in touch for the pistons. Take care!
I am trying to. I thought I would post it all up here to keep my motivation up! I know when summer comes, I'll have grass to mow!

- - - Updated - - -

The left side quarter panel is finish welded except for around the roof/rear window opening. I'll do those together with the right side when the dutchman panel is put in.
96EC25F5-B150-4635-8333-A30270E2EBBA_zpssky6sz6p.jpg


- - - Updated - - -

So, with that out of the way..... back to the right side wheel tub.
E5B01B62-6EFD-4CAD-81CD-C429E1868AF6_zpsul8doduf.jpg


- - - Updated - - -

I fitted that rear patch and tacked it in.
5AD06484-5E65-4530-9579-372F29F8E98D_zpscfiohwub.jpg


- - - Updated - - -

Side view. Before anymore of the tub side gets welded, the quarter panel will need a fitting to make sure I'm not way off on something.
3D20813D-0BBD-43CD-A032-7429C25D4E45_zpsbbdlukql.jpg


- - - Updated - - -

More strips to fill in...
1BDE7F97-2221-424E-A88F-AB1F1A9BDDDD_zps6i31qsrn.jpg


- - - Updated - - -

Assuming the quarter panel still fits pretty decent, this tub will go together quickly.
 
10805678_998225636859947_5021543426428436479_n.jpg

Lol seriously this thing is going to be batsh!t crazy! So excited to watch the project come together, the work you've done already looks outstanding. Man, and I thought my procharged 700 wheel horsepower goal was up there, the 1,800 tt aluminum block hemi is going to be insane lol

And just a though on the fiberglass fenders, completely understand how flimsy feeling they probably are, but given your et goal I bet they'd help out (althought with that much power a couple pounds might not be as noticeable lol). And after tying them into whatever support structure you end up fabricating for the turbos, and possibly adding a couple braces further back I'm sure they'd stiffen up quite a bit. Either way, consider me along for the ride haha
:sixpack:
 
Man...It's nice to see a build like this...I'll be following your awesome work !!!
 
Well holy ding dang now that's what you call going out of the box. There seems to be a resemblance in the kitty department.

 
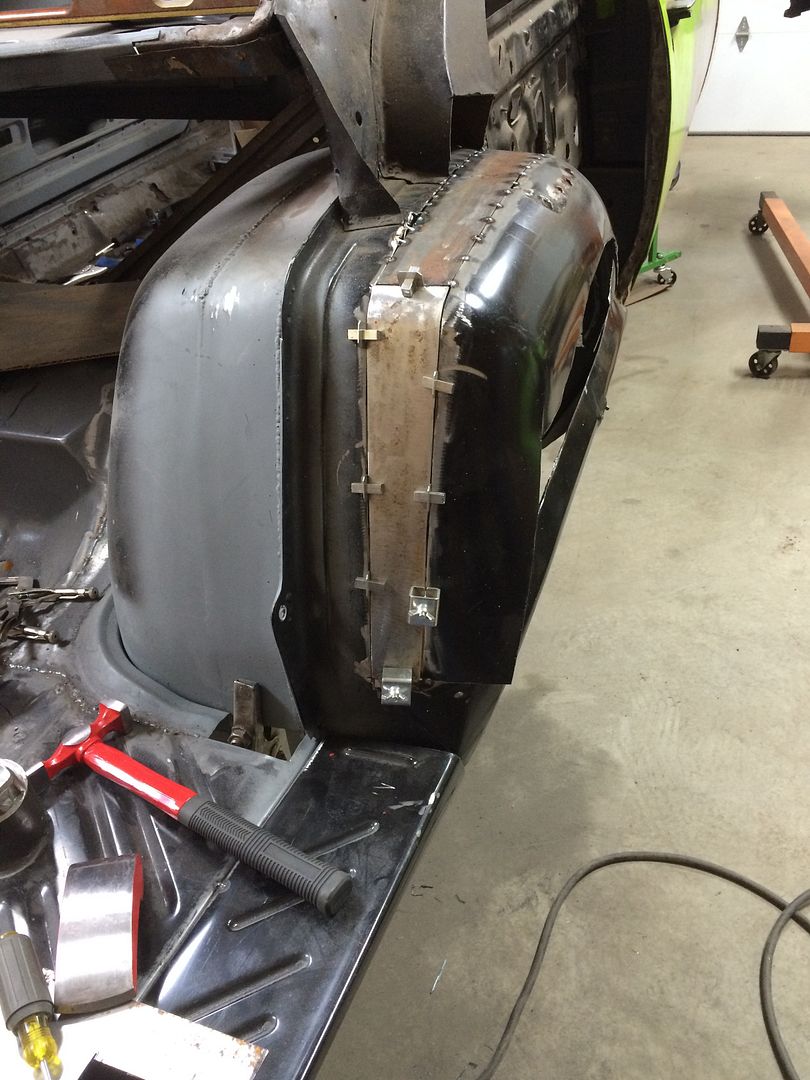
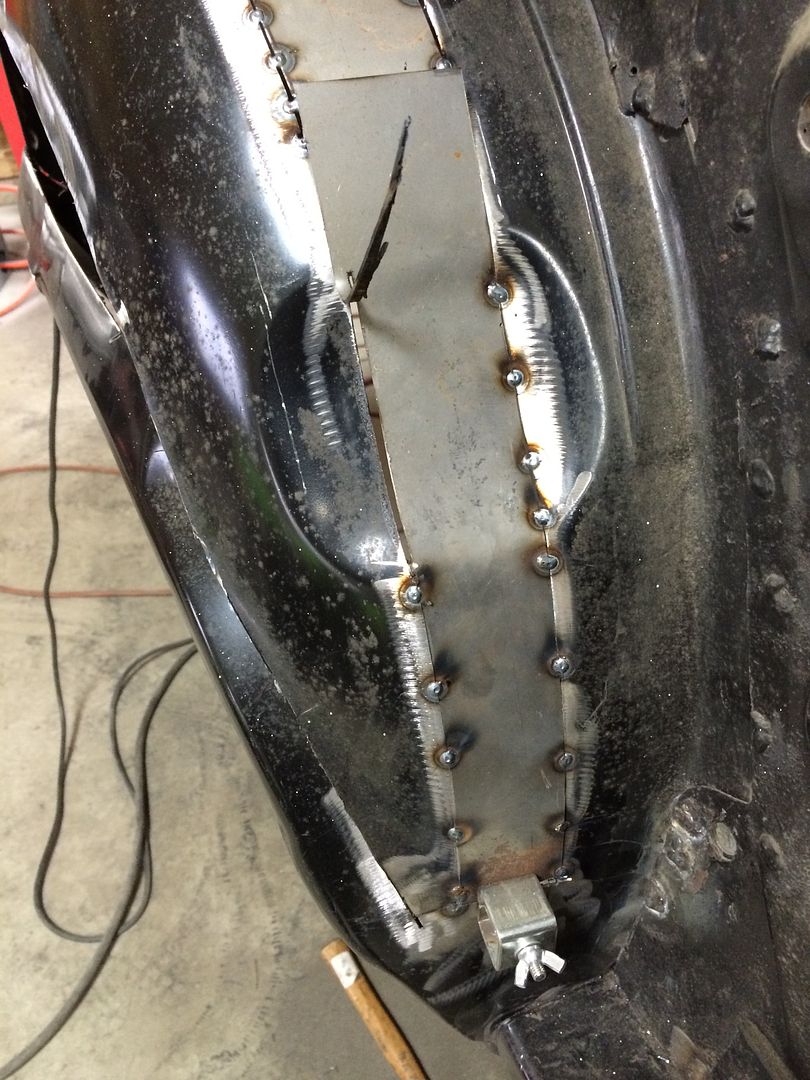
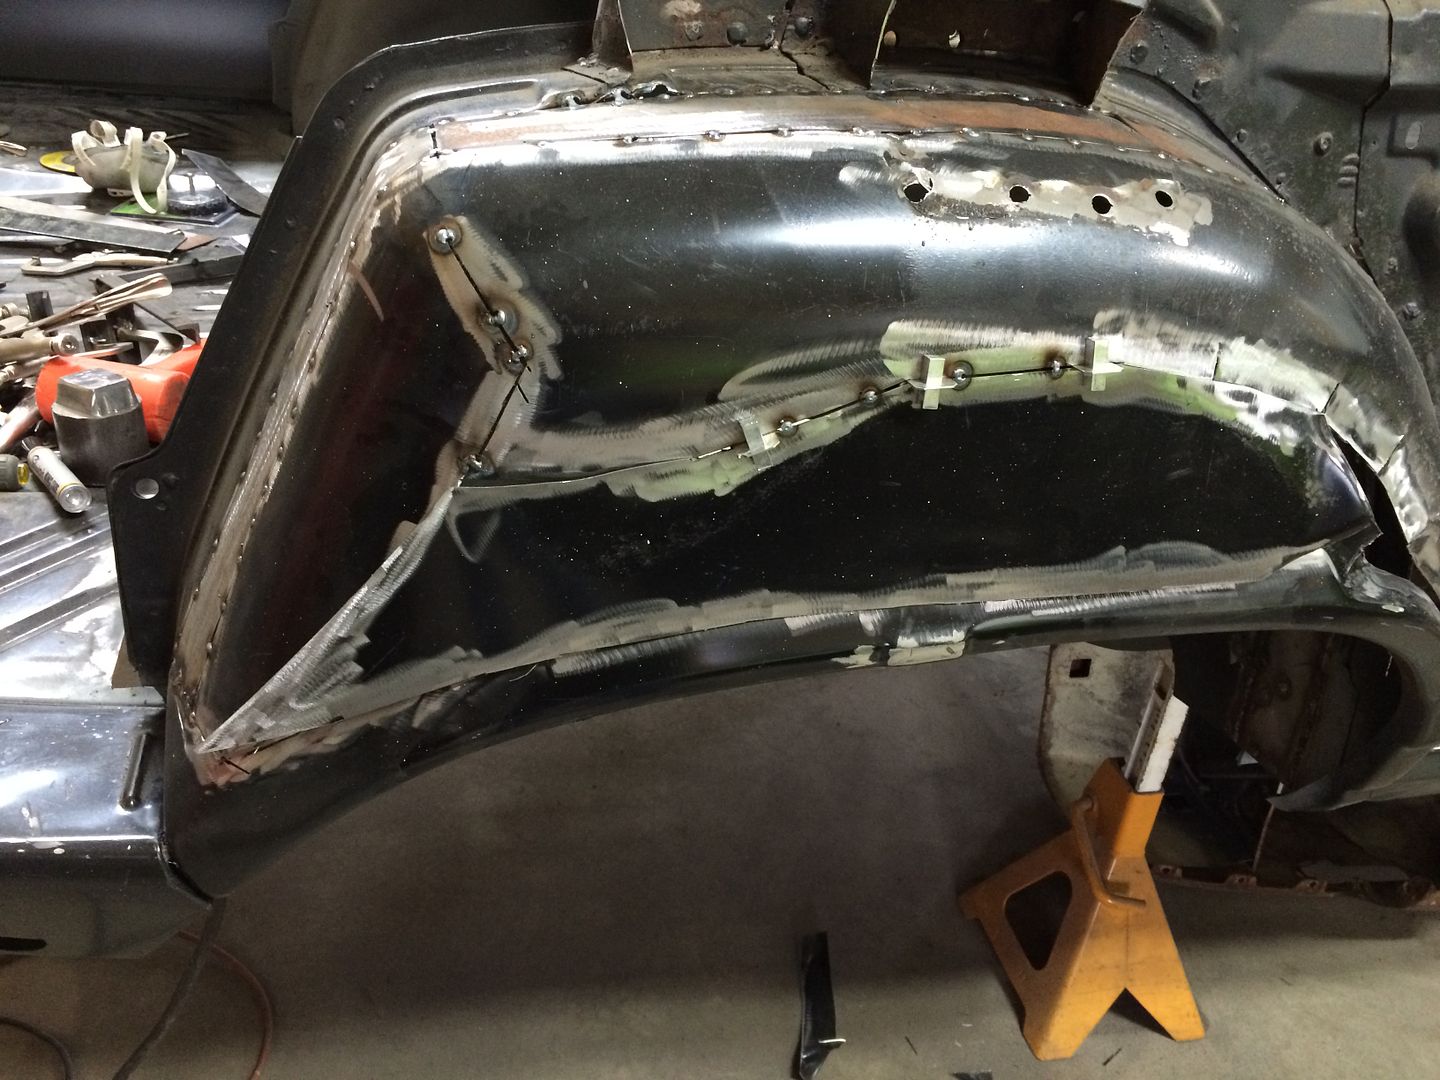
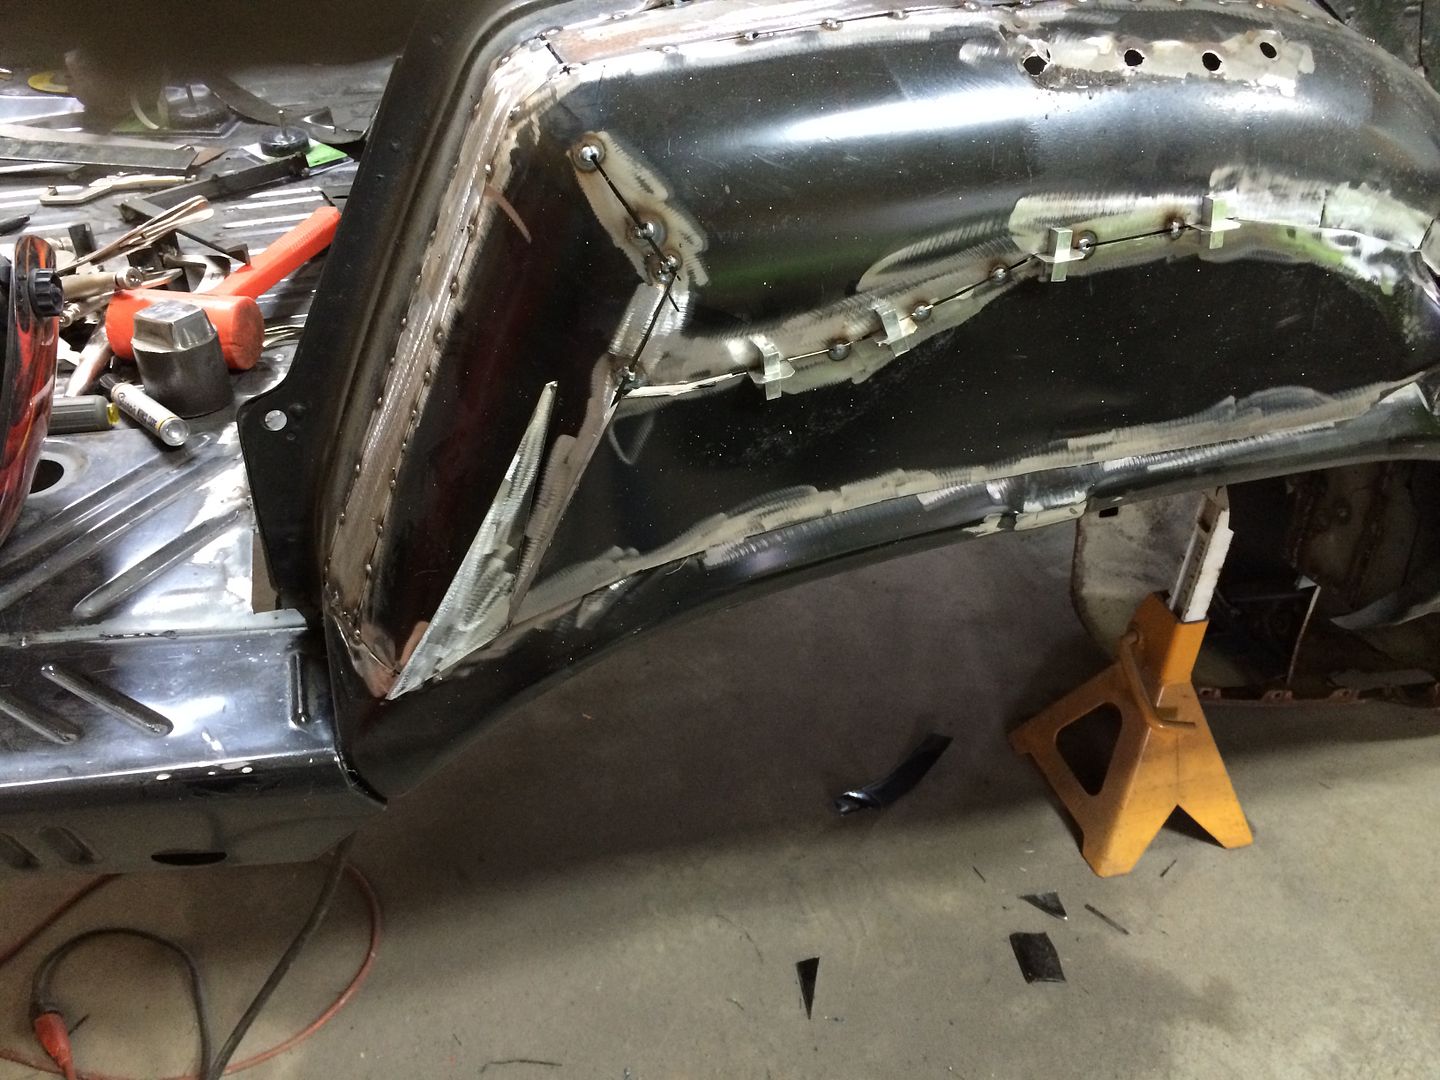
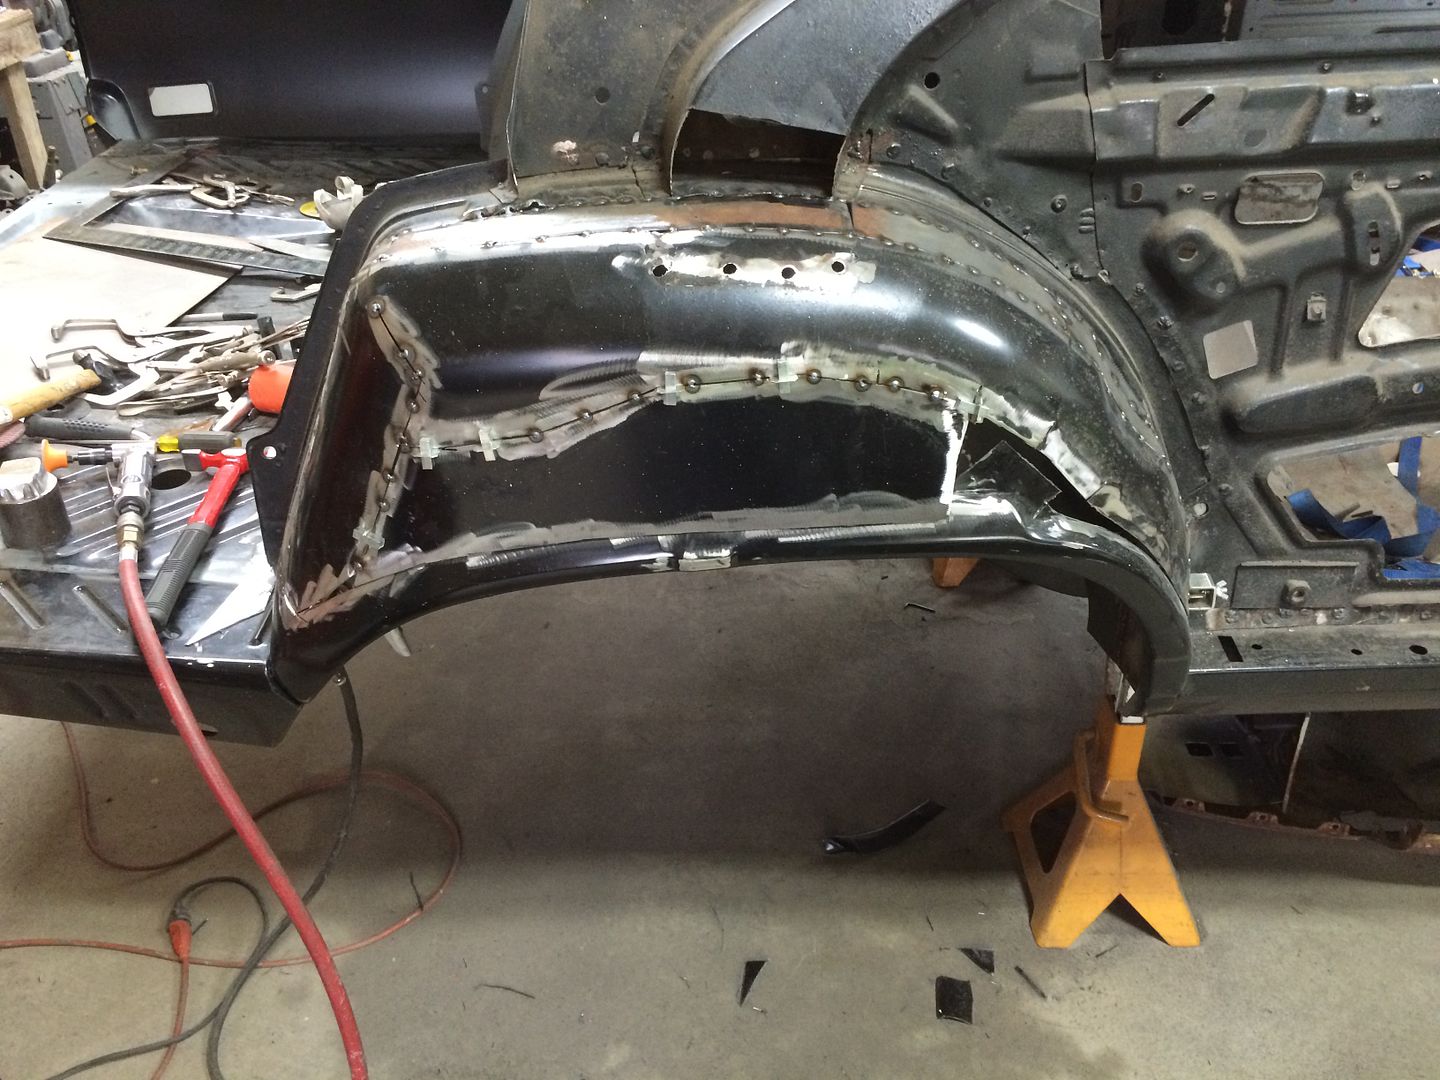
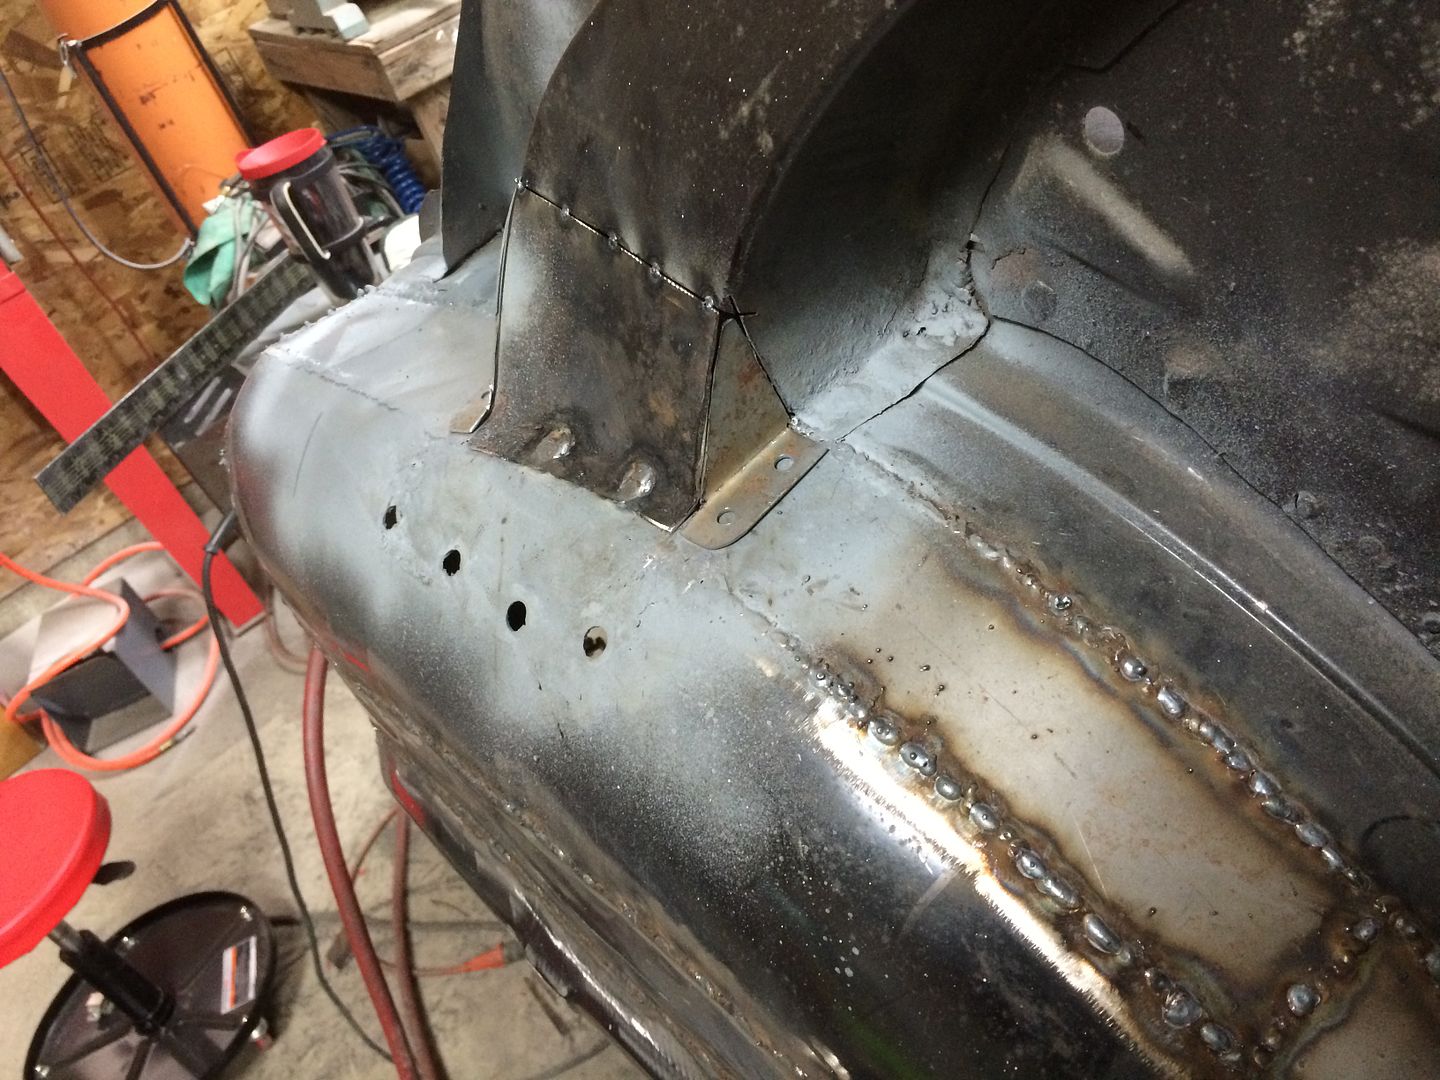
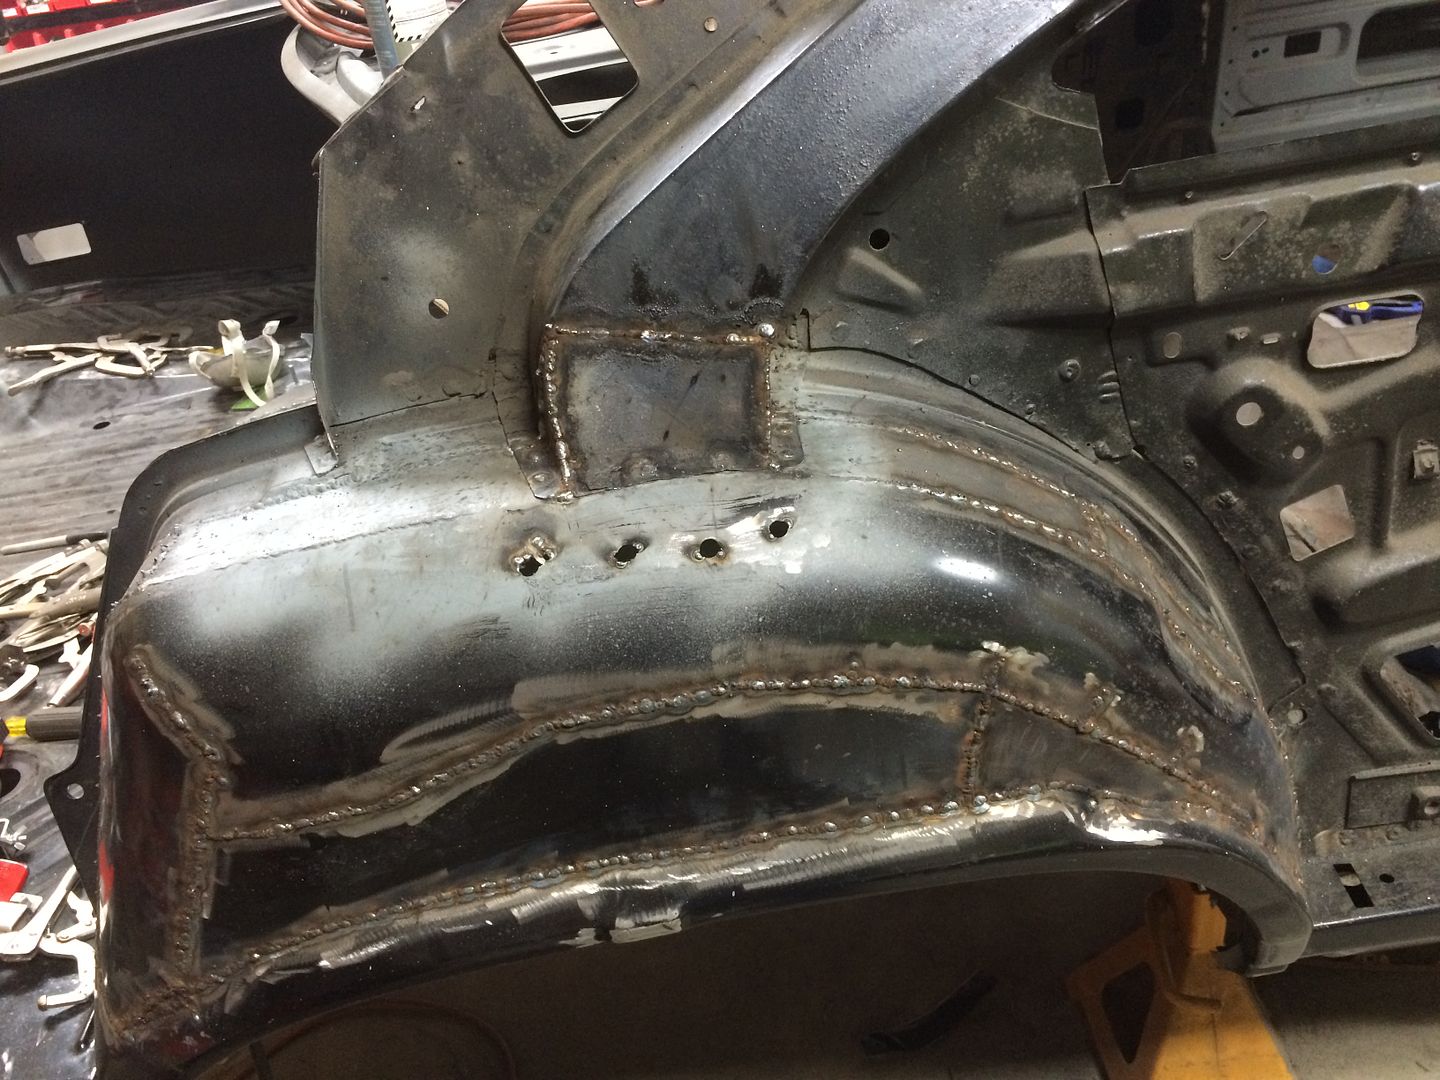
The rest of the patch going in. It's cut oversize and I'm fitting it as I go by using a cut off disc in the grinder.
35630158-F5A3-4D28-9059-0D1257269217_zps0pa1ra5b.jpg

You can see the strip the cut off disc made. It's pretty easy to work these in like this and you're left with a perfect patch and the perfect gap for welding.
36CA178B-471A-4FF9-9F35-3633899412D5_zpsk8yplwbe.jpg


- - - Updated - - -

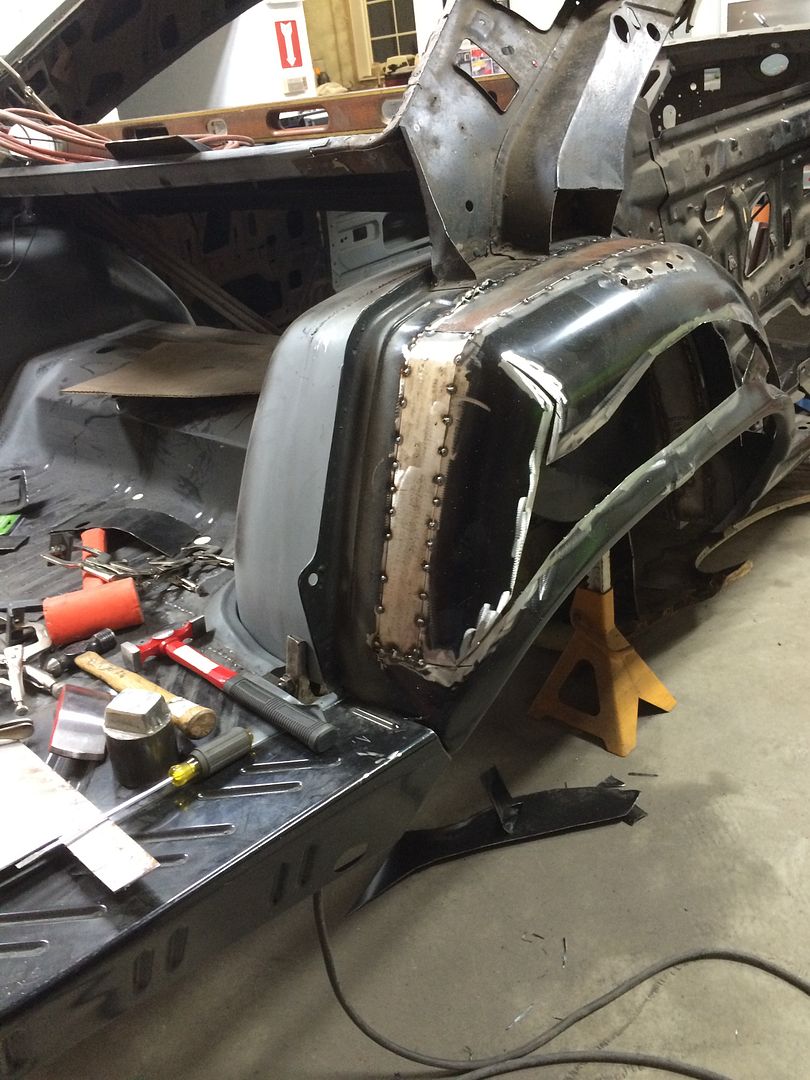
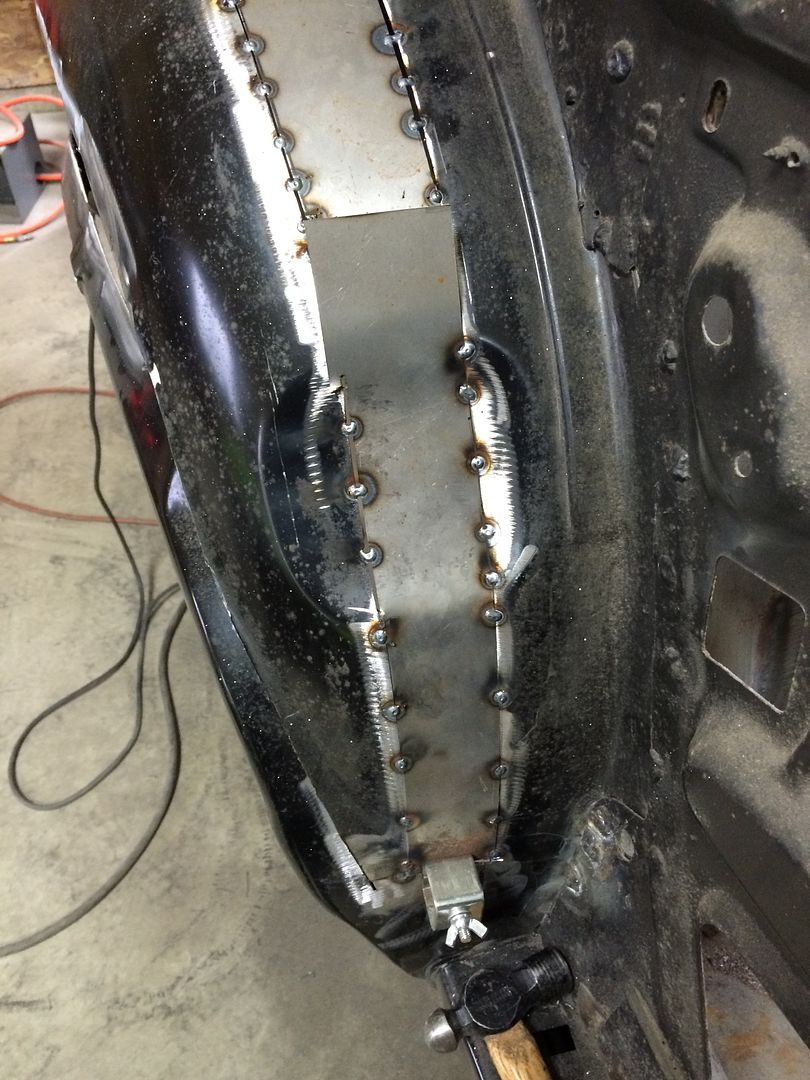
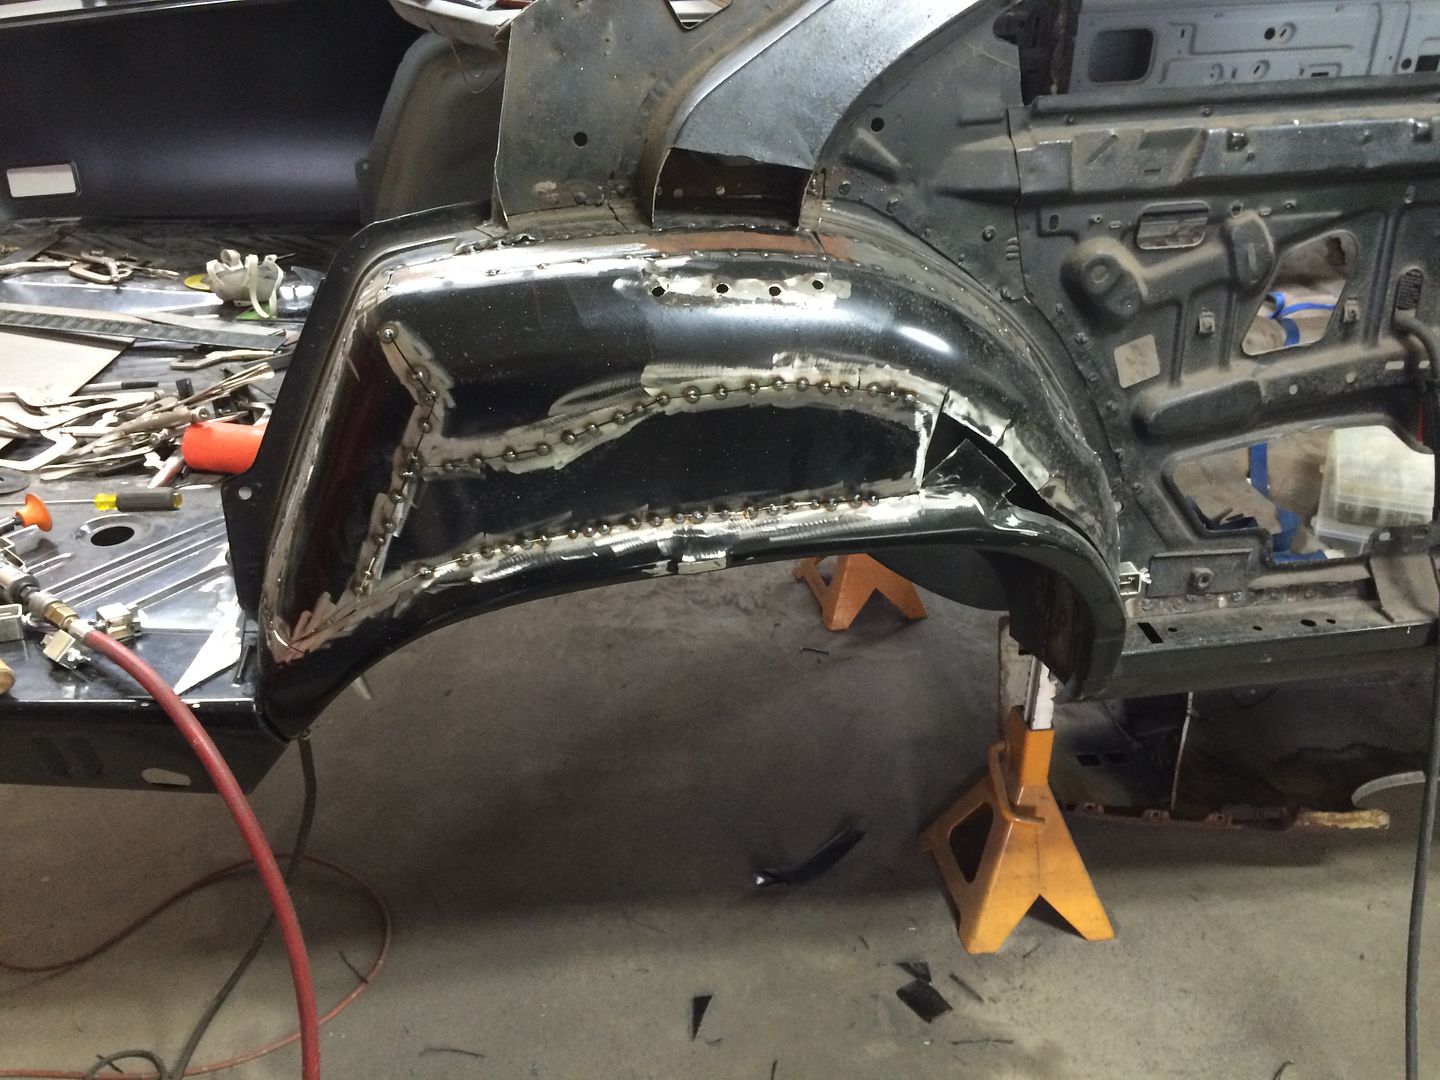
A few more tack welds...
42169D8A-2C26-457A-BA27-498A30C4A476_zpstyf1rjia.jpg


- - - Updated - - -

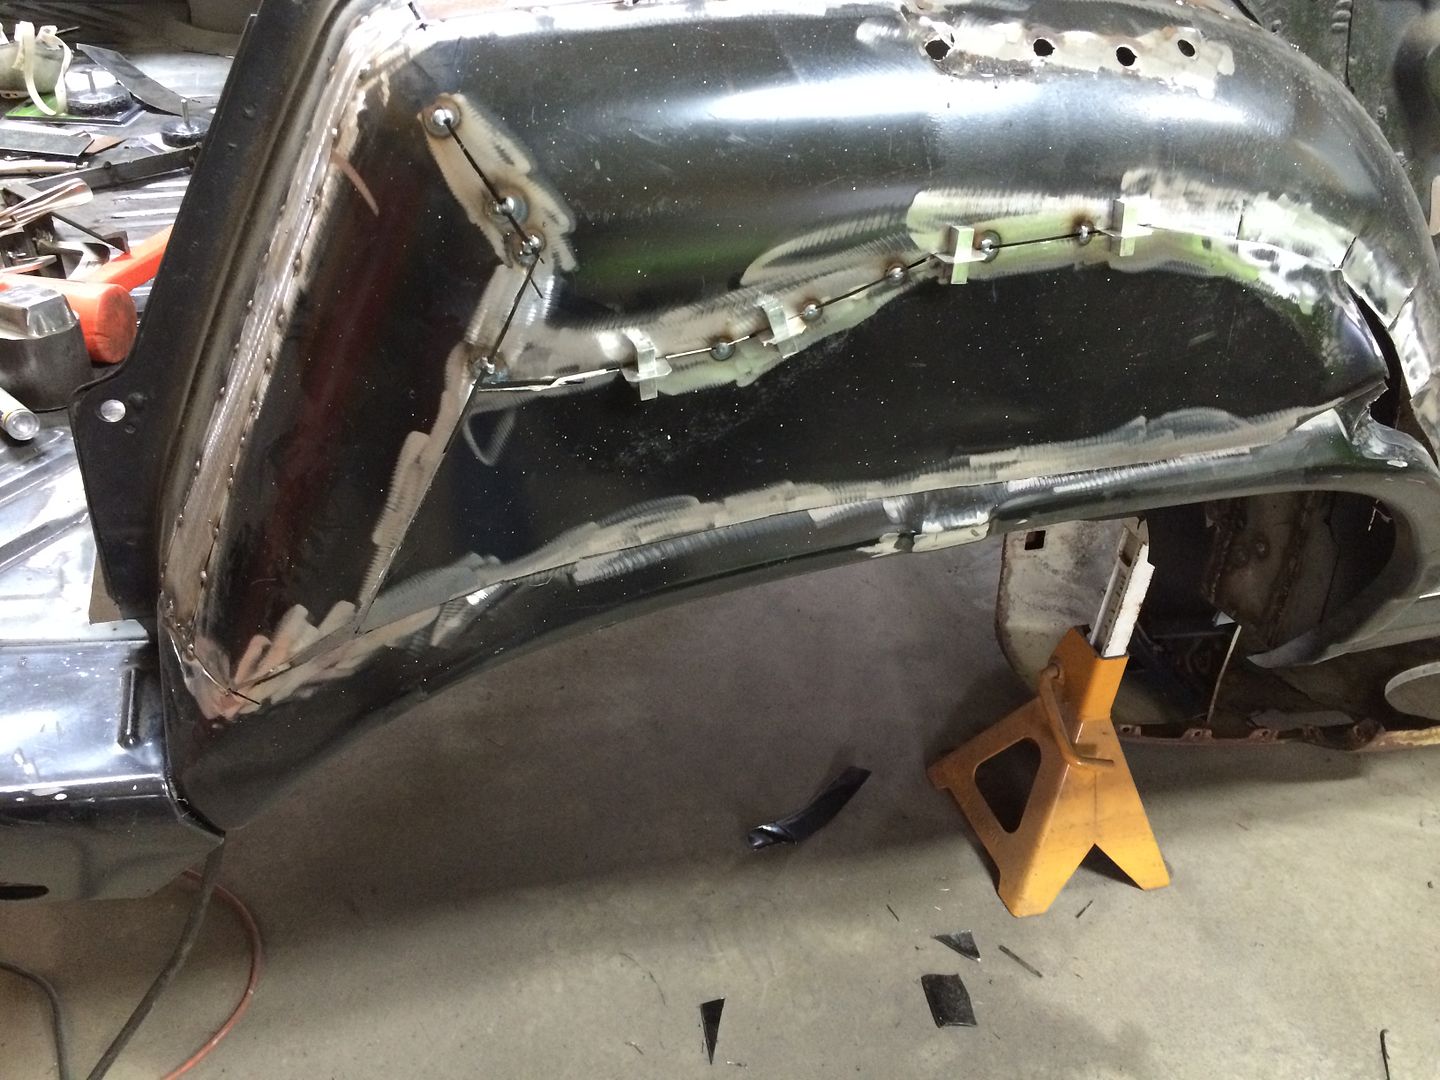
Final trim and tack.... badda boom, badda bing!!
AEC7A6D3-C8DD-4798-8F45-CD87F37E4DF2_zps2wovcqcl.jpg


- - - Updated - - -

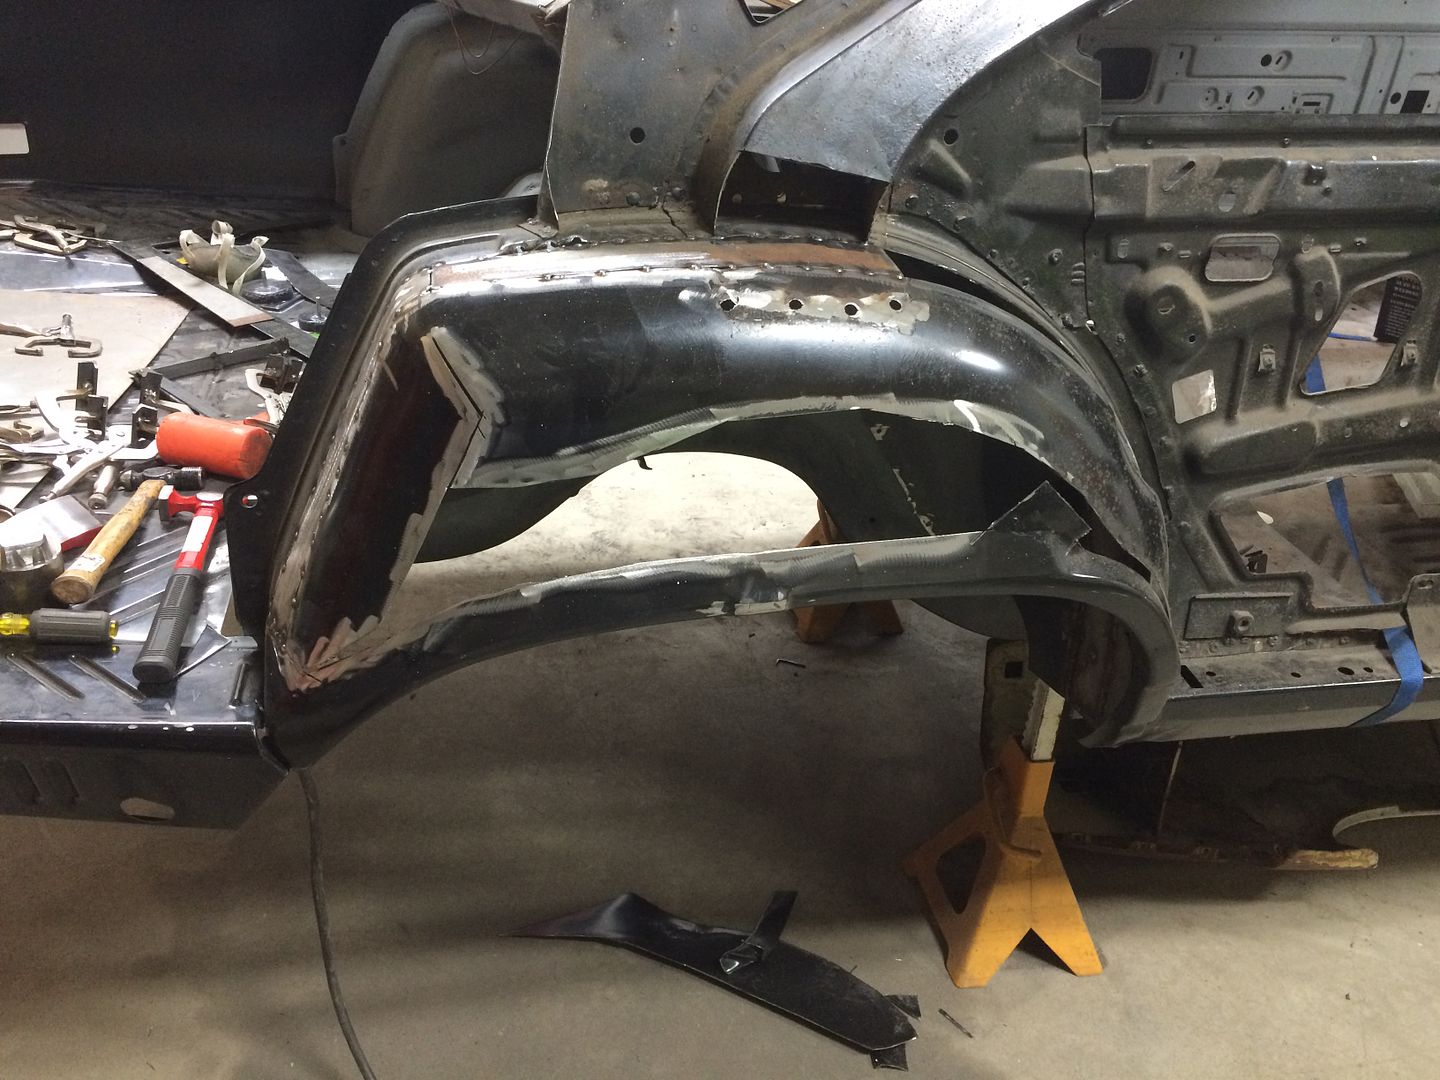
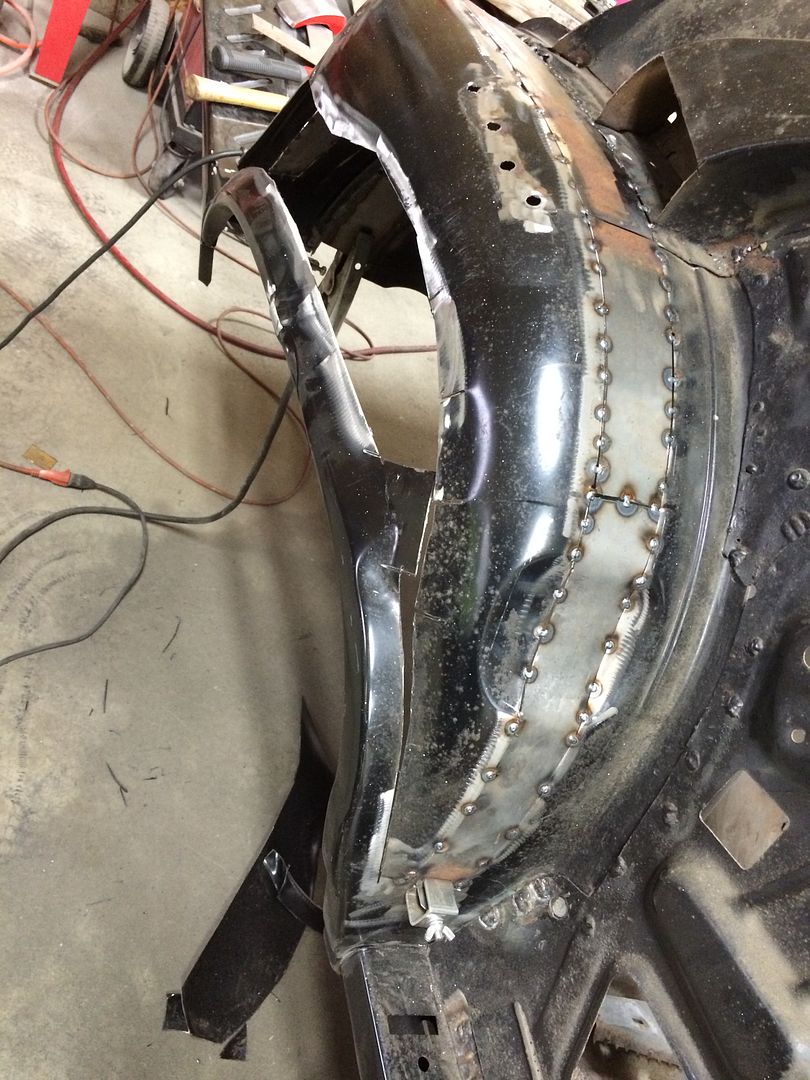
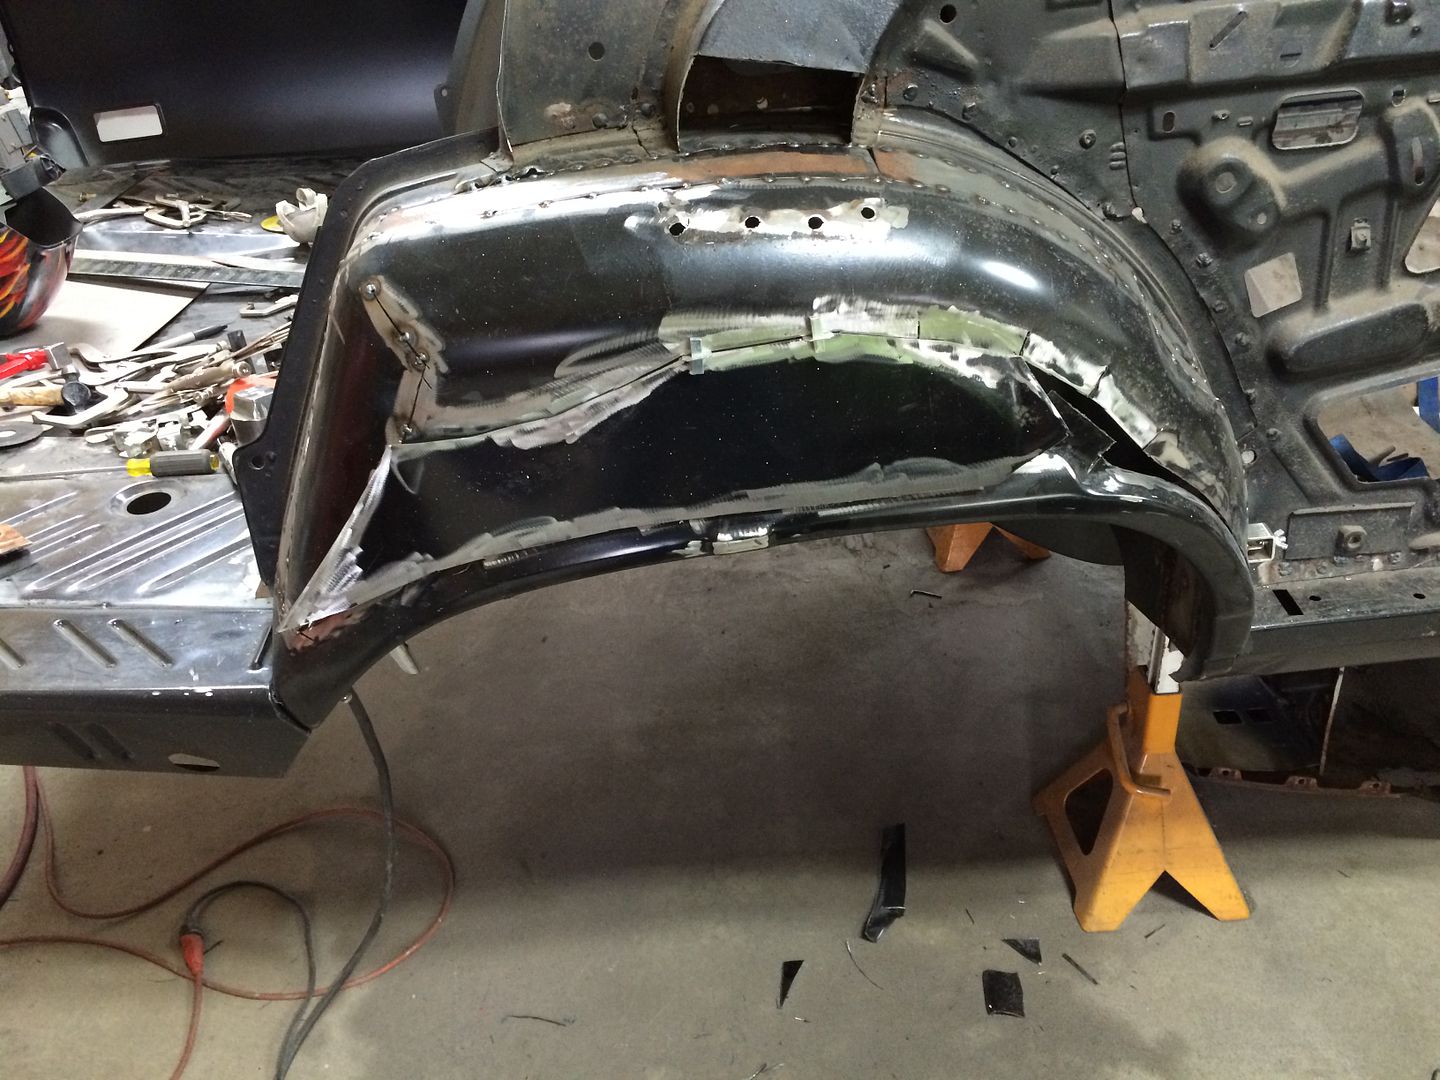
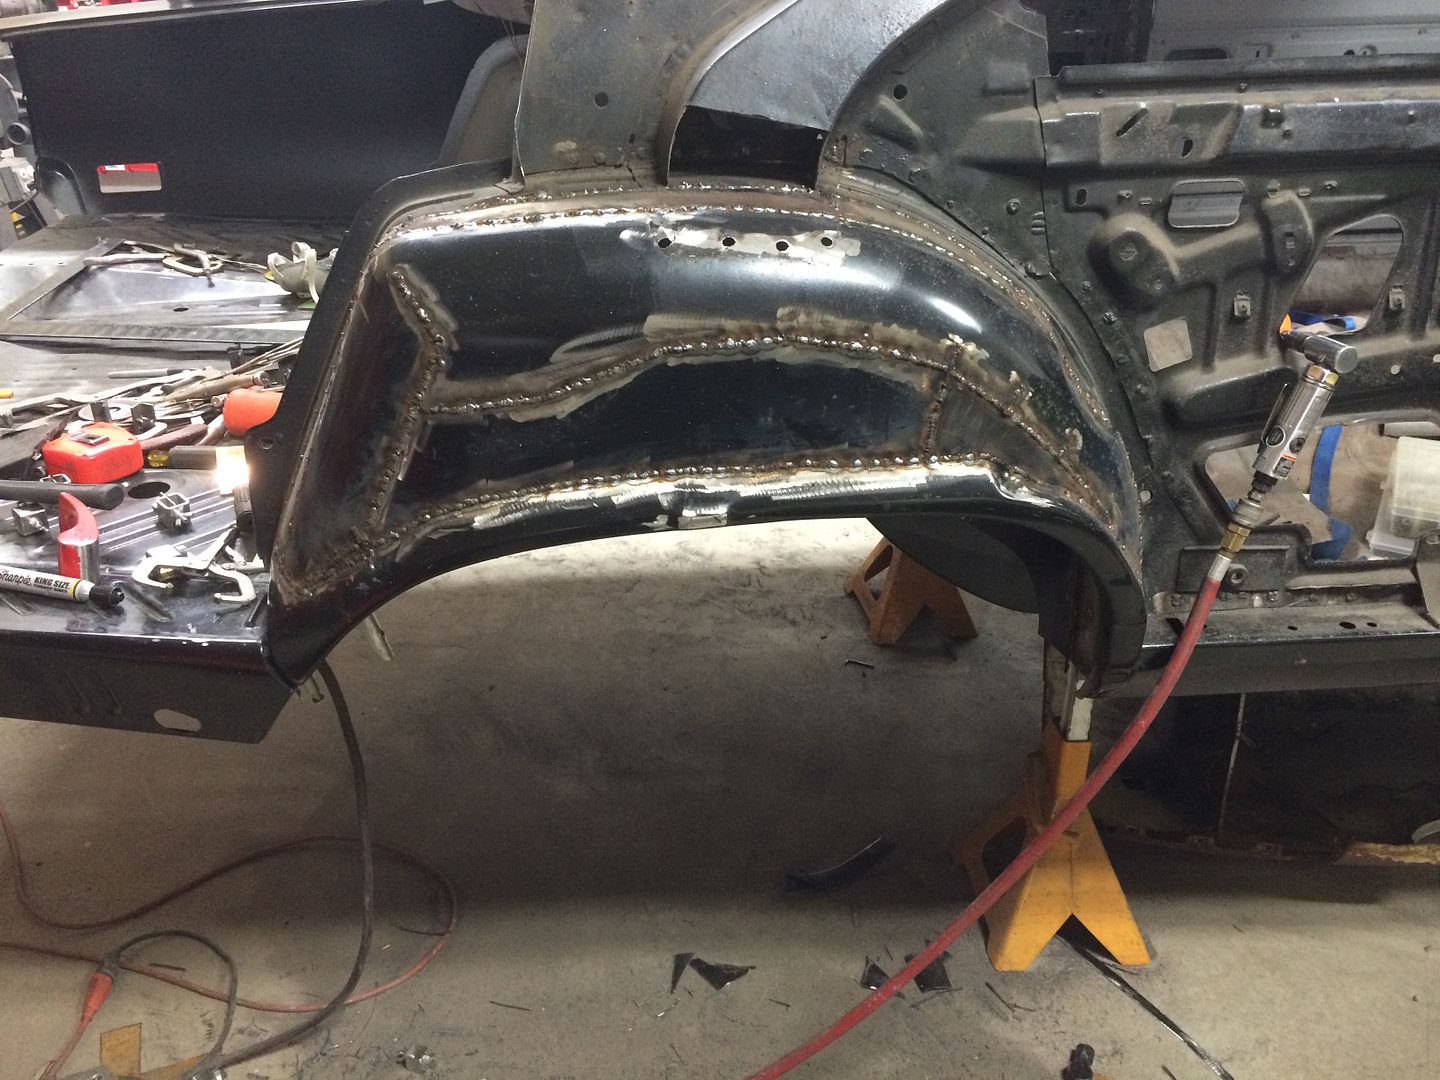
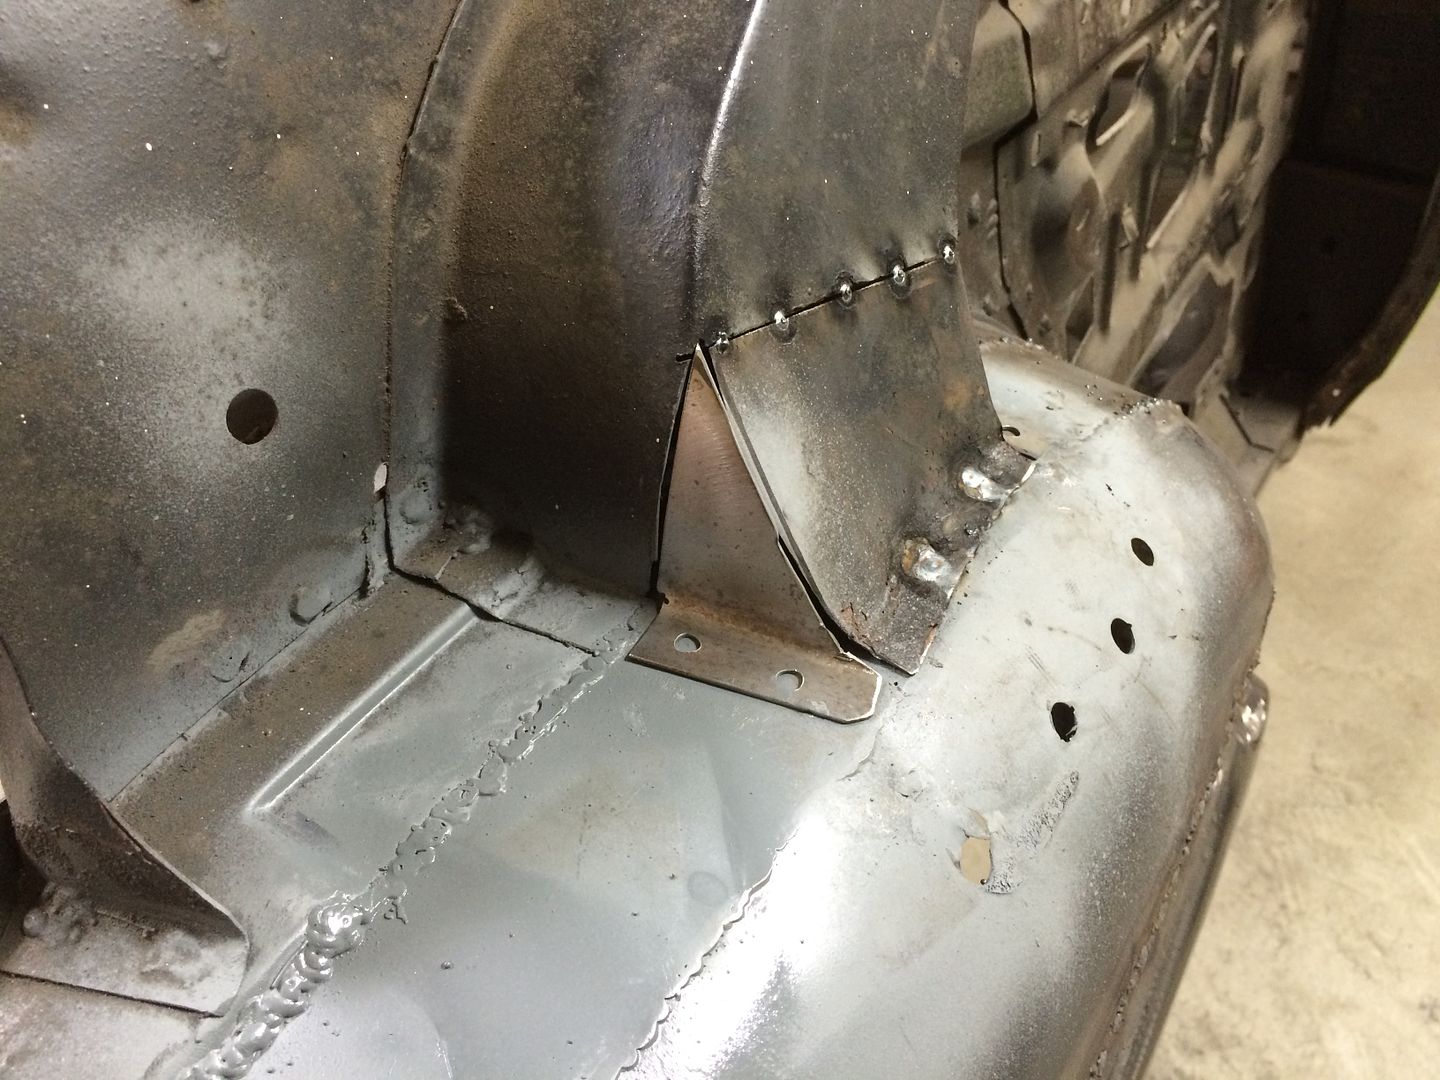
Gaping hole in the side of the tub....
DA9E58CF-D480-4937-BF47-64CCE2C652B8_zps4et54tzp.jpg


- - - Updated - - -

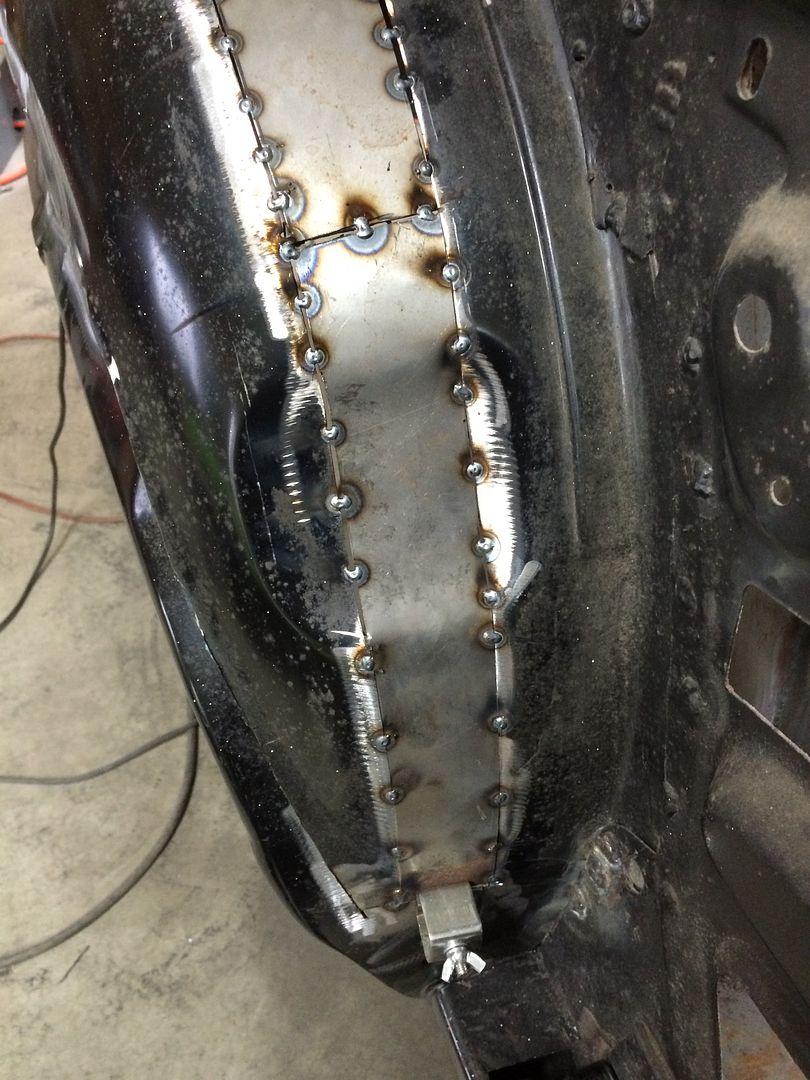
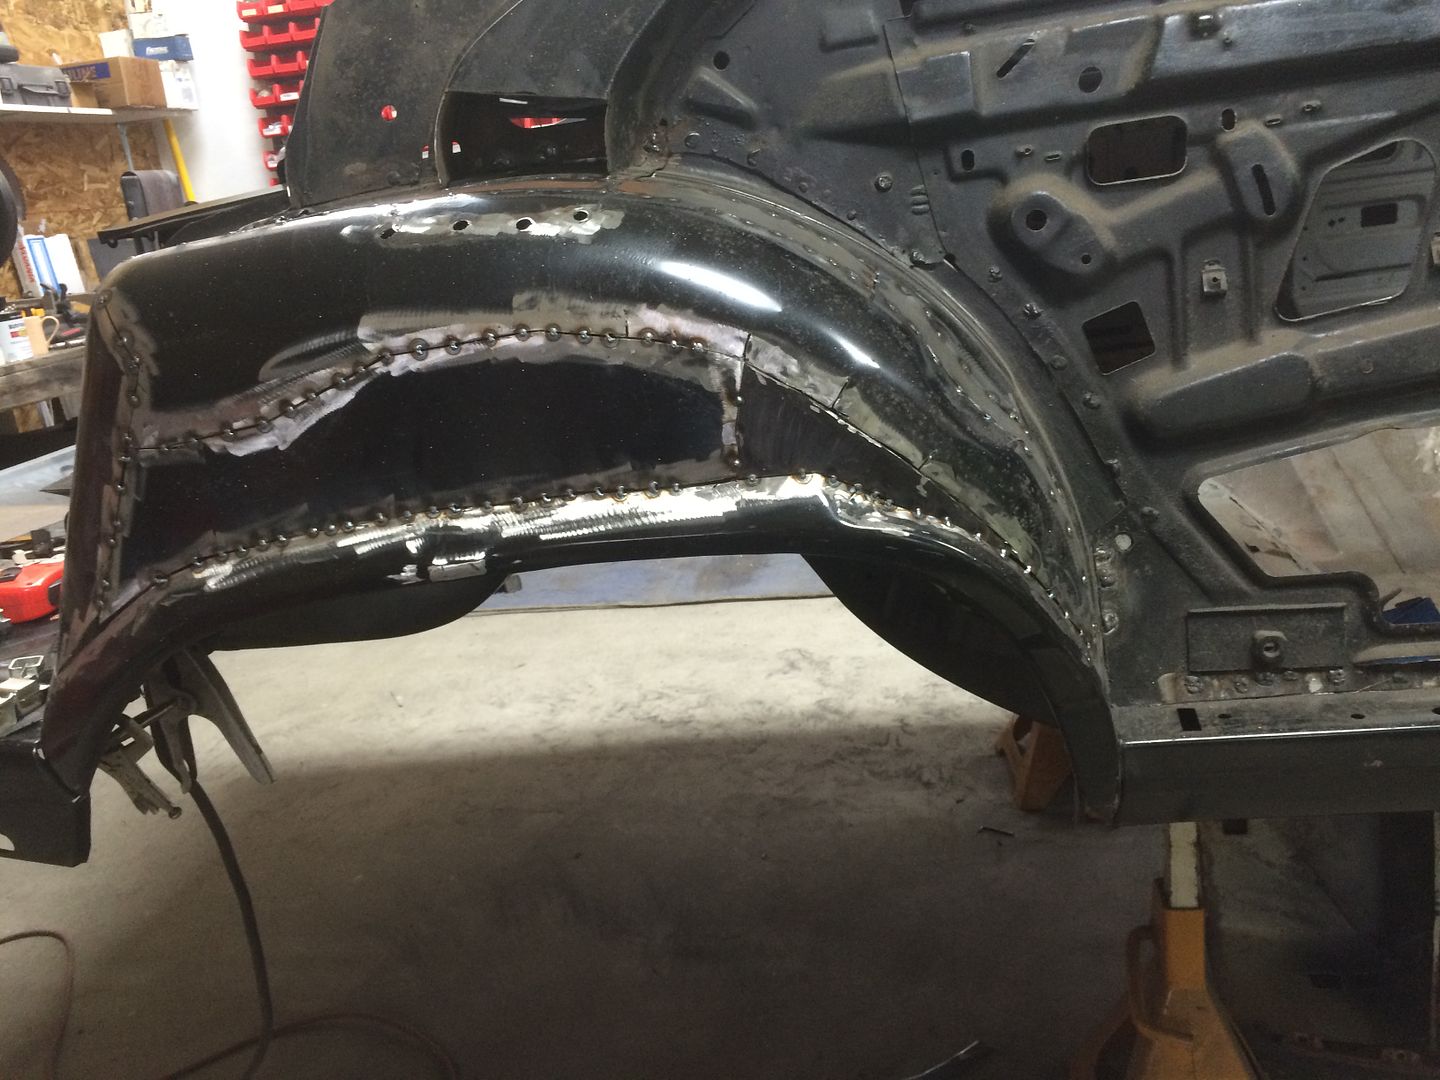
So, I tacked on the part that was cut out and started to work it in the same way.
16DB1033-FAB1-4D12-8237-2C94948C88E8_zpsmq879gym.jpg


- - - Updated - - -

1CE81EE2-FDB8-47C4-BA9D-9EA57D6DDF3F_zpsnv8xhwue.jpg


- - - Updated - - -

E2AB4C72-069F-405C-95D2-4F0FFADFEAFC_zpscalkffqp.jpg


- - - Updated - - -

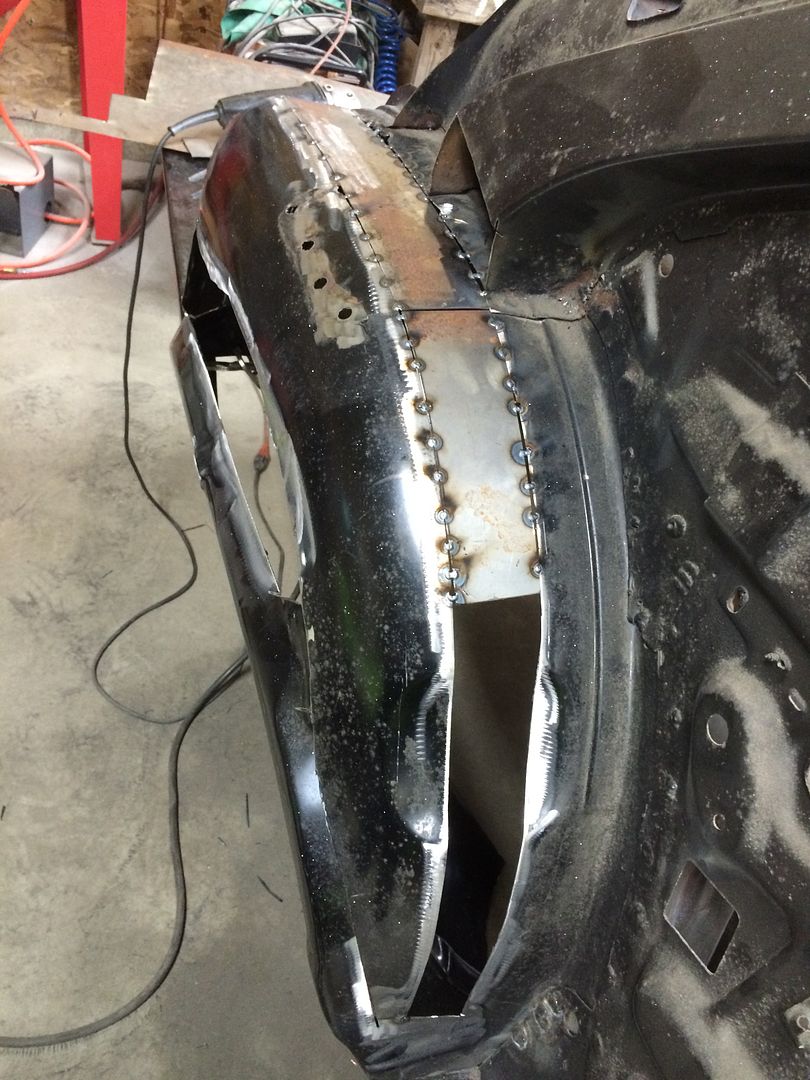
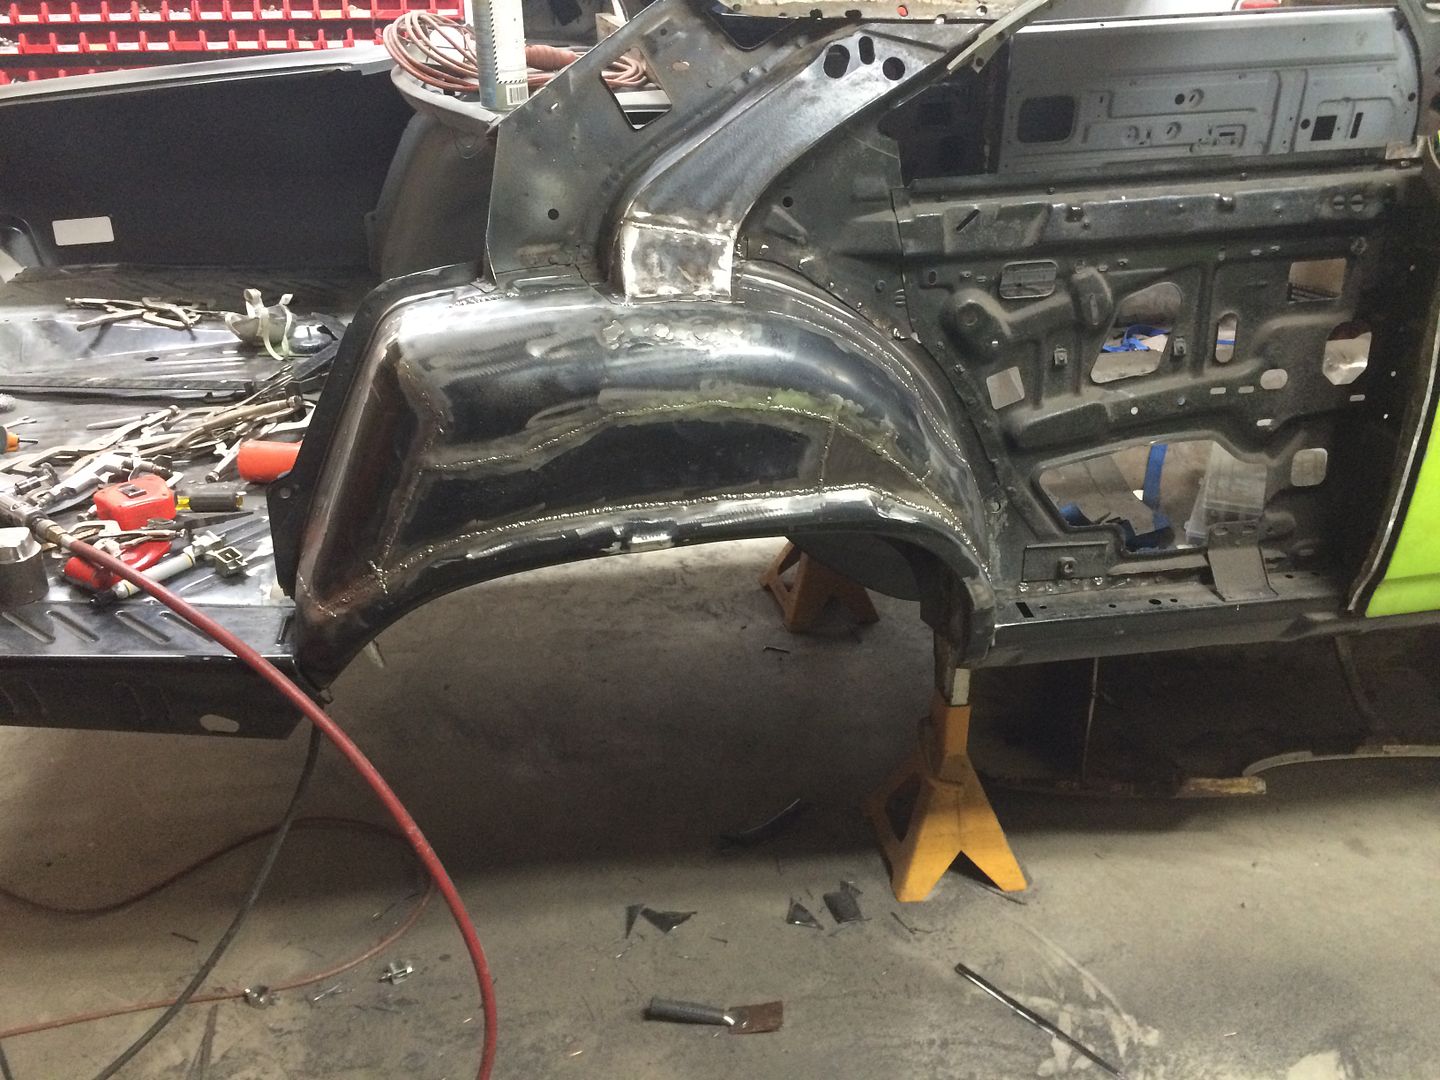
These tubs are like the bane of my existence, I want them done this way, but I didn't really want to do the work, LOL....

Guess, it's nearly done.

DDB5D86F-8D48-41DB-8A10-C05CB9E667BE_zps1eaoednm.jpg


- - - Updated - - -

CB677BD1-28B7-4C33-A51A-4100741F18DE_zpsjjcvqwzo.jpg


- - - Updated - - -

17C0C09E-CC4F-41A5-B7FC-4FB26B08902C_zpszljngu3s.jpg


- - - Updated - - -

85372645-93E5-4C4E-A305-6AB13126F2A9_zpsp54aepk8.jpg


- - - Updated - - -

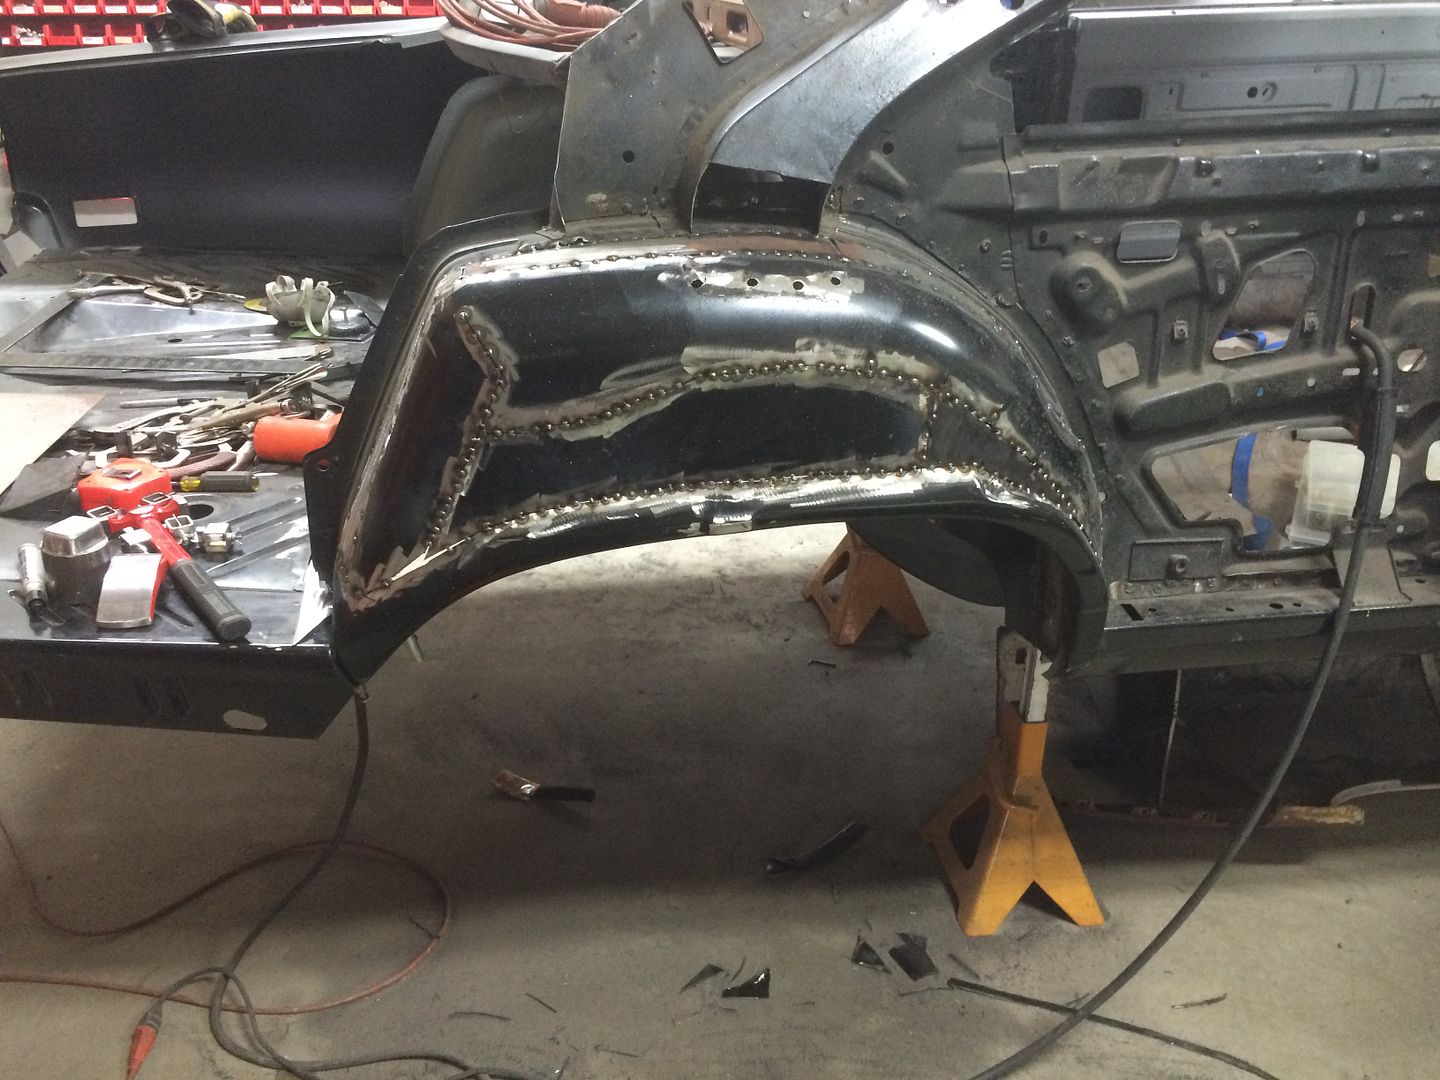
It's like time lapse photography!
68FA8B66-6B65-40D5-B0B7-E1C38D15B5EF_zpslyjxggyz.jpg


- - - Updated - - -

C2ABE6C4-9835-4839-91DC-7FF93964CC9A_zpsggwlzebw.jpg


- - - Updated - - -

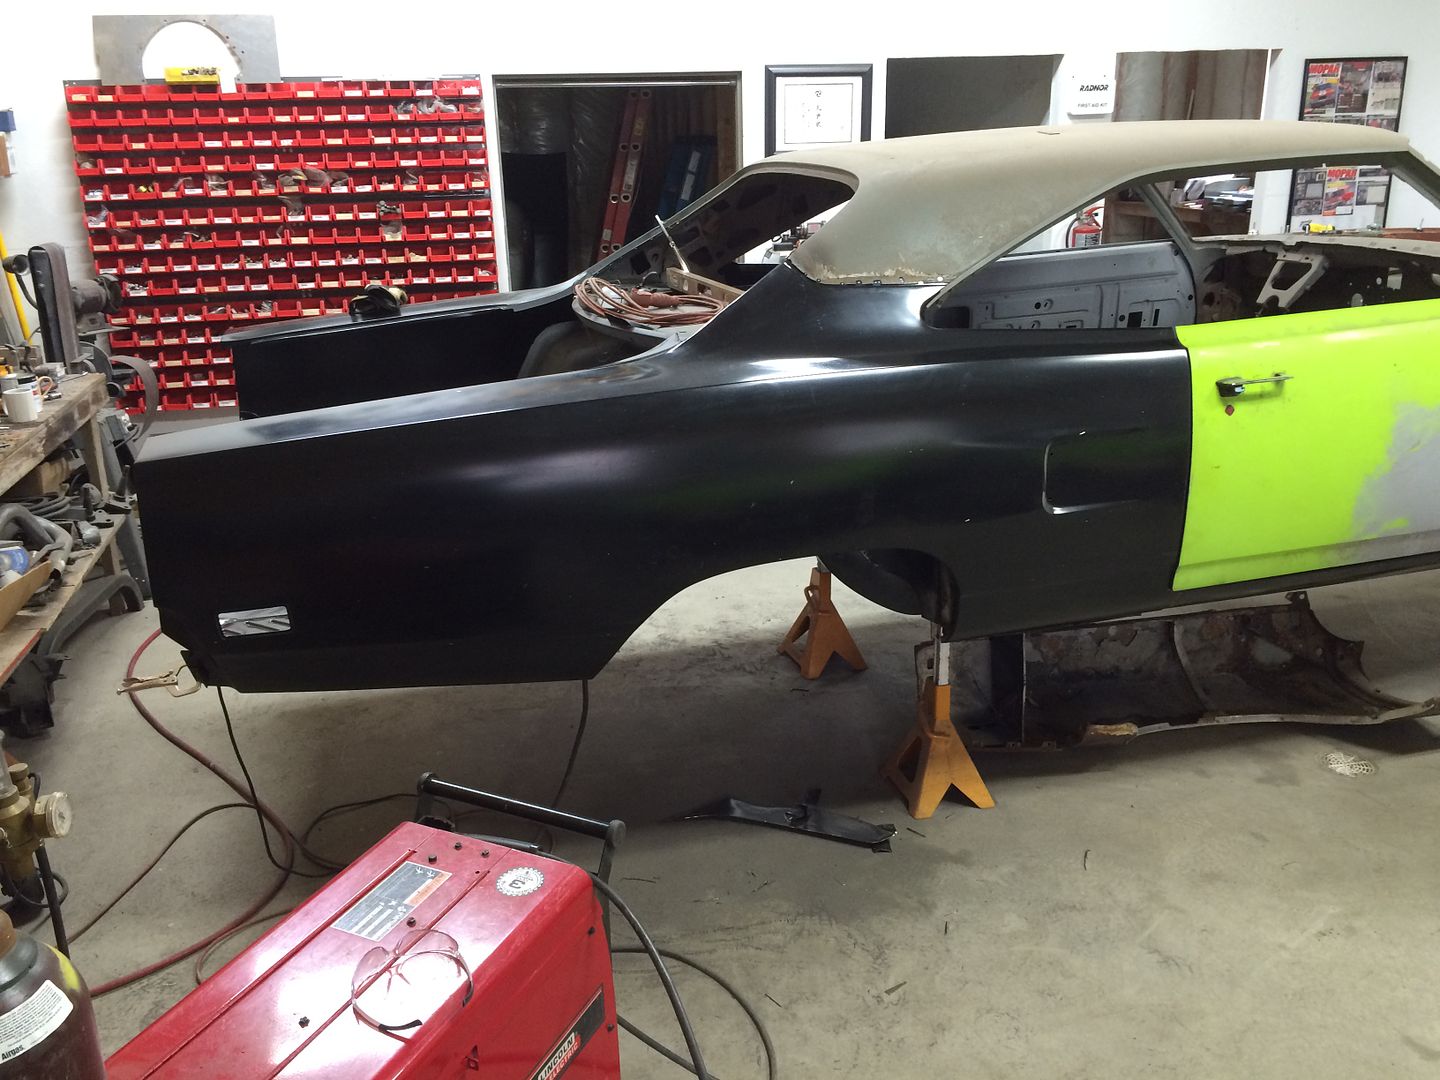
Time for a quarter panel fit just to do something besides weld.....

ABE805F7-07B2-4A7D-A153-350FA42DE896_zps9mbsyfkj.jpg


Almost reminds me of a car! With metal!!

- - - Updated - - -

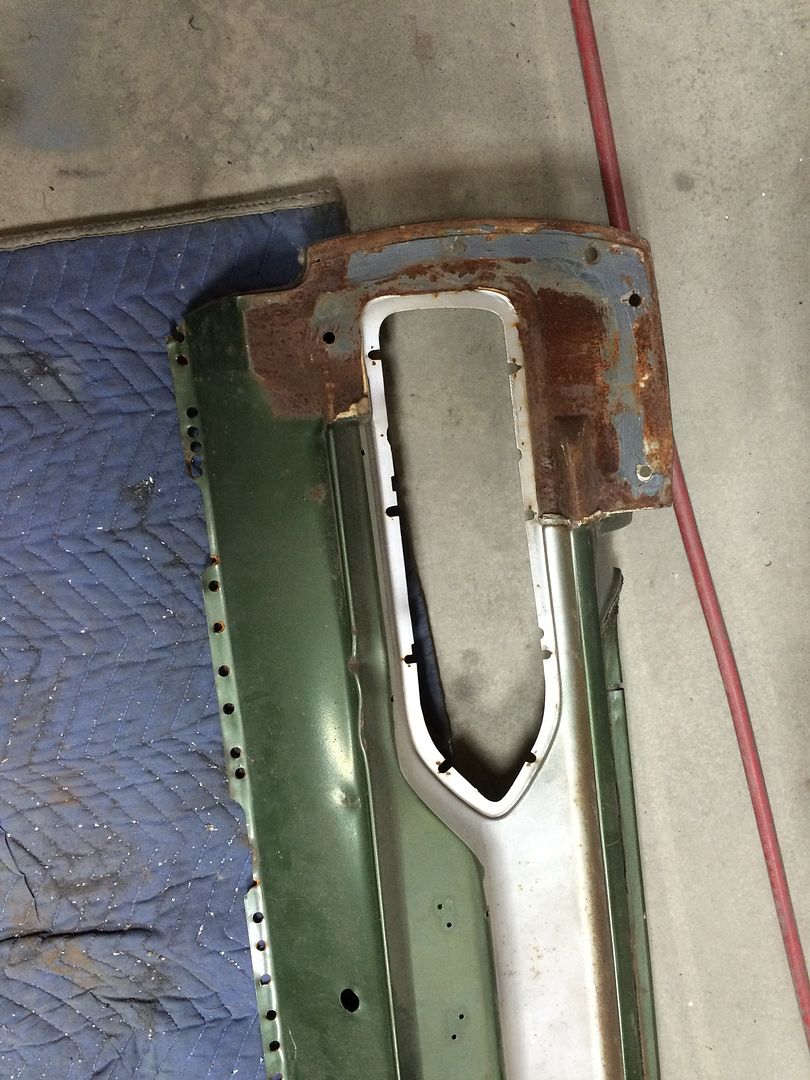
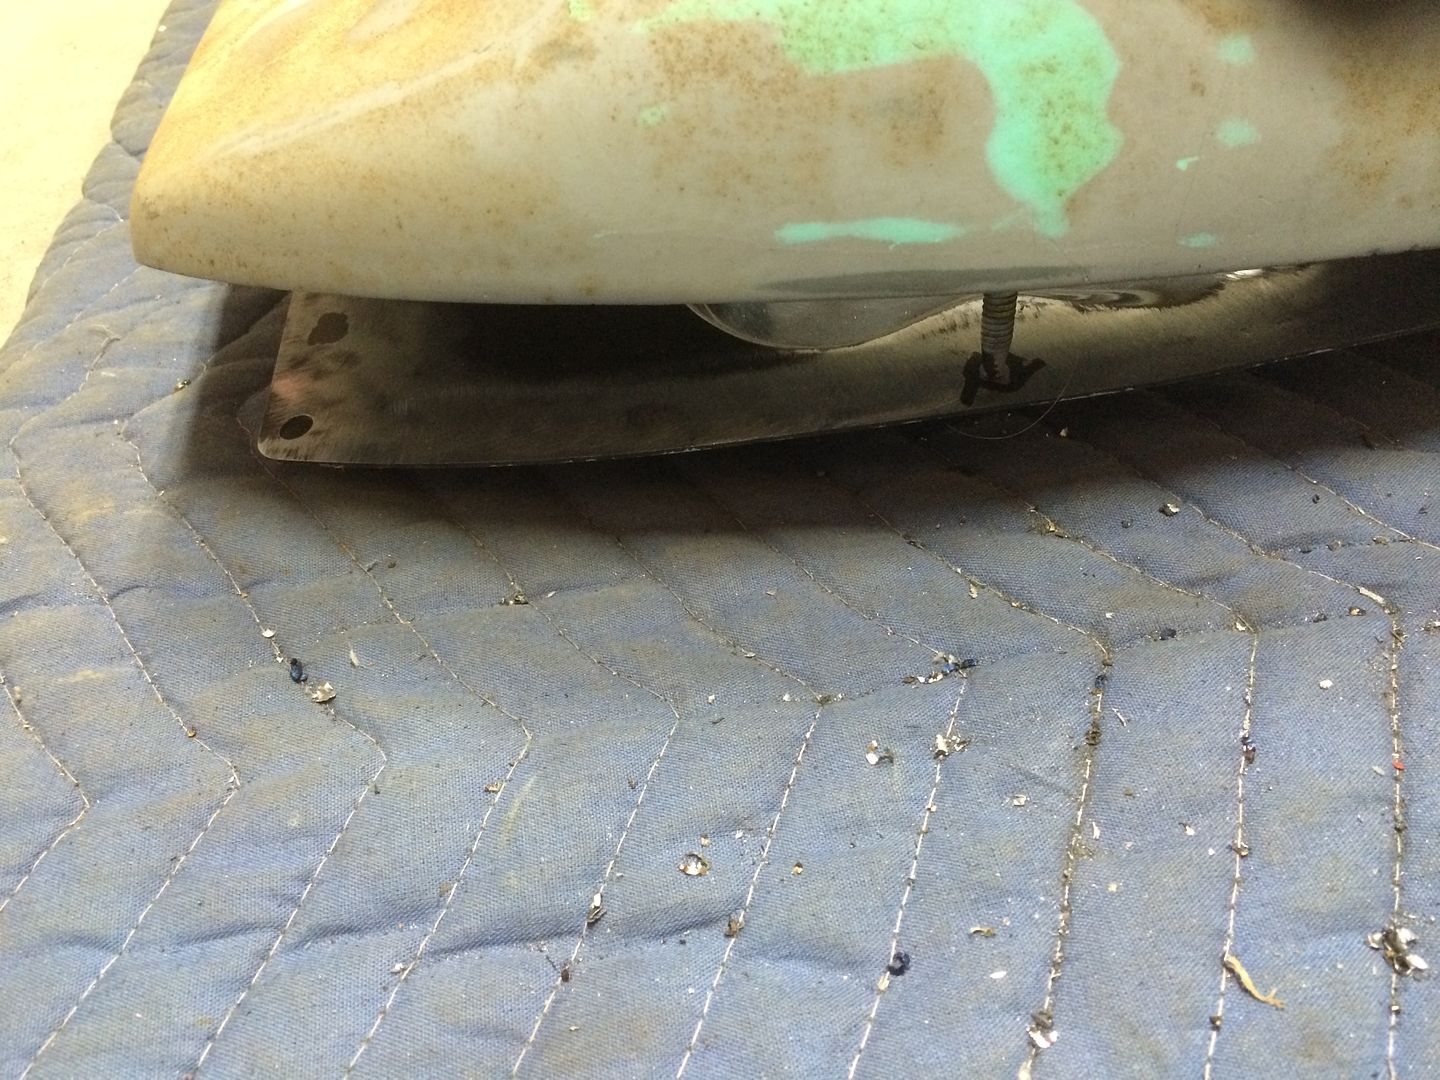
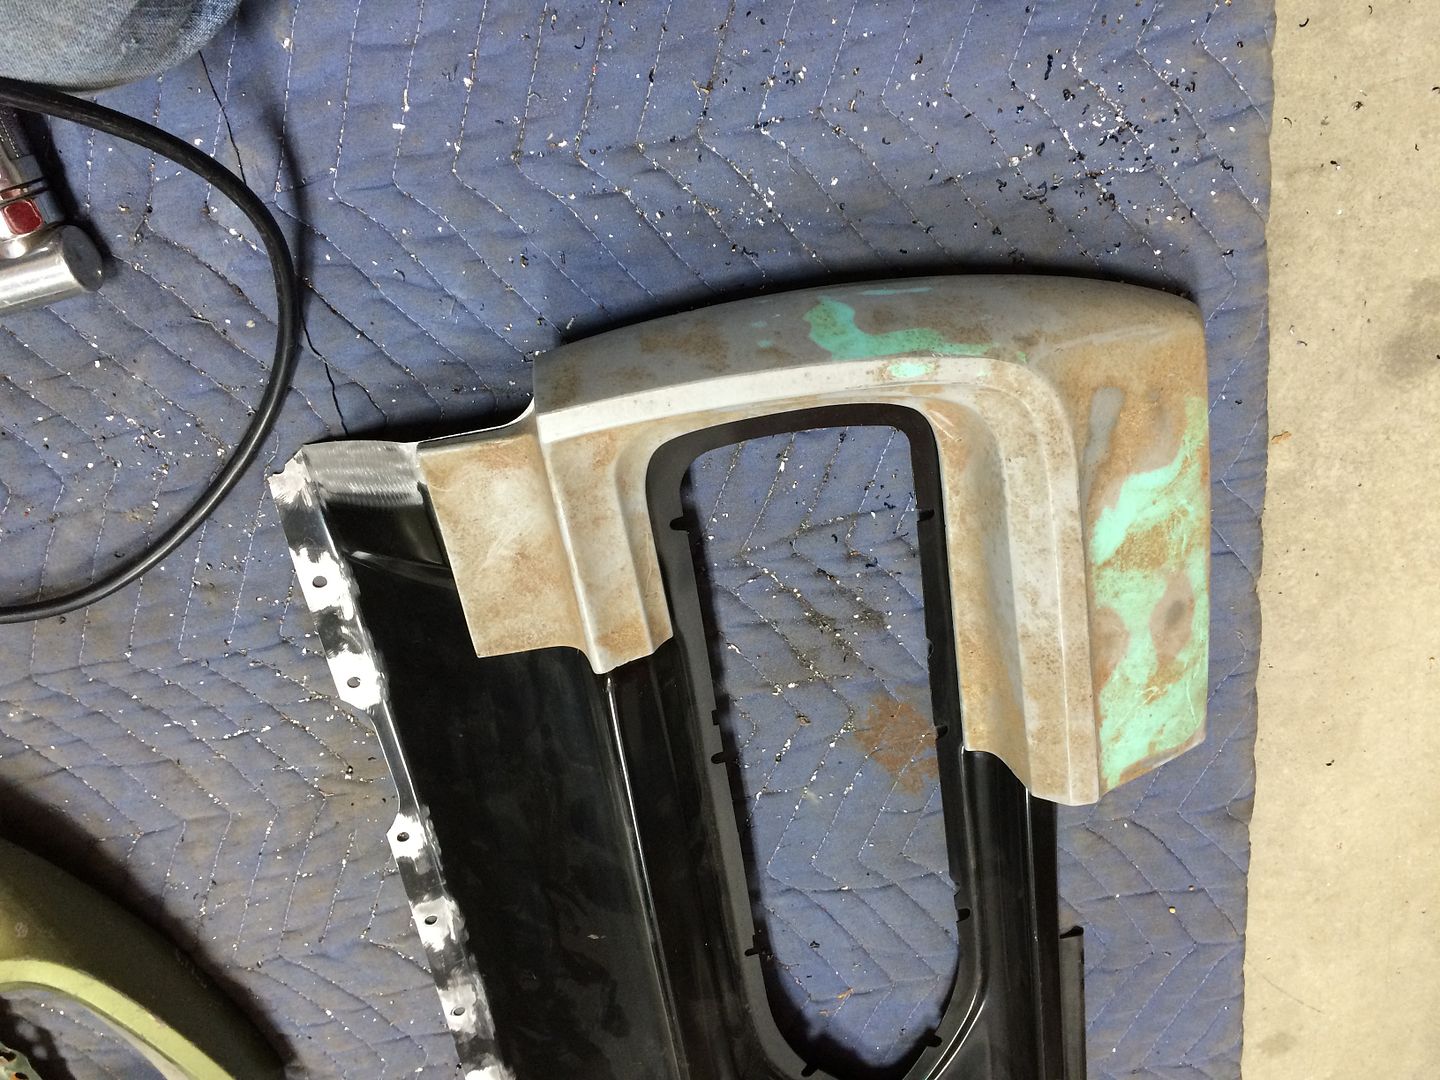
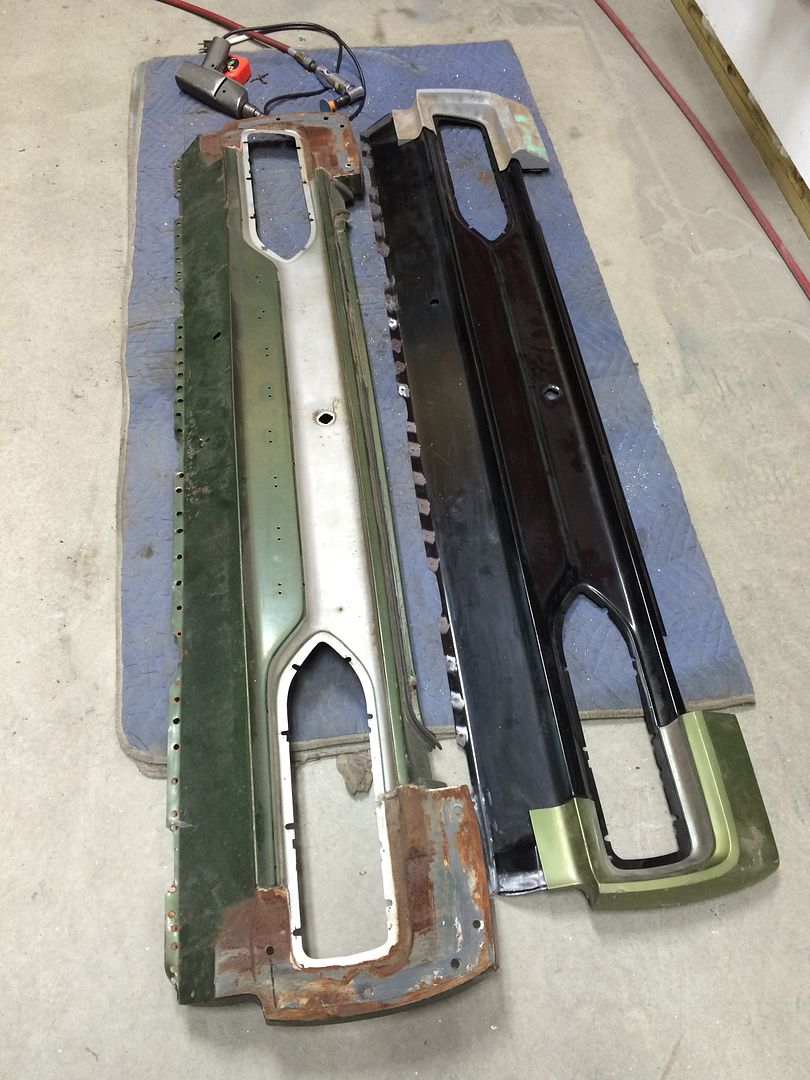
After test fitting the right quarter, I noticed that the new AMD tail panel (what else do you call it on a bird?) didn't have the holes for the tail extensions. Luckily, I have an original in the attic. Now, you're probably asking yourself why I have it and it's a good question. I have it for the bonus project. This lowered, drag radial superbird will have it's own trailer to pull on drag week that 's made out of the rear of what else, a Superbird complete with wing!! I have another set of quarter panels in the attic as well as a second set of tail lights for this project. The second wing will really kill the budget!

EFCA209D-1BEC-4F96-BF39-6F8EBF62B826_zpstfpxian8.jpg


- - - Updated - - -

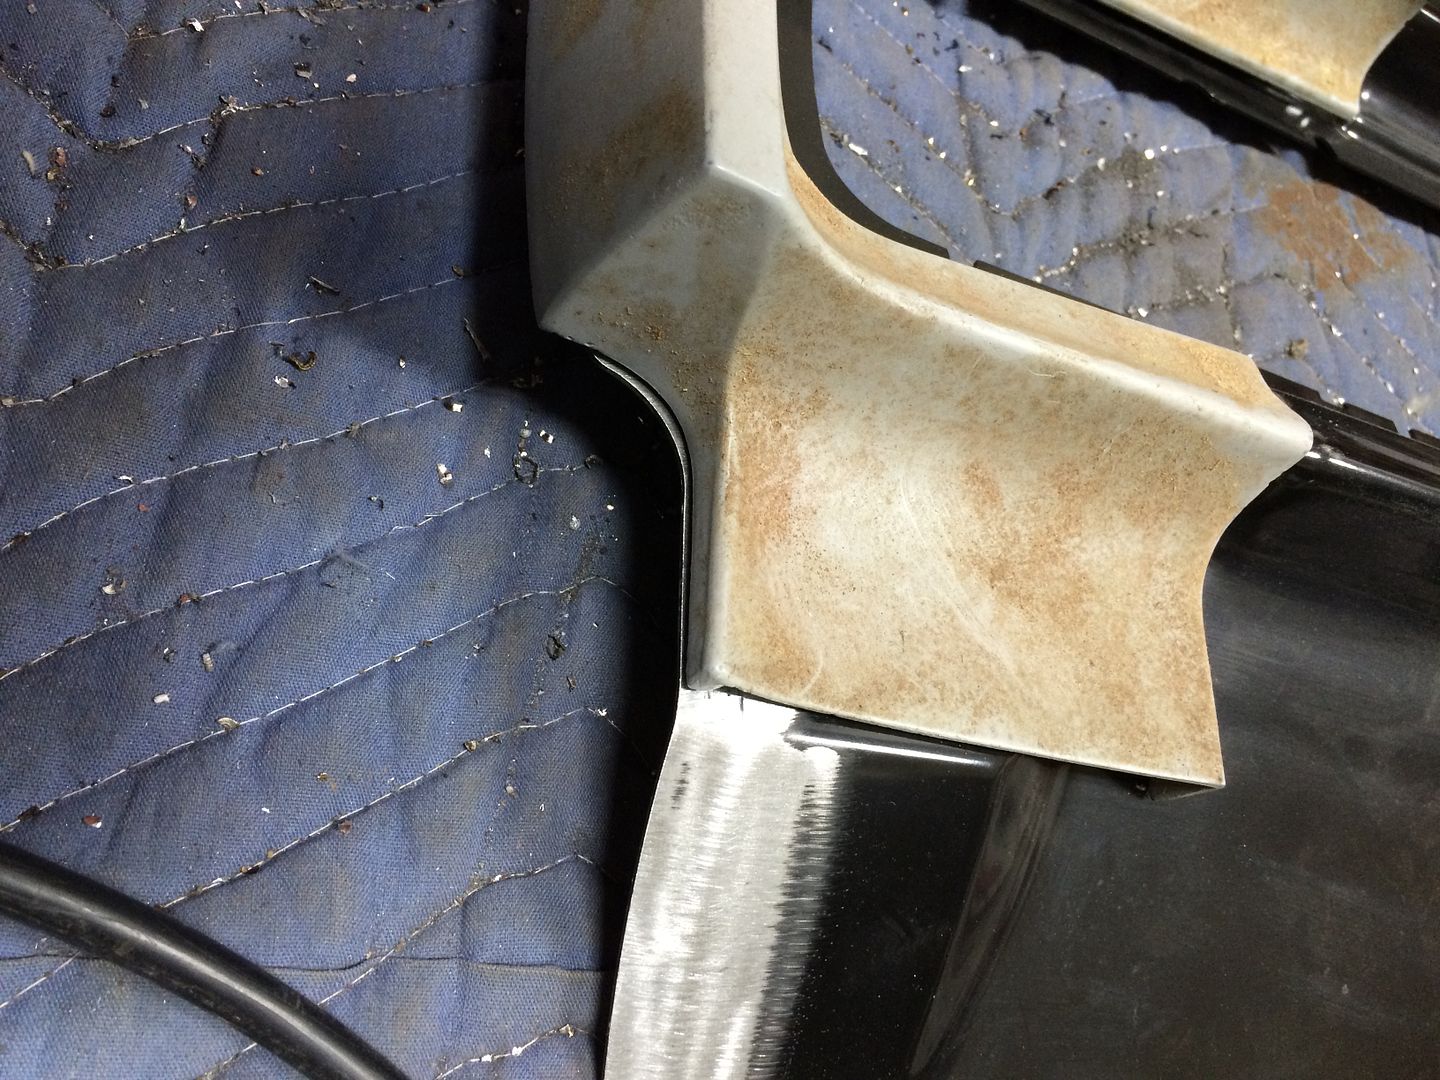
I tried measuring the original panel to locate the holes, but the AMD and the original were 1/4" off in several dimensions. I had to enlarge a couple of the holes to get the extension to fit. On the other side, I used the one existing hole in the AMD panel and laid the extension on it. I was surprised at the differences between the two panels, even the lock hole was a different diameter!
10F29F22-EE9C-48B0-85C6-33479C312699_zpsjih0qp7k.jpg


- - - Updated - - -

I marked them and drilled them and this side fit much better.

DDAD53FD-FD47-4D88-893C-6F99304B476F_zpsbhkusdtf.jpg


- - - Updated - - -

The panel needs trimmed on both sides as you can see.
FE9B977D-D28B-40E9-8A58-60E1AB61DC36_zpswllyasiy.jpg


- - - Updated - - -

But that won't be done until I'm mounting it so I can fit the quarter panel shape to the extension and trim the panel afterwards.
481FC06A-BA0D-4956-A028-FFF4D8A980D9_zpslbc10pku.jpg


- - - Updated - - -

677B8FCD-96D4-4F87-BEBF-0E589CE5E3AE_zps2l16niml.jpg


- - - Updated - - -

View attachment 236160

Lol seriously this thing is going to be batsh!t crazy! So excited to watch the project come together, the work you've done already looks outstanding. Man, and I thought my procharged 700 wheel horsepower goal was up there, the 1,800 tt aluminum block hemi is going to be insane lol

And just a though on the fiberglass fenders, completely understand how flimsy feeling they probably are, but given your et goal I bet they'd help out (althought with that much power a couple pounds might not be as noticeable lol). And after tying them into whatever support structure you end up fabricating for the turbos, and possibly adding a couple braces further back I'm sure they'd stiffen up quite a bit. Either way, consider me along for the ride haha
:sixpack:
Glad you like it. It should be very driveable. The cam is a good 12 degrees smaller for this one than my Indy headed 526 hemi in my other car. I checked out your thread, great job on the charger! As for the fenders, the class I want to run at drag week requires an all steel body.

- - - Updated - - -

The work looks great. I'll be following this thread.

Thanks, I don't like half assing anything as you well know! Bigal has my old 572 hemi which is what I parted with to help finance this deal. I miss it!! LOL

- - - Updated - - -

Well holy ding dang now that's what you call going out of the box. There seems to be a resemblance in the kitty department.


Yours looks bigger and a little more persnickity! :icon_mrgreen:
 
The work looks really cool on this job, get a 20 foot clear hose, fill with water and use as a water level to check straightness and a plum bob. Air blow and a sheet of copper to help you with cooling welds. Gaps look good. A tin knock hammer for straightening immediately after tack welding to stop heat warp. Your doing a really cool job, everyone is interested in seeing you succeed here in my group of friends who have been asking.. Good luck. use the thinnest cut off discs you can find or saber saw.
 
Thanks for the tips! I have a blow gun and a copper paddle for the welds. I've been using Metabo slicers that are .045". They're thin but don't last long! If AMD would sell a "Maxi-tub Kit" for B-bodies with a narrowed trunk floor and wider inner and outer tubs, I could have saved a ton of hours and had a much nicer looking result!!

- - - Updated - - -

Damn!! Finding this thread just made my day! What a WEAPON this car is going to be!

**SWWOOOOONNNNN**

I don't know how much of a weapon it will be, but while I'm in the fight, I'll be enjoying power windows (because I can't reach the cranks with my harness on) and A/C, (which we'll have a catch can on it so we can use it in the staging lanes when it's hot) Sound deadener, (so we can hear the subwoofer and tunes) and the best thing you could put on a race car EVER- A remote start that controls the A/C, the power windows and the power door locks from my Iphone!!! I can't wait to hit the locks and then fire it up in the pits to kick the A/C on, climb in, tool up to staging, and make a low 8 second pass:headbang:
 
With the right wheel tub job wrapping up, the only thing left was to put the roof transition back on to the top of the tub. I did this side much differently from the left, and as I mentioned before, it'd be nice to do these in 3's so that I could learn on the first one and have two nice ones on the car!! I'll let the photos tell the story here.
6B59CB6C-A3F1-413F-A14D-0558FEB681FF_zps9c6rsich.jpg


- - - Updated - - -

E910EFDE-DF33-4E47-811E-AE1BB5740D50_zpsxullgyud.jpg

55B7F84E-614A-41FF-9D36-93358C6996CD_zpslwpcko2e.jpg


- - - Updated - - -

39C9906B-A24B-4662-8079-052C6C37F089_zpsq45nhelr.jpg


- - - Updated - - -

Finally, the Maxi-tub job is done!!

Time to paint it up and get this side ready for a quarter panel!

91823ED0-8737-41D5-91E4-5FBD35CC33A7_zpscnjwv7u3.jpg
 
holy crap HEMIRUNNER, this is gonna be awesome. your doing some outstanding work. im watching this thread like dimples on a golf ball.
 
Thanks USA, I've got some really cool things planned. I think a lot of people will be surprised by what I'm going to do to this thing.
 
Hemirunner,, we think a like, gotta have a/c !!! lol, this is ONE OF THE BEST builds i have seen !!!!!!!!
 
Auto Transport Service
Back
Top