• When you click on links to various merchants on this site and make a purchase, this can result in this site earning a commission. Affiliate programs and affiliations include, but are not limited to, the eBay Partner Network.

70 Hemi Superbird Restoration..................errr.....scratch that........

Yes, you missed it. If you go to page 1 and read it all, you'll see where I did a 3" inboard mini-tub and then a bit later on page 1, I noted the changes to the tub, which I call the 2-1/2" maxitub job and I posted a link to that thread that I had started before this one. I took all of the "hump" out of the outer portion of the wheel tubs and squared them off. It was a lot of work but will be well worth it in the end.
Yeah, sorry , I lost my head . I got a little ADD , OCD , ADHD , the only thing I don't have is a PHD,,,,,, squirrel!!!!!!! Now what were we saying?
 
As yall know i am partial to hot rod black

It's a good look!! Today was quarter panel fitup day.
CDC664D3-07B4-40D8-8FA4-284FFDC4BB5B_zpstelqv8bk.jpg

I have it fitting very well with the exception of the rear where it meets the trunk extension. It needs to go up about 1/4" at the very rear. Door fit up looks good
07014298-F3EA-434D-8CC6-8BEC48CC4102_zpsnecby7pi.jpg


- - - Updated - - -

AB12F926-EFD1-459F-9666-BDE3008414A0_zpsq5fb3buh.jpg
 
Last edited:
I really overstressed on the quarter panel to dutchman panel fitup and again in the quarter panel corner area. I should have just welded the darned thing up as it's going to get the superbird rear window plug which covers the entire dutchman panel anyway. I spent most of today trying to get it perfect. I'm going to get it as close as I can tomorrow night and weld it all up. It'll never get seen anyway. Pardon my finger in front of the lens.... darned iphones....
05E1E3E6-A8AE-44D7-A702-3DCF06252E12_zpsrq2tjkf8.jpg


- - - Updated - - -

I took a little field trip this weekend which helped get my mind off the quarter panels. I went to visit a local bird owner to get some info for making the fender scoops. I have another friend who has an english wheel and a stretcher/shrinker. I'm pretty sure he knows how to use them so I'm going to give it a go for making my own. Anyway, we made a paper template to locate the mounting holes and then traced around the scoop to get the overall shape and fit down. I made another cardstock template of the scoop opening profile. Lastly, we measured over the scoop in several places to get the overall measurements. It's enough info to get the job done.
97048955-5BA4-40EF-8F6E-8954F0C49F9B_zpseetsrawl.jpg


- - - Updated - - -

I took a few pics of the latch tray and the rear window diamonds. I'm doing a hardtop version so I won't be using the diamonds and I plan on making my own latch tray that will be totally different in both size and shape but you never know what other details can be captured in the pics as well like the hood pin location and the lanyard attachment point.
63696E2D-28CE-49CF-9F41-EDBFDEF39F14_zps9b7b1uri.jpg


- - - Updated - - -

One key detail that was pointed out was the fact that Creative Industries built up corner of the front fenders with lead to match the bird nose lines on the outside corner. I'll sculpt this up with body filler. If I really get wild, I may split the fender corner and add a piece of metal. Couldn't hurt anything on my fenders as they already need a bunch of work.
B6E470CC-EEE9-42F0-B626-E41AA7FF4572_zpsvculliyv.jpg


While I was there, I also scientifically documented the width of the gap.
34965117-1A6D-4D16-A16A-0FA7EB746BFF_zpsmrwos4gm.jpg


- - - Updated - - -

You can see how the coronet fender differs and how the body line isn't straight. Instead, it tapers down to a lower point. The bird is much more subtle.
93c3156c-d140-472d-8bed-0eb41d4e0a78_zps1228273b.jpg


- - - Updated - - -

Here's the template laid out on my fender. The mounting will most likely be different on mine. I plan to hinge the hood side of it as it'll house a little surprise when flipped up. A couple of Dzus fasteners will hold the other side down.
4C043D69-063A-424A-B6CC-66C8C69FAF46_zpsuiyrfxti.jpg
 
Watch your fingers with that English wheel. Lol!

Hopefully, it's his fingers running the wheel!! Mine are already torn up from all this metal work and burnt from all the weld spatter!
 
The speed that your cranking on this car I don't see you having any problems in meeting your summer 2016 deadline. You're doing magic work here. Looking forward to following along with everyone else. Really eye poppin :icon_cyclops_ani:
 
The speed that your cranking on this car I don't see you having any problems in meeting your summer 2016 deadline. You're doing magic work here. Looking forward to following along with everyone else. Really eye poppin :icon_cyclops_ani:
Thanks for the kind words, but there's nothing about this car that's magic, lol, but I'm trying to crank along. I'm an unskilled hack when it comes to bodywork! Tonight's update will clearly illustrate that!!

- - - Updated - - -

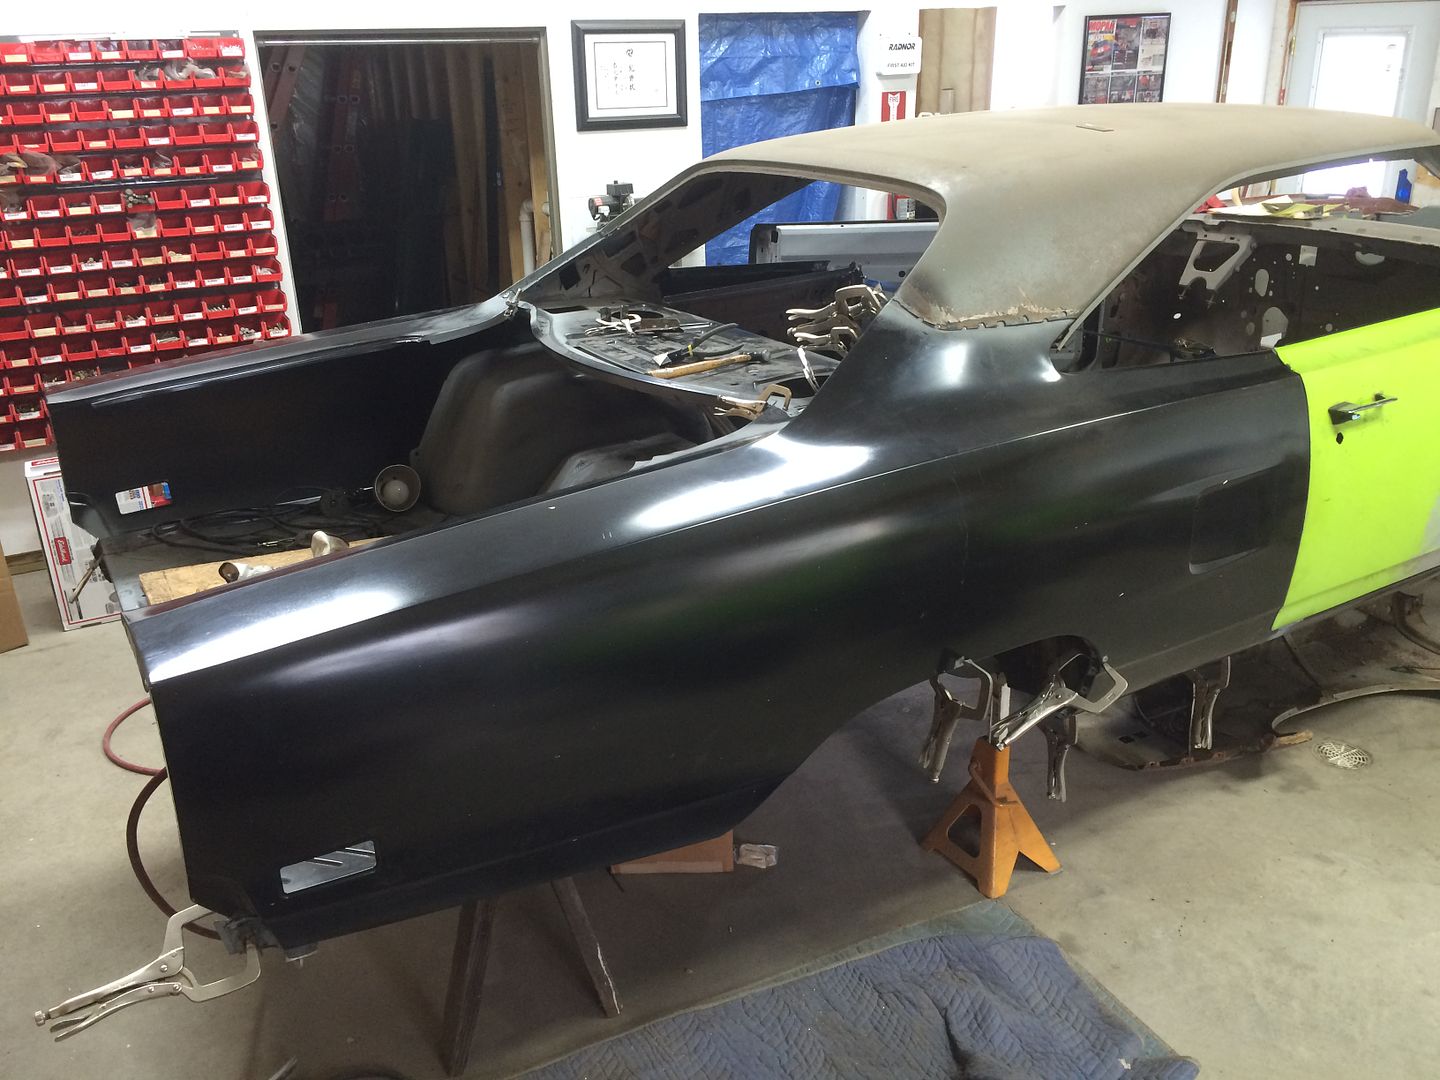
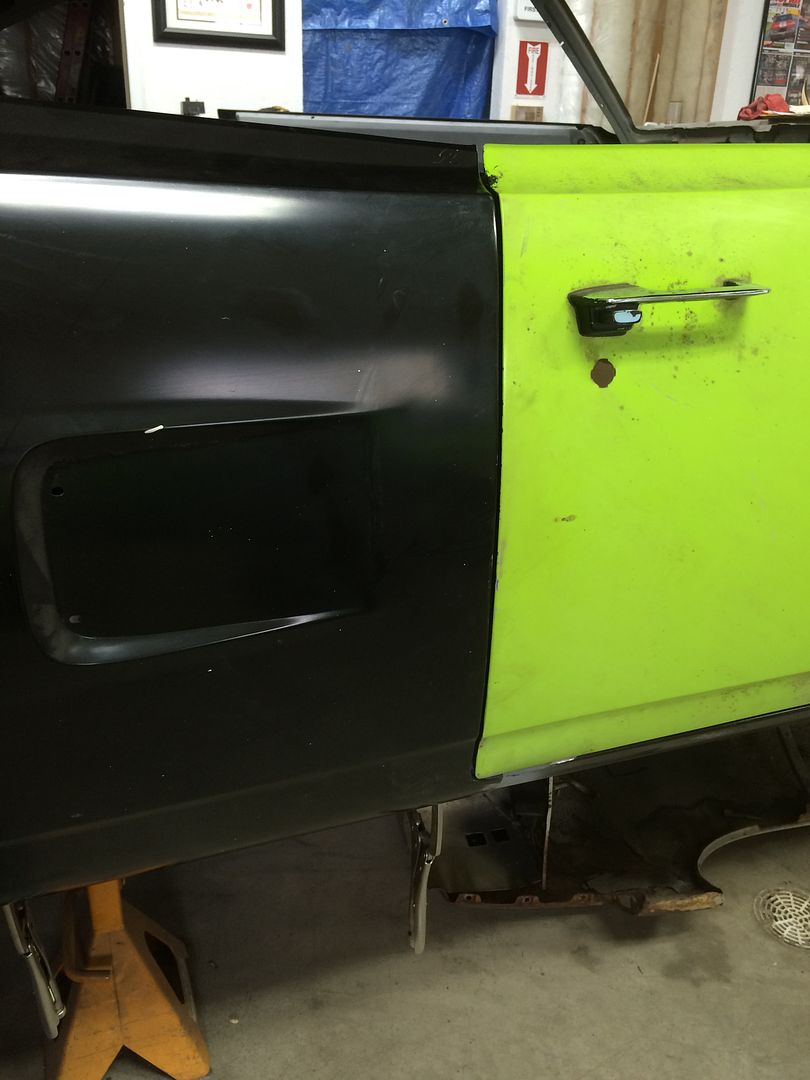
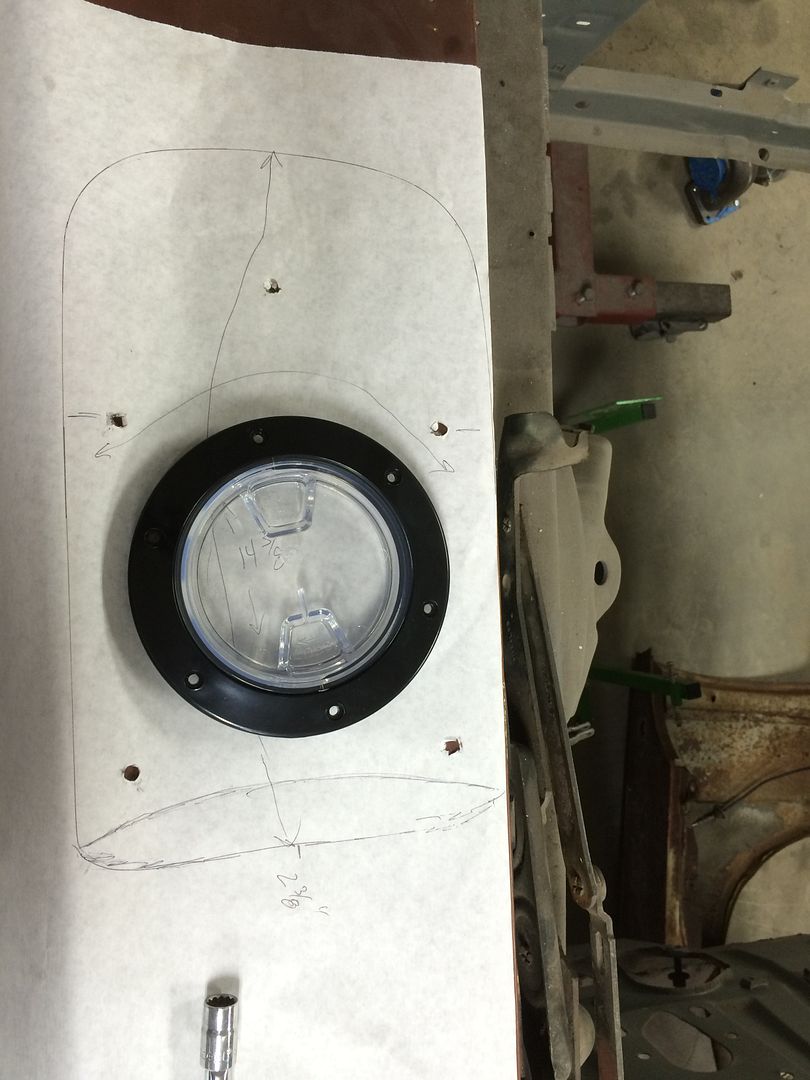
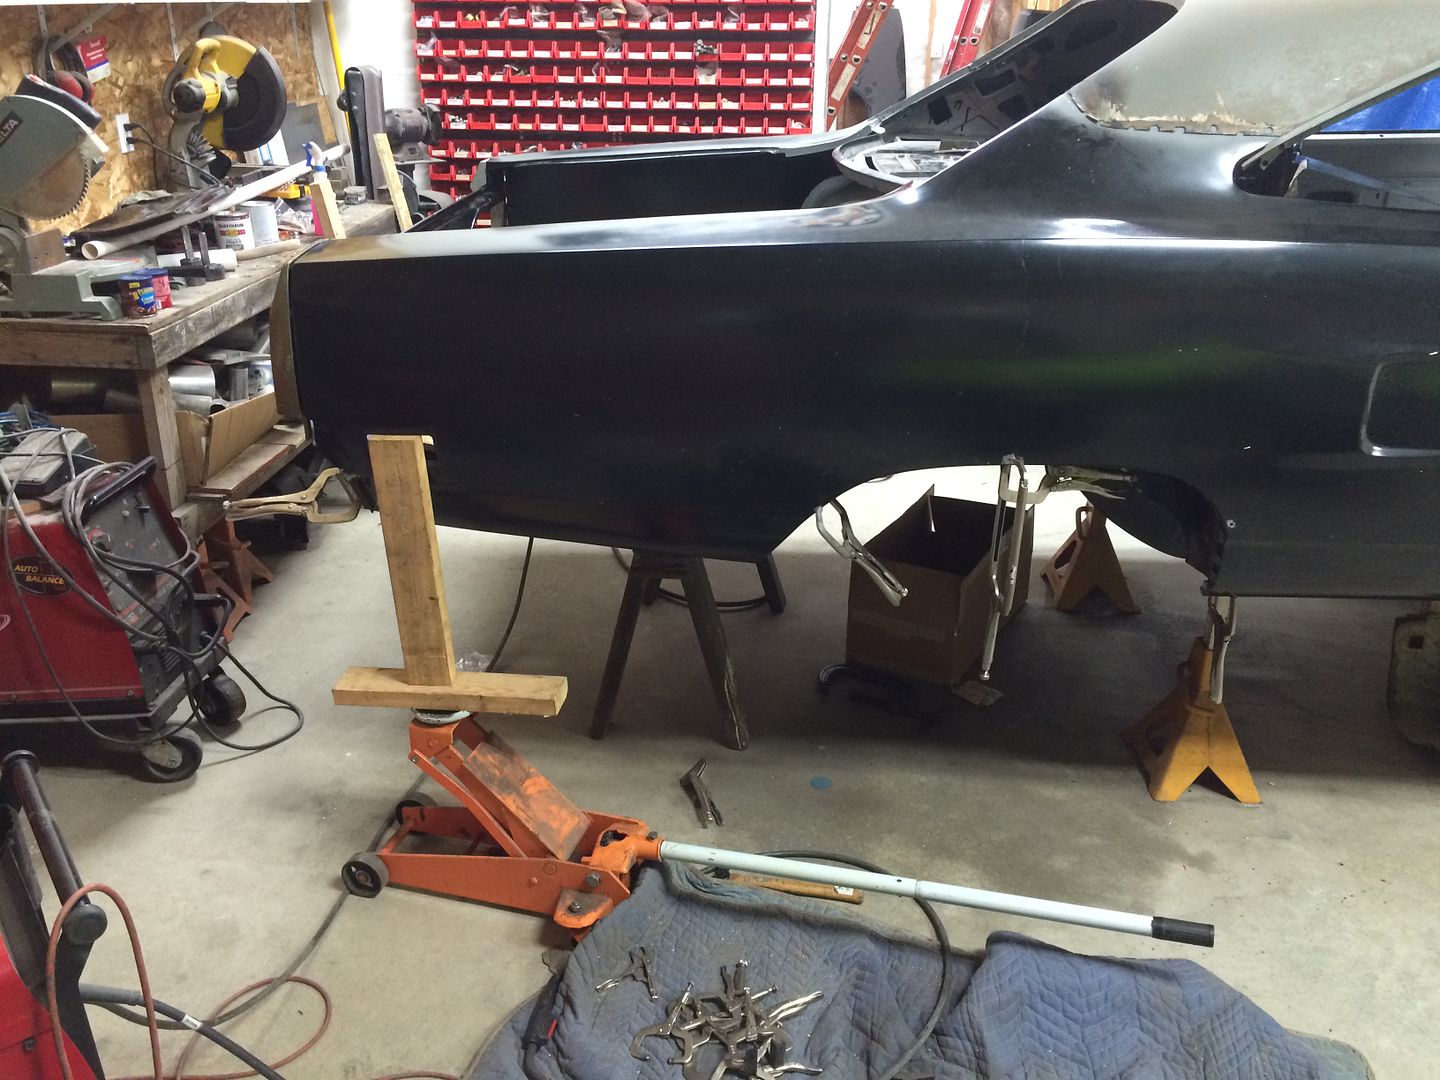
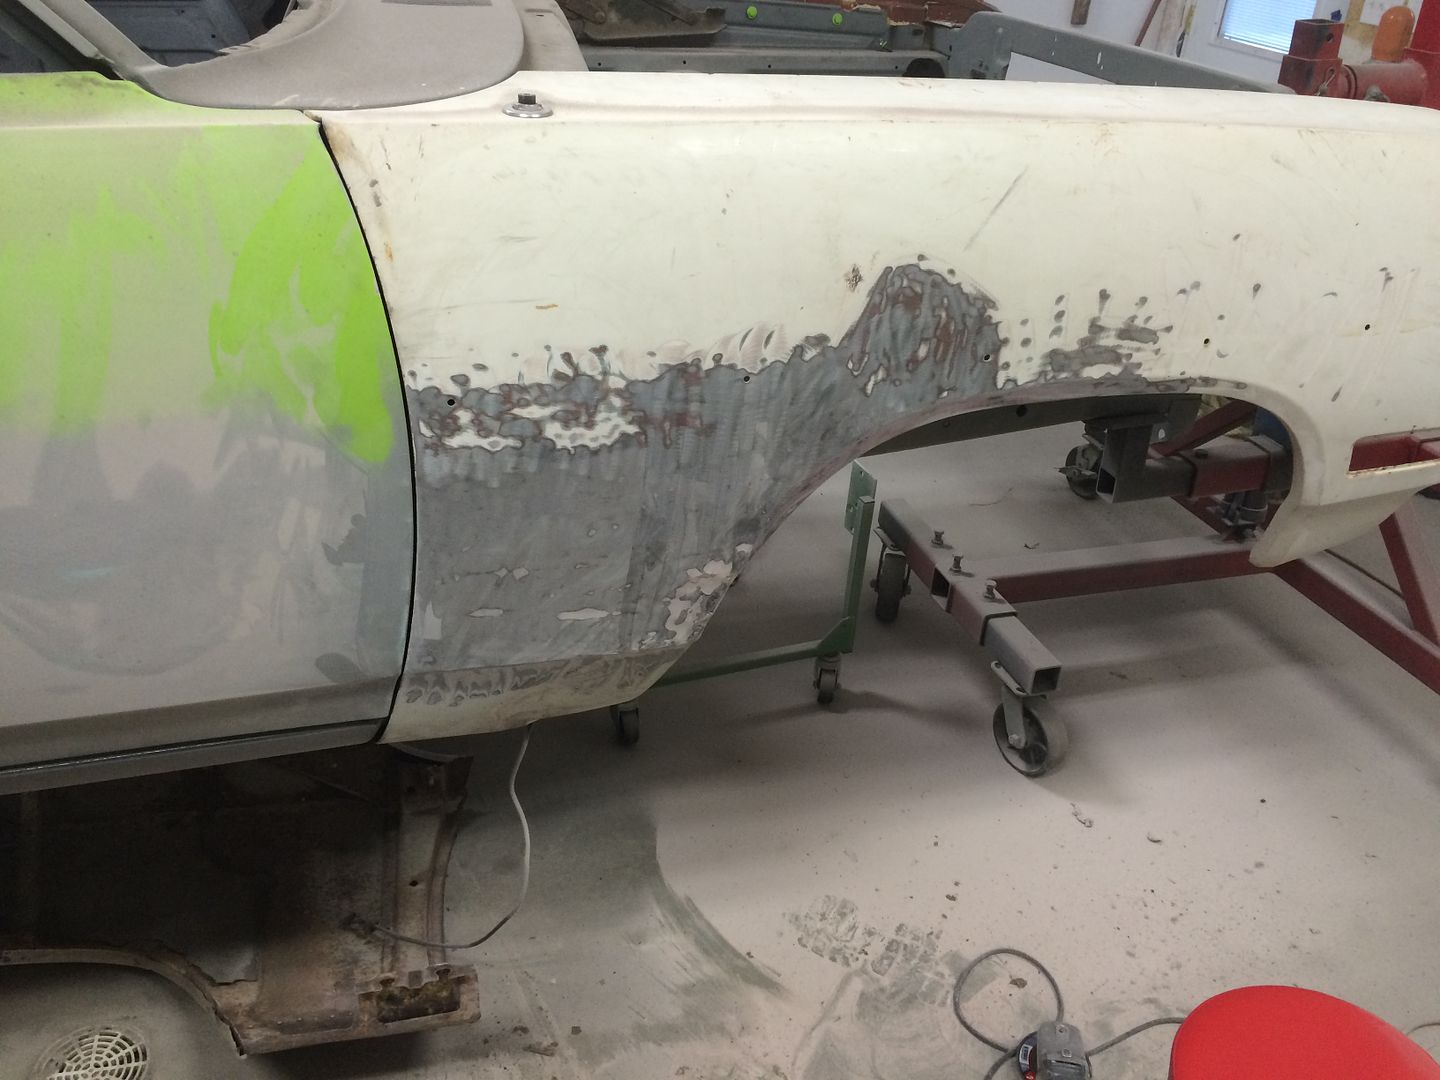
I mentioned earlier that the right side quarter panel wouldn't go up another 1/4" and I'm not one to subscribe to can't or won't so I gave it some persuasion to go up. A floor jack and a 2x4 that fits perfectly into the side marker light opening was enough to do it!
ECBCF951-A282-4D5F-8E1C-36ABF54CED2A_zpsjjj9ov25.jpg


- - - Updated - - -

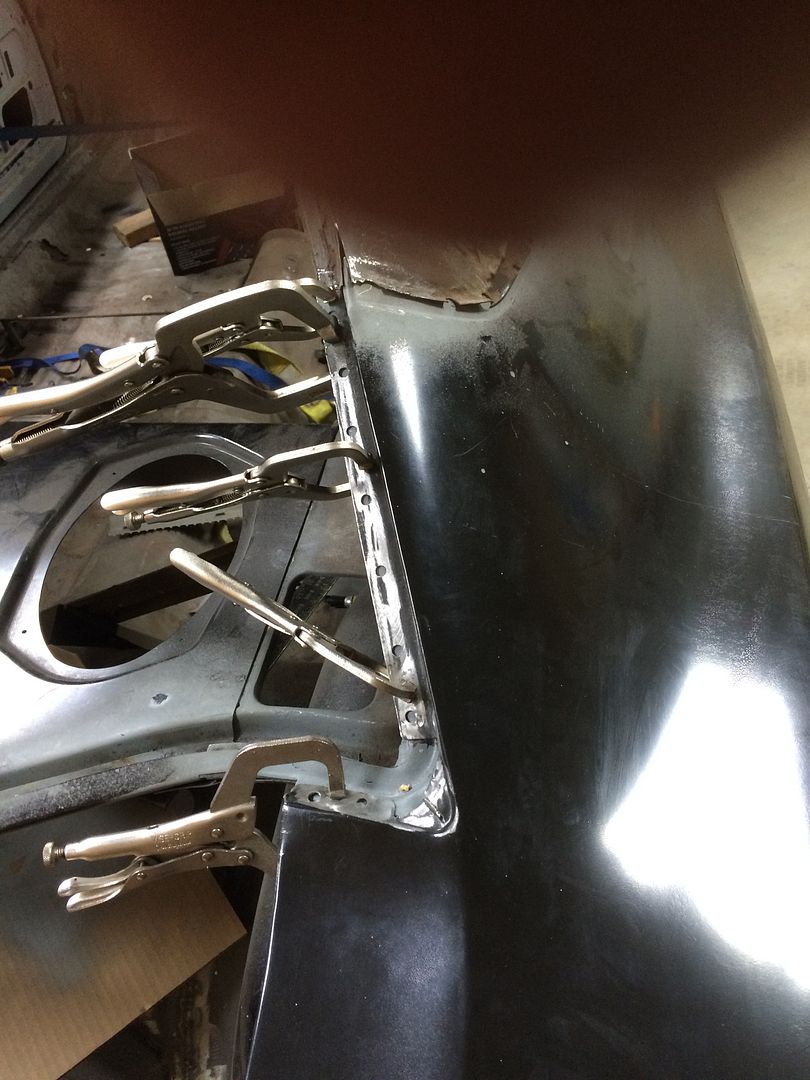
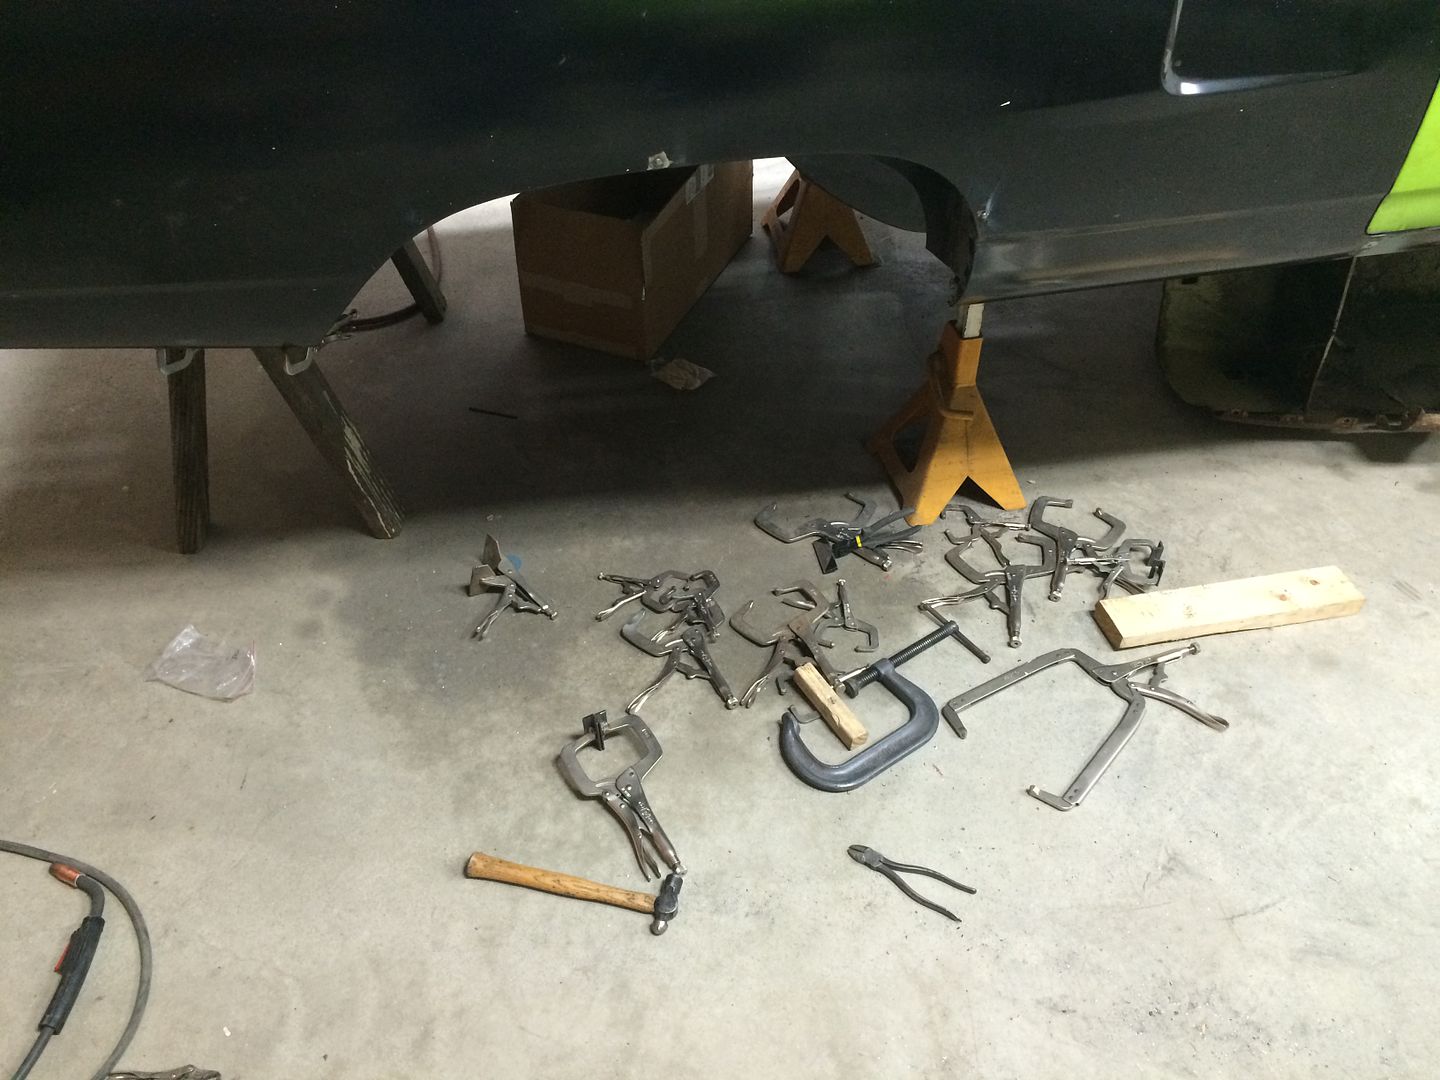
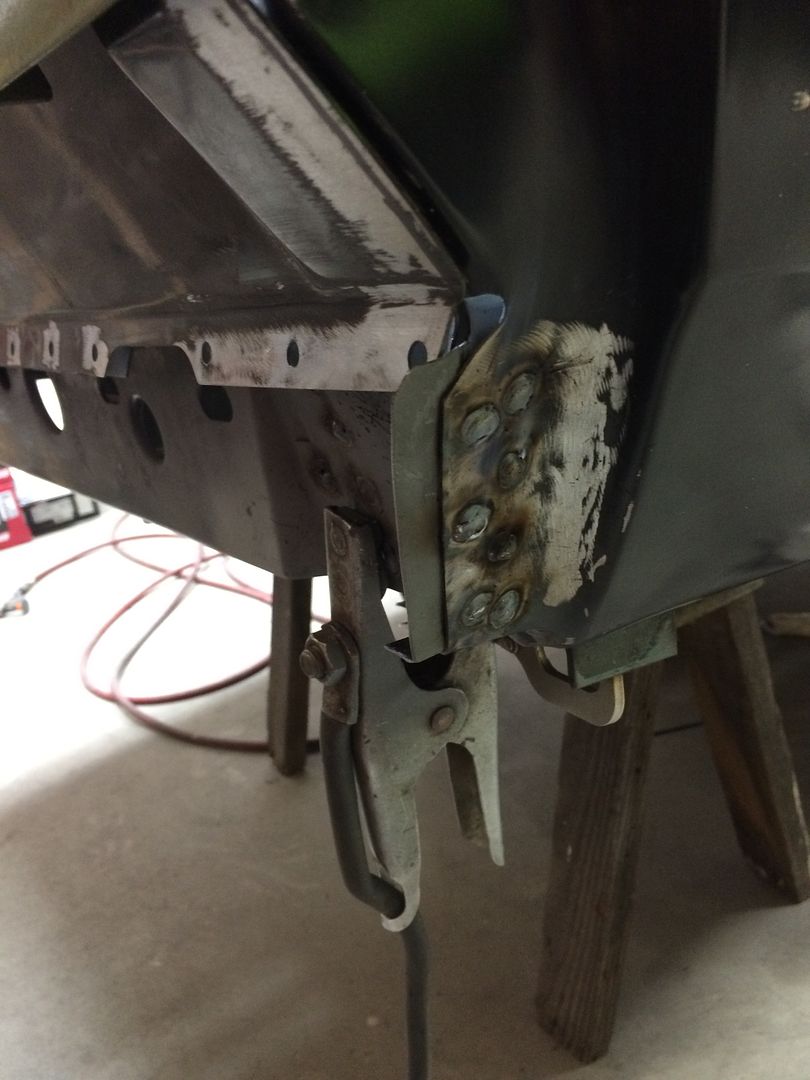
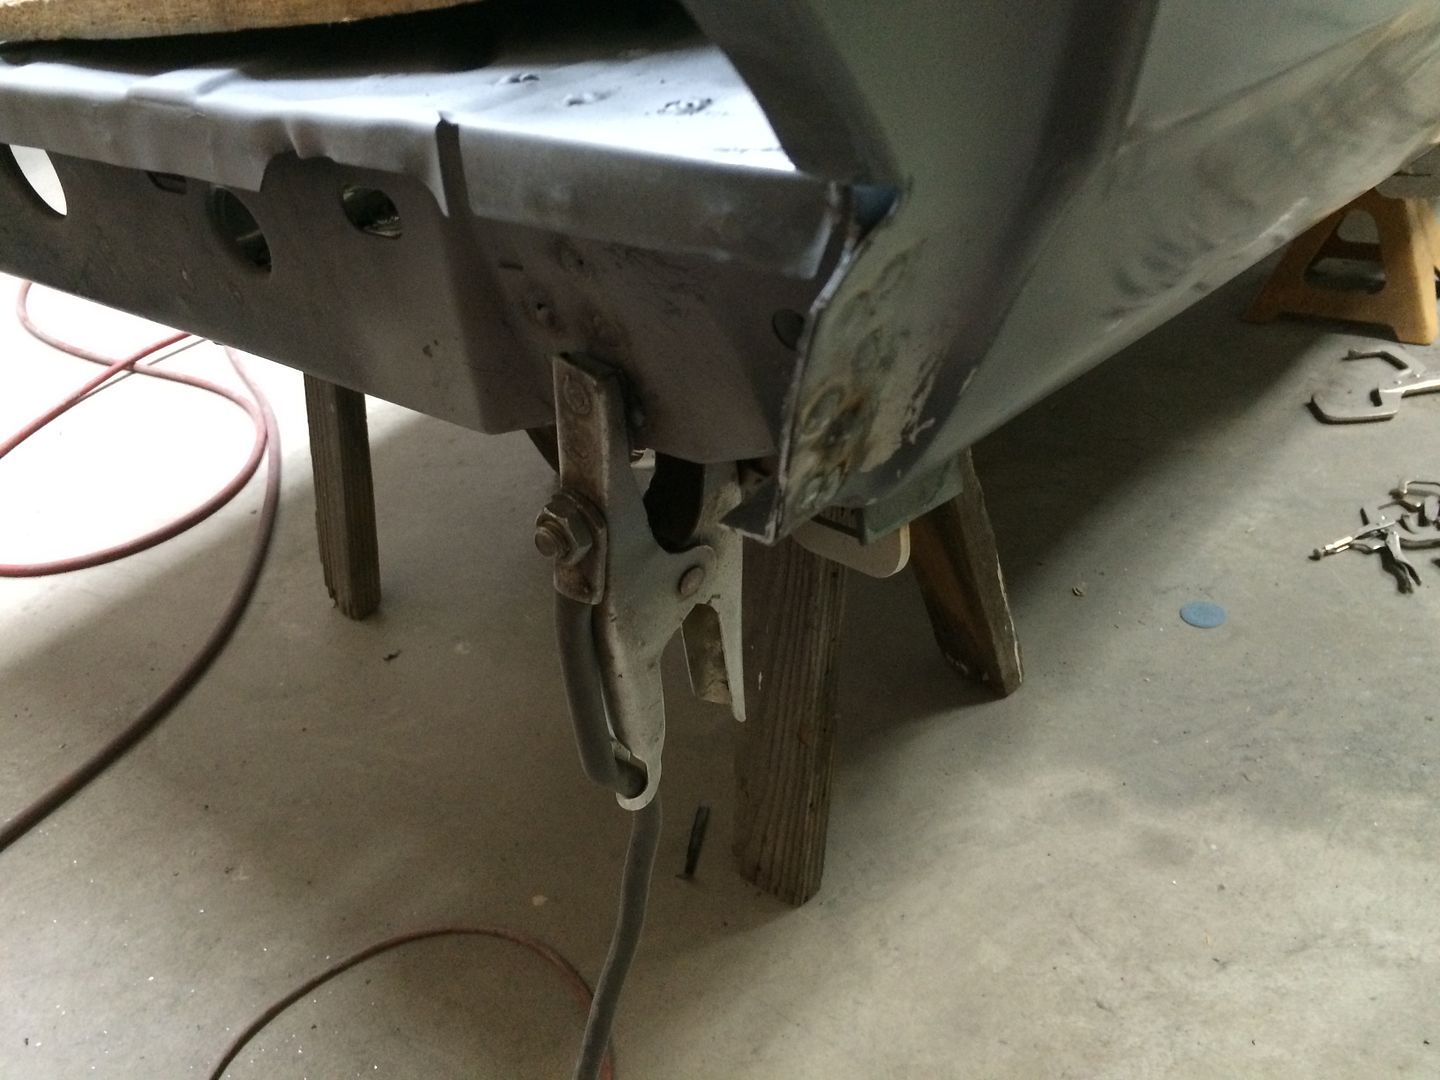
One of the most important tools that I've found when doing this work is as many of these vise grip style clamps as you can possibly buy. I have several of the big 11R clamps, but I find the little 6R's to be of the most use. They seem to get into tighter areas but don't seem to hold as well so more are needed. The other style that would be handy would be some 11SP and 6SP clamps. These are the same but have a swivel pad rather than the small round tip. They would work better at clamping without putting a little dimple into the sheet metal when clamped hard.
0C4C8836-DA83-4F51-81DE-A8E4658FB5B8_zpsq5dpskdl.jpg


The ball peen hammer ranks up there on my 'must have' list for body work but along with the jack and 2x4's just proves what a hack I really am at this!!:violent-smiley-100:

- - - Updated - - -

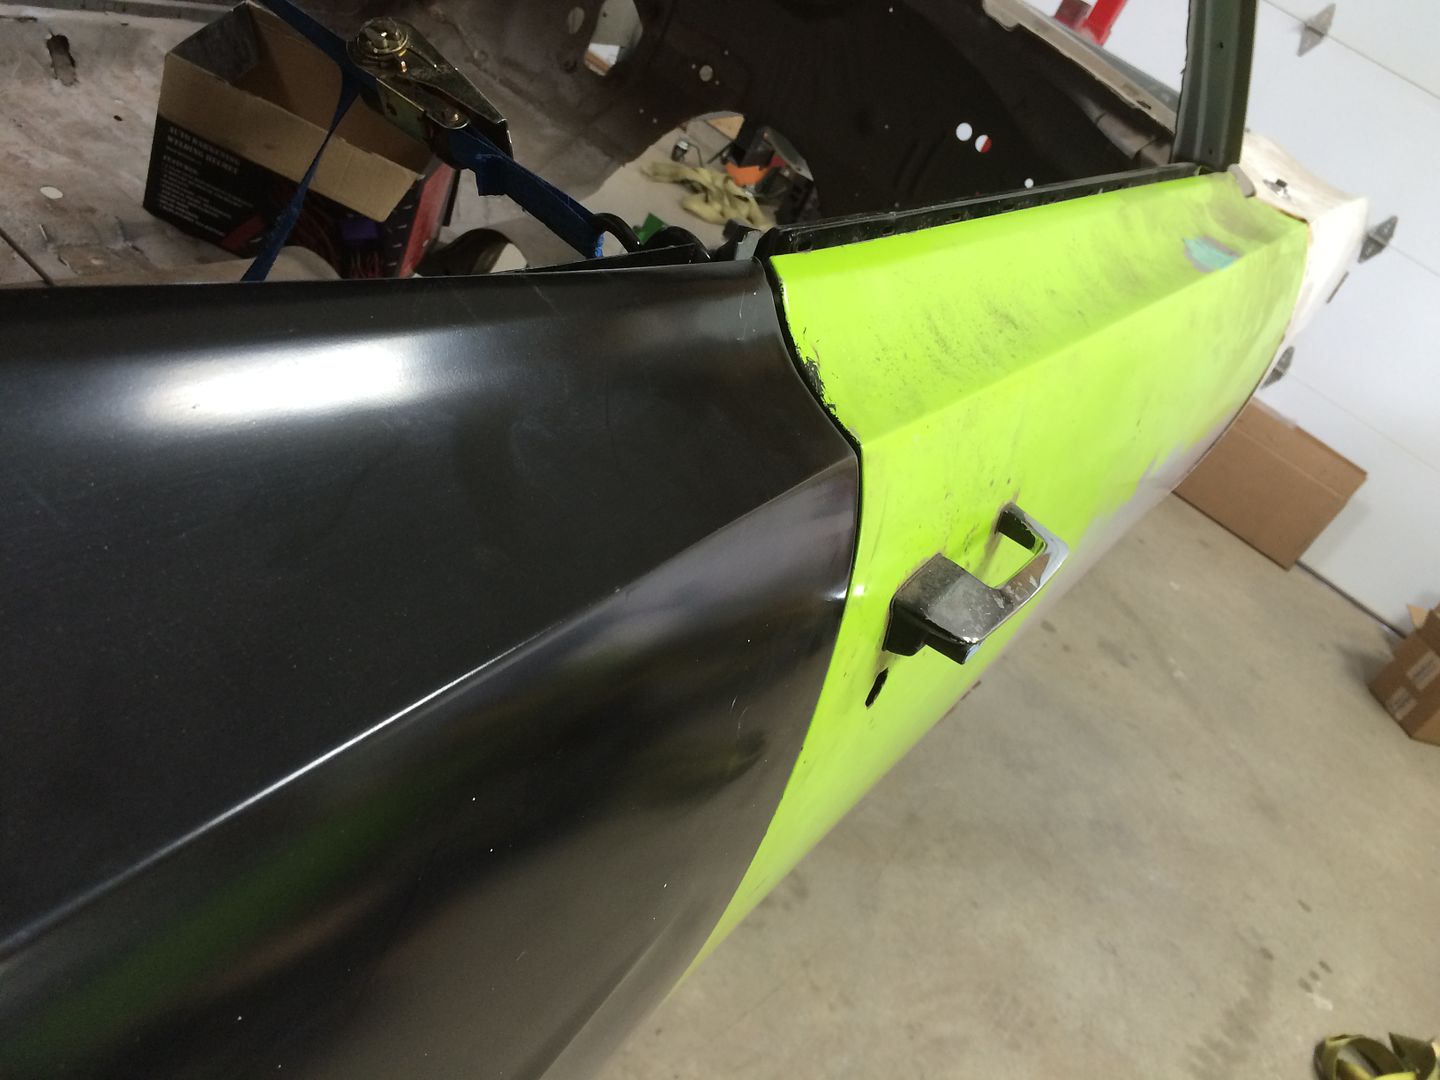
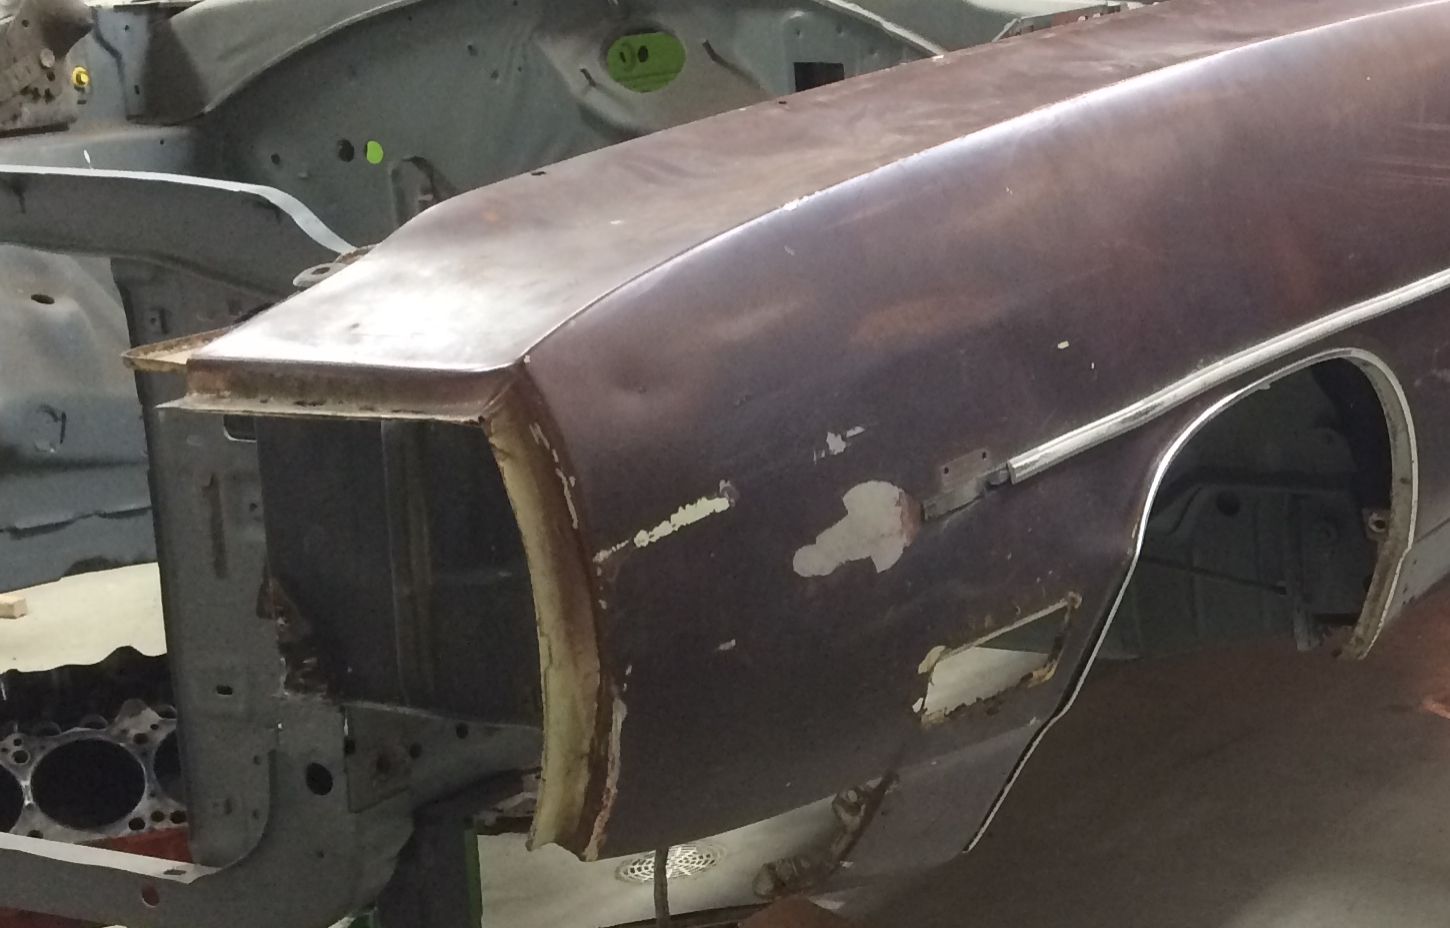
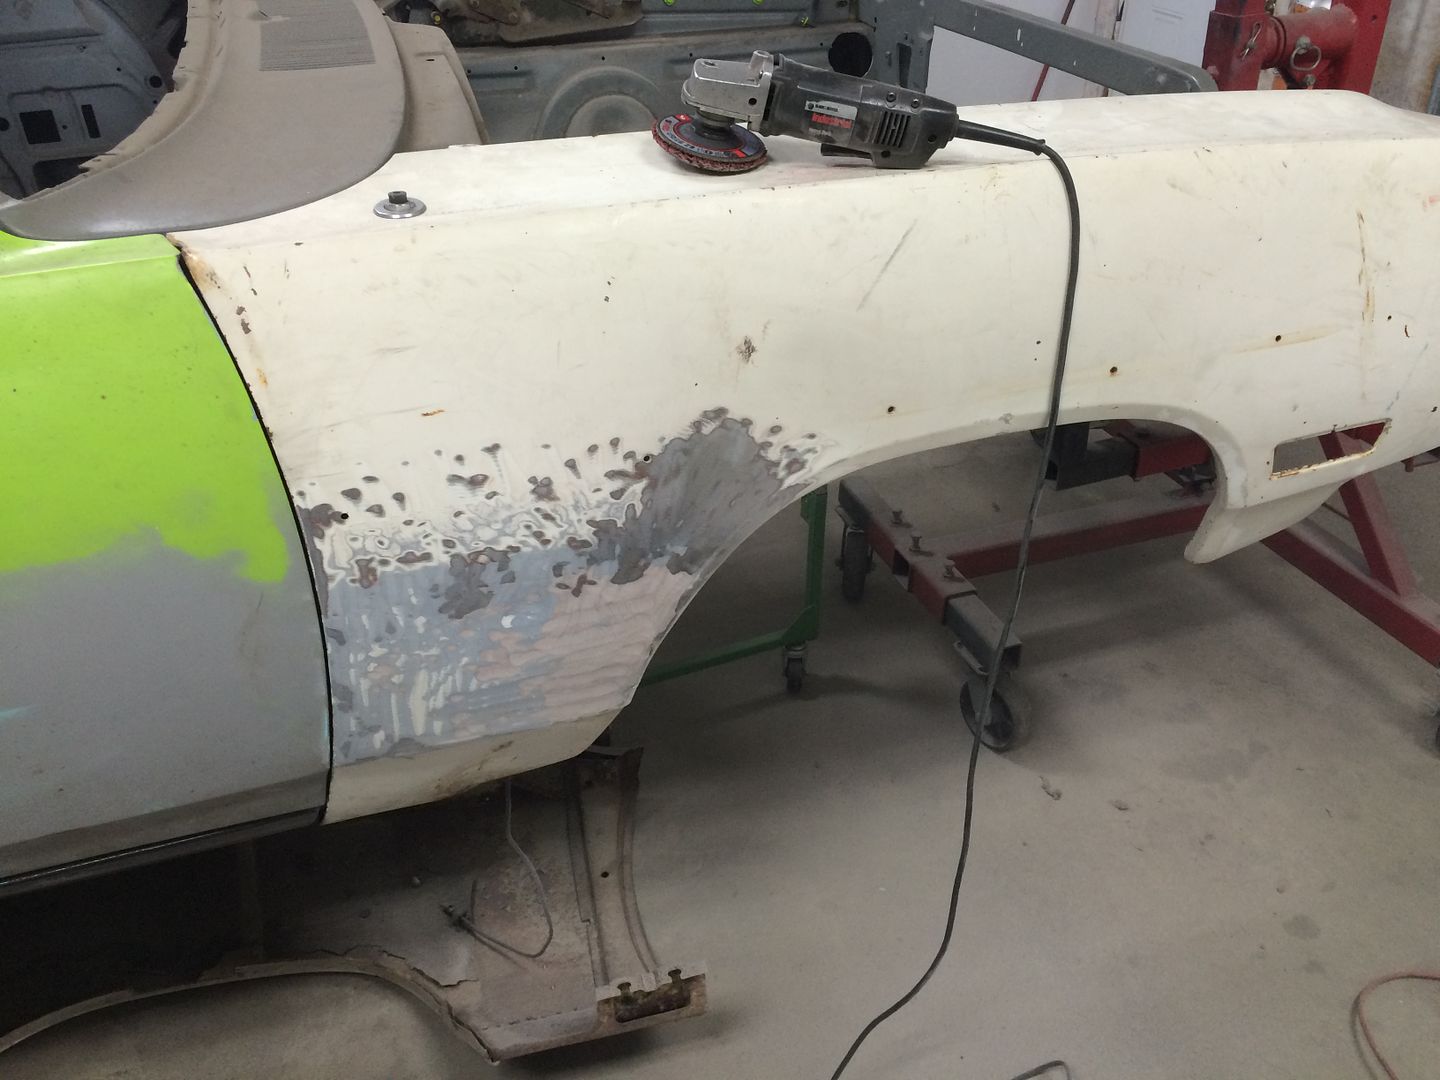
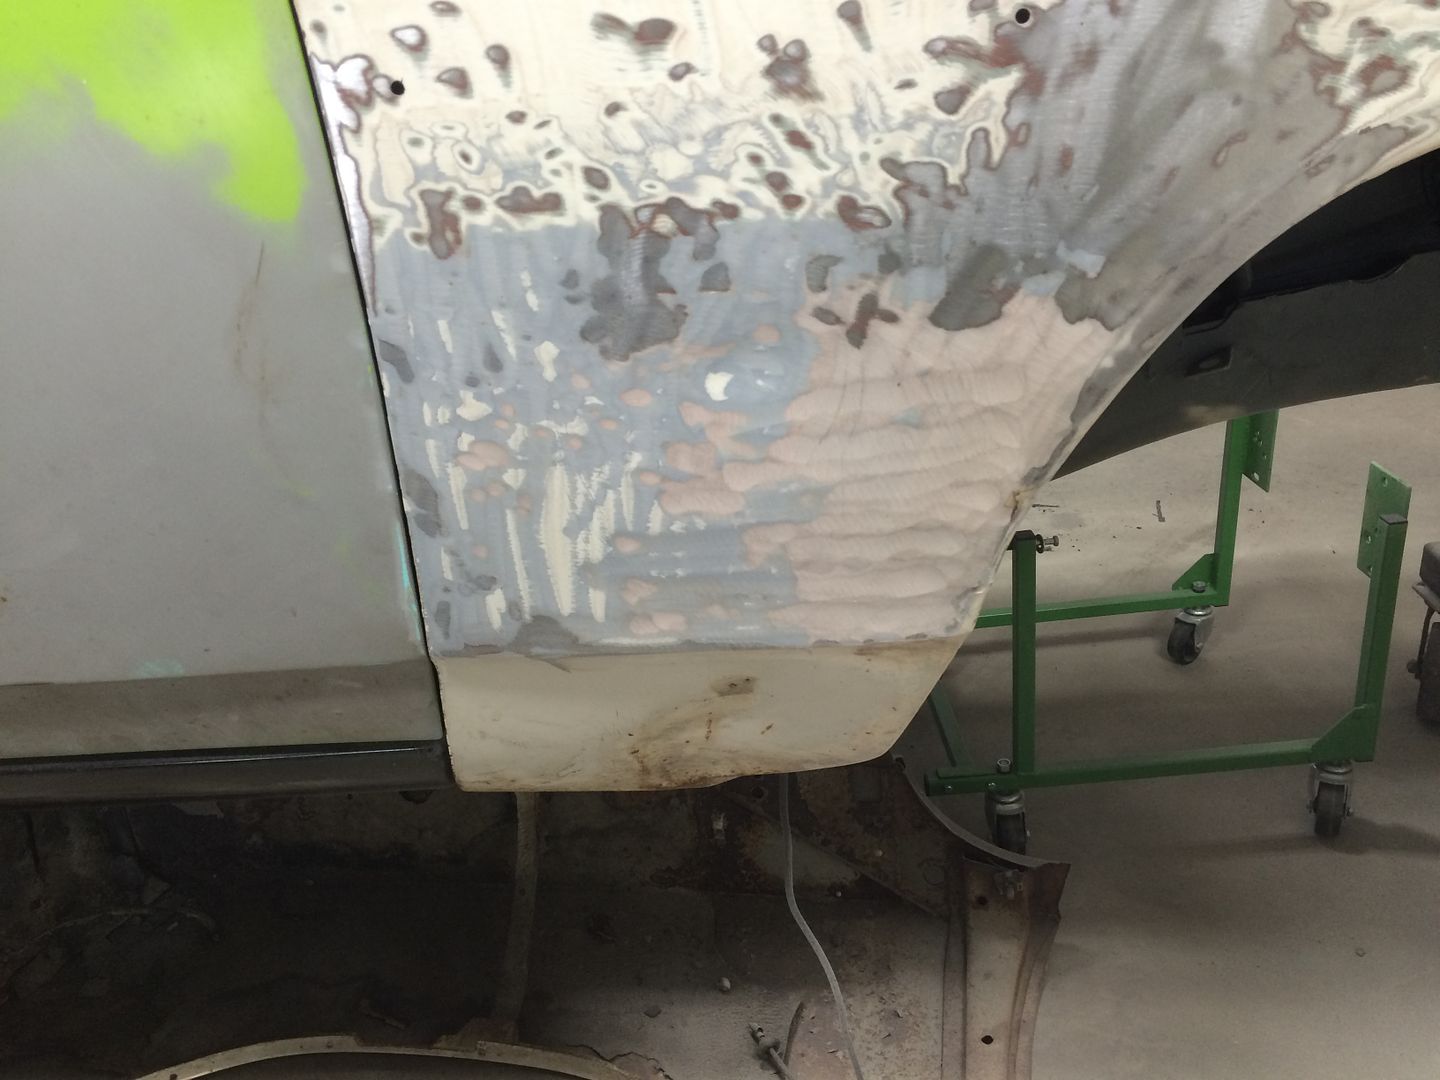
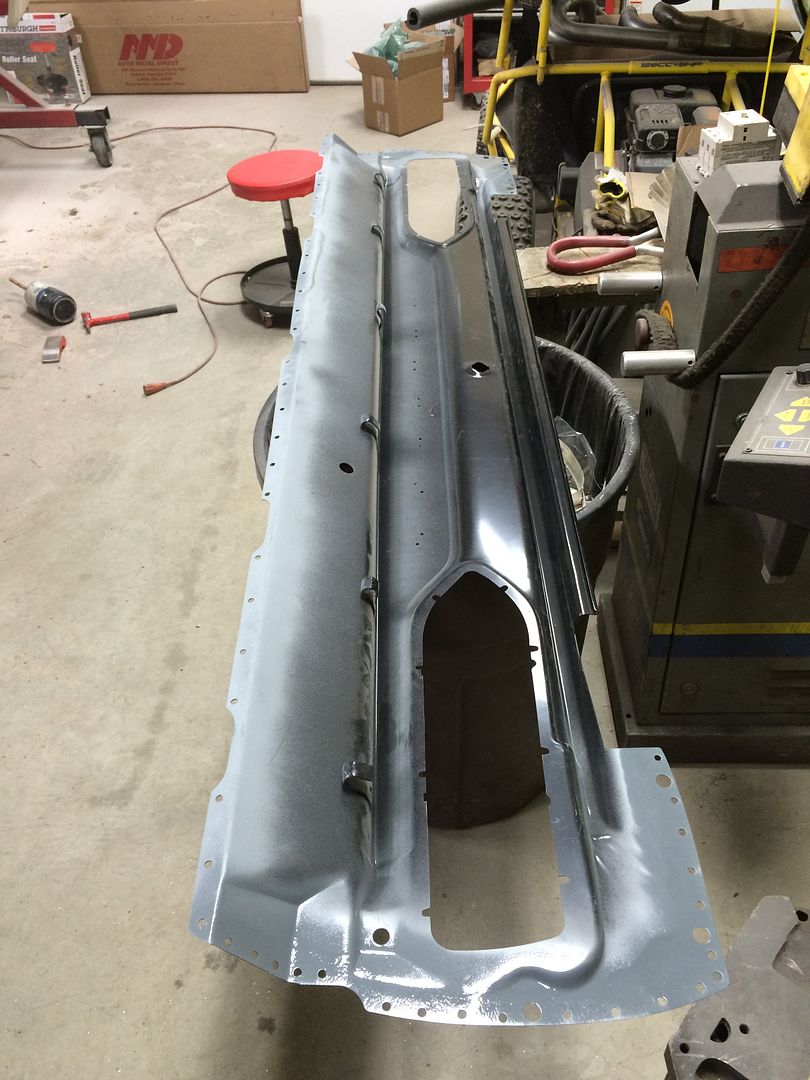
I have in other posts, been a big defender of the AMD sheet metal, and I still am. However, when the trunk extensions are quite a bit longer than the quarter panel and the trunk floor and extend out too far on both ends, you just scratch your head. I'm going to cut this off with the whizz wheel but this photo shows just how much extra is on this end.
09FB4132-3422-471A-834E-450431AC10FE_zpsuydrrpxp.jpg


- - - Updated - - -

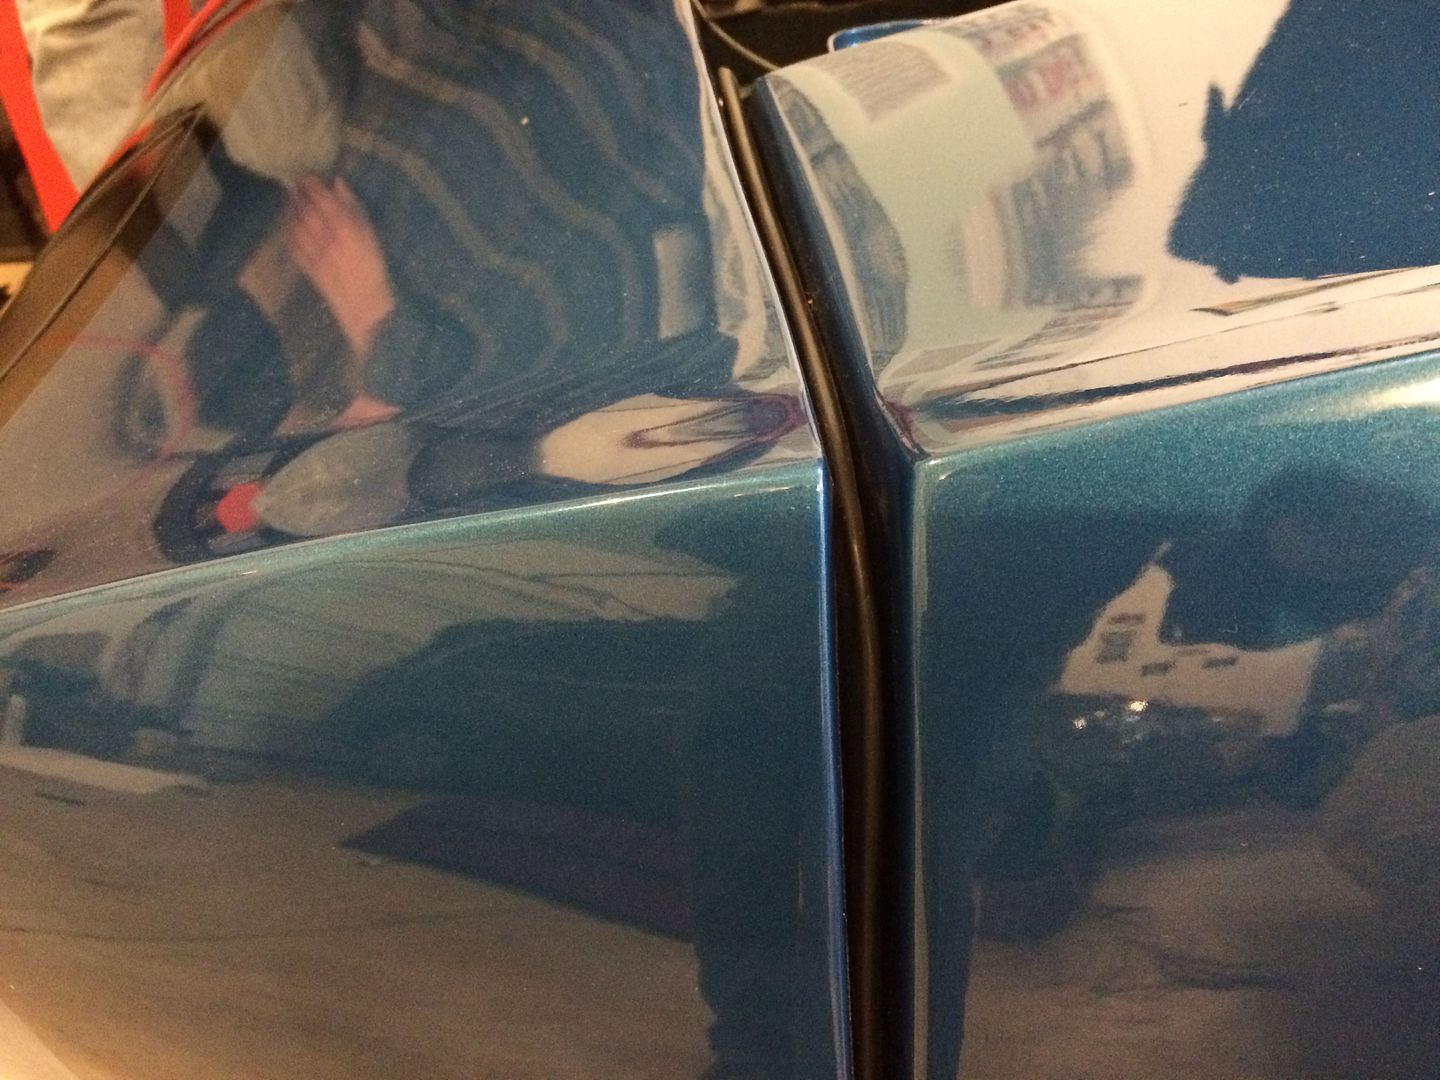
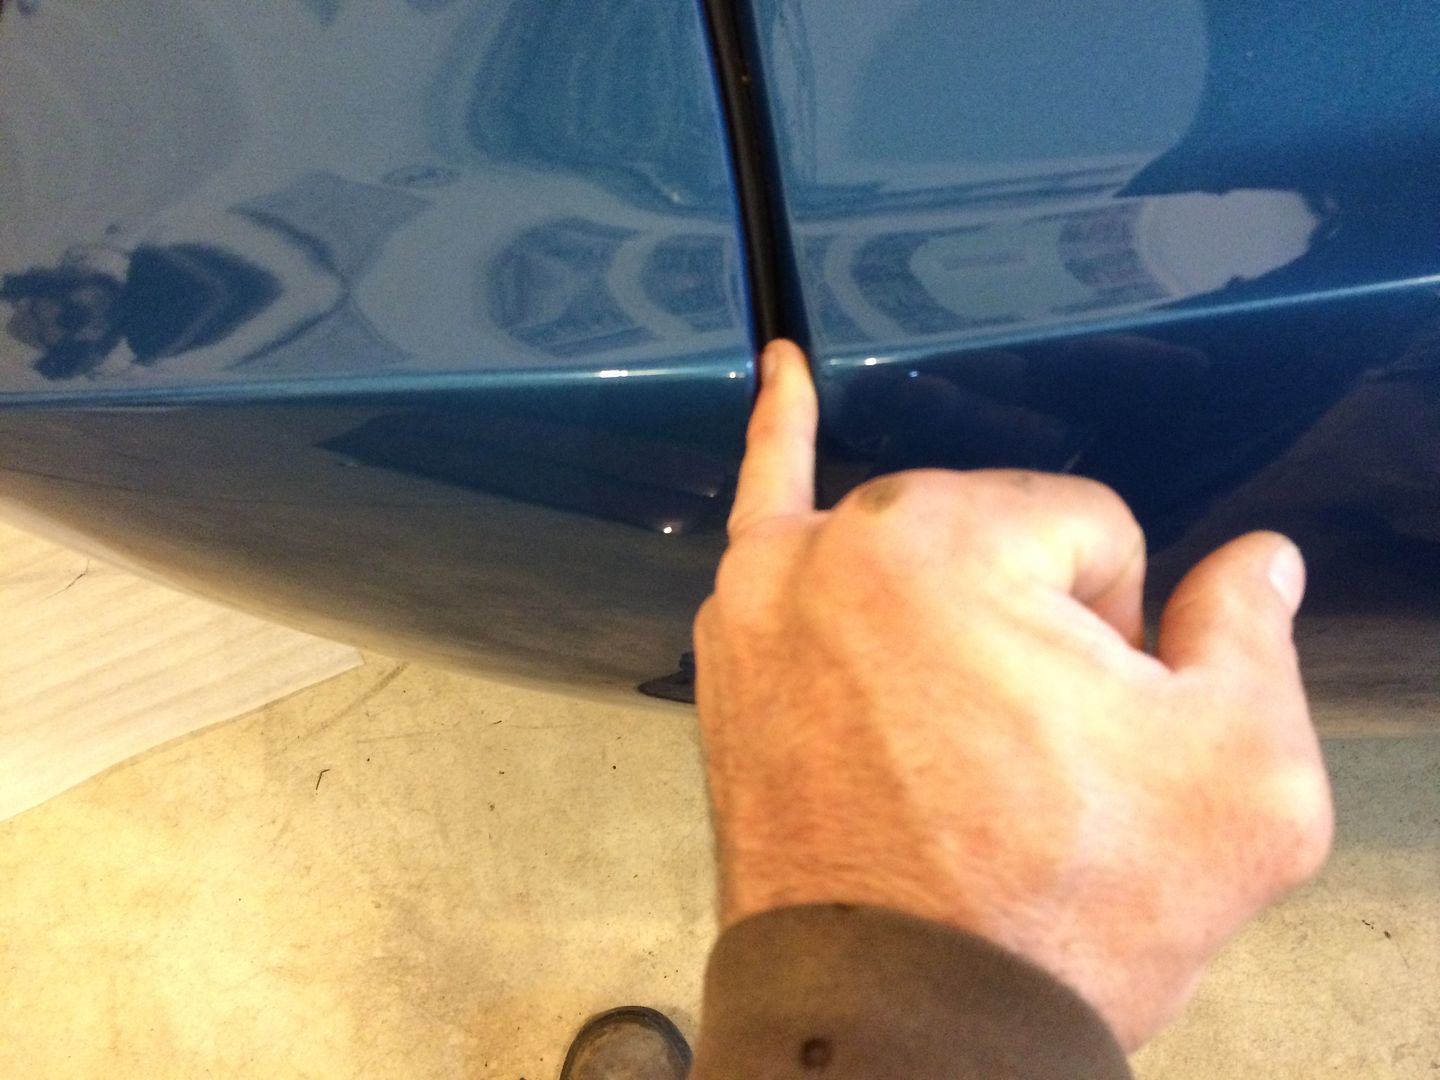
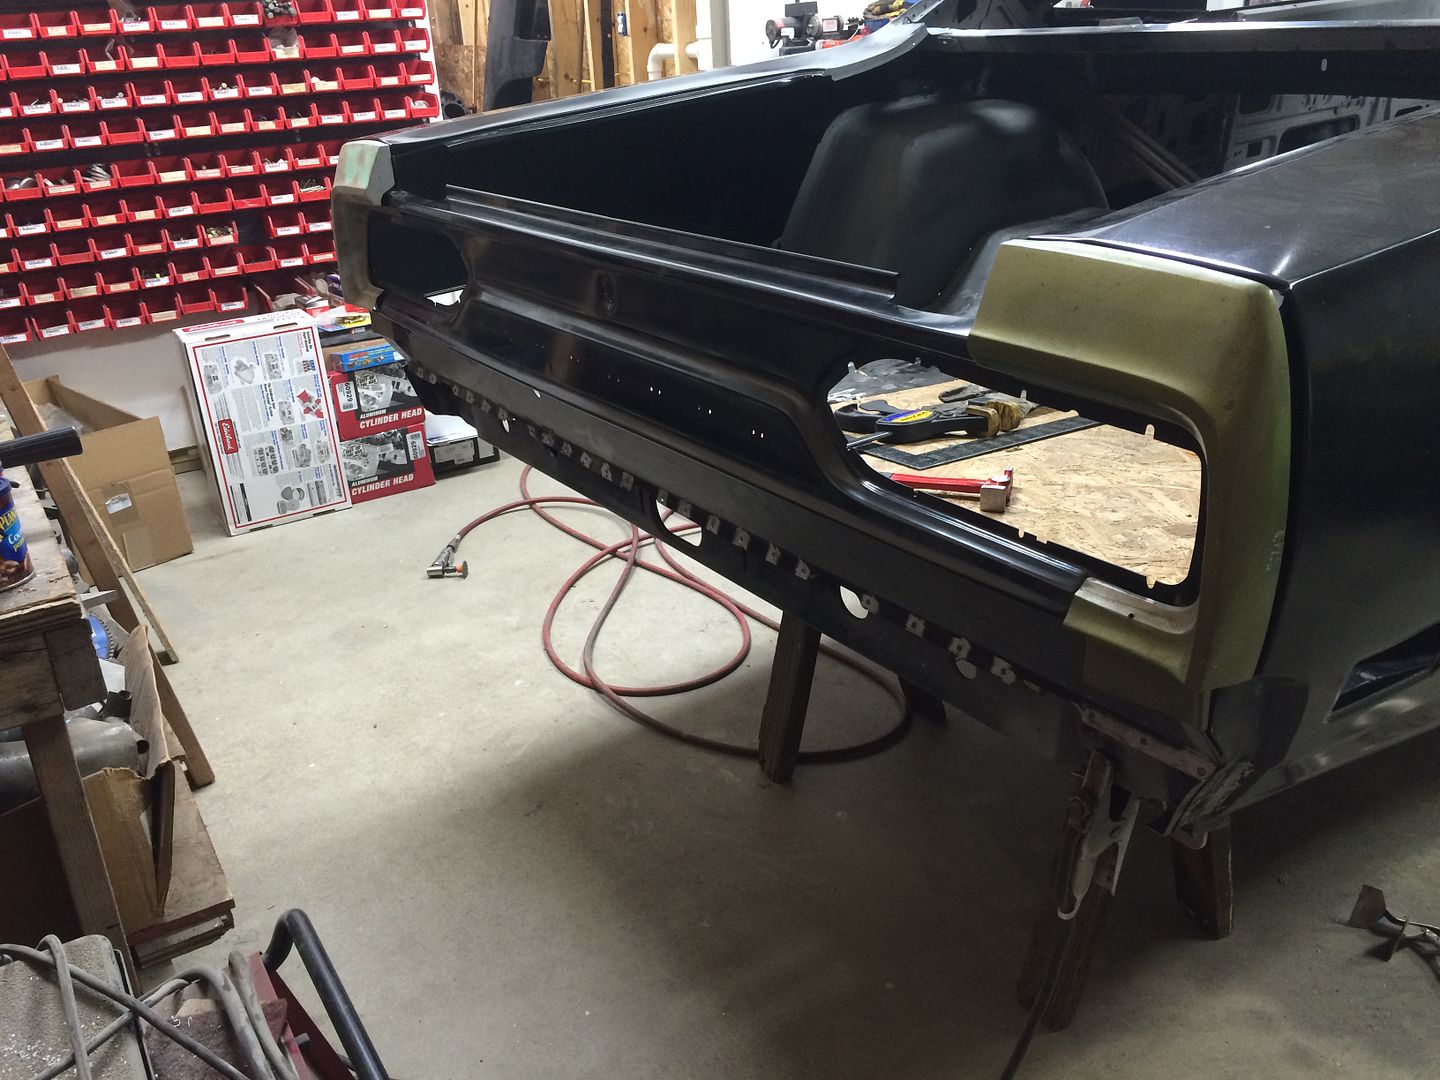
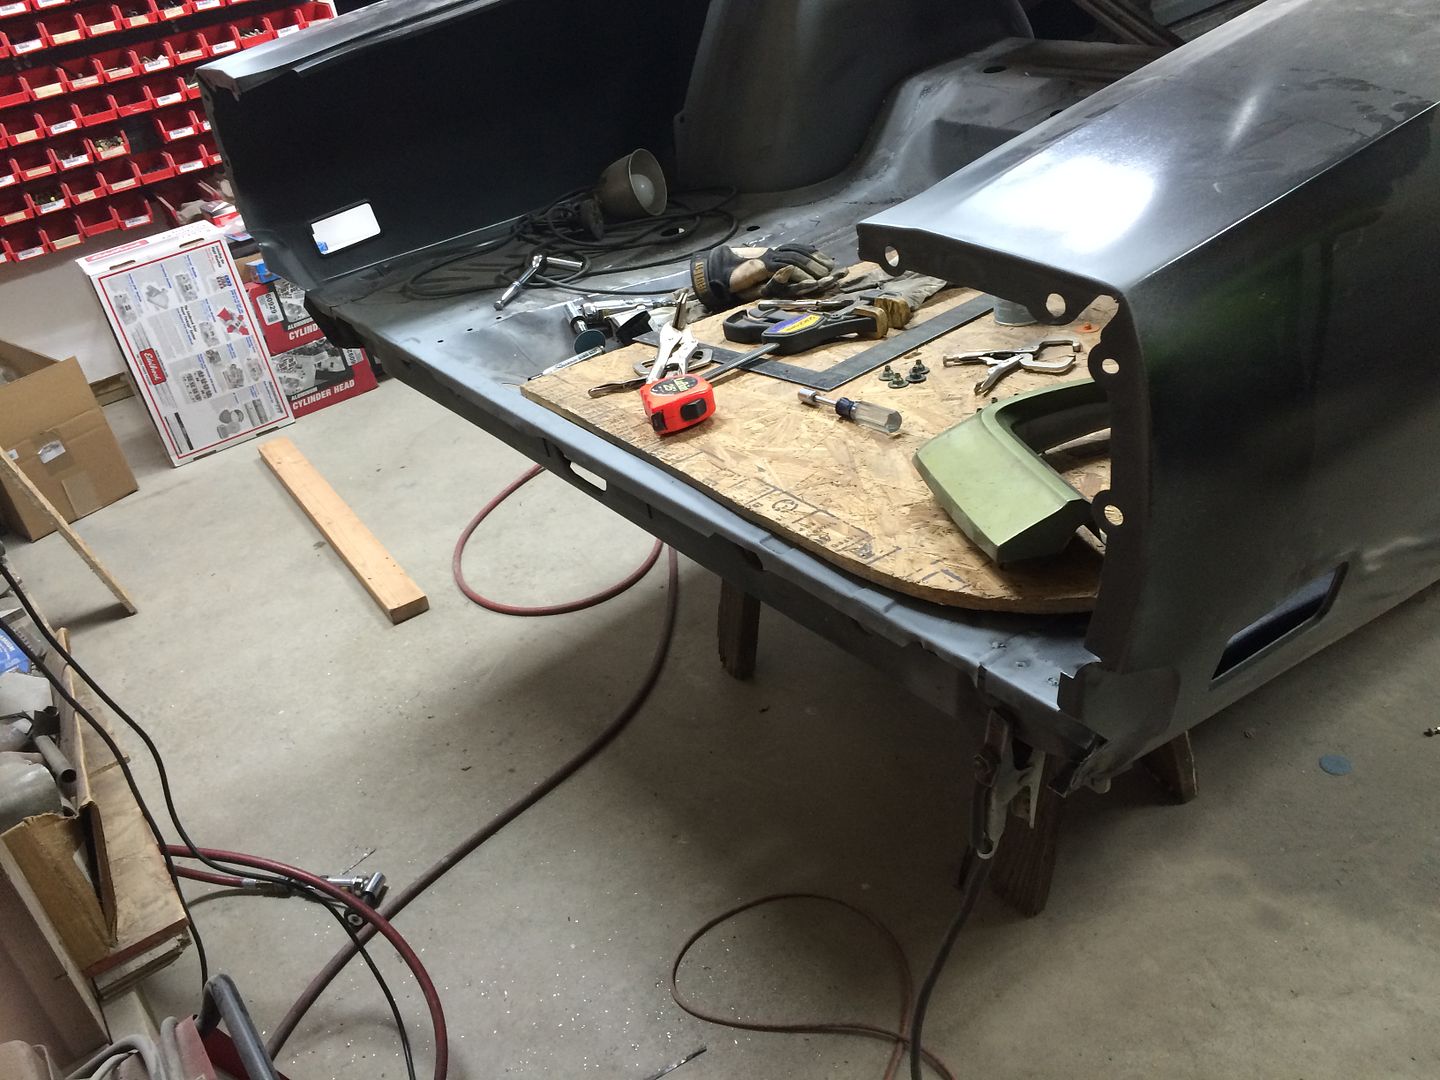
Because of the ugly joint between the quarter panel and the trunk extension, it prevented the tail panel from fitting properly as this mock up shows.
9412F824-A88E-4C97-B383-6A742A96F5D3_zpsxoxdlvo8.jpg

I'll finish trimming that joint on both sides, trim up the tail panel a little and then try to get it fitted up next time out. My two hours are up this evening.:eek:ccasion14:
 
Another interesting update!
Excellent attention to detail as always and thanks for the quick review on clamps. I will get my wallet out and invest in some more for my charger.
 
So does this mean you're getting rid of the green car?

I will most likely keep it. I bought that car in 1983. I was 15 years old. I did all the body work on it in 1991. It was painted in 1993. I'm the third owner. I will probably pull that 526 hemi and sell it. Then I'll put a real mild hemi engine in it, put the 4spd back in it and cruise it regularly. Might even let my son drive it in a couple of years. The roll bar will come out and it'll go back to 100% street duty.

- - - Updated - - -

Tonight was 'mad scientist' night in the shop. Well, more like unmotivated old guy night, but anyway, I decided to see how deep the bondo hole was on the right side fender so I grabbed a strip-it wheel. These are great. They're like scotch brite on roids. They'll take off anything that isn't metal.
2B49FC70-72F5-4AAE-B0C4-F774411E2E76_zpswzl5zch9.jpg
 
You can see it's nasty. I'm guessing there's a bunch of rust underneath.

814D5A09-1839-4510-BD1C-F342F0A57F55_zpsykjlbrhk.jpg


- - - Updated - - -

And......... I'm completely surprised that there's not.

Just a bunch of dents that were filled and some brazing work. All in all, probably a solid repair done "back in the day"...The big dent below it happened sometime after the repair and will involve a lower panel replacement. I think I'm going to have the two front fenders media blasted before I do too much to them.

E203E2E8-6F67-4155-AA9A-21C01164C102_zpscb6xiwts.jpg


- - - Updated - - -

The only other thing I got done was some panel prep. Drilling these holes is killing my right hand. I pulled a tendon in my right index finger and it's swollen to sausage finger size. Lots of fun. Luckily, I can still grasp a beer can. I'll quit when I can't do that because of the pain.

61F3F47B-228A-4238-AA24-0811D40192EA_zpshltdkymq.jpg


- - - Updated - - -

FDD76E77-D875-4CD4-A2A2-43EBBC5BCC3E_zpsfa0a51xr.jpg


- - - Updated - - -

I trimmed the quarter panel ends as well..


229AD77B-CBF8-453C-A507-1003A41D11DF_zpsrerataso.jpg


- - - Updated - - -

That's cool. I plan on giving my car to my son eventually.

I'm not sure mine will want it. He's 13 but so far, shows zero interest in cars.
 
Wow, nice work on the metal fitting! I had to laugh when you made your comment about being a hack, I too tend to use everything but what I'm supposed too haha. Looks great, keep after it.
 
Wow, nice work on the metal fitting! I had to laugh when you made your comment about being a hack, I too tend to use everything but what I'm supposed too haha. Looks great, keep after it.

Thanks 747! I use whatever I can find to get the job done!
 
Auto Transport Service
Back
Top