Thanks 747! I use whatever I can find to get the job done!
Truly words of wisdom,,,, and inspiration for so may others, OH, my name is "others"
") YES sir, whatever it takes we do! You are another showing this idea works well!!!
YES sir, whatever it takes we do! You are another showing this idea works well!!!Thanks 747! I use whatever I can find to get the job done!
YES sir, whatever it takes we do! You are another showing this idea works well!!!Ron, wisdom isn't what my wife would call it! Lol :eusa_whistle:Truly words of wisdom,,,, and inspiration for so may others, OH, my name is "others"
Mighty fine work there, Hemirunner.... so are you using a cold can of beer to get the swelling down on your finger?:grin:
If it makes you feel any better, I had a few just reading this thread!- - - Updated - - -
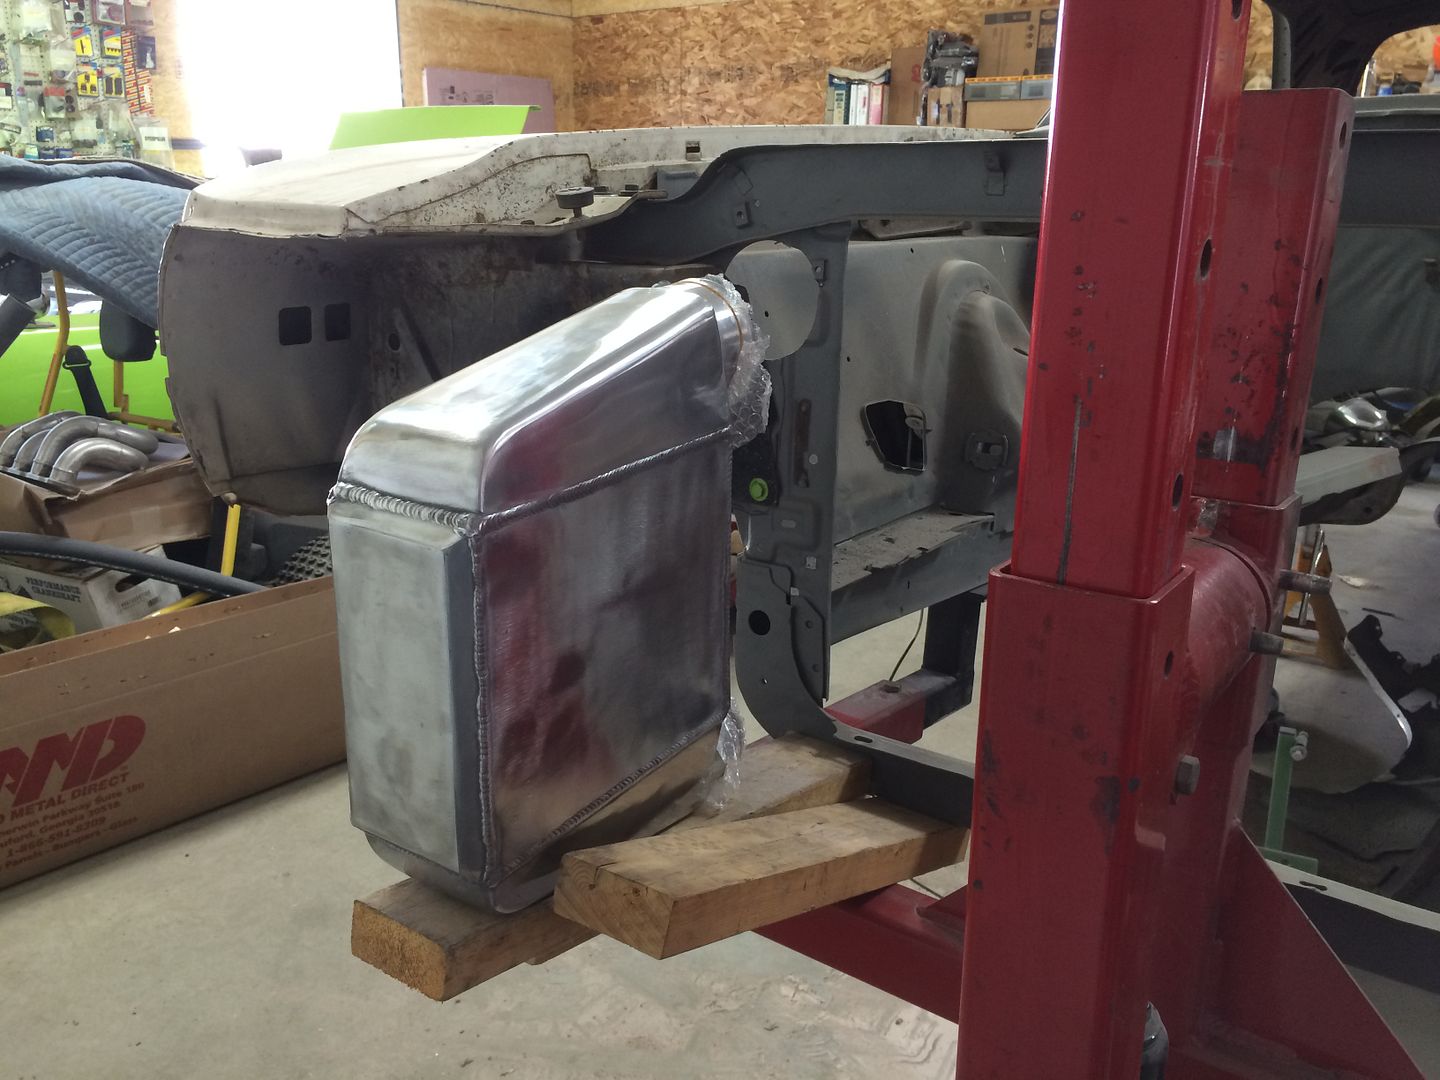
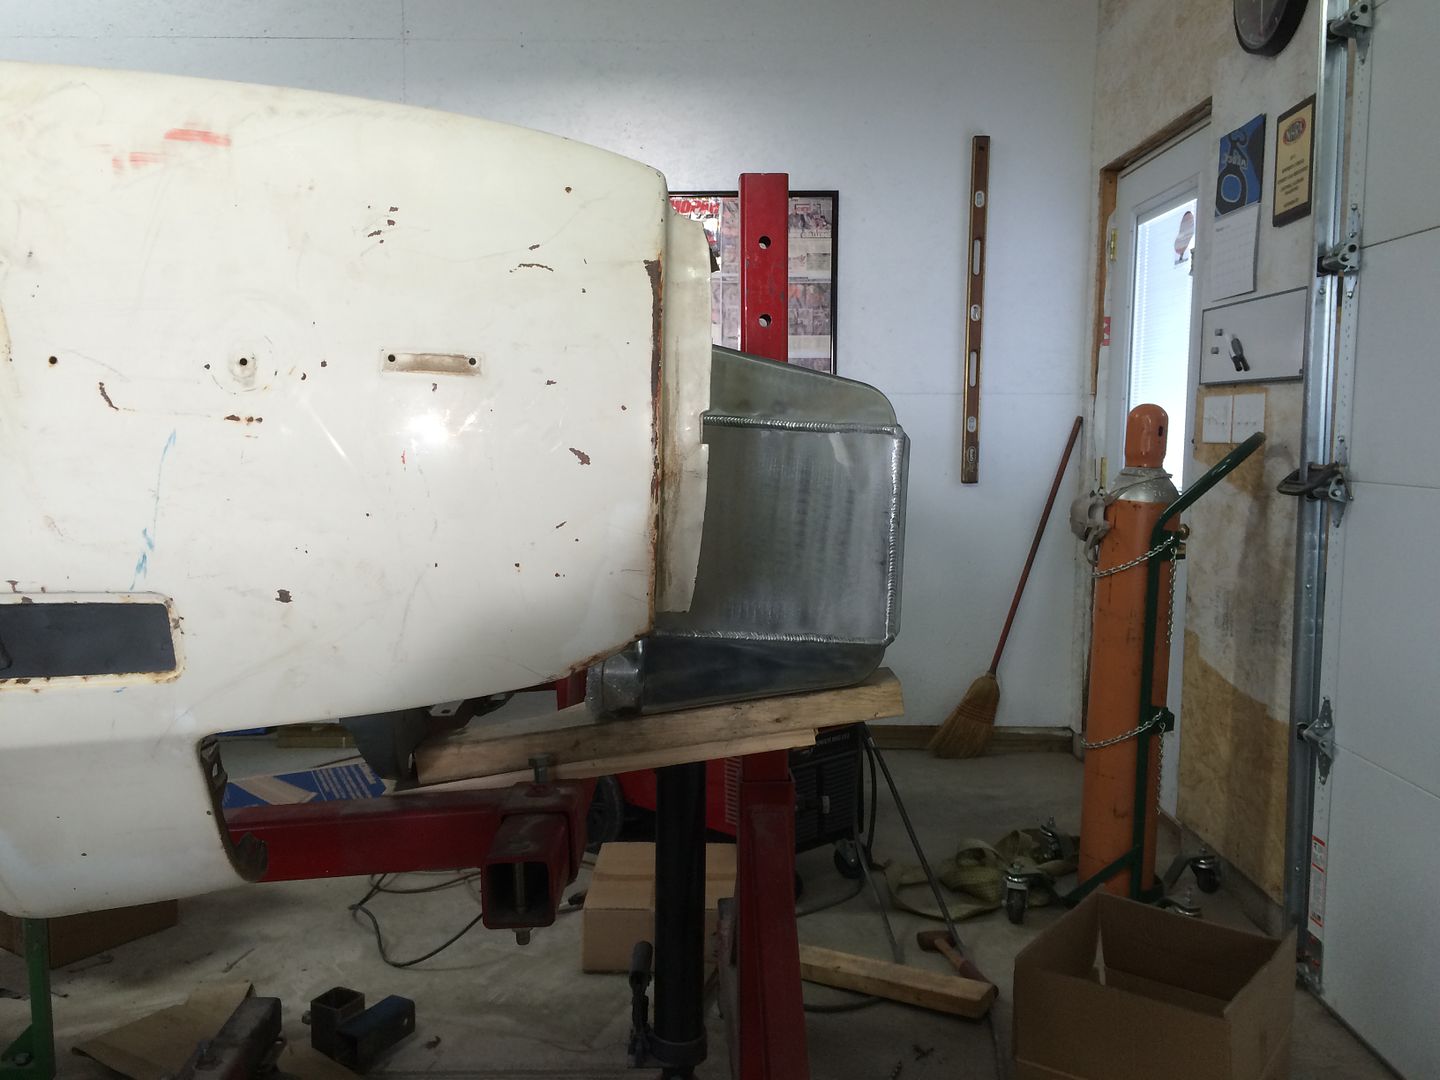
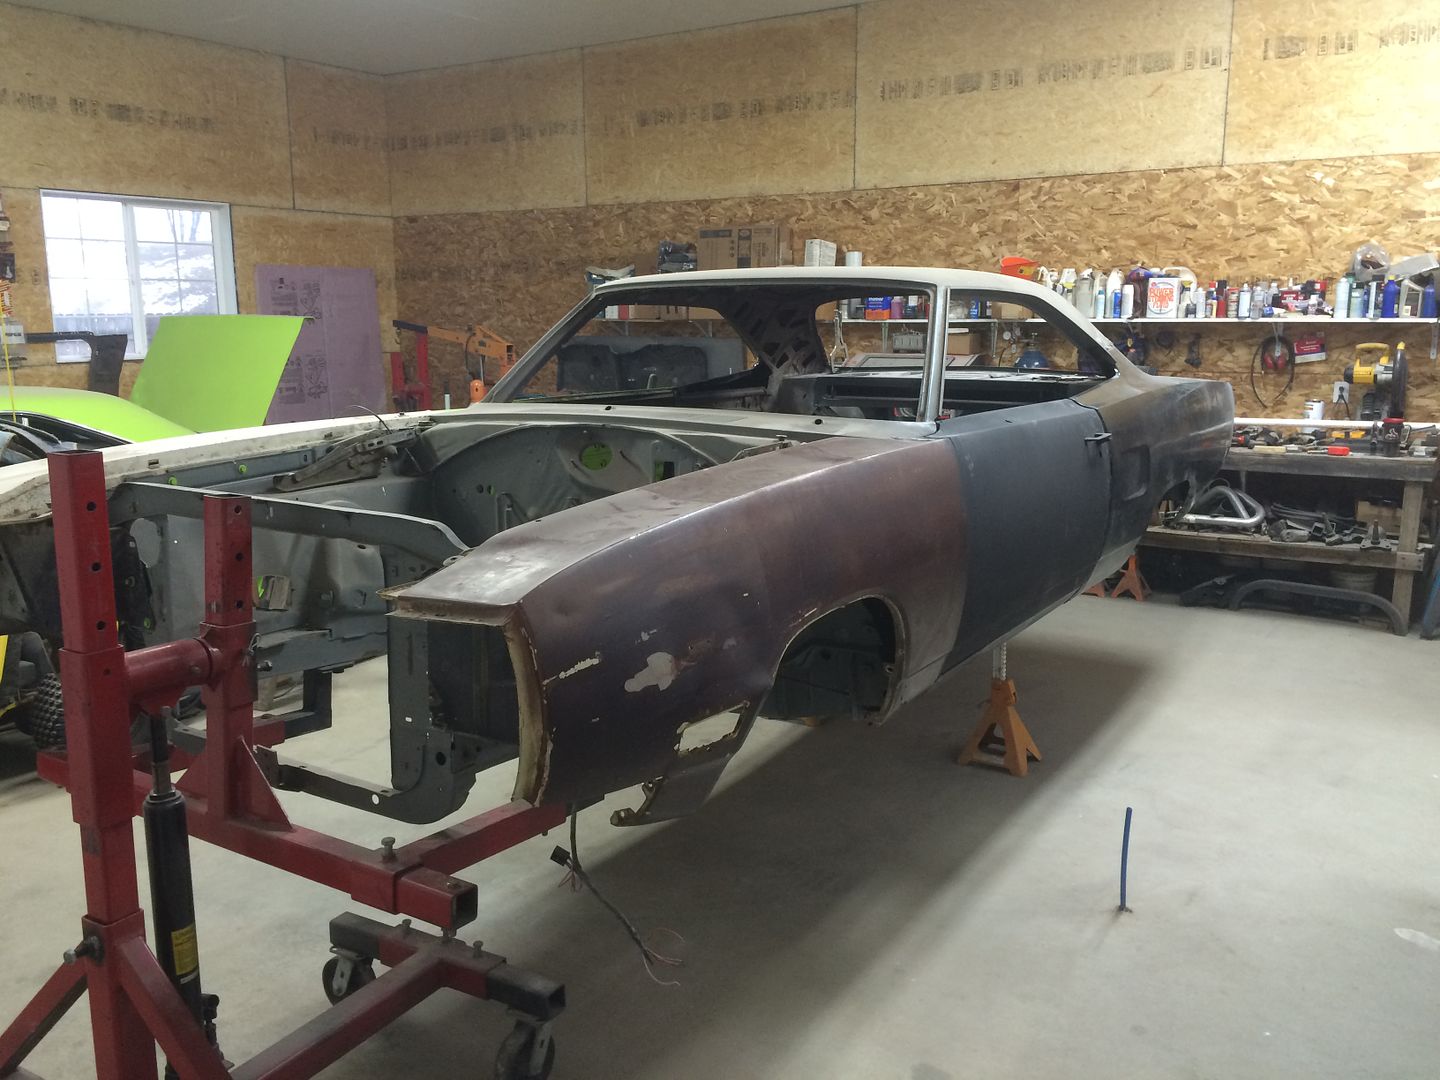
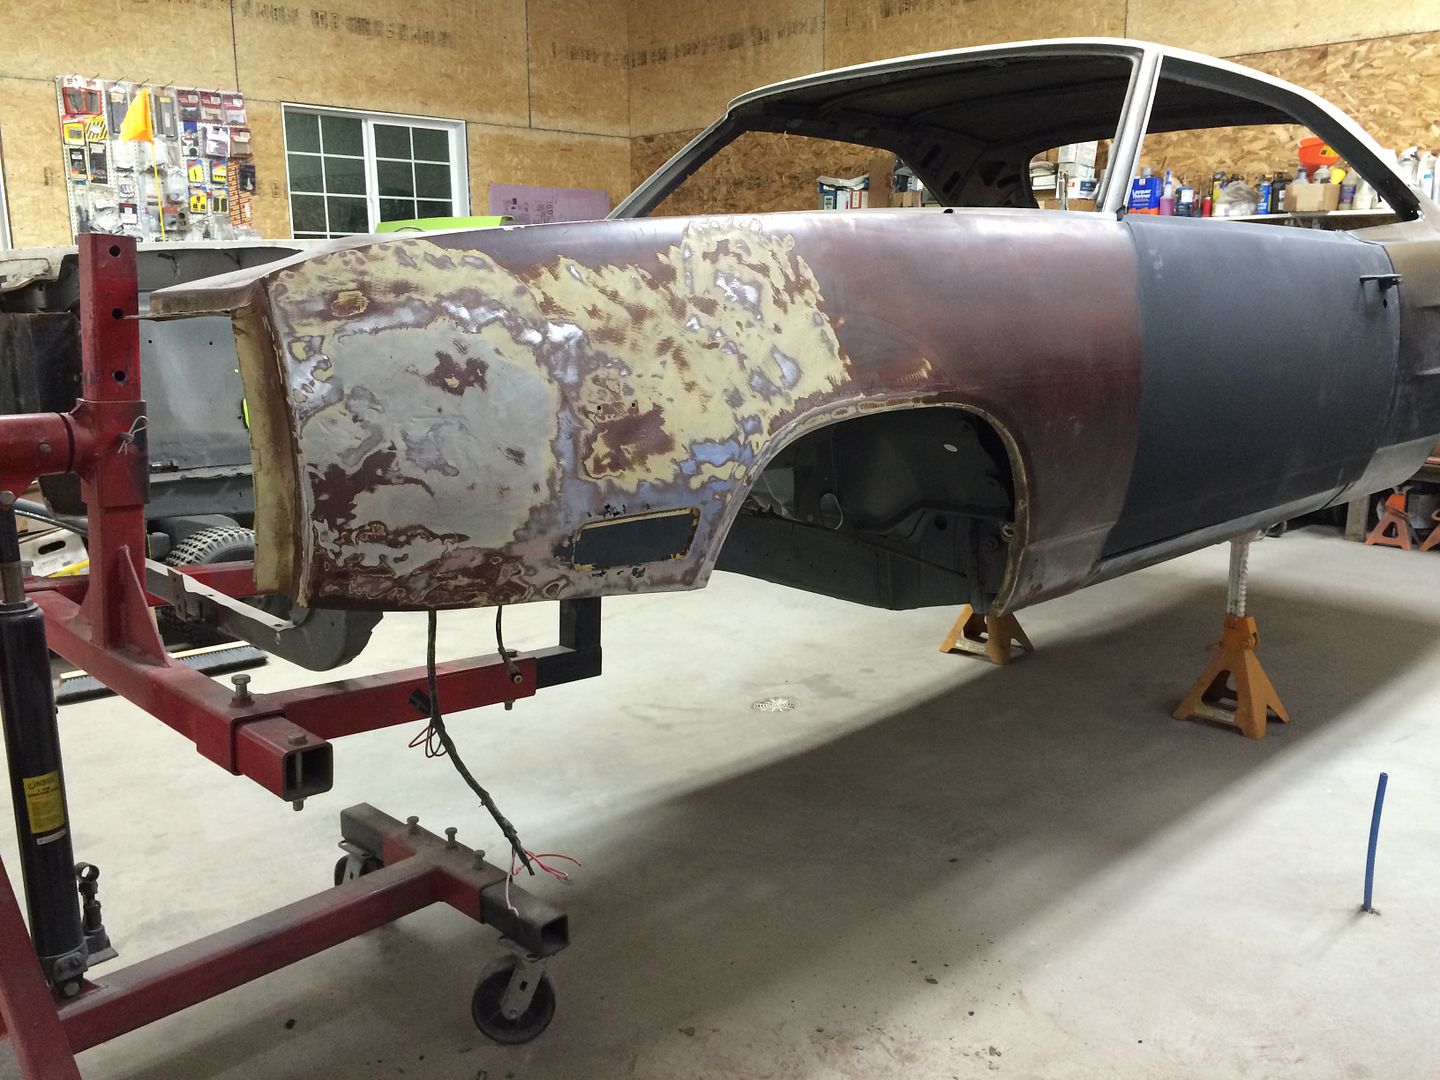
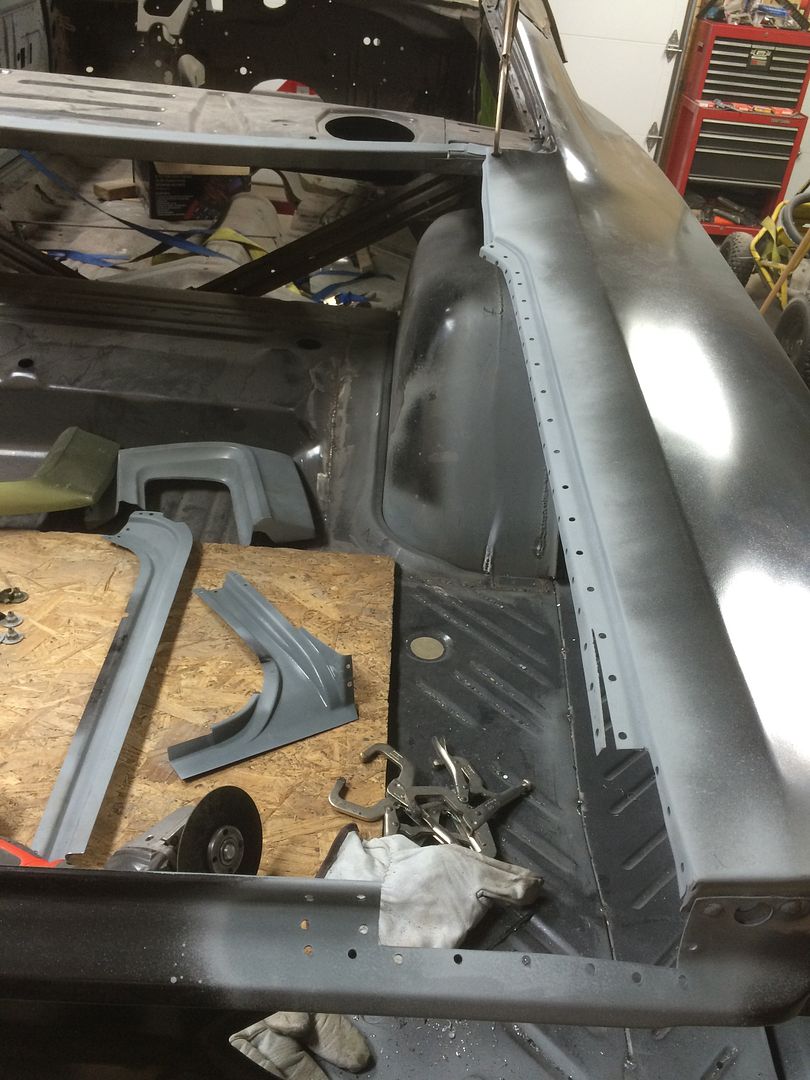
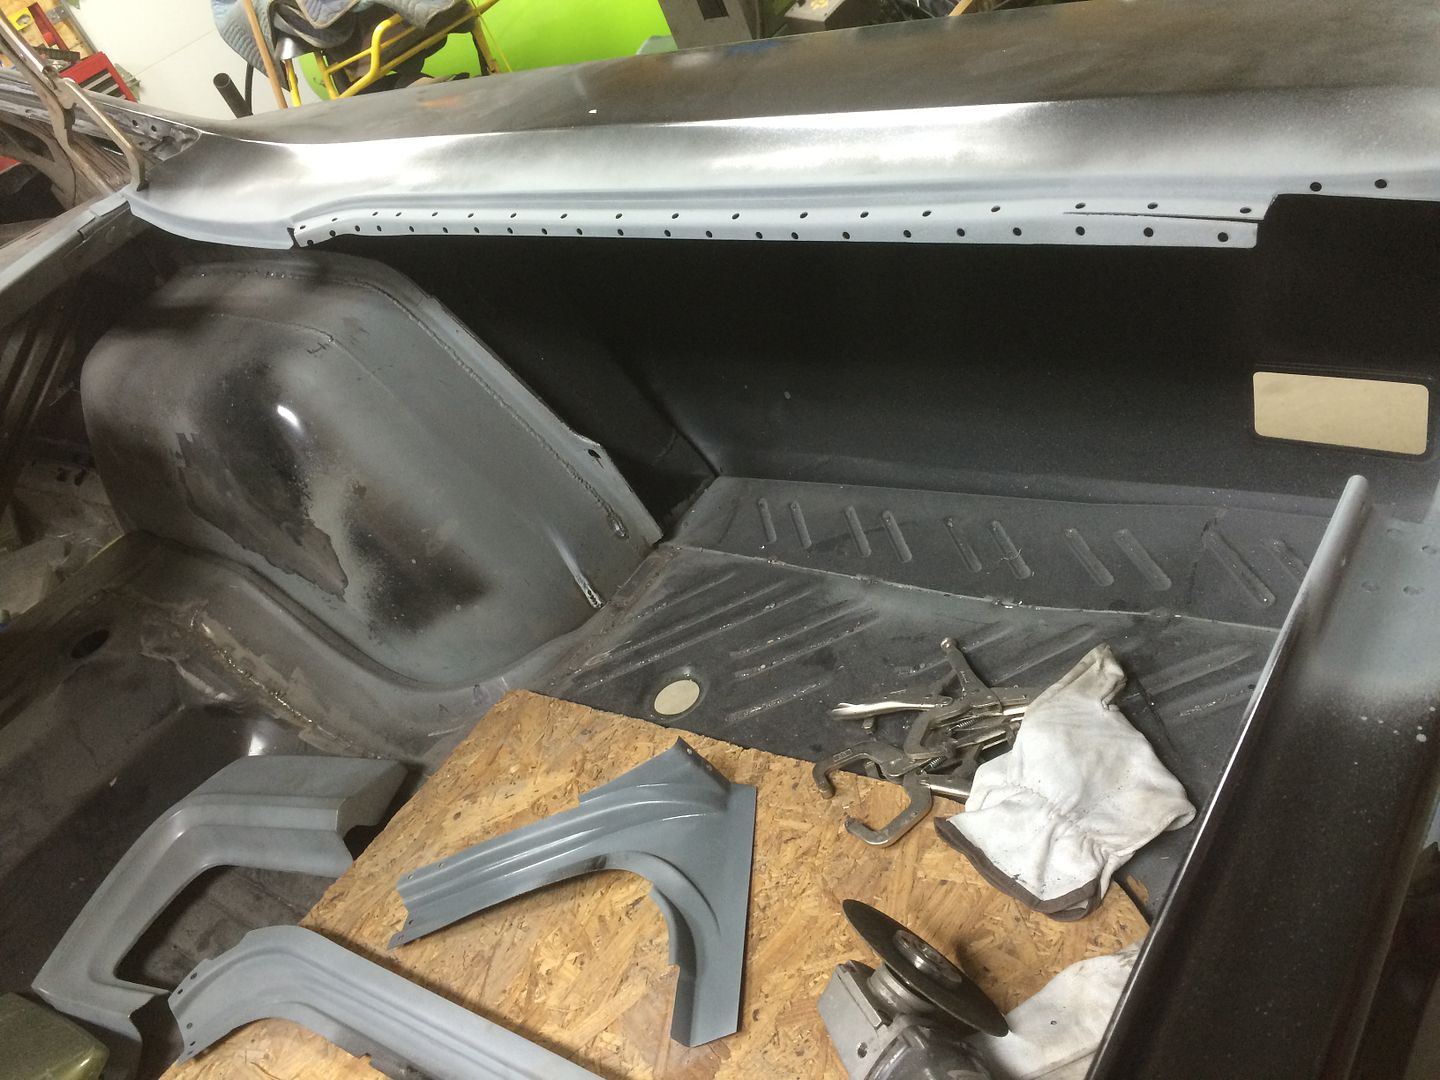
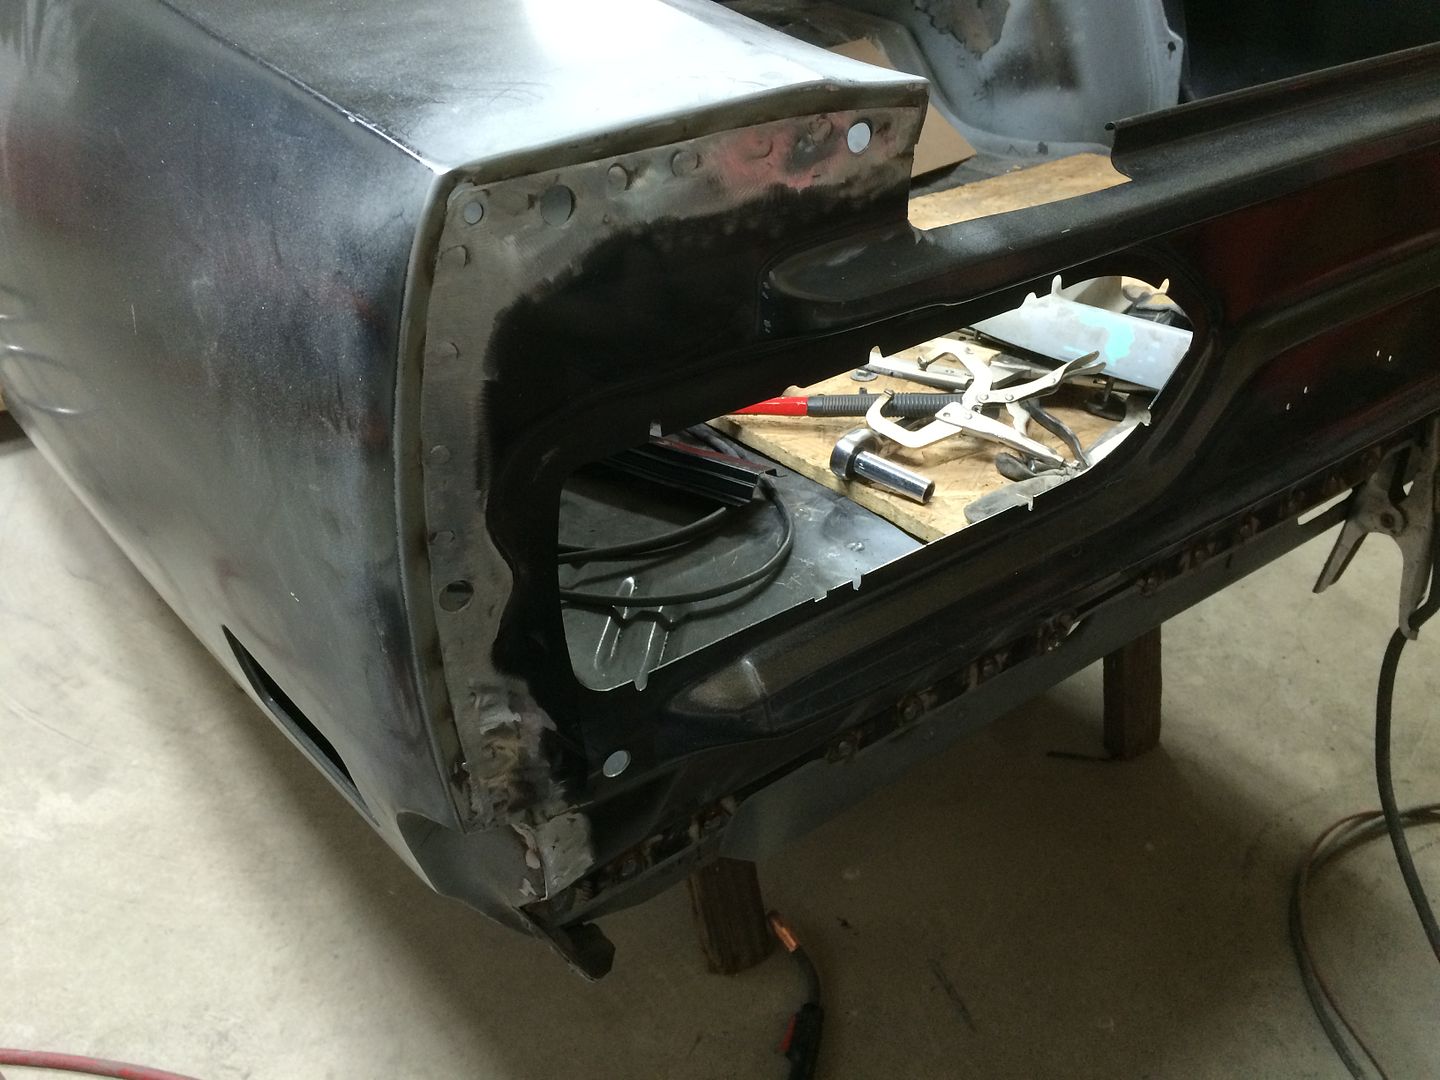
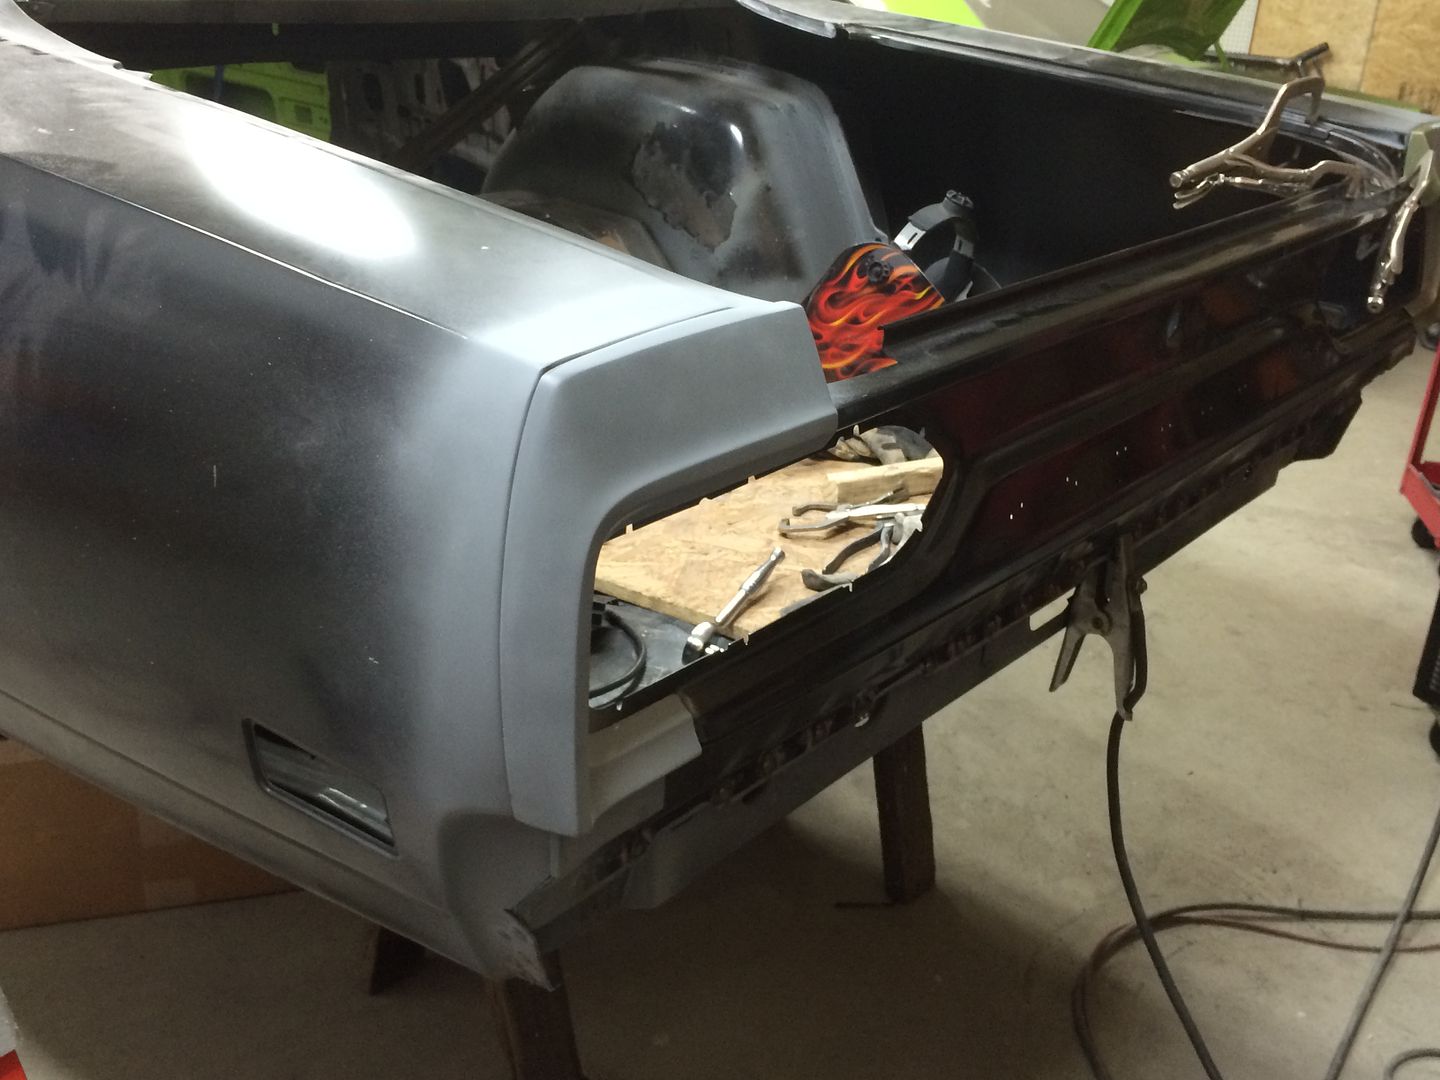
Now it's starting to look like a car. If you can believe it, I didn't even have any beers while fitting this up!!
If it makes you feel any better, I had a few just reading this thread!
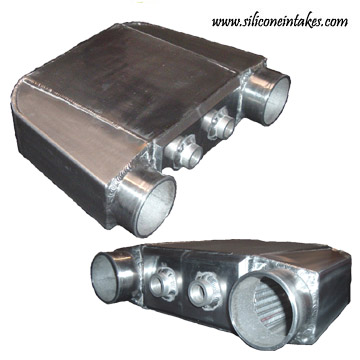
Does Captain Morgan count? Great job, your doing some outstanding work and building one cool *** car in the process!!!!!!!! I'm curious to see the turbo go together, I'm not a fan of all the plumbing taking up the engine compartment but it looks cool when it's done right and you can't complain about more ponies!