I like the B&T. Service isn't that bad and parts are still available. Much more cost effective than getting your shaft cut, and pieces added to allow the yoke to slip. As long as the boot is good, service intervals are few and far between. Plus, these held up well behind max wedge cars so it is plenty good enough for a 318.
Here it is from a driveshaft I got with a BB 727 pushbutton transmission. Boot is shot but there is no noticeable play so I am going to refresh it for a spare. Got the boot and straps on ebay for $25.00.
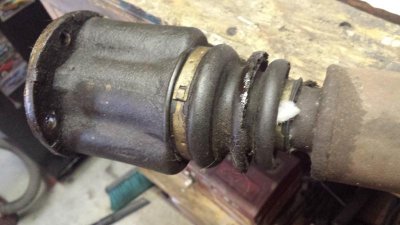
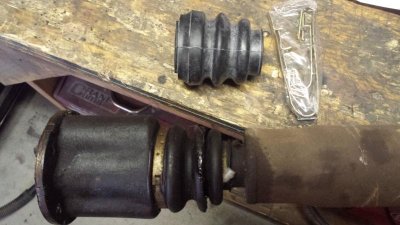
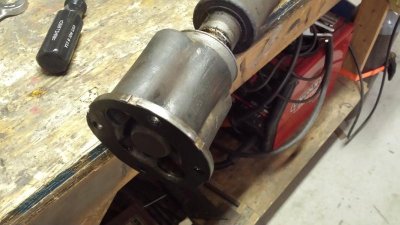
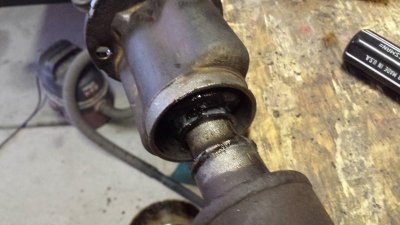
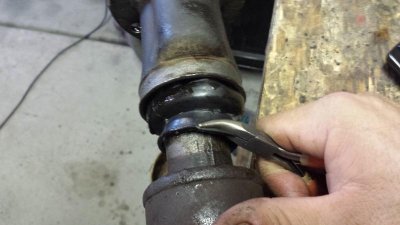
Take the straps loose and then with a small screwdriver pry up the dust cover clips and the dust cover pops right off. Wear gloves because it is going to be nasty.
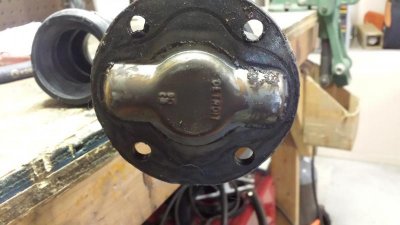
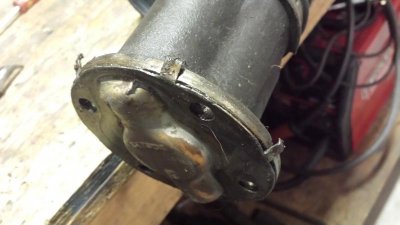
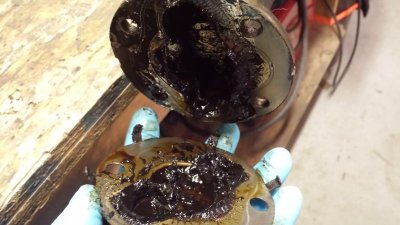
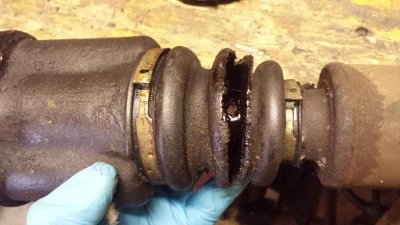
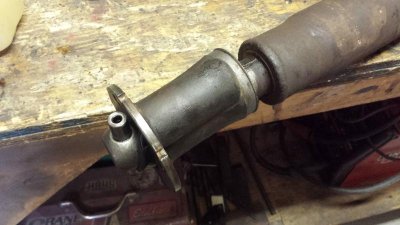
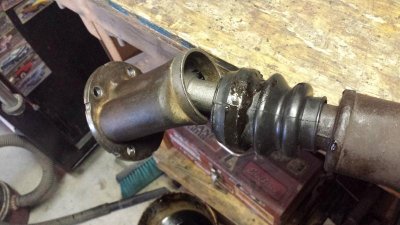
Now, be careful. Hold the driveshaft with the u joint end on the ground and pull down the housing. Slide one side ball off (there is a thrust washer behind the needle bearings. Make sure this comes off with the ball or needle bearings will go everywhere). Same step for other side.
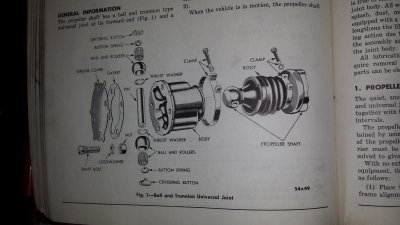
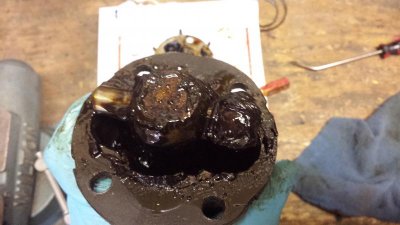
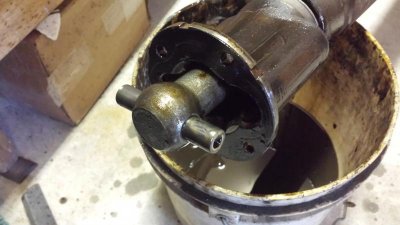
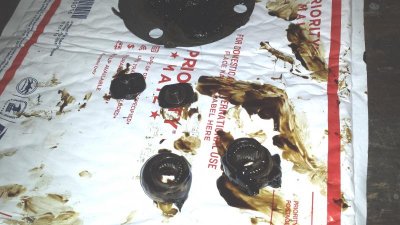
Now, if you are feeling frisky you can press out the pin. I wasn't so I left it in place and cleaned around it using mineral spirits and some brake cleaner. The housing won't come off with the pin still in place.
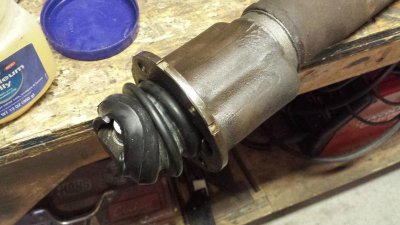
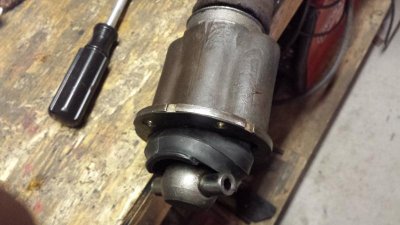
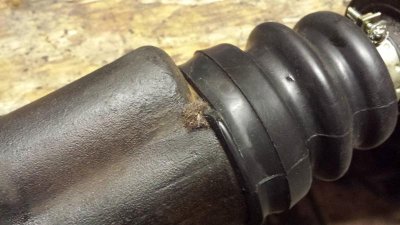
After airing it off and letting it dry, you can now install the new boot. Lather up the inside and out with vasoline and slip it over the pin and press, pull, shove, press, pull, etc. Once the small end pops through the other side, you can grab it (caution: if you use something sharp you risk tearing or ripping the new boot. Be gentle) I grabbed this one with small needlenose just enough to get a good finger grip on it. Then, with the u joint end on the ground, pull up on the housing as you pull down on the boot. A rag helps get a grip on the boot.
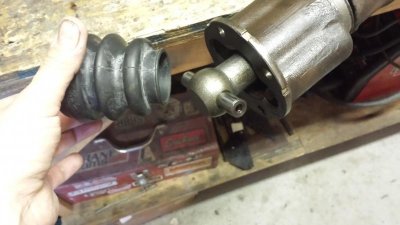
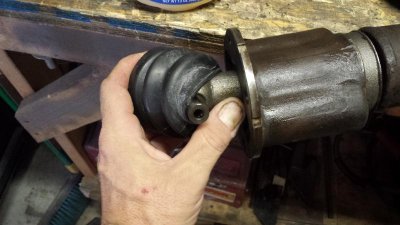
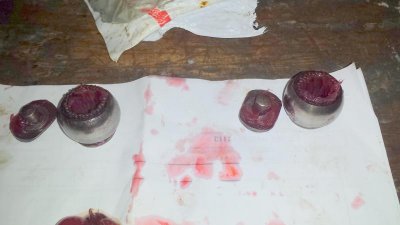
Now clean, grease and reassemble the balls. There are 31 needle bearings per ball. Count them and make sure you have them all. Tweezers come in handy as this is tedious work.
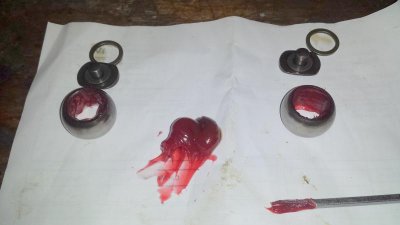
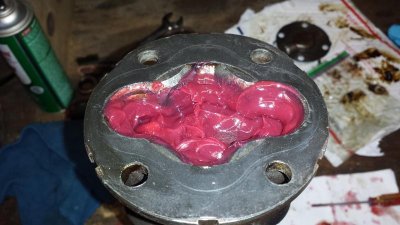
Now carefully slide one side on then the other. Use plenty of grease. It is best to leave the small end of the boot loose to get better clearance on the pin. Before you tighten the last clamp, insert a piece of "polished jute" as stated in the manual. No clue on this so I used a piece of regular jute or even carpet fibers. Point is to allow air to pass into the boot so pressure doesn't pop the boot.

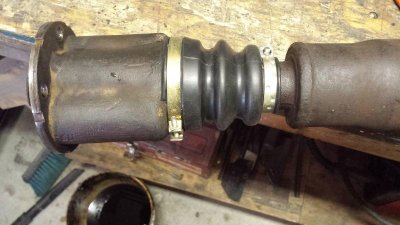
Grease up, re attach the dust cover and you are done. Gasket on mine was in good shape so I re used it with a bit of aircraft gasket maker.
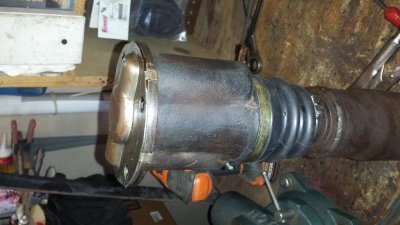


Here it is from a driveshaft I got with a BB 727 pushbutton transmission. Boot is shot but there is no noticeable play so I am going to refresh it for a spare. Got the boot and straps on ebay for $25.00.


Take the straps loose and then with a small screwdriver pry up the dust cover clips and the dust cover pops right off. Wear gloves because it is going to be nasty.


Now, be careful. Hold the driveshaft with the u joint end on the ground and pull down the housing. Slide one side ball off (there is a thrust washer behind the needle bearings. Make sure this comes off with the ball or needle bearings will go everywhere). Same step for other side.


Now, if you are feeling frisky you can press out the pin. I wasn't so I left it in place and cleaned around it using mineral spirits and some brake cleaner. The housing won't come off with the pin still in place.
After airing it off and letting it dry, you can now install the new boot. Lather up the inside and out with vasoline and slip it over the pin and press, pull, shove, press, pull, etc. Once the small end pops through the other side, you can grab it (caution: if you use something sharp you risk tearing or ripping the new boot. Be gentle) I grabbed this one with small needlenose just enough to get a good finger grip on it. Then, with the u joint end on the ground, pull up on the housing as you pull down on the boot. A rag helps get a grip on the boot.


Now clean, grease and reassemble the balls. There are 31 needle bearings per ball. Count them and make sure you have them all. Tweezers come in handy as this is tedious work.


Now carefully slide one side on then the other. Use plenty of grease. It is best to leave the small end of the boot loose to get better clearance on the pin. Before you tighten the last clamp, insert a piece of "polished jute" as stated in the manual. No clue on this so I used a piece of regular jute or even carpet fibers. Point is to allow air to pass into the boot so pressure doesn't pop the boot.


Grease up, re attach the dust cover and you are done. Gasket on mine was in good shape so I re used it with a bit of aircraft gasket maker.


