• When you click on links to various merchants on this site and make a purchase, this can result in this site earning a commission. Affiliate programs and affiliations include, but are not limited to, the eBay Partner Network.

Can someone please tell me how to install the rocker panel moldings?

themechanic

Oklahoma is OK
Local time
6:52 PM
Joined
Nov 11, 2012
Messages
16,463
Reaction score
19,412
Location
Moore, Oklahoma
I have the old clips still on the car (see photo) and bought a new set since some were missing. The top and bottom of the clips are right up against the body. So, it looks like I need to slide something thin behind the top and bottom of the clips one at a time to get them to clip into the aluminum molding.

IMG_9998.jpg
 
Well, If ya feel lucky, when the cars were new and rocker moldings were $25.00 for the pair
we put them over the clips and made sure they were lined up. Use your flat palm and tap it on all
the way down! Dat's it! Now, if the new moldings are made of thinner, less stiff material, then you
may have a slight problem. But, That's the way it's done. Be Careful!
 
That would work fine but the problem is the tiny part on the top and bottom that locks into the molding is flush against the rocker panel. If it were sticking out a bit your method would certainly work just fine.
 
Once the molding lip gets past "center", it will click on. Oh, and I forgot to say,
put one complete side on the clip right up against the rocker panel first, then
you only have to work on one side. It takes two people. It's all coming back to
me now! (I Hope!) I've read a lot of posts that say that the new clips don't hold
onto the moldings like the stock ones, so use as many of the old ones that you
can.
 
I dis a set of repops on a 69 a few years ago. First, the repops suck. Thin.
I took a thin wedge trim remover tool and put two thin pieces of cardboard under the bottom of the clips to male them stick out a hair. Leave a few inches on the bottom so I could get them out. Have an extra set of eyes and hands. Put the trim on the bottom of the clips, pull up, and with as gentle pressure snap them over the top. When your done, just pull the cardboard out the bottom.

Patience, grasshopper. Patience makes it work.
 
The post above explains it well...it is no easy task and something one would think would take ten minutes can take hours and stressful.....

I went through the similar hassle with the side molding on my X.......
 
Thanks for the input, guys. I'll get some help and try the cardboard/plastic trick.

BTW, these have a bolt at the front on each side. I assume that goes on first to hold the molding on until the clips get seated.


s-l1600.jpg
 
Last edited:
Well, I could not determine how the black clips with the nuts go on so I just used an extra white clip. Apparently, I was overthinking it a bit. The thin tabs on the top and bottom I was concerned about clicking in don't actually hold anything. They are there to protect the paint and barely show, if at all, after the molding snaps into place. I got both sides on in about 30 minutes taking my time and taping things off, working by myself. I just started at the front, attached the bottom to the clip then smacked the top of the molding onto the top of the clip with my palm. I then went right down the line like that with the rest.

I had a few that were stubborn and needed help snapping all the way in. So, I used a small plastic trim tool and pried behind the part of the clip that was not cooperating then gave the molding another smack with the hand and Bob's your uncle.

The "old clips" that were on there when I bought the car were older repops and not original. However, they are different than the set I bought. The photos show a small rubber O-ring on the "old clips" and none on the newest ones.

Thanks for all the suggestions.

IMG_20191029_144154055.jpg
IMG_20191029_144229654.jpg
IMG_20191029_144558631.jpg
IMG_20191029_144616009.jpg
IMG_20191029_145054233.jpg
IMG_20191029_145115425.jpg
IMG_20191029_145214970.jpg
IMG_20191029_150453471_BURST000_COVER_TOP.jpg
IMG_20191029_150814453.jpg
IMG_20191029_151028142.jpg
 
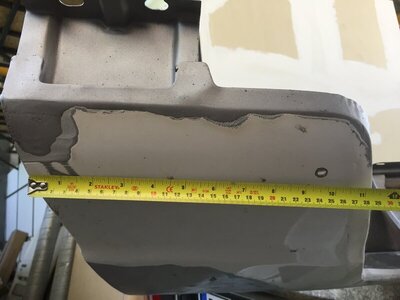
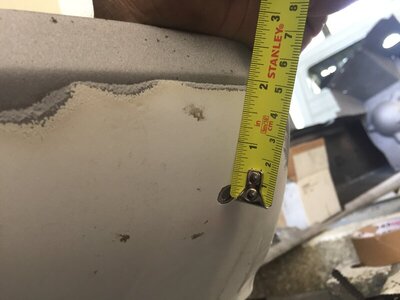
I need help to location of hole for on fender... I have fenders, but on both side has different location of hole...

5A6AE76D-A65C-4D74-AB6C-EED6C78C86B2.jpeg ECFF9918-479F-48D2-9E22-D8BAEEC9C35B.jpeg
 
I have the location holes somewhere on my computer at home
I’m at work now
If no one answers back tonight I’ll check it out in the morning
I found the location hole measurements on here with pictures
I think it’s for a Charger though
It might be the same
 
i pull a string along the existing holes in the rocker to locate the holes on the fenders, but the fenders must be installed either in mock up or in their final position

make sure the hole isn't too far forward, you need room inside the molding for the clip
 
BIGWILLI
I looked all over this thing (My PC) I can't find where I put that link and pictures. I put it in with my favorites but it's not there.
Sorry my man.
 
Auto Transport Service
Back
Top