• When you click on links to various merchants on this site and make a purchase, this can result in this site earning a commission. Affiliate programs and affiliations include, but are not limited to, the eBay Partner Network.

Lower control arms are done!

t.flatt

Well-Known Member
Local time
5:50 PM
Joined
Feb 28, 2014
Messages
440
Reaction score
705
Location
North Dakota
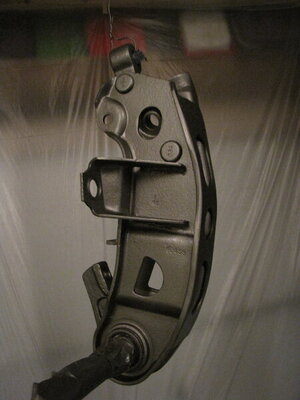
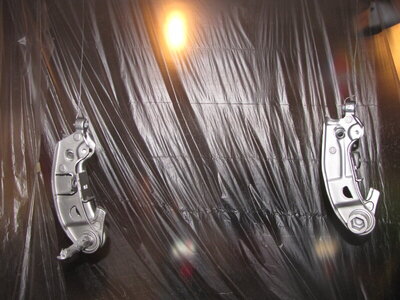
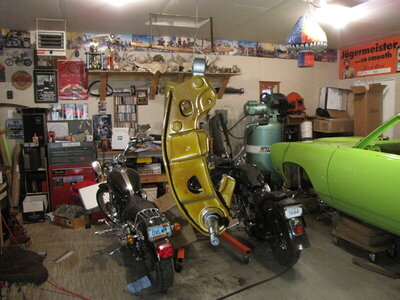
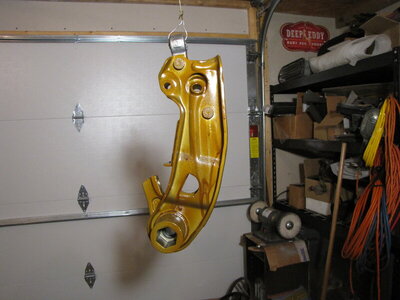
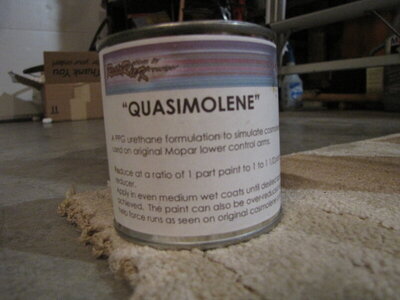
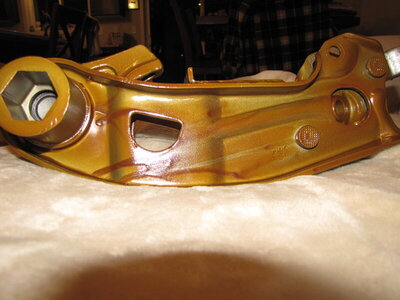
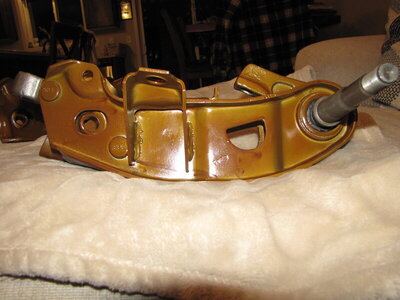
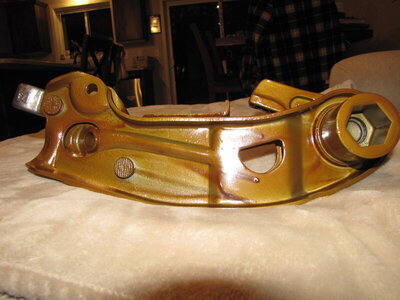
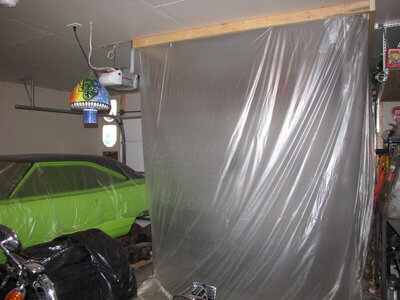
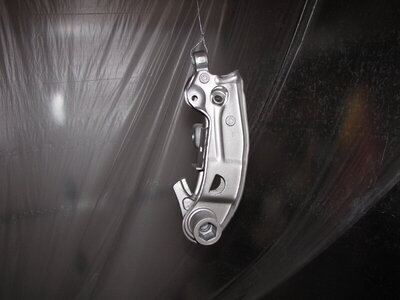
These things have been kinda hanging over my head like a black cloud and now they are done!! Woo hoo!! Of course, the bushings are a bitch to remove and install. My girlfriend's son welded the stiffening plates on and did an awesome job. I've never used 2 part paint in my garage before. I painted them with Resto Rick's "Quasimoline". It is supposed to look like the real cosmoline but dry so they are easily cleaned. First they got a soak in Evaporust but I ended up blasting them as well. Then, they got a coat of epoxy primer from Eastwood and a coat of Seymoure's stainless steel. The Quasimoline finished it off. I had to buy a paint gun and build a paint booth in my garage. Now that I can paint successfully in my garage I feel like I'm actually gonna get this car done!!! Full speed ahead on other projects! After doing this I would seriously consider dipping them in the real cosmoline if I had to do it again. It is such an awkward shaped part to get paint to cover everything. But, I'm very happy how they turned out!
IMG_5555.JPG IMG_5558.JPG IMG_5559.JPG IMG_5560.JPG IMG_5563.JPG IMG_5567.JPG IMG_5570.JPG IMG_5586.JPG IMG_5587.JPG IMG_5588.JPG
 
Another thing done. Very good job. Yes, those bushings are a pain. Found an article on You Tube on how one guy doses them. Still not an easy job. So, check that off the list what is next. LOL. :thumbsup:
 
Looks great...mine are still waiting for the plates to be welded on. Thanks for the motivation!
 
Another thing done. Very good job. Yes, those bushings are a pain. Found an article on You Tube on how one guy doses them. Still not an easy job. So, check that off the list what is next. LOL. :thumbsup:
Thank you! I ended up removing 2 sets of these bushings. The first ones I did with a small cut-off wheel and a chisel. For the second ones, my step-dad took a torch to them. It burns right through the soft bushing metal and leaves the control arm pretty much untouched! Brake and fuel lines are next...
 
that quasemoline finish looks great
Yeah, it does! I've actually never seen in person what a fresh dip in cosmoline looks like, only internet pictures. These are a bit darker than what I imagined but I love the way they look!
 
Nice job.
Seems like you do not have to worry about corrosion for the coming 200 years on those LCA's! :)
 
Thank you! I ended up removing 2 sets of these bushings. The first ones I did with a small cut-off wheel and a chisel. For the second ones, my step-dad took a torch to them. It burns right through the soft bushing metal and leaves the control arm pretty much untouched! Brake and fuel lines are next...
I haven’t done mine yet, but are you able to drill out the bushings? I did it to the rear leaf spring bushings and it worked pretty good.
 
I haven’t done mine yet, but are you able to drill out the bushings?

I removed the rubber and after went through the bushing with a pencil grinder in a straight line to weaken it.
After you can get an old screwdriver and knock it inwards and it will be out.
 
Auto Transport Service
Back
Top