• When you click on links to various merchants on this site and make a purchase, this can result in this site earning a commission. Affiliate programs and affiliations include, but are not limited to, the eBay Partner Network.

Monroe's 70 GTX

Well finally my young bloke is home on leave, so I have someone giving me a bit of a push to get out and do some more on the car. We got the new headlight wiring loom and added the extra bits for the headlight relay. Also added the wire from the alternator to the starter relay.Thanks to kiwigtx for the how to on this upgrade. :icon_thumright: Need to tidy up the wiring a bit before going anywhere though. But at least it's done now.
Put on some letters on the back panel and installed the trunk rubber. I'll wait till nice and dry and then cut and join up the base of it. Also put the bonnet back on, just because we wanted to see it on again. Also easier to do when there's an extra pair of hands here.
View attachment 226969

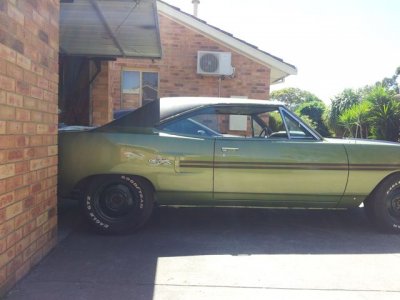
Good looking progress on your build there MonroeGTX . . . OK, I can no longer say anything about my small shop that I work in, your doors look like you "may" have about an inch clearance on each side while pulling it into the garage ! ! !

I've gotta keep an eye on your progress - one of these days I hope to be putting things back together again too ! !
 
Thanks Kahn. I don't know how many times I've had to push it in and out just to have some extra room to work in. The more I put on it now the heavier it gets. I used to shove it in with one hand, now I have to take a run up to get it over the little hump at the entrance. lol.
 
LOL Just don't try to back it in after you've had a few beers... ...unless you want to copy a race car and put a "Darlington Stripe" on it!
 
Don't feel to bad! I have the same problem with the entrance to my small shop, when i had and kept my 73 in there ever time i had to get it out or in i broke out in a sweat, When i primed it i pulled it out for something and i thought it wasent all the way out just don't touch the wheel, didn't work i scraped the fat hips on that car (D-side above wheel) and had to do some sanding, i have about 4 inchs on each side and im being generous i think LOL!
Your car is looking great, please don't make the same mistake! lol, confidence sometimes can get us hung :)
 
Mate came out and we had a look at my (new) trim clips. Front ones look great , plenty of room for the trim to fit. Rear ones were like yours, super tight,would need a hammer to knock them in. We backed off the screws ( used a feeler gauge , 65 thou) and trim goes in nice. Assume that the sealant and the pressure of the trim in the clip would stop the screw from coming out.
Watching with interest as i want to put my screens in soon as.
 
Don't feel to bad! I have the same problem with the entrance to my small shop, when i had and kept my 73 in there ever time i had to get it out or in i broke out in a sweat, When i primed it i pulled it out for something and i thought it wasent all the way out just don't touch the wheel, didn't work i scraped the fat hips on that car (D-side above wheel) and had to do some sanding, i have about 4 inchs on each side and im being generous i think LOL!
Your car is looking great, please don't make the same mistake! lol, confidence sometimes can get us hung :)

I know what you mean Ron. I always make a habit of checking both sides first and during to make sure its going in straight.

- - - Updated - - -

LOL Just don't try to back it in after you've had a few beers... ...unless you want to copy a race car and put a "Darlington Stripe" on it!

Ouch!! After a few beers I'm not sure I'd have the strength anyway Hawk. Probably just fall down and crack another one. lol

- - - Updated - - -

Mate came out and we had a look at my (new) trim clips. Front ones look great , plenty of room for the trim to fit. Rear ones were like yours, super tight,would need a hammer to knock them in. We backed off the screws ( used a feeler gauge , 65 thou) and trim goes in nice. Assume that the sealant and the pressure of the trim in the clip would stop the screw from coming out.
Watching with interest as i want to put my screens in soon as.

Was thinking the same thing Tony. As long as I don't loosen 'em too much I reckon it should be all good.
 
Hope everyone had a safe and happy xmas catching up with loved ones. I know I did, both son and daughter home on leave, at the same time. Very cool.

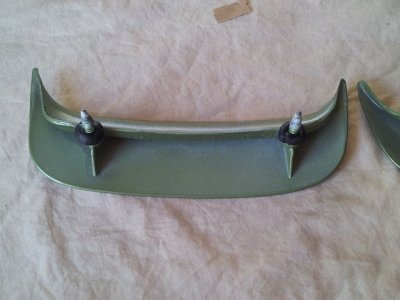
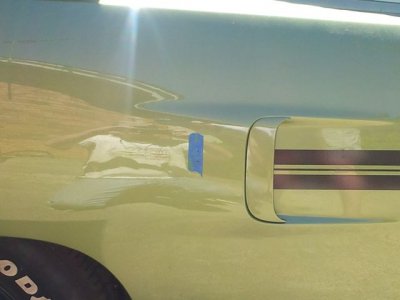
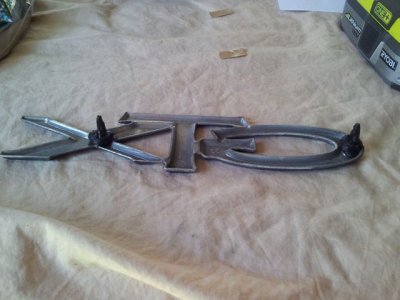
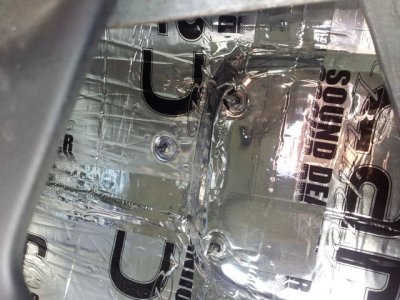
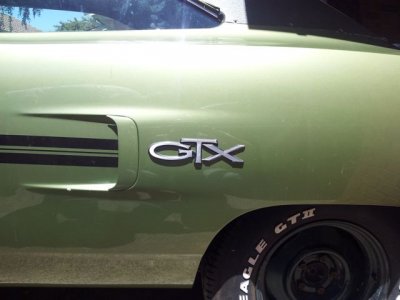
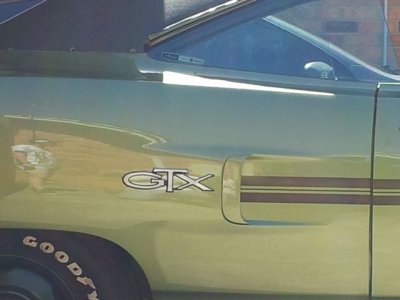
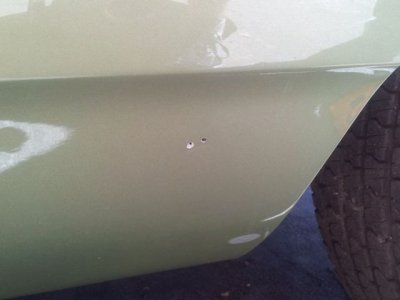
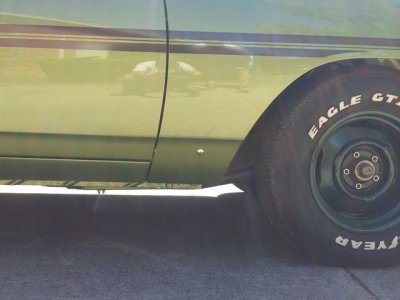
The young bloke and I had a bit of a play today and put on some emblems. First put on the side scoops with a bit of rolled up window weld for waterproofing. Put some tape down and marked up the hole placement for the GTX emblem. Once the first hole was drilled, sat the emblem in the hole and placed a dob of paint pen on the end of the mounting pin, and once level touched it against another bit of tape to get the location hole for the other pin. Put a bit of primer in the holes and then placed some rolled up window weld around the mounting pins to ensure no water gets in. Because of the sound deadener inside the guards, once the nuts were tightened it pushed in the sealant from both sides. Nothing will be seeping through those babies lol. Thanks to Zippy for this thread on emblem placement, and those that contributed to it. http://www.forbbodiesonly.com/mopar...arter-emblem-measurement-placement-thanks-all
Scoop .jpg Hole marking.jpg GTX sealant.jpg Emblem rear.jpg
Driver GTX.jpg Pass GTX.jpg Also put on the pentastar. Already had the holes in the guard, just had to open one up a little bit because of when it was painted. Pentastar holes.jpg Pentastar.jpg
Pass side.jpg

- - - Updated - - -

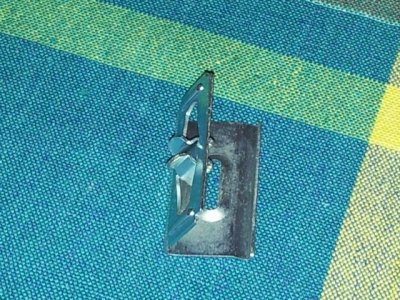
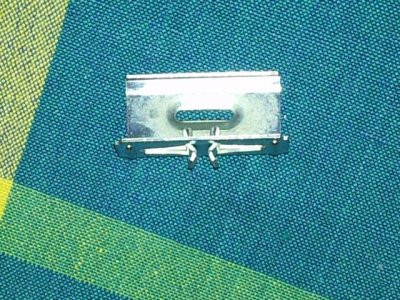
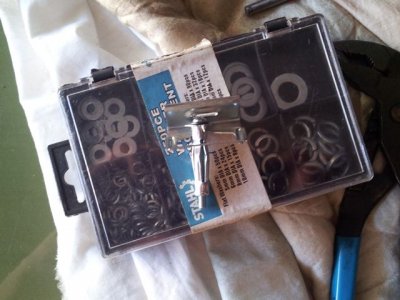
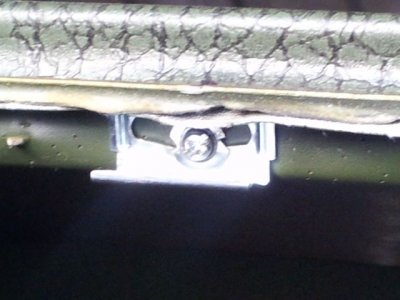
Had to make some adjustments on the interior windshield trim clips. I only had 5 original clips so I bought 6 aftermarket ones to replace the lot. I couldn't get them to sit in right though. It seemed that the barbs didn't go into the roof far enough to catch properly, and as someone mentioned earlier, they do break off easily. They also seemed to sit further out than the originals. I ended up re-using my old ones and made some adjustments to one of the new ones to anchor it at the same height as the originals. All six are now in and they all seem to sit at the same height now.
Trim clip 2.jpg Trim clip 1.jpg Trim clip 3.jpg trim clip 4.jpg
Trim clip 5.jpg

Sorry Tony, we didn't get onto the back trim clips today as I said I would. But hopefully will have them done and the back window in next weekend. Cheers.

Driver GTX.jpg Emblem rear.jpg GTX sealant.jpg Hole marking.jpg Pass GTX.jpg Pass side.jpg Pentastar holes.jpg Pentastar.jpg Scoop .jpg Trim clip 1.jpg Trim clip 2.jpg Trim clip 3.jpg trim clip 4.jpg Trim clip 5.jpg
 
Wow! Been reading and going over your progress for the last 2 hours straight! It's like watching a good movie or something. I am completely envious of your patience and meticulous attention to detail. I hope and pray that I can come a little close to what you have achieved over the last couple of years. Hats off to ya mate!!:beavisnbutthead:
 
Just got done getting caught up on your progress, wow you've been busy and doing some top notch work as usual.:sSig_goodjob: I'm going on close to a month of no garage time and know exactly what you guys are talking about, I'm going nuts!
 
Nicely done! I just installed my side scoops too, and I also put a little Strip-Calk to avoid seepage of water.

Like you, I now need to add my "road runner" emblems, but I have to drill the holes since my quarter panels were replaced. It will be one of those deals where measuring out the holes will take forever, but popping in the emblems should take no time. I DO have the fender pentastar emblem however and my original fender, so looks like I need to get to work!!!

Hawk
 
I had to drill holes for emblems in Chevelle quarter panels that kind of made me a LOT nervous... Id hate to do them in a Mopar, scares me to think about these shaky hands :) I love the looks of the GTX emblem, great job and really adds to that car... This is looking better then good!!!
 
I had to drill holes for emblems in Chevelle quarter panels that kind of made me a LOT nervous... Id hate to do them in a Mopar, scares me to think about these shaky hands :) I love the looks of the GTX emblem, great job and really adds to that car... This is looking better then good!!!

It's not just the shaky hands Ron. When I placed the drill on the mark, my son would stop me and move the drill bit just a little, and whilst laughing at me, would say go now dad you were off target just a bit. We may be wiser but still need someone to keep us on target lol.
 
Looking real sharp Glenn. Nice out of the box thinking on the front clips. I was real careful and was able to get mine in and out without damage. Thanks for the great photos, i can see where you trimmed the headliner at the front. I am envious of those 'steelies' , look great.
I got my rear clips in today, pics on my thread.
 
Rear window install

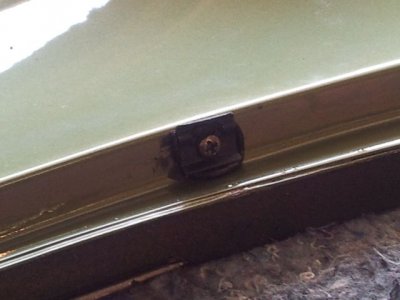
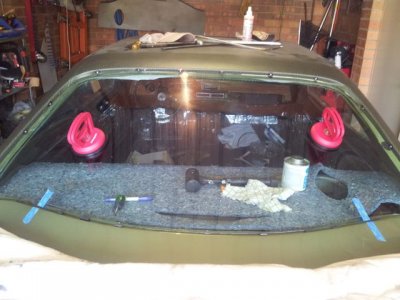
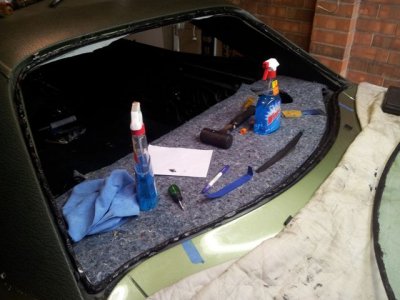
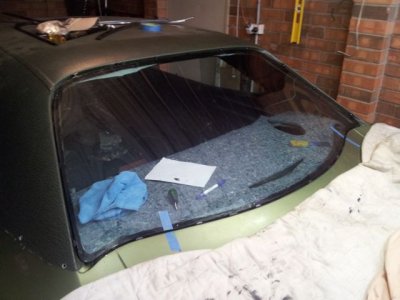
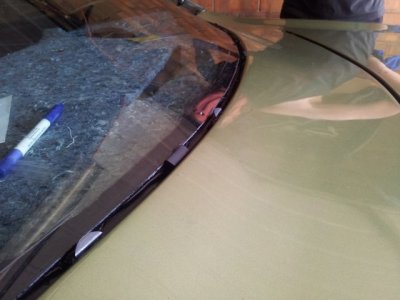
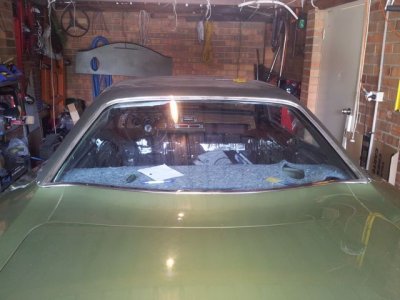
Ok, so we tackled the rear window today and here are the results. First off we put a small dob of strip caulk over the clip holes and squashed em down and put the screws in. The ones on the vinyl I put the caulk underneath then squashed it in by screwing on the clip. Once all the clips were done we tried the glass on for fit. I put a couple of strips of tape on the glass once in position just to give us something to aim for when placing on for good.
R clip 1.jpg Align glass.jpg
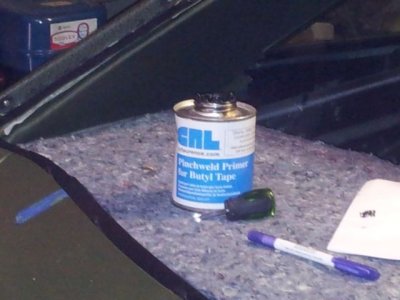
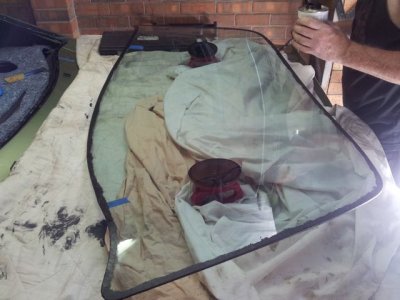
Cleaned the lip with some cleaning alcohol and then painted on the pinchweld primer. Placed the ribbon right around and made sure to butt the join real well. Then cleaned the edge of the glass again and applied the primer to the glass as well.
Pinch primer.jpg Window weld on.jpg Prime glass.jpg
Placed the spacer blocks on the bottom then placed the glass in position. Pushed the glass on firm and then pushed the car out into the sun for 1/2 an hour to soften the window weld. Pushed the car back into the garage and pushed the glass down further to ensure that the caulking was squeezed down nice and firm.
Glass in.jpg Blocks.jpg
Placed the trim back on to make sure that it all still fitted ok.
Trim on.jpg
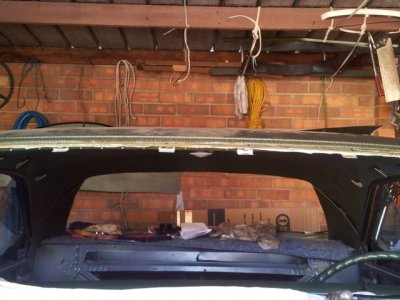
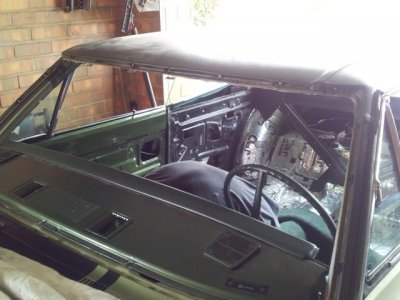
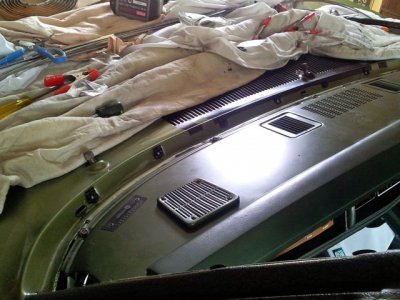
Plan to tackle the front windshield either tomorrow or mid week. We drilled the holes for the clips along the top because of the new roof skin, and down the sides. Placed the caulking on the holes as we did on the rear and put on all the clips. All ready to go for the next step. Fingers crossed. :grin:
Windshield clips.jpg Windshield clips 2.jpg
 
Very nicely done MonroeGTX . . . looks professional ! ! ! ( LMAO - and the car just got even heavier too ! )

Great progress and looking fantastic !
 
As always Glenn, top notch work! You are setting a pretty tough standard to match, but I appreciate all the details and pictures to help guys like me along!

Hawk
 
Good stuff here. Thnx, Gonna come back when I do my glass..
 
Very nicely done MonroeGTX . . . looks professional ! ! ! ( LMAO - and the car just got even heavier too ! )

Great progress and looking fantastic !

Thanks Larry, and congrats on taking on the challenge of keeping the site running smooth. A big thank you to all the staffers for keeping this site going, your work is much appreciated by us that use it as a valuable resource and at times social connection.
And yea, the run ups are getting longer now lol.

- - - Updated - - -

As always Glenn, top notch work! You are setting a pretty tough standard to match, but I appreciate all the details and pictures to help guys like me along!

Hawk

Thanks Hawk. I've picked up a lot from this site so it's nice to know when you're helping others out as well.

- - - Updated - - -

Good stuff here. Thnx, Gonna come back when I do my glass..

No worries DK, I've found that the more build threads I read on here, the more I'm willing to tackle myself.
 
Where did you get the roof lining material that goes under the headliner? Was it some common material you purchase in a roll or?
 
Auto Transport Service
Back
Top