• When you click on links to various merchants on this site and make a purchase, this can result in this site earning a commission. Affiliate programs and affiliations include, but are not limited to, the eBay Partner Network.

Monroe's 70 GTX

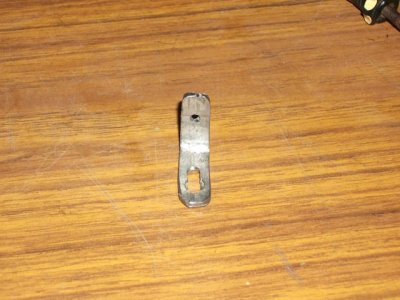
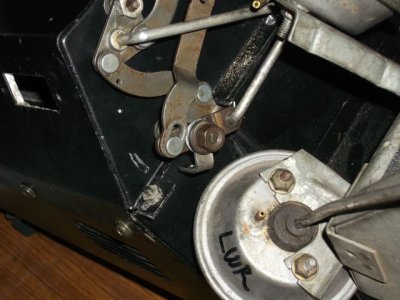
Turned out that I had the linkages all wrong on the ac/heater box. I took photos of when I pulled it apart, but they turned out to be wrong. Couldn't get the doors to operate correctly. After a long and frustrating time I did a google search, that led me to the charger forum where a bloke had restored a 69 unit. He had the linkages set up a little bit different than what I had so I changed mine around. Still couldn't get the bloody thing to work right. :BangHead: Turns out I was missing a piece. An elbow that goes over the heater door rod after the other linkages are on. I ended up making one, not too pretty but seems to do the job. Still missing a spring that goes from that elbow to the ac door linkage, hopefully I'll be able to get a spring from the shops in the near future. At last I'm starting to put things back on. It's been a long time coming but it's getting there. Time for a cold one I think. :beermug:
DSCF0690.jpg DSCF0688.jpg DSCF0691.jpg DSCF0692.jpg DSCF0693.jpg
 
Looking good Monroe!

- - - Updated - - -

looks great! how did you get it in and stuck on to the rear side window area? go in through the glass channel and peel sticky covering off once in?
 
Don't know how I missed this thread, but just read it all. Looks like you picked a great body shop. It turned out beautiful and they seemed to really move along on it. I agree with the others that the best part is left - putting the rest of the car together and making it look new again. Nice job so far.
 
thanks for the kind words fellas. Tallhair, I went down through the glass channel as you said, but i peeled the backing off first. I tried to do with the backing still on but because of the lack of room I found it hard to peel and paste, so to speak. Managed to keep it off the panel till I had it close to where i wanted it and then pushed it to the panel. (lots of scratches on hands and forearms). Because i could only roll it on the main section, I got a thin piece of wood which i had smoothed off the edges and used that to press in where i couldn't roll.
 
Excellent Work!!!

Glenn, That`s an EXCELLENT resto you`re doing there!!! I started at the begining & went through every post. :read2: You must be PROUD of your accomplishments!! The first time your "GTX" hits the road under it`s own power, this`ll ALL be worth it!!! You`ll NEVER forget that feeling!! :love7: I`m really glad i could help you out with that ac part. :icon_pidu: I always said the internet was an amazing place!! Good Luck in the future & keep the updates & pics coming,, Thanks Again, Fred :headbang::blob1::headbang:
 
Thanks for the kind words Fred. It's taking me a while as I've never done anything like this before, and needless to say I've had to do certain things a couple of times because I didn't do them right.:cussing: But I will admit that it's a lot of fun and satisfying when you see things coming together. You're right about the net, I've picked up heaps of hints and info, and on youtube you can actually see people doing stuff that you need to do yourself. This sites pretty great as well. The opportunity to get hold of missing parts is excellent. Thanks again for helping out. :VB toast:
 
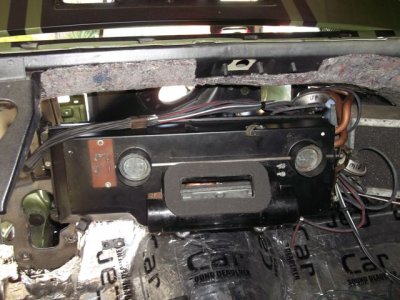
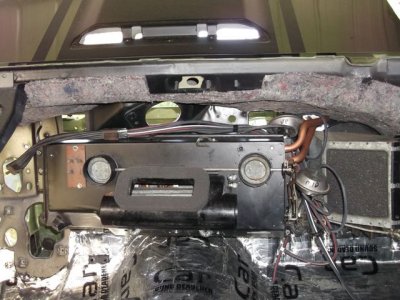
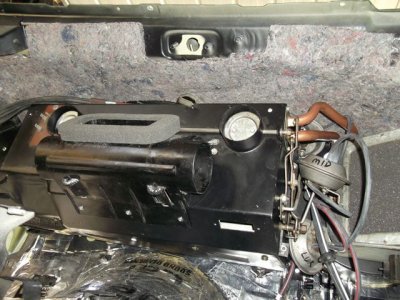
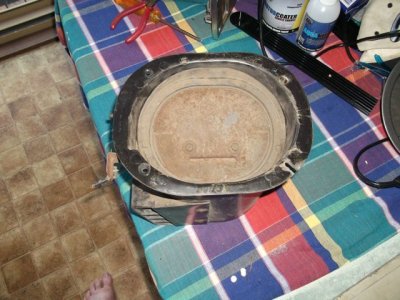
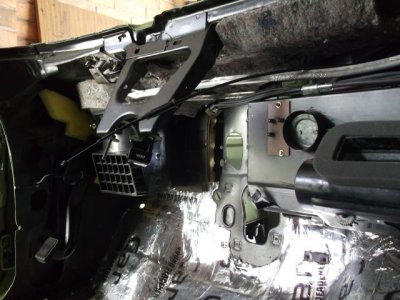
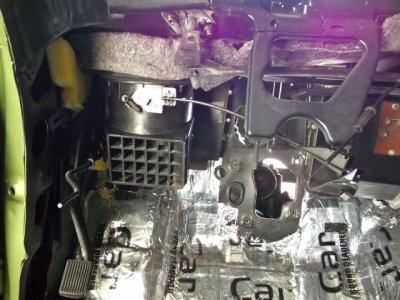
I took the ac/heater box out again because I forgot to put the last of the insulation up there. Also I was bit worried about having to work around it putting the other stuff in. (I never said I was smart) While I've been waiting for some cables and ducts and vents to come from the States I've just been cleaning up some of the bits to bolt back on.

DSCF0708.jpg DSCF0725.jpg
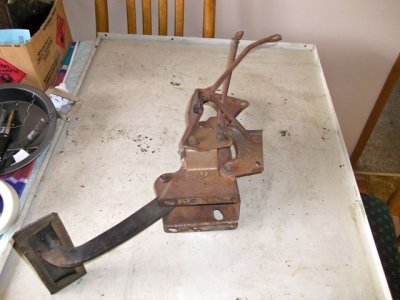
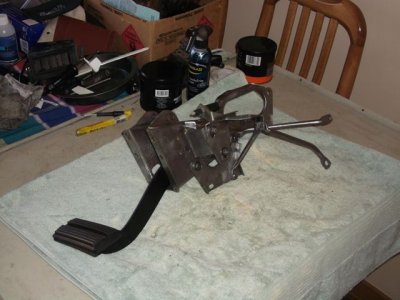
Cleaned up the brake pedal mount and coated it in clear to keep it nice.
DSCF0730.jpg DSCF0735.jpg
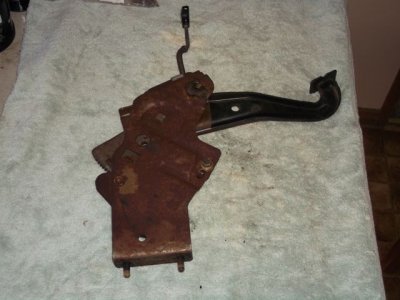
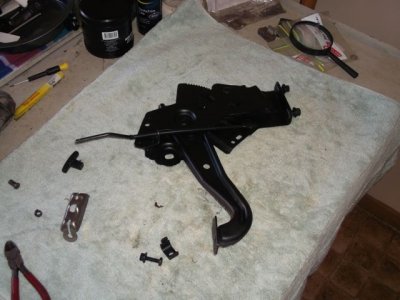
Took a bit of doing but managed to get all the rust off the park brake and gave it a couple of coats of paint.
DSCF0701.jpg DSCF0703.jpg
DSCF0706.jpg DSCF0707.jpg
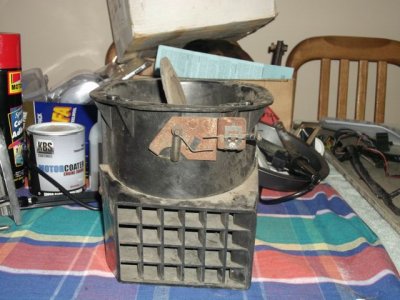
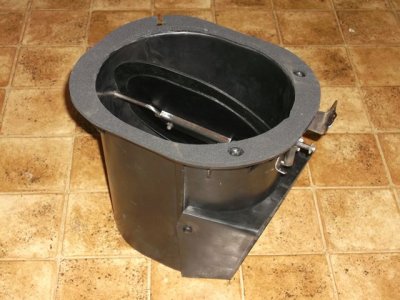
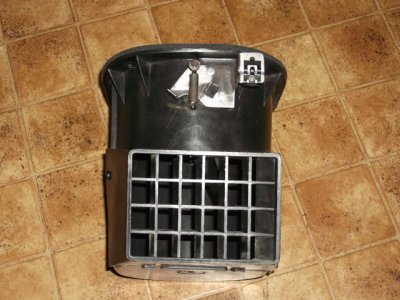
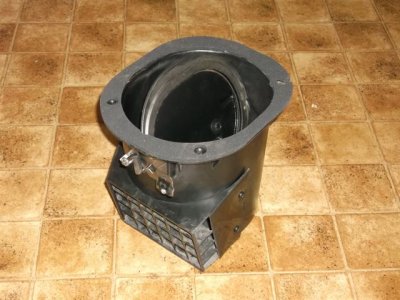
Tubbed up the plastic as best I could and cleaned up the metal bits and painted the vent black and the rod and switch a coat of clear.
DSCF0705.jpg
A new seal over the top to finish it off.
Hopefully the bits I've been waiting on will arrive in the next week or two, and I can place the dash back again.
 
Looks good. Hope you get your parts soon so we can get some pictures of it in place.
 
I wanna move to Australia just so monroegtx can work on my car!

What a thorough and fantastic job he is doing on this vehicle.

It will be such an incredible resto when he is done. Love these updates!
 
I wanna move to Australia just so monroegtx can work on my car!

What a thorough and fantastic job he is doing on this vehicle.

It will be such an incredible resto when he is done. Love these updates!
WOW! With praise like that I wanna move to Salt Lake City!:grin:
 
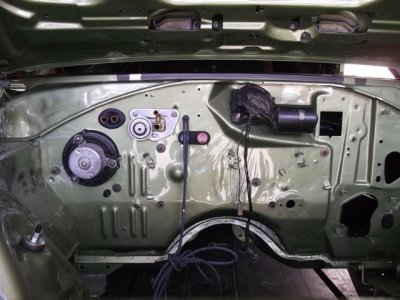
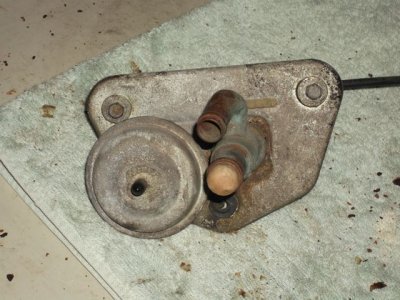
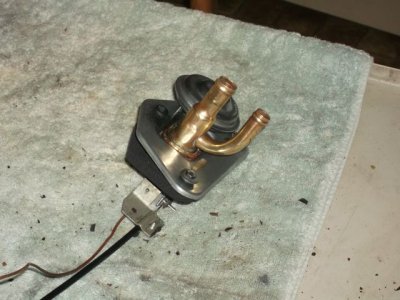
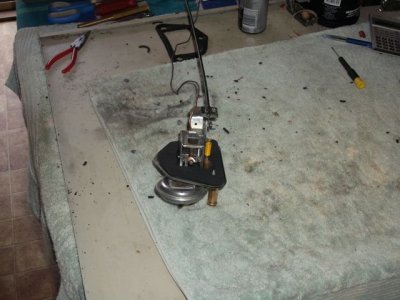
Put a couple of things back on over this weekend. Water valve actuator, driver fresh air box, passenger fresh air duct, ac/heater box (again), park brake. Put a kit through the steering shaft coupler, forgot to get a pic of that. I'll take one when I put it back in. Cheers for now.
:VB toast:

Driver air box.jpg Driver fresh air box.jpg
Firewall.jpg Passenger fresh air.jpg
Water temp control.jpg WTC 2.jpg
WTC 1.jpg
 
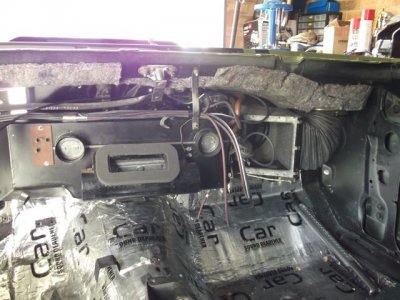
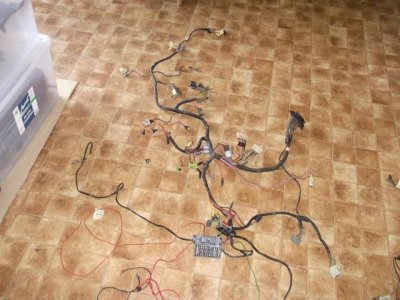
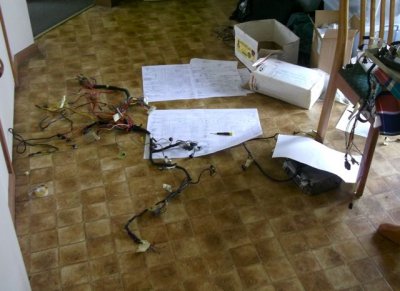
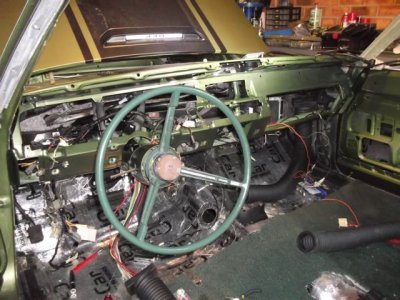
Been a bit busy lately so haven't had the chance to do much. Made one wiring loom out of two because of past damage to the original. Took me ages but I think I got it alright in the end. Put in the dash and starting to place the ducts and wiring in some kind of order. Gets pretty crowded in there with the a/c ducts.

loom.jpg DSCF0814.jpgvdash 1.jpg
 
Put a couple of things back on over this weekend. Water valve actuator, driver fresh air box, passenger fresh air duct, ac/heater box (again), park brake. Put a kit through the steering shaft coupler, forgot to get a pic of that. I'll take one when I put it back in. Cheers for now.
:VB toast:

I love this thread and watch it with obvious interest since I have a 70 as well. Cheers mate
VB toast.gif

- - - Updated - - -

Been a bit busy lately so haven't had the chance to do much. Made one wiring loom out of two because of past damage to the original. Took me ages but I think I got it alright in the end. Put in the dash and starting to place the ducts and wiring in some kind of order. Gets pretty crowded in there with the a/c ducts.

View attachment 113593

Really coming together fast now!
 
heres a toast to you once again...this is gonna be one sweet 70...i too have one as well. i hope it comes out as nice as yours.
 

Attachments

  • fosters-beer-and-girls-demotivational-poster-1276364845.jpg
    fosters-beer-and-girls-demotivational-poster-1276364845.jpg
    80.3 KB · Views: 548
  • Fosters_beer_towels_girl.jpg
    Fosters_beer_towels_girl.jpg
    46.6 KB · Views: 591
Doesn't look like a whole lot of room once you start putting everything back.
 
Auto Transport Service
Back
Top