• When you click on links to various merchants on this site and make a purchase, this can result in this site earning a commission. Affiliate programs and affiliations include, but are not limited to, the eBay Partner Network.

Monroe's 70 GTX

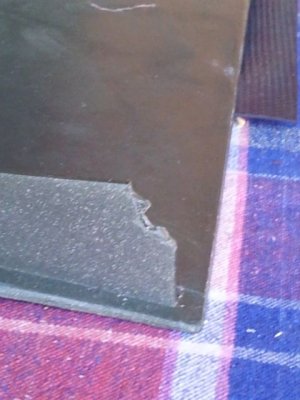
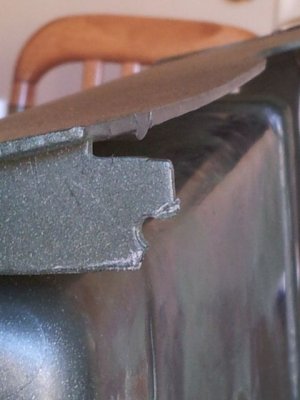
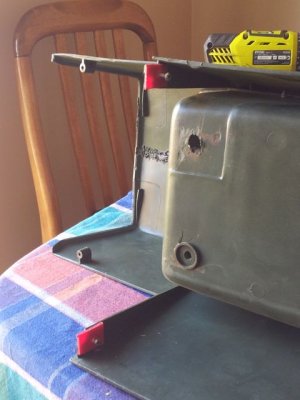
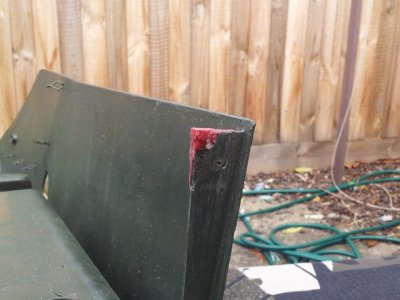
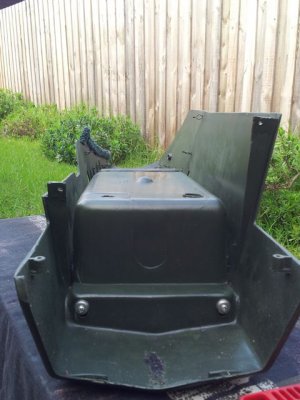
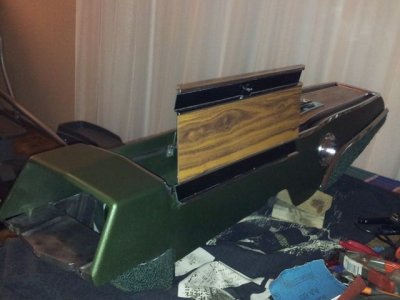
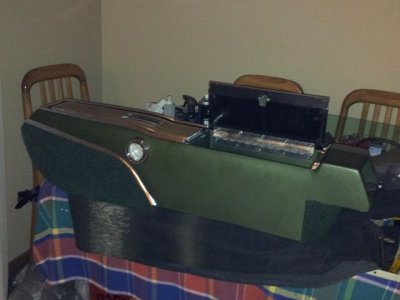
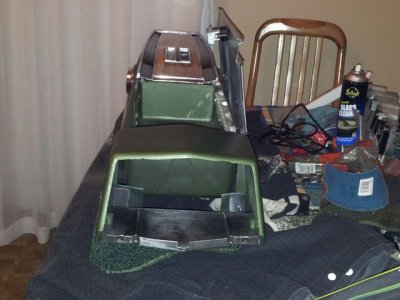
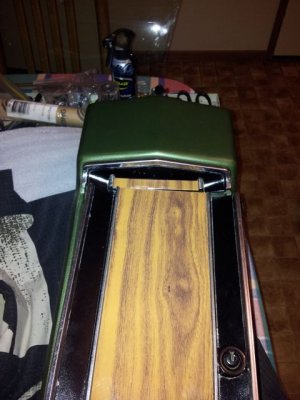
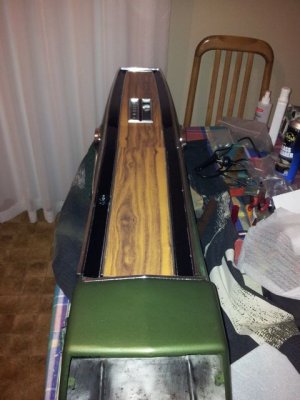
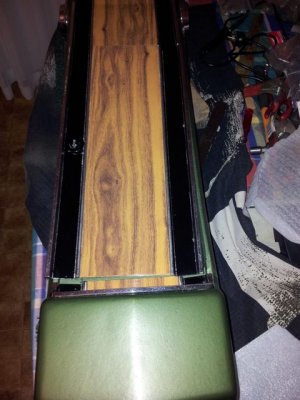
Had a decent crack :bootyshake: in the top of the console and didn't have a spare $500 to grab a new one. I carved a valley with the soldering iron and cut some slivers off the underneath to use as filler and melted it back together. I forgot to take photo's during the repair, but I got one of the underneath afterwards. Because I had to sand the joint I lost the texture off the top, so unfortunately that part is smooth. Doesn't look too bad though. I had some of the leftover EF8 paint made up into spray cans, but it looked a bit bright. I ended up using some of the leftover in my spray gun and the colour came out better. :blob1:
View attachment 173705 View attachment 173707 View attachment 173706 View attachment 173708View attachment 173709 View attachment 173710
I had a bit of trouble with the taillights because of the repop dome nuts. They wouldn't cut into the bezel shaft. I ended up using small pal nuts and silastic the dome nuts over the top. I also painted the boot body colour as I didn't like it black, just didn't look right. Sorry I listened to the resto shop on that. They talked me out of painting the inside body colour as I first wanted. Maybe it saved them time or something, I don't know. At the time I didn't really know better and took there advice on a couple of things which I ended up fixing myself later. Live and learn. :head_smack:
View attachment 173711 View attachment 173712 View attachment 173713
Had a couple of plastic pieces which I couldn't remember where they came from. After looking back through some old pics I found 'em by chance. Don't really know what they do but that's where they go. :icon_super:
View attachment 173714 View attachment 173715

Thanks for the how to! I have one im going to need to repair that same factory built crack lol...
 
Thanks for the how to! I have one im going to need to repair that same factory built crack lol...

Must be a common stress point Ron.

- - - Updated - - -

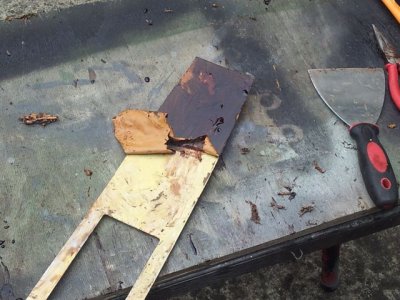
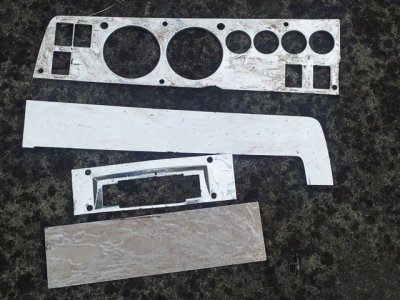
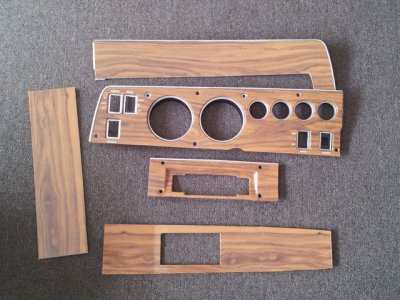
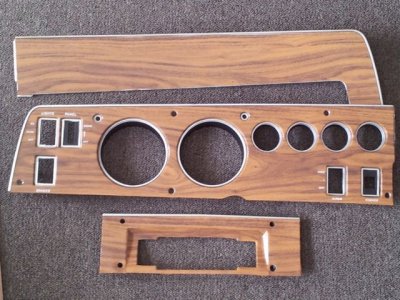
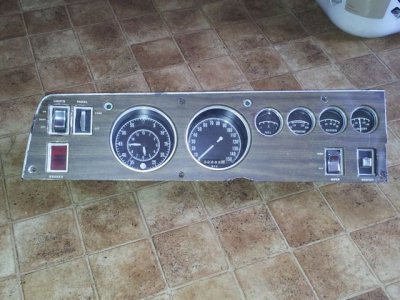
The new woodgrain decals arrived from Whiteguages last week and I've finally finished 'em. They came out ok and I'm pretty happy with the results. Would've been easier if the decals had a bit of extra overhang instead of just right size. The main instrument one was ok but the others had to be spot on, no overhang available. Cleaned off the old woodgrain with paint remover. Came off fairly easy except for the console auto piece. Had to rough up the vinyl top to get the paint remover to work. The 8 track surround was a bit ordinary and pretty beat up. The insert backing was in shocking condition. After cleaning it up and doing some panel beating it didn't come out too bad. Same with the right hand bottom corner of the instrument panel.
Instrument cluster.jpg Old woodgrain.jpg Woodgrain off.jpg 8 track surround backing.jpgNew woodgrain 2.jpg New woodgrain 1.jpg
Was tempted to leave it all chrome. After taking off the old woodgrain the chrome underneath looked pretty good.
 
Purdie, purdie, that sure came out nice Monroe.
 
Nice job on the dash - it looks better than new. It's amazing what a couple of hours of labor can do for pieces like that.
 
Out of curiosity - and this is going back quite a ways - did you get the 8-track to play at the right speed? I recall it was too fast and we suspected a dried rubber roller...
-=Photon440=-
 
Must be a common stress point Ron.

- - - Updated - - -

The new woodgrain decals arrived from Whiteguages last week and I've finally finished 'em. They came out ok and I'm pretty happy with the results. Would've been easier if the decals had a bit of extra overhang instead of just right size. The main instrument one was ok but the others had to be spot on, no overhang available. Cleaned off the old woodgrain with paint remover. Came off fairly easy except for the console auto piece. Had to rough up the vinyl top to get the paint remover to work. The 8 track surround was a bit ordinary and pretty beat up. The insert backing was in shocking condition. After cleaning it up and doing some panel beating it didn't come out too bad. Same with the right hand bottom corner of the instrument panel.

Was tempted to leave it all chrome. After taking off the old woodgrain the chrome underneath looked pretty good.

I think some call it a factory spec! :) That looks great bud! No matter what Mopar is your favorite, There's no way to beat the instrument panel in the 70"s...
 
I think some call it a factory spec! :) That looks great bud! No matter what Mopar is your favorite, There's no way to beat the instrument panel in the 70"s...
Too true Ron, they are beautiful. They just scream sexy. :cool:

- - - Updated - - -

Out of curiosity - and this is going back quite a ways - did you get the 8-track to play at the right speed? I recall it was too fast and we suspected a dried rubber roller...

-=Photon440=-

To be honest mate, I put it aside at the time and have just clean forgot about getting back to it. Soon as I do I'll let you know how I get on.
 
Bit of glass

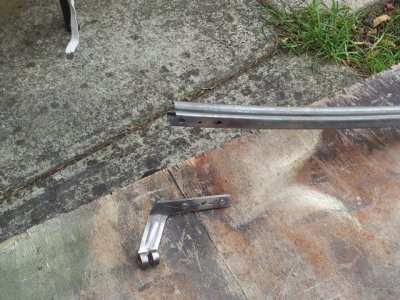
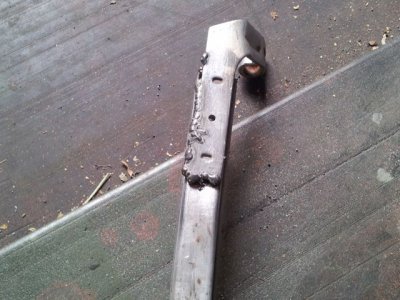
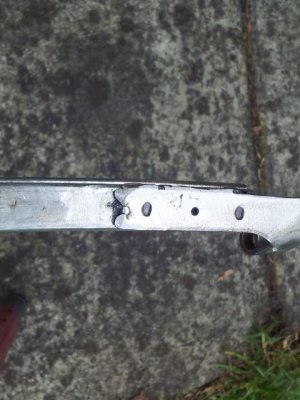
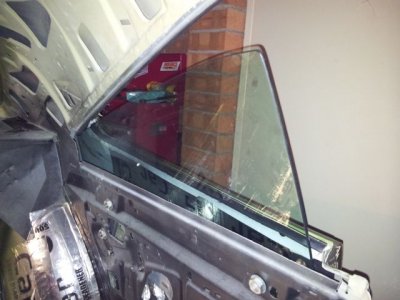
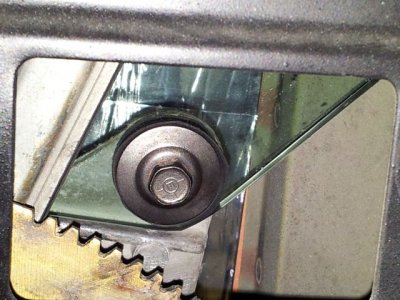
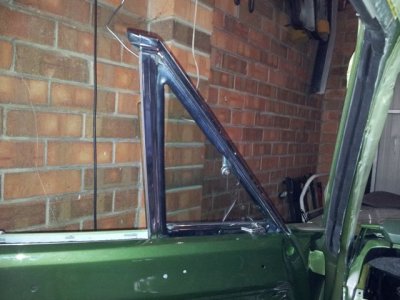
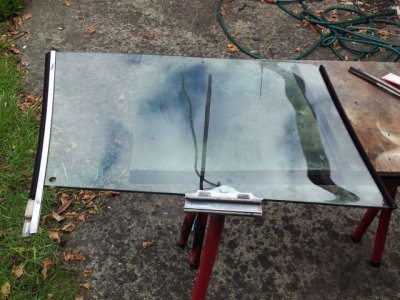
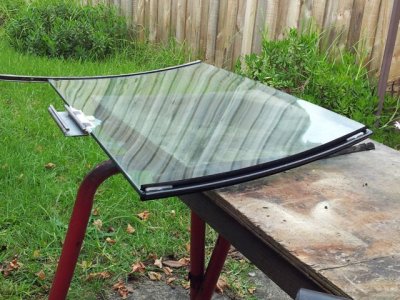
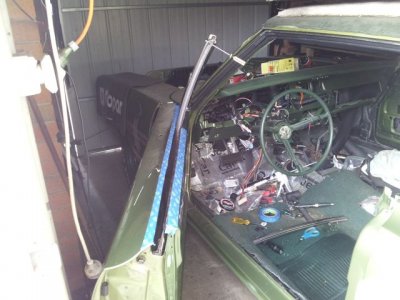
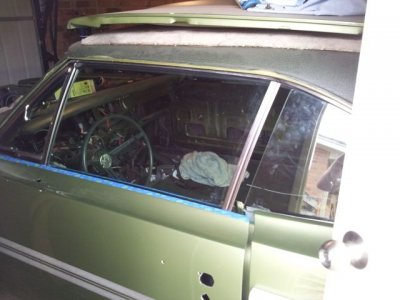
Was placing the roofrail weatherstrip and felt that it needed stretching just a bit. Rather than glue it on and finding that it was out a bit, I decided to put the glass in and have that hold it in place when I glue. The bottom part of the vent window on the drivers side was broken when I removed it a few years back so I had to weld it back on. Not very pretty welds but at least its back on. I had already put on the door fuzzies in one of my moments of over enthusiasm that are always out of sequence, so I couldn't lean the vent window far enough back to get it in. Try taking off new door fuzzies without scratching or bending, what a pain in the butt. Anyway got it done. I cut some thin rubber for the bolt gaskets on the qtr windows, seems to do the trick alright. Hopefully I'll get the door glass in tomorrow and then glue the weatherstrip in place.
Vent window brace 1.jpg Vent window brace 2.jpg Vent window brace 3.jpg
Qtr glass.jpg Qtr glass bolts.jpg Vent window.jpg
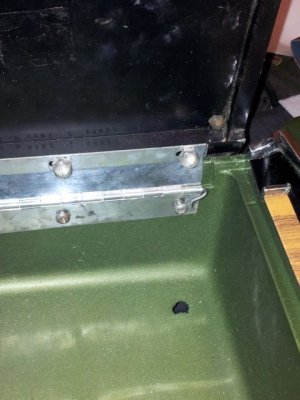
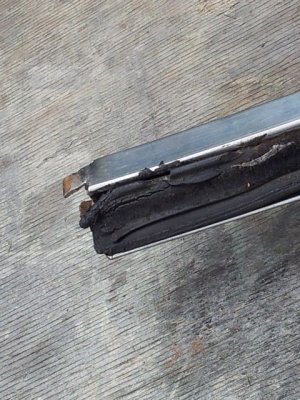
I've been putting the console together as well and after I put the carpeting on the side I noticed that I hadn't fixed the broken screw holes at the rear. I don't know why I didn't do it when I fixed the crack on the top. I didn't attempt to fix the mounting hole at the bottom. I plan to place a piece of metal on the inside when I put it back in the car, give it some extra strength. None of this gear was bolted into the car when I got it, it was all in the boot. You can probably tell that the old girl had had a hard life. Also struck a bit of a problem with the lid. The front of the hinge seems to bend forward when closing the lid bringing it over too much. I remember when I pulled it apart after I got the car that it was like that. At the time I didn't give it much thought because I figured it was just adjustment. Not sure now, may need to bend the hinge or place a metal backing plate behind the plastic on the inside to strengthen it, so it doesn't bow. Might put that aside for the moment with the other too hard stuff.
CW2.jpg CW1.jpg CW3.jpg CW4.jpg CW5.jpg CW7.jpgCW6.jpgCW8.jpg
C3.jpg C2.jpg Console 1.jpg C4.jpg
 
Installing door channel rubber

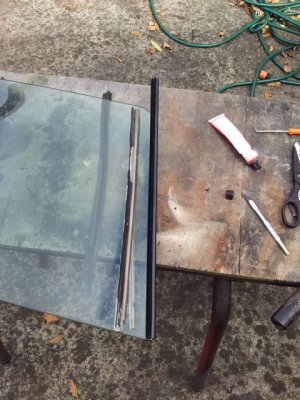
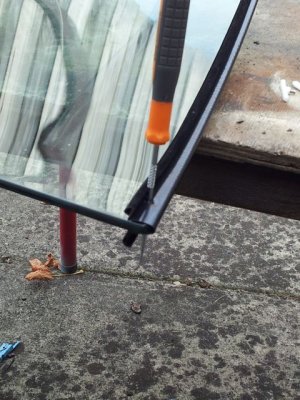
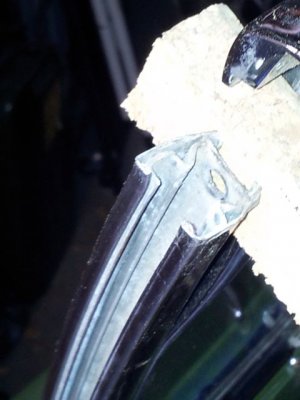
Ok, a bit more. Removed the old rubber from the door window and put new rubber on. I bent the tabs out then realised I didn't have to as I wan't replacing the square channel rubber. I used a hook to clear out the channel of old rubber so that the new one would slot in properly. There was a build up of old rubber and silicon which would have stopped the new one from seating properly.
Door rubber 1.jpg Rubber stops.jpg New and old.jpg Hook.jpg Door rubber 2.jpg New rubber.jpg
Also put on the new plastic felt channel runner. Poked the holes and enlarged them with a drill bit. A leather punch or something like that would be ideal for the job. Holes have to be big enough for the plastic runners to clip together properly. I didn't want to just force them through the plastic in case it split. For the lift bracket gasket, which is normally some sort of paper I think, I used some plastic foam backing that you use under a timber floating floor.
New and old plastic.jpg Making holes.jpg New window 2.jpg New window.jpg Lift bracket.jpg
I took off the rubber stopper at the top of the vent window and separated the channel from the vent to drop the window in from the top. It's a bit hard to assemble the vent window and door window and install as one unit when you're on your own, so down from the top I went. I placed a piece of cork between the channel and vent window so that I could slide the runners down without obstruction. Was worried that the plastic might tear if it rubbed against anything. A bit of to and fro and down she went. I found that if I removed the bottom bolt from the rear window runner, it made it easier to drop down. Once in, I put the bolt back in again. I used a bit of the old felt rubber as the anti rattle on the vent window channel. A bit of adjusting to do and should be good.
Cork.jpg Install.jpg Bit of adjusting .jpg Anti rattle.jpg
 
busy busy sure is looking real good :headbang:
 
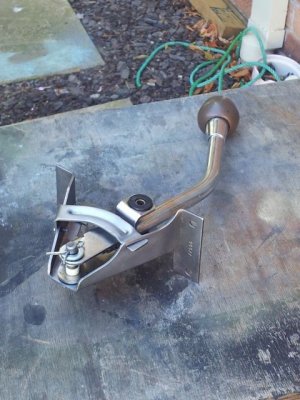
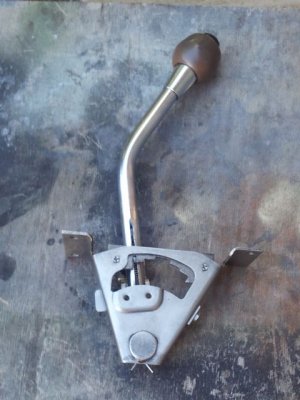
Console auto shifter

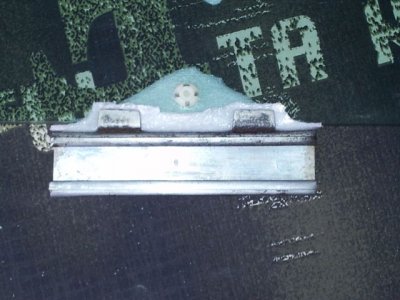
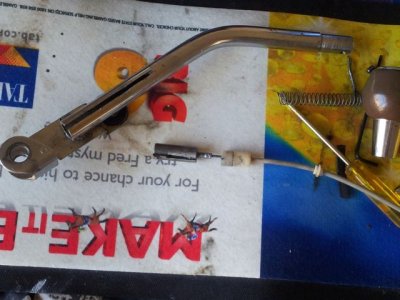
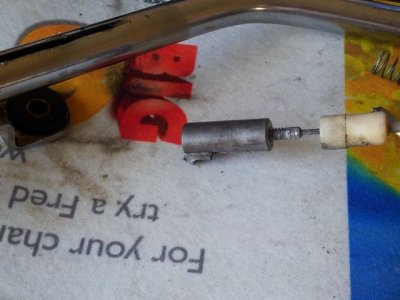
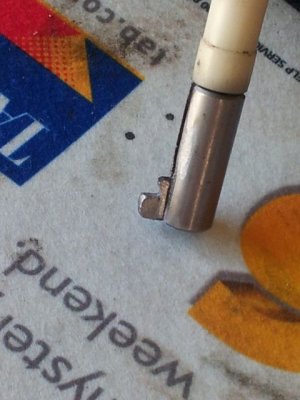
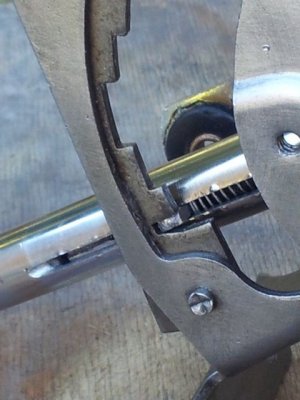
I noticed that the auto shift locking tab had worn right down to where it wasn't holding in position properly. I pulled the shifter apart and built it up a bit with a weld or two. A bit of filing and it turned out alright. At first I thought that I may have been able to make a new piece, as it looked to be a slotted key or something, but I couldn't get it out, that's why I ended up building it up with a weld. Wasn't sure how big to make it but it seems to go through the positions ok at the moment. If I have trouble down the track at least I'll know how to make it bigger.
Shifter apart 1.jpg Shifter apart 2.jpg
The tab had worn away to almost nothing.
Shifter lock tab.jpg
Went a bit too far with the file but no harm done.
Shifter lock tab 2.jpg
Shifter lock.jpg Shifter finished.jpg
Finished up alright I think
Shifter finished 2.jpg

I've also been trying to align the door and qtr windows. What a pain in the :pottytrain2: I knew it was going to be long and tedious because I've been reading up on the forums here. I get it close sometimes and then seem to go off again. So I tackle it for a while and then leave it and go back again. Hopefully get it close enough to be happy with real soon.
 
looking good, gotta be exciting putting it all together and that how to on the window install should be pretty helpful (I'm about to put mine in). Congrats
 
Nice work with the glass and shifter. I'll have to come back to this spot when it comes time to put my shifter in so it turns out as nice as yours.
 
Auto Transport Service
Back
Top