• When you click on links to various merchants on this site and make a purchase, this can result in this site earning a commission. Affiliate programs and affiliations include, but are not limited to, the eBay Partner Network.

My 1967 Belvedere Convertible Plans and Restoration (aka - Mad Scientist Build)

Got a whole lot of things in Epoxy Primer . . . Finally . . .

Been trying to get some epoxy primer on the Belvedere Convertible for a couple days now . . . but every time that I thought I was finally ready, I'd find more stuff that needed to be cleaned up, sanded down, pin holes that needed welding, more grinding, sharp edges . . . it seemed to never stop . . .

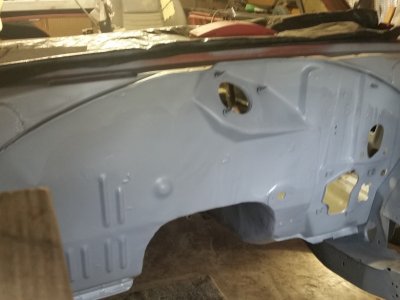
The Epoxy Primer went on the car today . . . the firewall - engine compartment side

sm_primerepoxy01.jpg

The fire wall - looking at the driver side . . .

sm_primerepoxy02.jpg

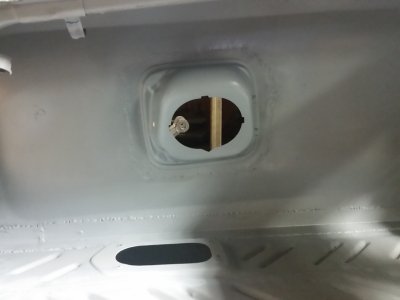
The trunk side of the covered gas cap housing . . .

sm_primerepoxy03.jpg

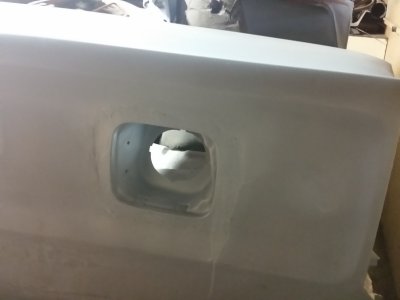
The outside of the covered gas cap area . . . runs included ( sigh )

sm_primerepoxy04.jpg

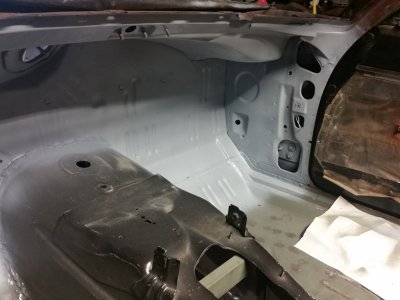
Firewall looking at the passenger side . . .

sm_primerepoxy05.jpg

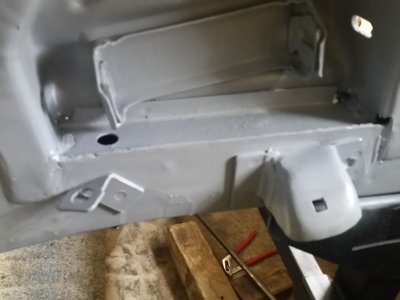
Cleaned up the frame on the passenger side like was done with the driver side . . .

sm_primerepoxy06.jpg

Feels good to have all of that in Epoxy Primer - FINALLY ! ! !

- - - Updated - - -

Congrats on a major milestone!

I have been getting my butt kicked at work, but I've been trying to at least check in and follow along. Things are getting serious now!!!

Keep up the good work!

Hawk

Thanks Hawk - hope that mine turns out half as good as your car ! ! !

- - - Updated - - -

Love the way the firewall looks, nice and clean. Congrats on the milestone and good luck with the bodywork. Now that I have my computer back I can actually see again!

Thanks 747 - I saw your car with the clean firewall, and decided that's the way I want my car to look . . . so it's ALL YOUR FAULT ! ! ( smile )

- - - Updated - - -

Don't think for a second I haven't been lurking around here keeping an eye on this thread....
I have been pretty busy with family issues, events, work, and projects. :p

Thanks KB67 . . . sure glad that not too busy to still be able to lurk and keep an eye on my progress . . . Hope all is well with the family !

- - - Updated - - -

Man, the 67 is coming together. Looking good. Can't wait to see it come together.

I'm sure trying USARR . . . I'm sure trying . . . seem to have found my way back into the swing of things and I'm working on moving this thing forward ! !

- - - Updated - - -

nice work on the hump & firewall...gonna be a cool ragtop when you're done!
Thanks Glenwood . . . I sure hope so . . . at least that my plans . . . tackling it one day at a time . . .

sm_primerepoxy01.jpg sm_primerepoxy02.jpg sm_primerepoxy03.jpg sm_primerepoxy04.jpg sm_primerepoxy05.jpg sm_primerepoxy06.jpg
 
The nights work . . .

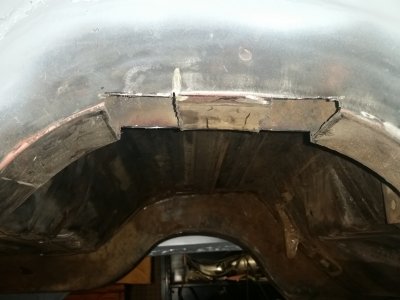
Got the cross members tacked in place under my car . . .

sm_tunnelhump09.jpg

I think I like it . . .
 
What do you guesstimate the final weight will be of this mighty fine cruiser? I am trying to shed weight in mine and you're adding. :)

Nice job!!!
 
Cross members and driveshaft loop look frickin badda$$!!!

and might I add very Fer Racin' with them there speedholes!!
You'll like those speedholes when you are running brake line, fuel line and e-brakes too!
 
Whoa . . . what a mess ! ! !

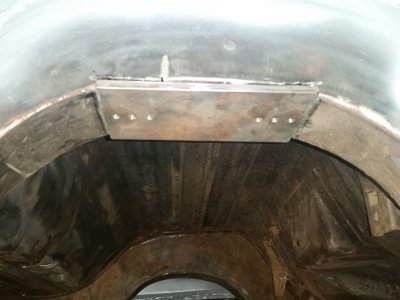
Before I get to the mess . . . here's a job that I completed this week . . . needed some stronger metal under my rear axle bump stops, and I wanted to have them also adjustable ( if needed ) . . . so the following pieces of metal were fabricated with tapped holes to make the attachment of the bump stops easier . . .

First - figured out what needed to be cut out of the frame . . . and got it cut . . .

sm_adjustbumpstop01.jpg

Fit the new fab pieces into the openings . . . and checked the fit . . . so far, so good . . .

sm_adjustbumpstop02.jpg

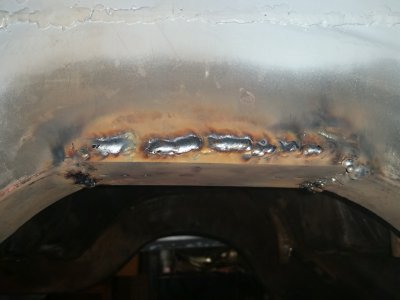
Welded them into place . . . now that I'm almost done with my welding, I'm getting the hang of it . . .

sm_adjustbumpstop03.jpg

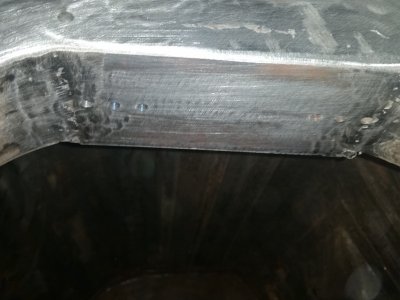
And some grinding to make it all look good . . . ( in the wheel well, under the car, where nobody will ever see it ) . . . but I know it's done right . . .

sm_adjustbumpstop04.jpg

Now on to the MESS

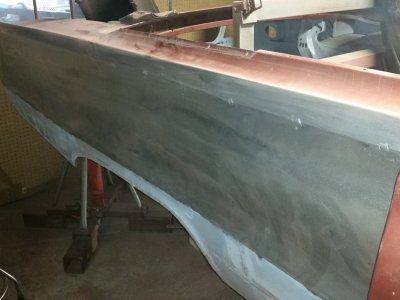
Spent most of the day working on the Belvedere, and "trying to prepare" the passenger rear quarter panel for body work . . . been a long time since I've done bodywork, and to do it on a panel that looks like it's 100 feet long . . . whoa . . . just a "little bit" intimidating . . . to say the least . . .

So the first order of business . . . get all of the old paint off the car and get it down to bare metal . . .

Here's a shot before I got the top edge done, but all of the paint is now off the panel . . .

sm_bodywork01.jpg

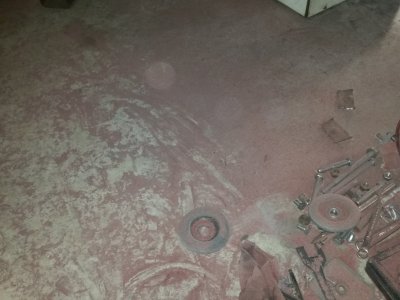
And my shop is a complete MESS . . . I've got paint dust everywhere . . .

sm_bodywork02.jpg

After I got all of the done, took the DA sander to the panels to get some bite for the Epoxy primer to hold better . . . also, I've welded up the molding holes on this panel, and I took a bit of time trying to fine tune the welds and get the high spots knocked down ( a low spot can be filled with body filler - but a high spot could make the work a whole lotta "fun" )

Also, the whole bottom edge of the quarter panel was fabricated up ( but me - ugh ) so I'm working on trying to get the metal a little better, finding and re-welding a bunch of tiny pin holes ( and then re-grinding it again . . . and again . . . get the picture . . . )

The panel is coming along quite nicely - I think . . . hope to get the Epoxy Primer shot in it tomorrow . . .

sm_bodywork01.jpg sm_bodywork02.jpg sm_adjustbumpstop01.jpg sm_adjustbumpstop02.jpg sm_adjustbumpstop03.jpg sm_adjustbumpstop04.jpg
 
I think I'm ready for the bodywork . . . at least the panel is in primer . . .

Got a lot of metal work done on this panel, pin holes, welding, grinding, more pin holes, welding grinding . . . you get the picture . . . but I think I got it looking pretty good and decided to get the epoxy primer shot on the panel . . . to get it ready for the bodywork ! ! !

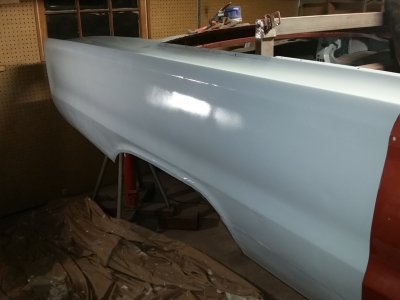
Here's the way the panel looks now . . .

sm_bodywork03.jpg

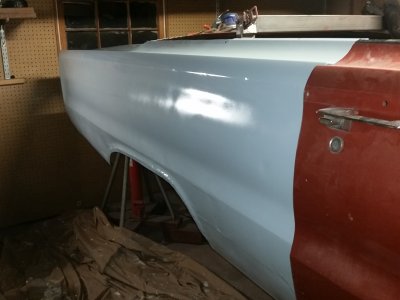
I'm pretty happy with the paint . . . only saw one tiny little run in the primer . . .

sm_bodywork04.jpg

Maybe I'm getting the hang of this shooting paint ( yeah right ) . . . LMAO

sm_bodywork03.jpg sm_bodywork04.jpg
 
Making more progress is great...looking good. You got more welding to do are you gonna start slinging mud
 
New addition to the shop . . . well . . . kinda . . .

Finally, after 2 years of welding, getting and feeling better about my welds . . . however, I've always been impressed about the look of a TIG weld, and about 10 years ago I had the opportunity to get taught ( ok - shown ) a little about TIG welding and was able to try my hands at it. I've always wanted to add a TIG to my shop and get the opportunity to work on my TIG welding to see if I can still do it and try to improve my technique.

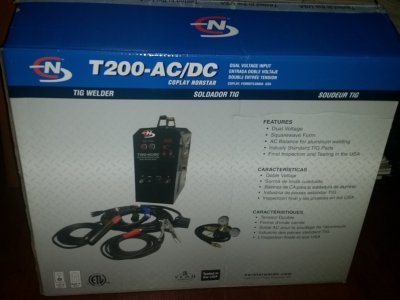
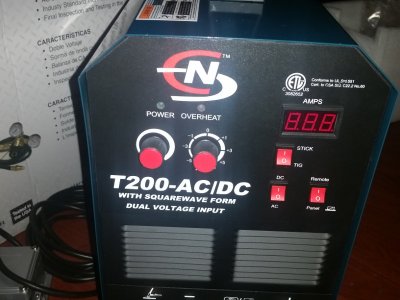
Picked up a new TIG welder last week . . . and here's what I got . . . brand new in the box . . .

sm_tigwelder01.jpg

The box runs on both 110V and 220V . . . and they include a "pigtail" to allow you to plug in to 110V in the box ( great idea - about a $20 option )

sm_tigwelder02.jpg

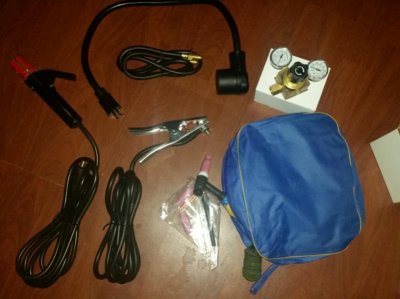
Here's a picture of all the accessories that com in the box - regulator, hoses, stick welding, TIG welding, 110V/220V pigtail . . .

sm_tigwelder04.jpg

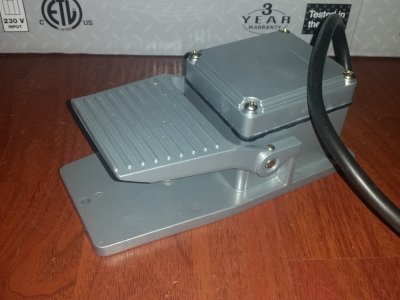
The TIG did not come with a foot pedal, but I learned with one, so I ordered this ( it is compatible with Miller TIG units too )

sm_tigwelder03.jpg

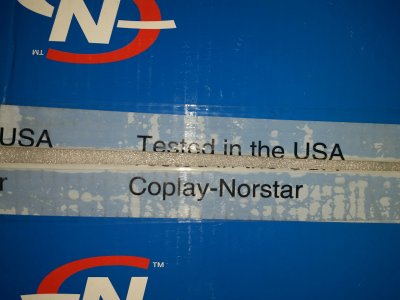
NOW for the "ALMOST" part . . . . Clearly posted on the TOP of the Box is the following . . .

sm_tigwelder05.jpg

However - whaen I got the welder home, unpacked and tried to test it . . . the left knob ( which adjusts the Amperage ) worked for the Stick Welder, but when you swap to the TIG welder, the unit is fixed at 20A in AC mode and fixed at 10A in DC mode . . .

Tested in the USA - that's a shame ! ! ( although, if you've been following my thread, and "something" can possibly go wrong - for me - it will ! )

Called up the store on Friday, and they asked a bunch of questions about testing, offered me a couple more tests to perform, and said if it still doesn't work that they'll swap it out for another unit on Monday - So I'll be off to the store on Monday to swap out this broken one for ( hopefully ) a working TIG welder unit.


how do you not get the primer all over everything else?

I keep the shop closed up, and place a fan in the window blowing out ( it's right near the driver's door ) and open up the shop person door a crack, to allow the air to flow . . . it does a pretty good job of pulling all of the airborne stuff out . . .

Although I could have answered, what are you talking about, I got it ALL OVER the quarter panel ! ! ( grin ) . . . or that was a lucky shot ! !
 
Last edited:
If you've been following my build . . . this is just my luck . . .

Guess what I'll be doing today . . . heading back out to the store to exchange, yet another, TIG welder ! !

The sad thing is that it clearly posted on the top of the box, Tested in the USA. The salesman has contacted the manufacturer to inquire about their Quality Assurance Testing, and he was informed that there were 590 units shipped out, and only (4) of them have been returned defective . . . BUT . . . (2) of those (4) were "found" by me.

Number 1 - the variable adjust for the Amps would not work in TIG mode
Number 2 - no gas would flow to surround the weld . . .

Let's see what Number 3 has in store for me ? ? ?


( now if I could only find the needle in the haystack like this for a Lottery Ticket . . . SIGH ) . . .


-- Khan-vertible ( Mad Scientist Build )
 
Auto Transport Service
Back
Top