• When you click on links to various merchants on this site and make a purchase, this can result in this site earning a commission. Affiliate programs and affiliations include, but are not limited to, the eBay Partner Network.

Rear shoulder belts in a 1970 Charger

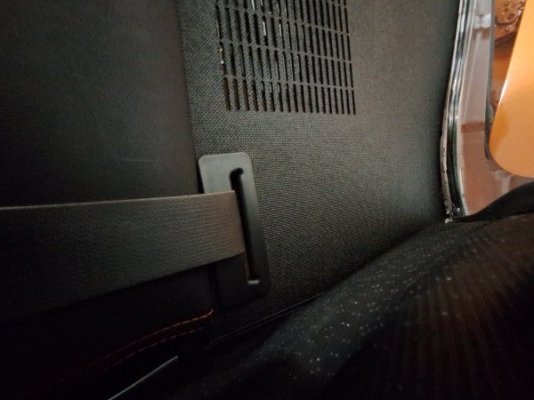
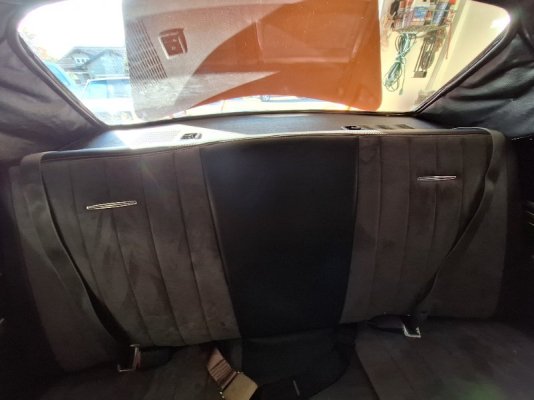
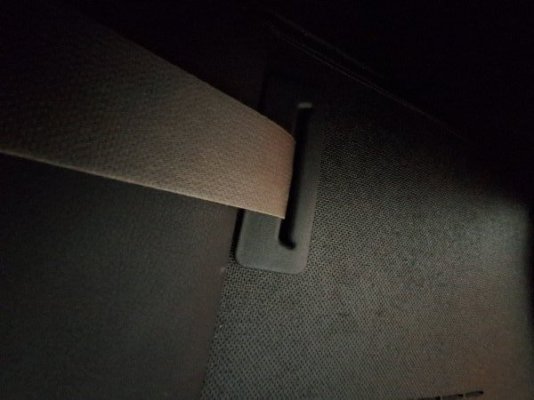
The interior is back in and the belt retractors work just fine. The belt mounts are different in the Coronet from Greg's Charger. I don't know if its because they're a different model, or different year. In Jigsaw, the lower belt mount is secured to the rocker panel. In the Coronet, there's only the four anchor points underneath the cushion. While it still works, the angle of the belt is steeper, and the width between the receiver and the retractor belt mount is narrower than in the Charger. If this setup proves to be too awkward, I could weld a nut to the rocker and carefully cutout a section of the quarter panel card. Any cutting would be hidden by the lower cushion.
20251110_144358.jpg
It's hard to get a good angle, this is a closeup of the passenger's side.
20251110_144601.jpg
Here's the driver's side.
20251110_144650.jpg

For those of you who have youngsters or grandkids and want to install the child seat tether bracket, the Mopar p/n is 5065274AA. The anchor cover is p/n 1VV91DX9AA, although I purchased mine on Ebay. You can also pull them from late model Charger/Challenger/300 from a wrecking yard, although the ones I grabbed were a bit faded.
 
Heck yeah!
The recent software changes to the forum have had some pictures come through out of position. Some are clocked 90 or 180 degrees. It does not matter if pictures are posted with a phone or laptop, this glitch affects both.
The new package tray with the belt guides looks like a factory job. Nice work.
I noticed that; the pictures are clocked correctly on my computer. I'm happy with how the hooks and belts turned out. Form and Function.
 
I didn't like how short the belts were, the ones with the receiver latch.

RSB 141 A.JPG


I'd prefer that they were longer and stuck up between the seats a little more.

RSB 141 B.JPG


These belts are just nylon without the plastic/vinyl covers like here:

RSB 151.JPG


I wanted to extend the belts so they would not get shoved in between the seats and hard to reach. Plus, with the ends so short, it isn't so easy connecting the buckle into it, especially for a fat dude.
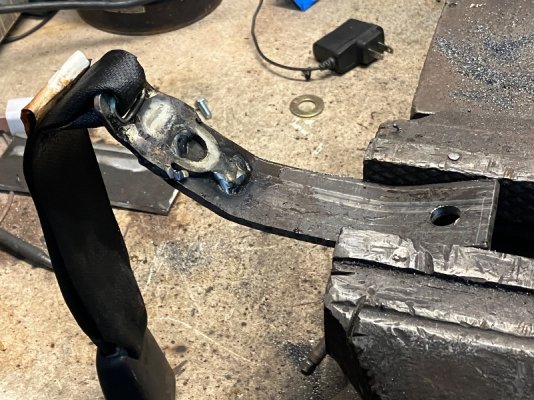
3/16" steel.....

RSB 153.JPG


A couple of bends to it, then clamp the belt to it to mock up....

RSB 152.JPG


Test fit of the right side....

RSB 155.JPG


RSB 159.JPG


More to come...
 
This extension moves the buckle out about 2 1/2 to 3 inches. I could make a longer extension but this was my first effort.

1763183987833.png


Compared to the other side...

RSB 146 A.JPG


It isn't much but it should help. I'm going to try to slip on some sort of vinyl sleeve to stiffen the belt. Ideally, I'd like it so attaching the belt could be done with just one hand.
 
Just a ordinary nut/bolt to secure the extension to the belt?

IMG_3131.jpeg

IMG_3126.jpeg

It doesn’t take much here.

IMG_3127.jpeg


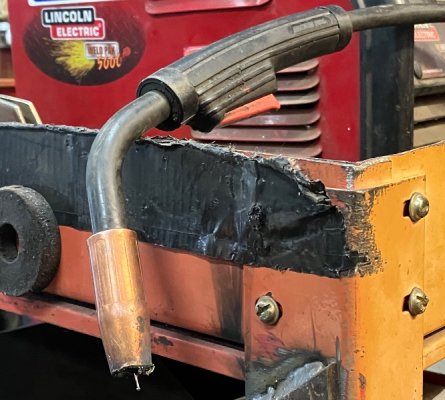
I had to zap, dunk the bracket in water, zap and repeat. I couldn’t just buzzzzzz since I didn’t want to melt the belt.
The jacket I have is plastic that hardens up in cold weather.

IMG_3125.jpeg


A little help from the torch…

IMG_3130.jpeg


The jacket slipped on…

IMG_3129.jpeg


With it softened up, I wiggled it into place.
IMG_3128.jpeg


Once it cooled, it took the shape of the extension and belt
I looked in my stash…. This black jacket is the only one I have and I don’t recall where I got it. I have others of slightly different style so I’ll try one and see.
I had this idea… What if the buckle is the same front and rear? If so, maybe the front bucket seats in the donor cars have jackets on their inner belt sections?
Looking at the front seats in the Wife’s 2015 Challenger, the buckles look similar. Her buckles and belts are attached to the seat frames but do have a jacket on them. They are shorter though so they will need a longer extension than I used here. As long as the jacket is long enough to cover the part of the belt that is visible, I can make it work.
Jigsaw here is the test mule.. the guinea pig, the sloppy copy. I’ll take what I learned here and improve on it for the red car.

IMG_3128.jpeg
 
It looks like this will work. I pasted together something that resembles “jackets” for the left side and bolted the custom belts in. The main belt attaches to the Floor in Rich’s 69 Coronet but in this car, it is on the side close to the floor. I found that you really need the head of the bolt to tuck in as far as possible. Otherwise, the seat frame gets caught up on it.

IMG_3035.jpeg


I had to dig around to find bolts that were threaded all the way.

IMG_3134.jpeg


The extensions are not identical but for mock up purposes, they show that it will work.

IMG_3135.jpeg


They do stick out enough. The jackets stiffened the belts up enough to click the buckle one handed. One thing to note:

IMG_3136.jpeg


Make sure when you weld that the buckles are facing the same way on both sides!

IMG_3137.jpeg


Ooops. I could pull one of them out and reverse the bends in the extension or cut the welds and flip the belt over and reweld. I think I’ll just buy another pair of front buckles/belts and use those.
I sat in both sides and they do feel comfortable. I figure they might give some peace of mind to passengers that are used to newer cars.
 
That is a nice improvement. Wouldn't have noticed the buckles being different if you hadn't pointed it out. Another PnP run?
 
Back
Top