idrivemopar
Well-Known Member
Hi Everyone, I wanted to share this with everyone that may have a 3 spoke steering wheel that has bad horn buttons. I believe this only applies to 71 to 74 Roadrunner/Satellite, but correct me if I am wrong. The switch I am doing here is for my 73 RR.
First, let me tell you a few things I have learned about this switch.
1. If you see a NOS one for sale, it most like has the foam degraded to such a condition, its useless, unless of course you want to go through this procedure to fix it. This is the case recently I found of one for sale on ebay that was way over priced for its condition, so I got to checking around, and managed to find one from a dealer and they sold it to me dirt cheap.
2. I will be showing the process here on the switch restoration out of the steering wheel, however, I believe you can make these repairs with it still installed in the steering wheel.
3. Removing or attempting to remove the switch assembly from the steering wheel will likely result in breaking off of the mounting pins, because the 40 year old plastic is brittle.
4. Each of the 3 switches uses 4 rubber contacts impregnated with a conductor, and when compressed they complete the circuit, and not compressed, no conducting occurs. You can see this under a magnifying glass.
5. The foam tape is used to hold the contacts in place and keep the two conductor plates in place.
Things you will need.
1. Foam tape that is 1/8" thick by 3/8" wide. I could not find double coated anywhere, so you can use another piece of basic double sided tape as shown below to make it a double sided application.
2. A leather punch to make the 3/16" holes in the foam tape for the contacts.
3. Some adhesive remover to clean the metal contact plates.
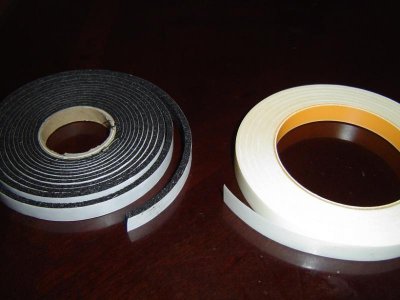
Here is the foam tape and the double sided tape I used, both available at Ace hardware.
Here we go.
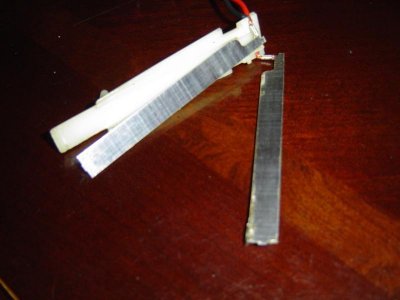
First, remove the old foam tape, as you can see, this one, even though its considered NOS, the foam is completely gone. You can also see the spaces for the rubber contacts.
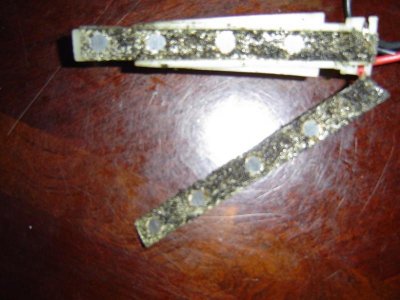
Here showing the rubber contacts.
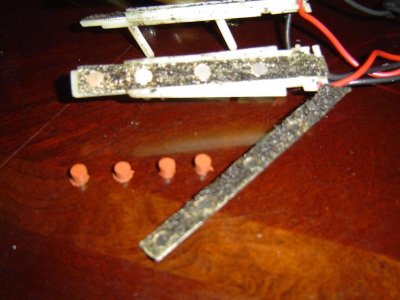
Once the old tape is removed, it should be cleaned with adhesive remover, and look something like this.
Now, make the new replacement foam tape parts, here is a diagram of the dimensions, and photo of the new pieces.
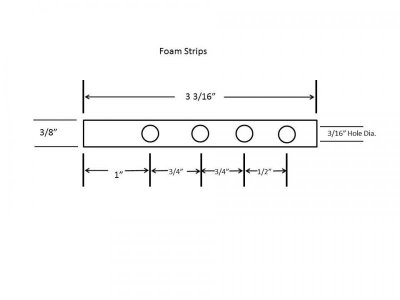
Don't forget, unless you have double coated foam tape, you will need to add another piece of double side tape to the other side of the foam.
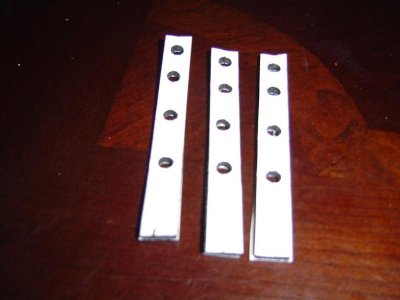
Once those are made, make sure the bottom plate is secure in the plastic guide, and remove the protective paper and attach the foam tape to it, next, remove the top layer of protective paper, and insert the 4 rubber contacts.
Like so...
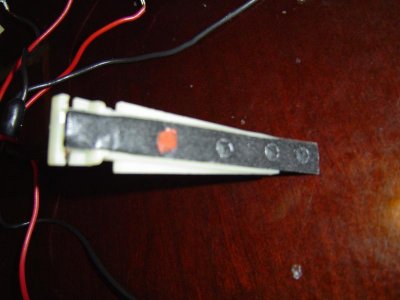
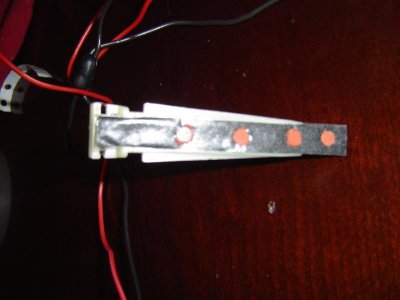
NOTE: The 1" distance from the edge of the tape to the first contact should go toward the rear or area where the wires connect to the contact plates.
Next secure the top contact plate to the tape. Like this.
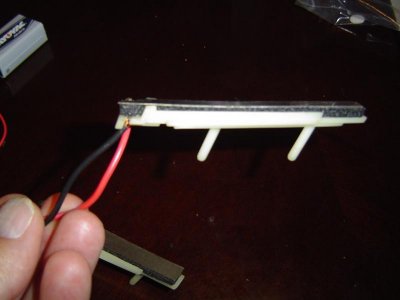
Repeat for the other two sections.
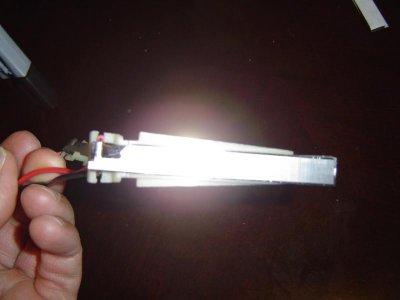
End result is this
When there is no pressure on the contact plates, the light is off, or no beep-beep!
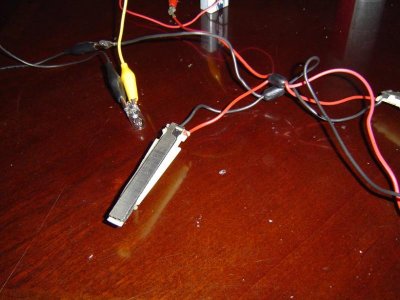
When compressed, the light comes on.
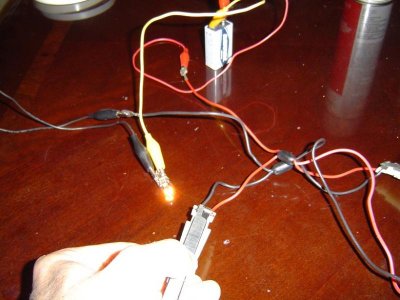
Now, without knowing the actual specifications of the foam tape used by Chrysler, I am not sure how this will handle the hot and cold cycles, but, its the only thing I have found that is close to what was originally there.


First, let me tell you a few things I have learned about this switch.
1. If you see a NOS one for sale, it most like has the foam degraded to such a condition, its useless, unless of course you want to go through this procedure to fix it. This is the case recently I found of one for sale on ebay that was way over priced for its condition, so I got to checking around, and managed to find one from a dealer and they sold it to me dirt cheap.
2. I will be showing the process here on the switch restoration out of the steering wheel, however, I believe you can make these repairs with it still installed in the steering wheel.
3. Removing or attempting to remove the switch assembly from the steering wheel will likely result in breaking off of the mounting pins, because the 40 year old plastic is brittle.
4. Each of the 3 switches uses 4 rubber contacts impregnated with a conductor, and when compressed they complete the circuit, and not compressed, no conducting occurs. You can see this under a magnifying glass.
5. The foam tape is used to hold the contacts in place and keep the two conductor plates in place.
Things you will need.
1. Foam tape that is 1/8" thick by 3/8" wide. I could not find double coated anywhere, so you can use another piece of basic double sided tape as shown below to make it a double sided application.
2. A leather punch to make the 3/16" holes in the foam tape for the contacts.
3. Some adhesive remover to clean the metal contact plates.
Here is the foam tape and the double sided tape I used, both available at Ace hardware.

Here we go.
First, remove the old foam tape, as you can see, this one, even though its considered NOS, the foam is completely gone. You can also see the spaces for the rubber contacts.

Here showing the rubber contacts.

Once the old tape is removed, it should be cleaned with adhesive remover, and look something like this.

Now, make the new replacement foam tape parts, here is a diagram of the dimensions, and photo of the new pieces.

Don't forget, unless you have double coated foam tape, you will need to add another piece of double side tape to the other side of the foam.

Once those are made, make sure the bottom plate is secure in the plastic guide, and remove the protective paper and attach the foam tape to it, next, remove the top layer of protective paper, and insert the 4 rubber contacts.
Like so...


NOTE: The 1" distance from the edge of the tape to the first contact should go toward the rear or area where the wires connect to the contact plates.
Next secure the top contact plate to the tape. Like this.


Repeat for the other two sections.
End result is this
When there is no pressure on the contact plates, the light is off, or no beep-beep!

When compressed, the light comes on.

Now, without knowing the actual specifications of the foam tape used by Chrysler, I am not sure how this will handle the hot and cold cycles, but, its the only thing I have found that is close to what was originally there.


