moparcowboy
Well-Known Member
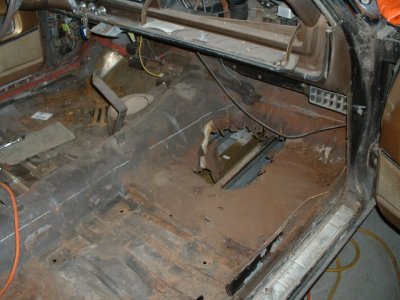
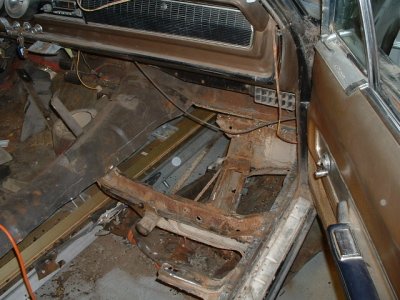
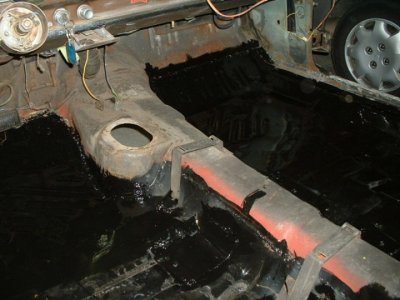
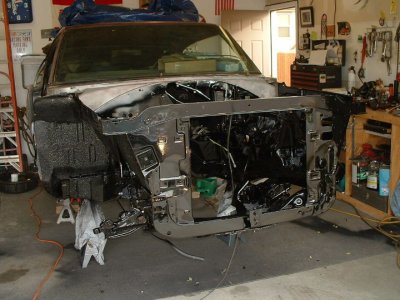
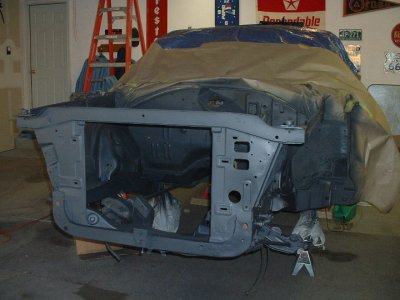
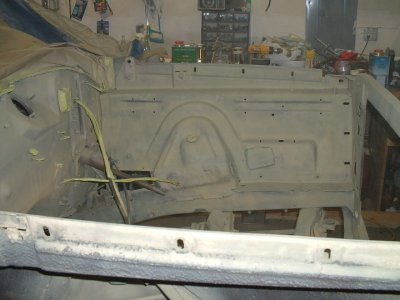
After setting for 15 plus years with wet carpet the floor pans were in bad shape. here is a few pics of floor pan replacement on the rirght side, left is already in.
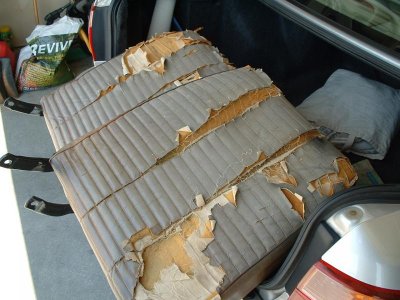
Don't know how I got the rear-end in there.The Oklahoma sun had cooked my seats:
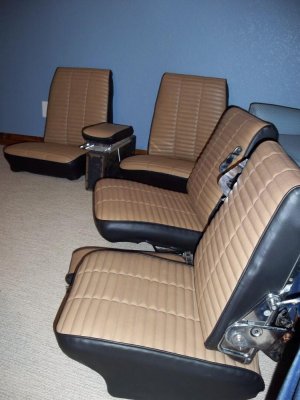
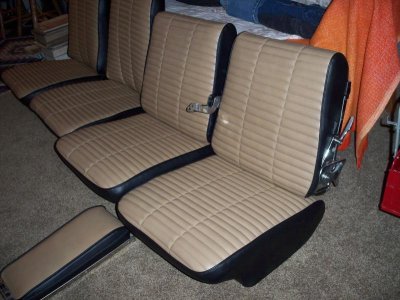
Great job, like what you've done with the seats.
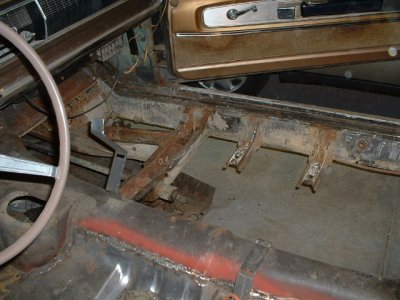
4spd too!
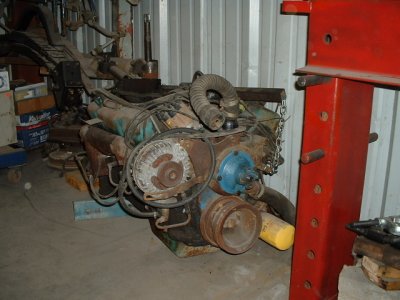
yes 4 speed w/t 4:10 rear gearsGreat job, like what you've done with the seats.
4spd too!
Great job, like what you've done with the seats.
4spd too!


![TTI Headers 004[1].jpg](/moparforum/data/attachments/47/47614-7daba5ad3eb70bf542fbb78d748fbd19.jpg)