• When you click on links to various merchants on this site and make a purchase, this can result in this site earning a commission. Affiliate programs and affiliations include, but are not limited to, the eBay Partner Network.

Rust revival

Thanks guys...I REALLY appreciate the great feedback! :D

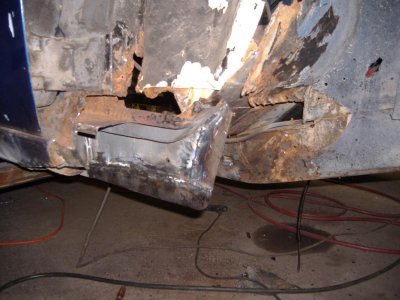
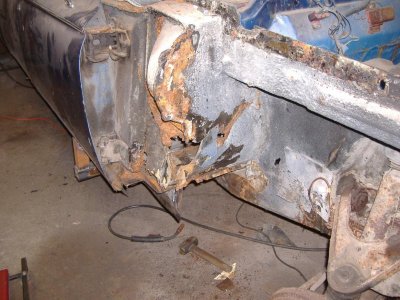
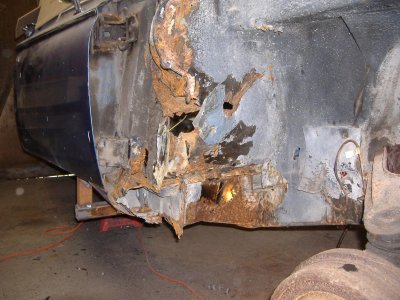
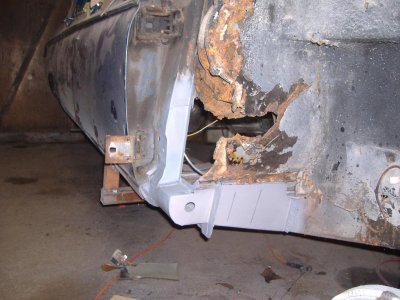
Just a note on the cost of this project so far...I HAVE spend some money on consumables etc and bought a set of new upper A arms, had my rear springs done at a spring shop, some sandblasting etc...but for the actual floor reconstruction I've been using recycled metal where I can.
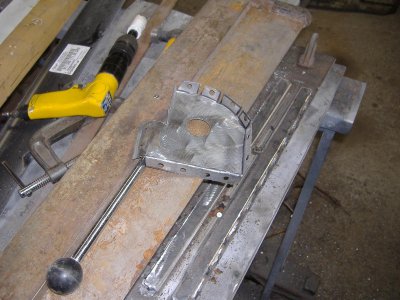
The tubing I had to buy new but the cost wasn't bad at all.

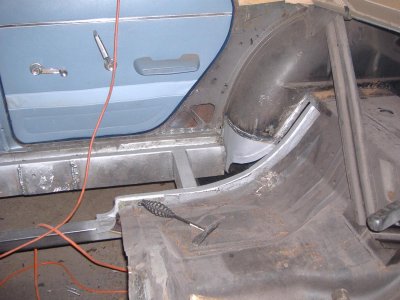
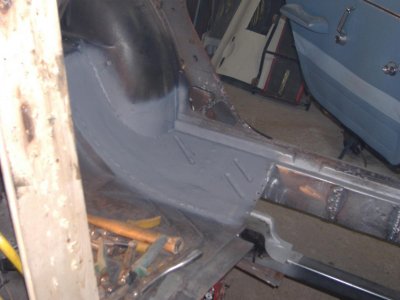
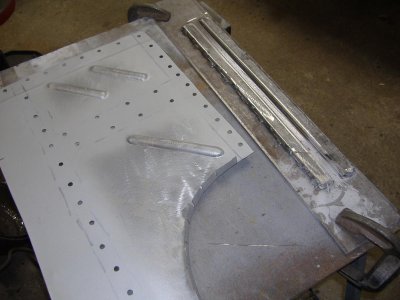
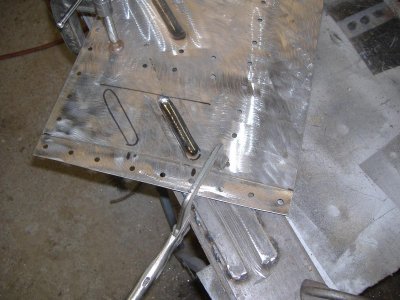
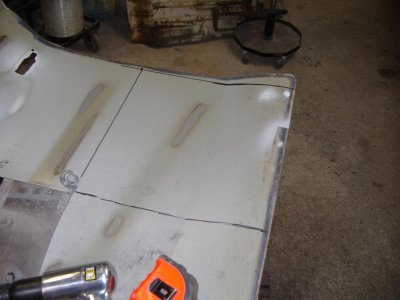
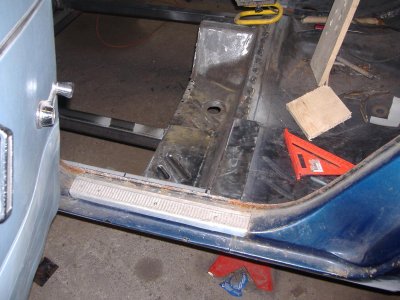
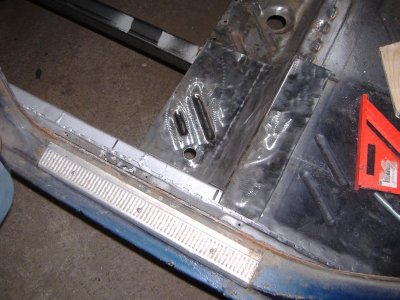
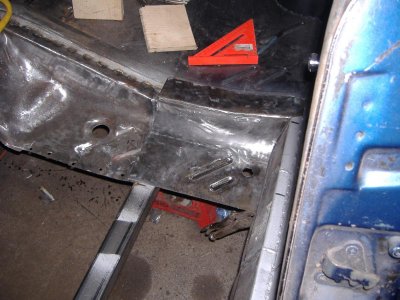
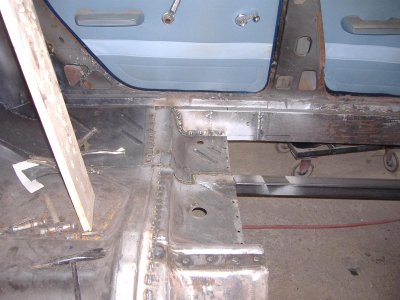
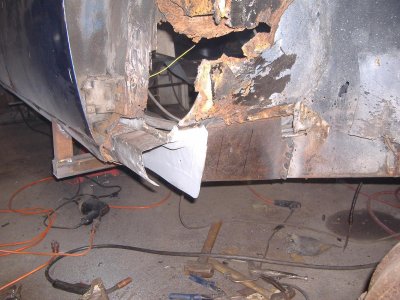
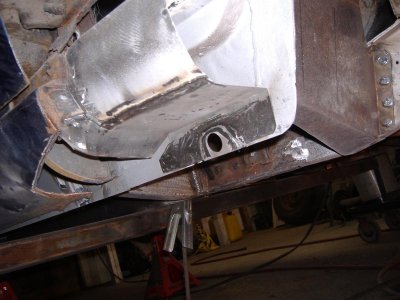
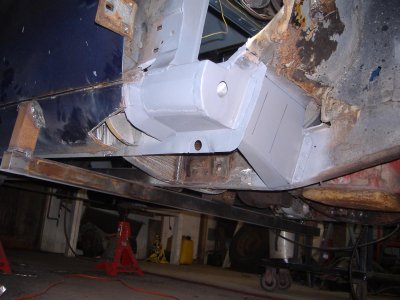
All the metal for patching is recycled door skins and hood panels as you'll see soon.
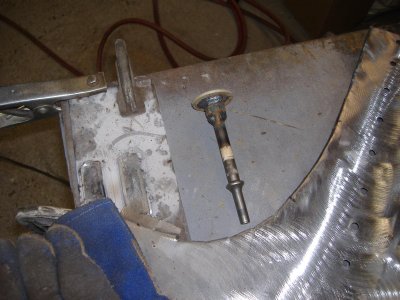
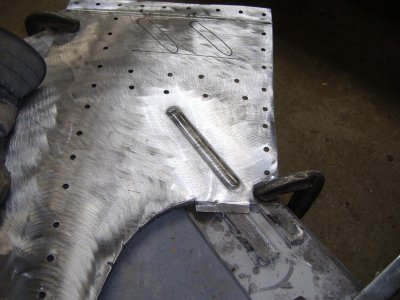
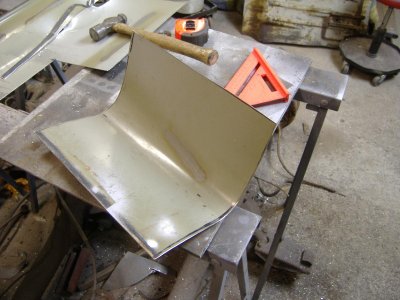
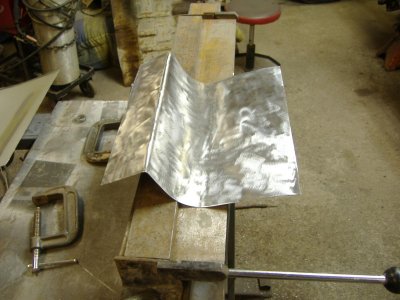
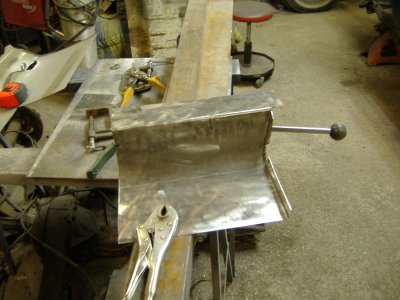
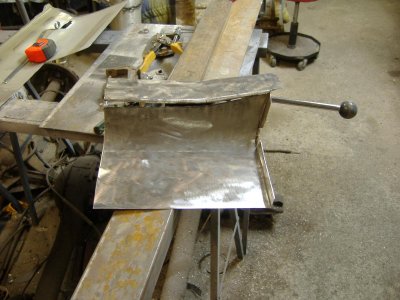
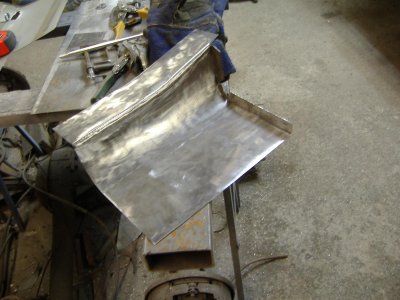
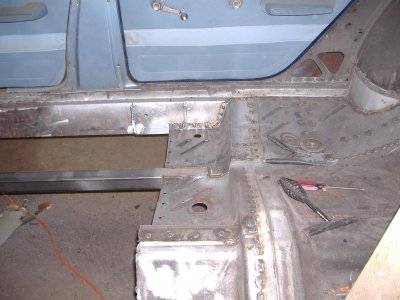
The inner rockers were made from a piece of...14g?...steel with a 90* flange that I pulled from a dumpster at a building reconstruction site. I THINK it was first used as a transition piece from the wall cladding to the roof of the building!
I was buying a used fan hood for my 2 bay and it was sticking out from the dumpster and I just knew I could use it someday.
The contractor threw it in with the fan hood when I asked if it was available!!!
That was like 6 years ago...and I finally found a use for it. :D:D

I'm having a blast doing this...I FINALLY have a Mopar project...AND I'm gonna be driving something cool this summer for a reasonable price.
It's a lot of work but its a labour of love. ;)
 
Yes........ I see some excellent work going on there, keep the pics coming. Good to see you're having fun.
 
i know the pictures don't show the hard work you are actually doing with those fabrications but man that is some awesome work.
 
Holly crap!! I'm blown away that you are calling yourself a backyard mechanic. You got some really skill dude!! Very very nice work. :icon_salut:
 
Your enthusiasm is sort of contagious, I look at my old 64 ford galaxie completely different after watching you do your magic. And that car has a good frame under it so all I have to do is fab up some of the floor pieces that aren’t being reproduced.

It's also very refreshing to see someone have so much fun with a car project. It breathes a little wind into the sails for all of us.
 
Thanks guys.
I almost didn't bother putting up a build thread after looking at some of the awesome TRUE restorations on the site.
Kinda figured I might get laughed off!
Then I noticed lots of other guys and gals fixing up their cars in their backyard on a budget.
Knew I could fit in here then! :)
Glad to see that my beast can be appreciated for what it is...a lower cost rebuild to a daily driver.

Dave...you need to save that Ford. They deserve love too! ;) :D
 
Decided to take a break from "structure" and fill in a few gaps in the floor pan.
A change is as good as a rest! LoL

I made a little tool for my air chisel from a broken chisel, an acorn lugnut and a heavy washer.
Made a channel from steel bits for it to run along in and next thing I could make reasonable beads to get the recycled metal floors to look kinda right.

Got the idea from an old thread over on the HAMB Hot Rod board and used what I had lying around to make it work for me.
Kinda caveman...but its really noisy to use so its perfect! :D

I started on the rear underseat pans.
 

Attachments

  • 001.jpg
    001.jpg
    131.7 KB · Views: 816
  • 002.jpg
    002.jpg
    151.9 KB · Views: 818
  • 003.jpg
    003.jpg
    141.7 KB · Views: 802
  • 004.jpg
    004.jpg
    147.5 KB · Views: 782
  • 005.jpg
    005.jpg
    160.8 KB · Views: 801
  • 009.jpg
    009.jpg
    79.5 KB · Views: 809
  • 007.jpg
    007.jpg
    113 KB · Views: 794
  • 006.jpg
    006.jpg
    164 KB · Views: 791
Carried on then by making the sections that meet up with the main forward floorpan.
The center hump piece is from the donor 67 Belvedere floorpan I got for free from a friend. Just had to clean it up to make that work! ;)
 

Attachments

  • 003.jpg
    003.jpg
    91.3 KB · Views: 781
  • 004.jpg
    004.jpg
    123.5 KB · Views: 760
  • 006.jpg
    006.jpg
    118.8 KB · Views: 770
  • 008.jpg
    008.jpg
    127 KB · Views: 781
  • 009.jpg
    009.jpg
    137 KB · Views: 781
  • 015.jpg
    015.jpg
    153.7 KB · Views: 791
  • 014.jpg
    014.jpg
    165.2 KB · Views: 812
  • 013.jpg
    013.jpg
    154.4 KB · Views: 793
  • 010.jpg
    010.jpg
    123.5 KB · Views: 749
nice progress on your work. just a question,all the reenforcement that you welded on,has that added any more weight(if any) or not enuf to make a diiffernce?
 
Don't think I've added much extra weight, but if I did its all in good places! :)

The 2x2 subframe connectors have added a bit for sure...but the torsion bar reinforcement stuff is minor compared to the peace of mind. The 2x4 tube is replacing the factory spring mounts in those areas and I'll be losing the rear spring mount pieces as the shackles now go thru the frame.
The rocker panels were cut out before the new metal went in...

It was heavier than normal anyway just before I started to rebuild it as the floors were all double/triple paneled and tarred.
The guy just left the rusty stuff in place!
 
i can understand that,thanks. I would rather be sitting in a solid ride and knowing i have better than average protection around me compare to how many can openers it would take to get me out from a tangled mess.
 
Here are the pieces welded in!
Forgot to put those pics in the last update.
 

Attachments

  • 007.jpg
    007.jpg
    145 KB · Views: 751
  • 008.jpg
    008.jpg
    139.9 KB · Views: 736
The right front corner of the rocker and cowl was smothered in hardened tar so I knew it couldn't be good.
When I removed it most of the body in that area seemed to come with it!

The yellow piece you can see was a piece of vinyl siding that someone had riveted in place and covered with tar! Quality thru and thru!!!

Fixed up the inner rocker edge and then replaced the chassis support as it was really weak.
The car is supported by jackstands and additional screwjacks at this point to prevent sagging.
 

Attachments

  • 007.jpg
    007.jpg
    125.5 KB · Views: 749
  • 006.jpg
    006.jpg
    196.8 KB · Views: 728
  • 005.jpg
    005.jpg
    167.3 KB · Views: 734
  • 004.jpg
    004.jpg
    182.7 KB · Views: 756
  • 003.jpg
    003.jpg
    193.8 KB · Views: 728
  • 009.jpg
    009.jpg
    182.9 KB · Views: 744
Added the bottom and side pieces to the rocker front.
Capped off the front.
The door post was getting weak as well so I repaired the front section and will do the rear part once I take the door off.

Feels a lot better to have that area done I tell ya! That was a mess....
 

Attachments

  • 002.jpg
    002.jpg
    125.5 KB · Views: 735
  • 001.jpg
    001.jpg
    157.5 KB · Views: 723
  • 005.jpg
    005.jpg
    126.5 KB · Views: 738
  • 006.jpg
    006.jpg
    140.8 KB · Views: 739
Nice fab work and welding,that will save a pile of $ doing it yourself.Good luck with your project!
 
Auto Transport Service
Back
Top