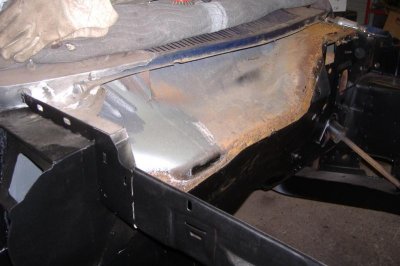
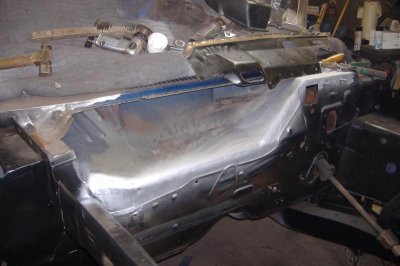
Did you make that outer rocker panel? If so would you be so kind as to show how you made it? I have some repair to do to mine and would like to get some idea's how to do it right.
KD...the original rockers are very high quality and your car will have to be very rusty to need full replacement. Even my old girl could have gotten away with just repairing the drivers side!
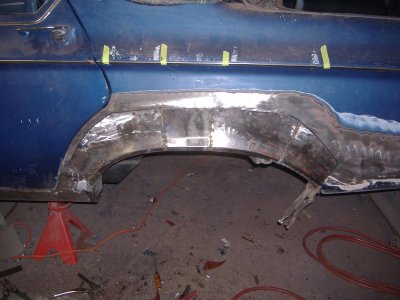
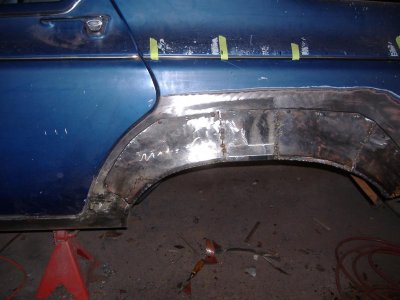
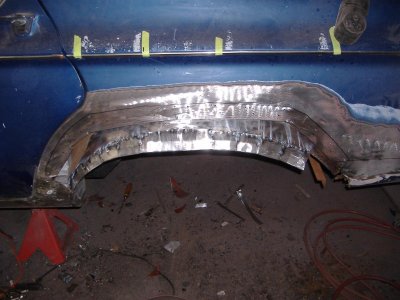
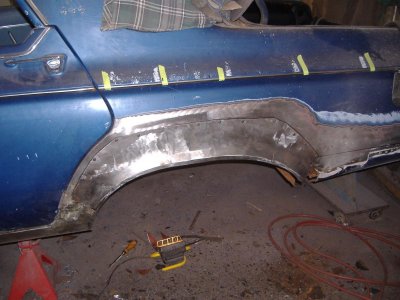
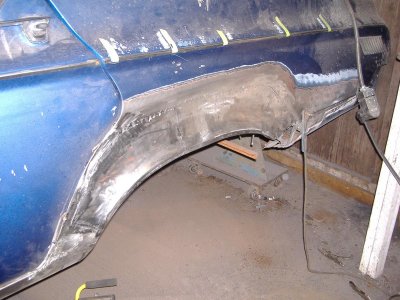
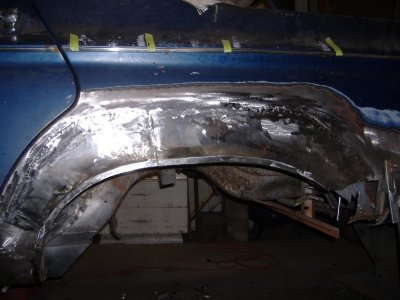
As I said in my post on the rockers...I didn't take many pictures while they were getting installed.
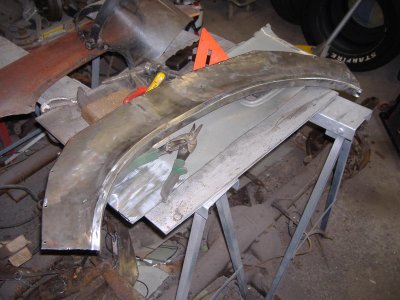
I had them made at a local sheetmetal shop, but had some issues because I wasn't clear on just how particular I was going to be on them and it bit me on the backside!
I'll still use the same shop as I was my fault.
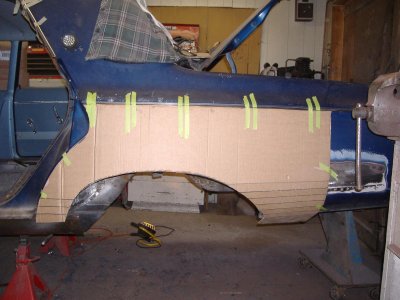
You can make templates from strips of thick sheetmetal bent to follow the contours of your rockers front and rear (might be slightly different) and the shop will bend new metal for you to match.
Tell them the new rocker has to match the INSIDE of the templates!
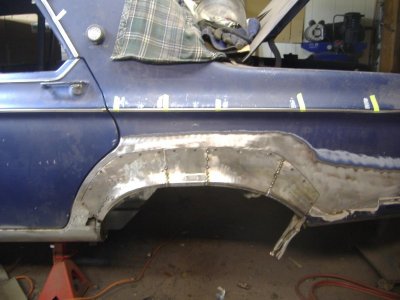
Having a smooth radius to the large bend might be an issue though unless the guy has an English wheel or a steady hand on the brake so he can do multiple, slight breaks to get the radius.
Very do-able...just takes some extra labour/time...so make sure you tell the guy your willing to pay extra for a nice job!
It's WORTH the extra coin!!!
BTW....use 18g or thicker metal. It'll go together much easier.
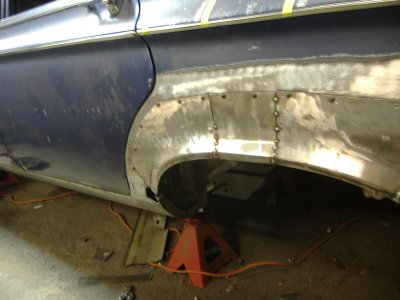
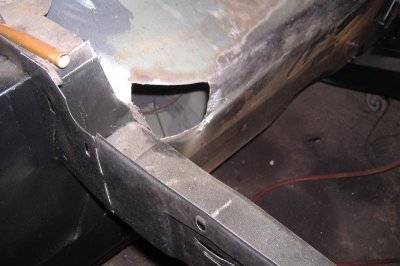
The rocker drains will be gone if you use custom bent outers so you either need to replicate them for a stock look or at the very least drill several holes at an even spacing in next to the pinch weld flange to allow for good drainage. VERY important.
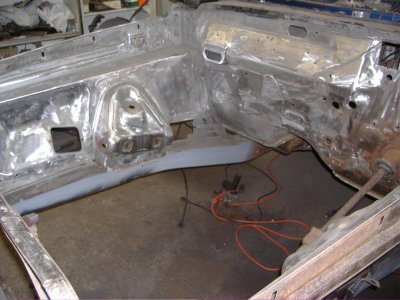
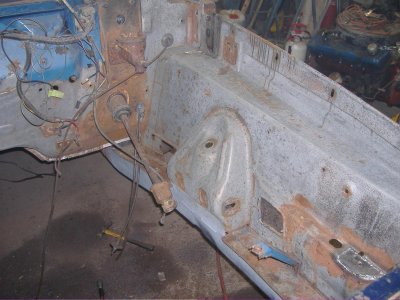
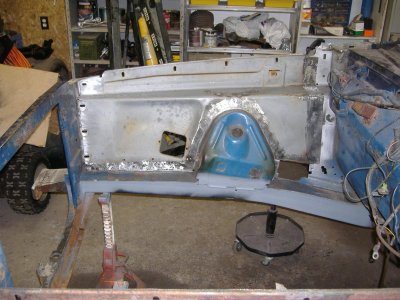
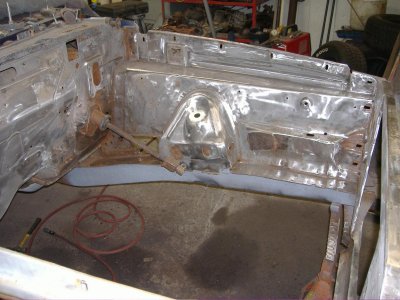
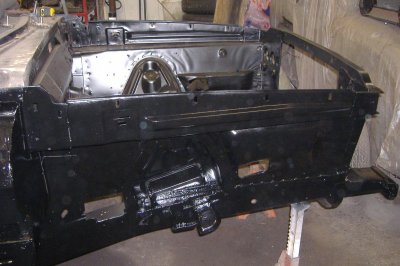
Oh yeah...when you cut off your old rocker you'll see that it continues under the quarterpanel. Make sure that area is good or repaired properly to keep the structure as strong as possible.
Yeah...reads a bit complicated I guess but it isn't too bad.
You'll figure it out once you get a look at it! ;)

All the best!
")